Home / Identity Administration / User Accounts and Groups / Linux / Current: Creating Linux Groups
When you connect EmpowerID to a Linux system, EmpowerID creates an account store object in the EmpowerID Identity Warehouse with a unique Account Store ID for that connected system. This Account Store ID is bound to each of the Linux groups that EmpowerID inventories from that account store, as well as to any new Linux groups you create in EmpowerID for that account store.
In this way, Linux groups are differentiated from any groups you may have in other connected user directory systems. This allows you to manage fully your Linux groups without affecting the groups contained in other systems.
This topic demonstrates this by showing you how to create new Linux groups for a connected Linux system in EmpowerID.
| Info | ||
|---|---|---|
| ||
EmpowerID must be connected to a Linux system. For more information, see Connecting to Linux. |
To create a new Linux group
- In the Navigation Sidebar, expand Identities and click Groups.
- From the Actions pane of the Group Management page, click the Create Group action.

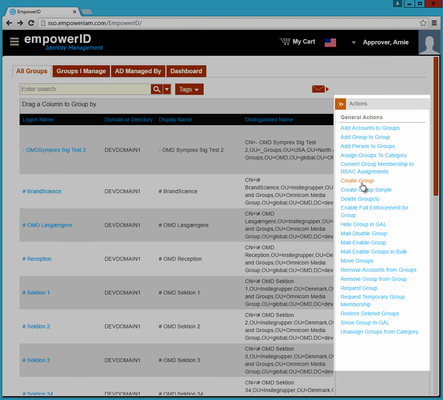
This directs you to the Create Group form.
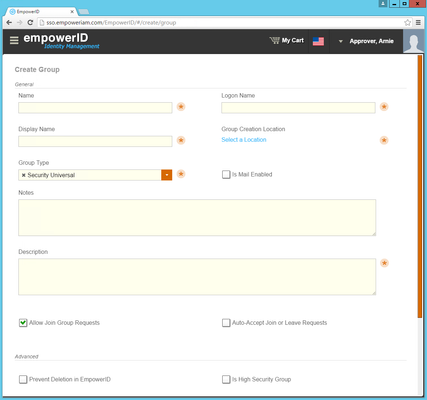
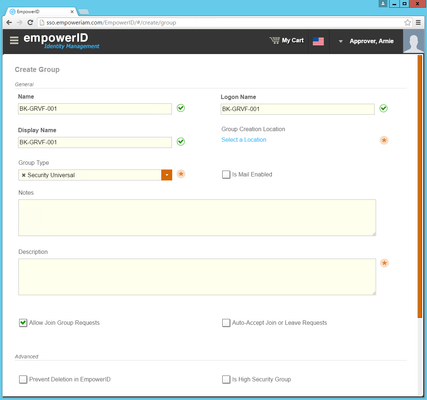
- Type a name for the group in the Name, Logon Name and Display Name fields.

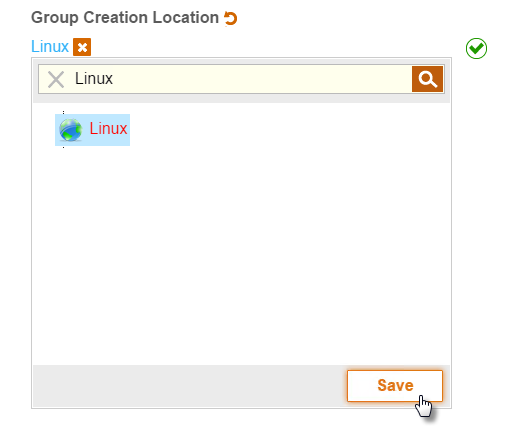
- Click the Select a Location link below Group Creation Location.

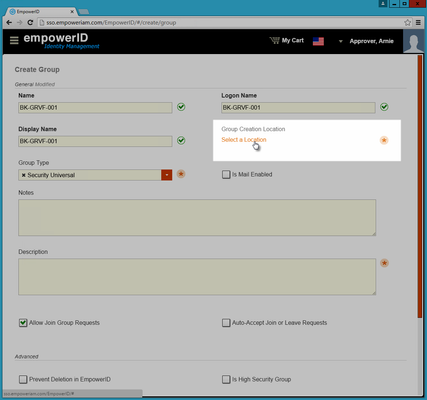
- In the Location Selector that appears, search for the Linux account store you created in EmpowerID, click the node for it to select it and then click Save.

- Select Generic Group from the Group Type drop-down.
- Optionally, type any needed notes in the Notes field.
- Type a description in the Description field.
- Select Allow Join Group Requests if you want to group to show as a requestable resource in the IT Shop
- Select Auto-Accept Join or Leave Requests if you want to give users the ability to join and leave the group without requiring approval.
- Under Advanced, select Prevent Deletion in EmpowerID if do not want the ability to delete the group in EmpowerID.
At this point, the Create Group form looks similar to this image.
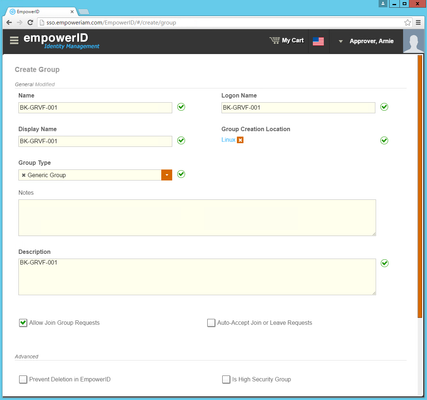
- When ready, click Save.
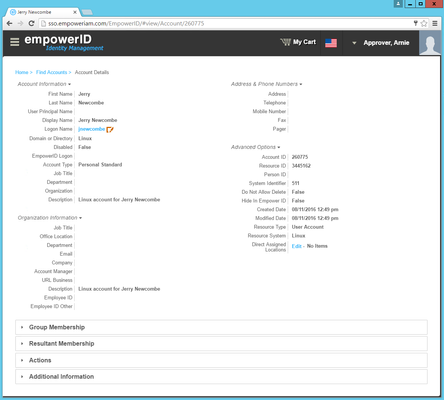
When the operation is complete, the View page for the group appears. This page allows you to view and manage the group from EmpowerID.
Verify that you also see the group in your Linux system.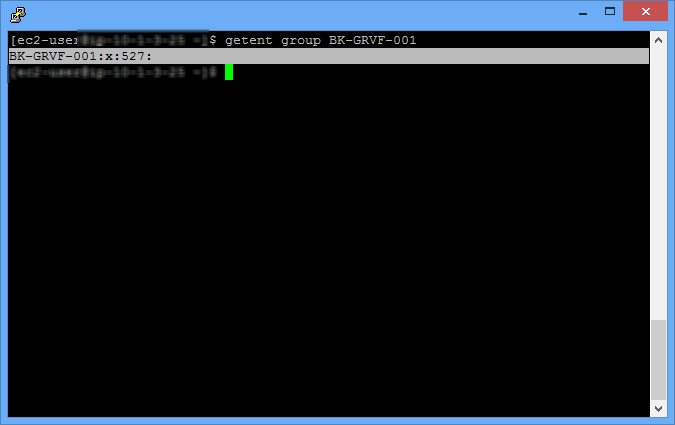
...
| Info | ||||||
|---|---|---|---|---|---|---|
| Creating Linux Users||||||