| Div | ||
|---|---|---|
| ||
Home / Authorization RBAC/ABAC / Visibility / Current: Creating Data Filter Policies |
...
- In the Navigation Sidebar, expand Other and click Things to Do.
- Click the Create button, then EmpowerID System Configuration, and finally the Create Data Visibility Filter button.
This opens the Filter Details form for the Data Visibility Filter. - Drop down Assign Policy To and select from the following Actor types to receive the policy.
- Person - Applies the policy to a specific person.
- Group - Applies the policy to a specific group. Each person who is a member of the group receives the policy.
- Business Role and Location - Applies the policy to a specific Business Role and Location. Each person who belongs to the Business Role and Location receives the policy.
- Management Role - Applies the policy to a specific Management Role. Each person who is a member of the role receives the policy.
- Management Role Definition - Applies the policy to a specific Management Role Definition. Each Management Role that is a child of the definition receives the policy.
- Query-Based Collection (SetGroup) - Applies the policy to a specific Business Role and Location. Each person who is a member of the collection receives the policy.
- In the Assignee field that appears, do one of the following depending on the Actor type you selected.
- Type the name of the specific actor to whom you are assigning the policy and then click the tile for that actor to select it.
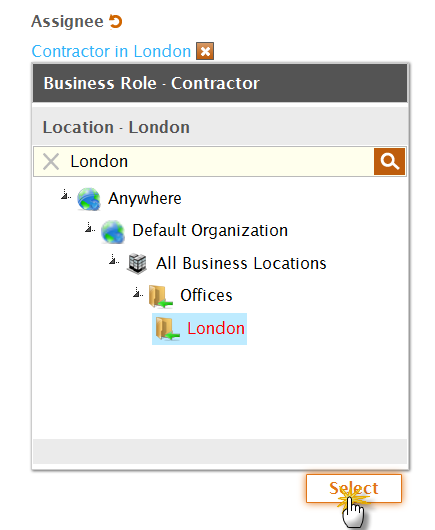
For example, to assign the policy to a Query-Based Collection (SetGroup), type the name of the SetGroup in the field and click the tile for that SetGroup. - If you selected Business Role and Location as the Actor type, click the Select a Role and Location link and in the Role and Location Selector that appears, search for and select a Business Role and Location and then click Select to close the selector.
- Type the name of the specific actor to whom you are assigning the policy and then click the tile for that actor to select it.
- Type a name and description for the policy in the Name and Description fields.
- In the Priority field, enter a numeric value to set the priority to determine which policy takes precedence when users have more than one policy. The lower the number the higher the priority.
- Leave the value of the Mode field set as Default.
- Leave the Pre-Query field blank.
- In the Select Clause field, type the SQL statement for the filter that returns only those objects allowed by the filter.
For example, to create a filter that only allows Contractors to see other Contractors, write a query similar to the following example (if the Title field is used in your environment).Code Block language sql theme Emacs SELECT PersonID FROM dbo.Person (NOLOCK) WHERE Title = 'Contractor'
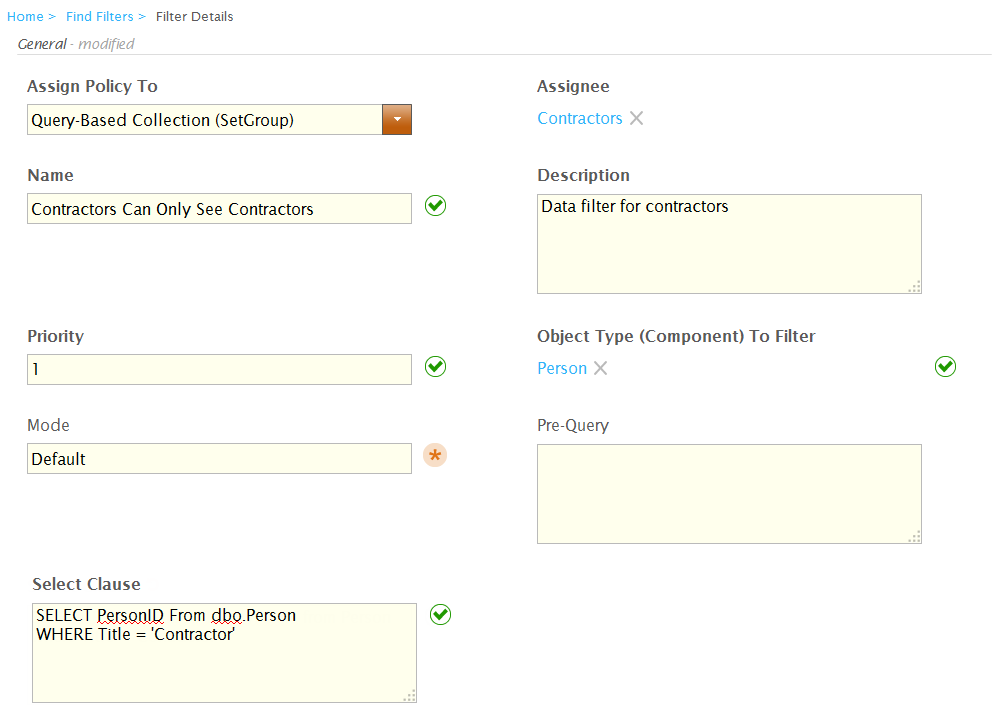
At this point, the Filter Details form looks like the following image (with variations for the selected options). The image depicts a Data Filter policy that allows people in the Contractors Query-Based Collection to see only people in EmpowerID who have a Title attribute of Contractor. - Click Save.
To test the Data Filter Policy
| title | Related Content |
|---|
Understanding Visibility Policies
Creating Visibility Restriction Policies
Creating Column Filter Policies- Log out of the EmpowerID Web application and log back in as a user with the Data Filter policy.
- From the Home page of the Web application, search for any resource object restricted by the policy. For example, if you created a Data Filter policy that restricts which people can be seen, search for people.
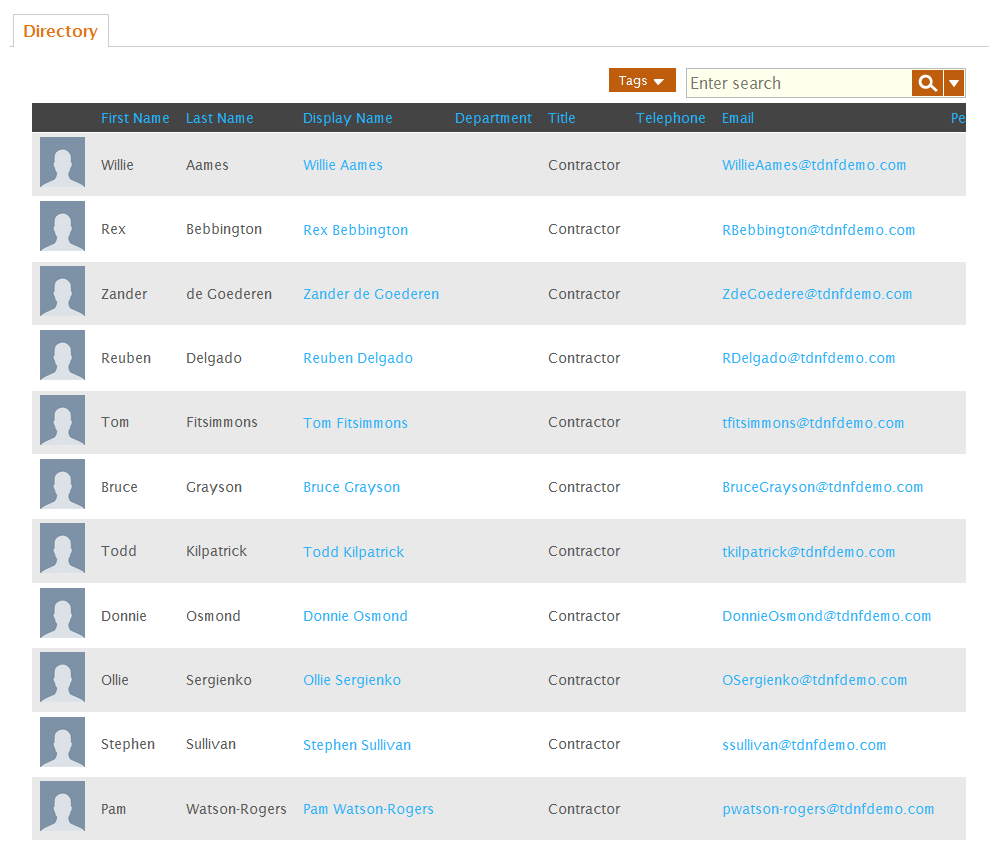
The search returns only objects allowed by the filter. In the image below, the logged-in user is assigned a Data Filter that only allows him to see people who have a Title attribute of Contractor.
| style | margin-top: 25px |
|---|---|
| class | relatedContent |


