| Style | ||
|---|---|---|
| ||
| Div | ||
| ||
In order to manage resources, those resources must belong somewhere. In EmpowerID, this "somewhere" is an object known as an "EmpowerID Location" or "Location." These locations are user-defined logical representations of the organizational and geographical structure of an enterprise that you can be mapped map to actual resource locations in an the enterprise's external directories or simply used use them as containers for delegation purposes.
...
To create a location
- In the Navigation Sidebar navigation sidebar of the EmpowerID Web interface, expand Identities and click Business Roles and Locations.
- From On the Business Roles and Locations management page page, click the Actions tab and then click Create Location.

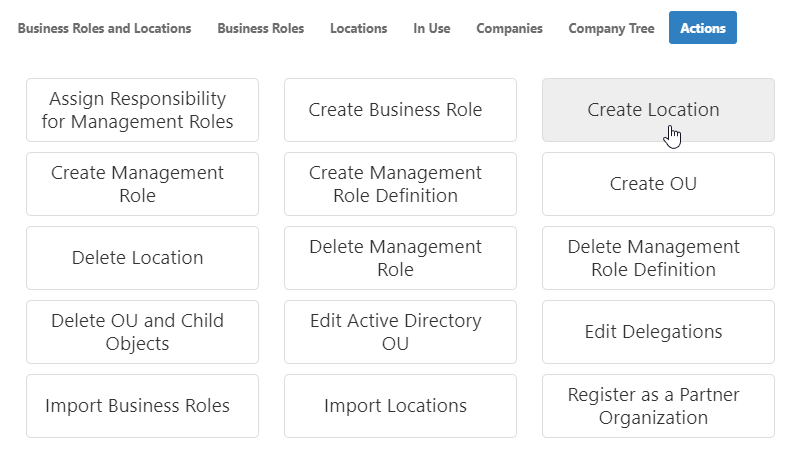
This opens the Location Details form.

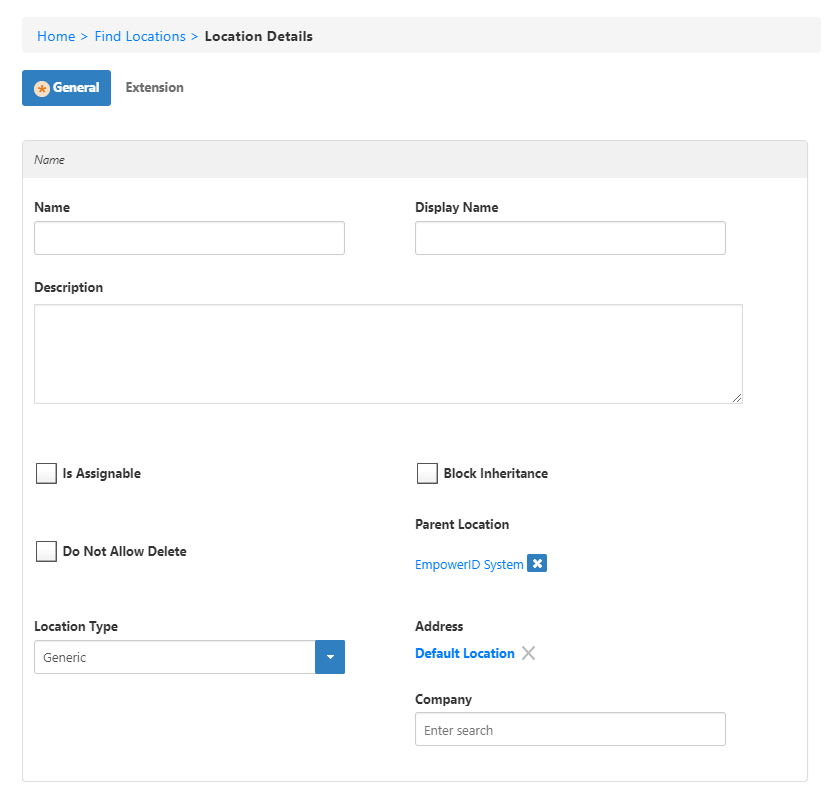
- In On the General tab of the Location Details form, do the following:
- Enter a name and description for the location in the Name, Display Name and Description fields.
- Select Is Assignable to allow resources to be assigned (belong) to the location. If you want to place people in the location, select this checkbox.
- Optionally select Block Inheritance to prevent access granted to people in this location from being assigned to people in any child locations.
- Select Do Not Allow Delete to prevent the location from being deleted.
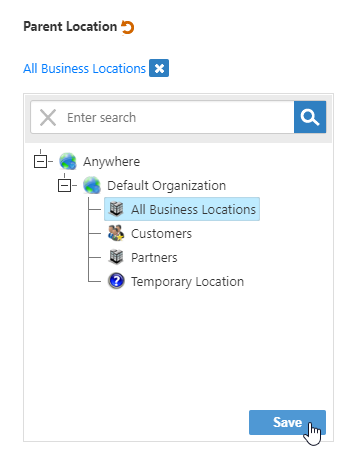
- Below Parent Location, click the Select a Location EmpowerID System link.
- In the Location Selector that appears, search for and select the appropriate select a location under which to create the new location and click Save to close the Location Selector.

Select the location type from the Location Type drop-down list.

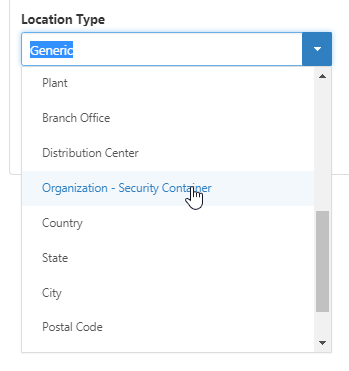
Select Do Not Allow Delete to prevent the location from being deleted.Tip If you are creating a location for an external organization such as a partner, select Organization Organization - Security Container as the type. This lets you apply Visibility Restriction policies against the location that limit the ability of people in the organization to see resources that do not belong to the location .
.
- Under Address, delete the Default Location, then click inside the Address box and press Enter to select an address.
- Optionally click inside the Company box and press Enter to select a company for the location.
- Optionally click the Extension tab and add extension attributes as needed.
Click Save.
Info If you are creating a location that has a specific start or end date, you can set ValidFrom and ValidUntil values in the database using a SQL statement like the following.
Code Block language sql update OrgZone set ValidUntil = '2018-11-19 10:00:00' where OrgZoneID = 142109
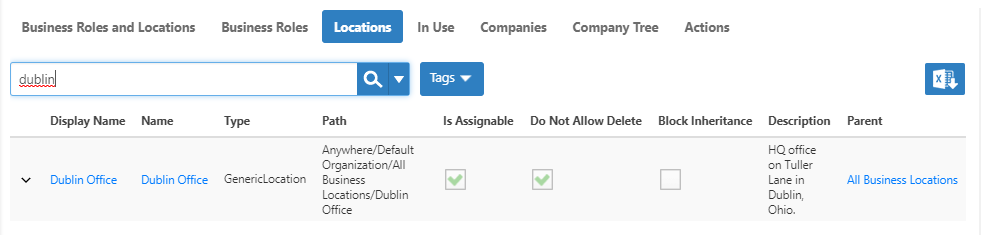
To verify that the location was created
- From the Business Roles and Locations management page, click the Locations tab and search for the location. A record for the location should be returned.

- In the Navigation Sidebarnavigation sidebar, expand Compliance and Reports System Logs and click Audit Log.
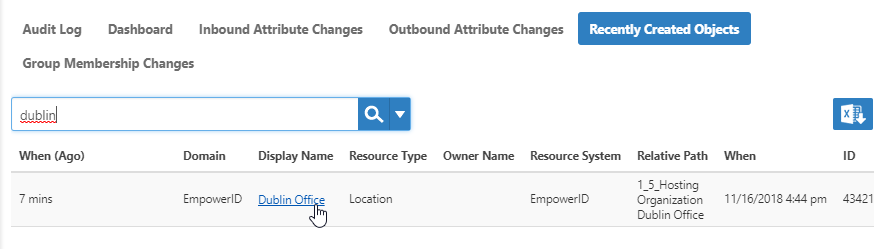
- In the Audit Log, click the Recently Created Objects tab and search for the location.
A record for the location appears in the grid.