| Style | ||
|---|---|---|
| ||
EmpowerID provides a utility application, the EmpowerID Certificate Manager, that you can use to view and manage the various certificates used in your deployment. These certificates include everything from the Server and SSL certificates to third party certificates used in a federated partnership, as well as personal certificates issued to individual users. When you open the utility, it displays any certificates currently stored in the Identity Warehouse and provides functionality for importing, generating and validating certificates.
...
| Anchor | ||||
|---|---|---|---|---|
|
Follow these steps when you need to replace the SSL certificate used for EmpowerID. To update the certificate, use the EmpowerID Configurator. In a default installation of EmpowerID, the path to the executable is location at "C:\Program Files\TheDotNetFactory\EmpowerID\Programs\EmpowerID.Configurator.exe"
- Open the EmpowerID Configurator, and on the Web Server tab, next to SSL Certificate, click Browse.
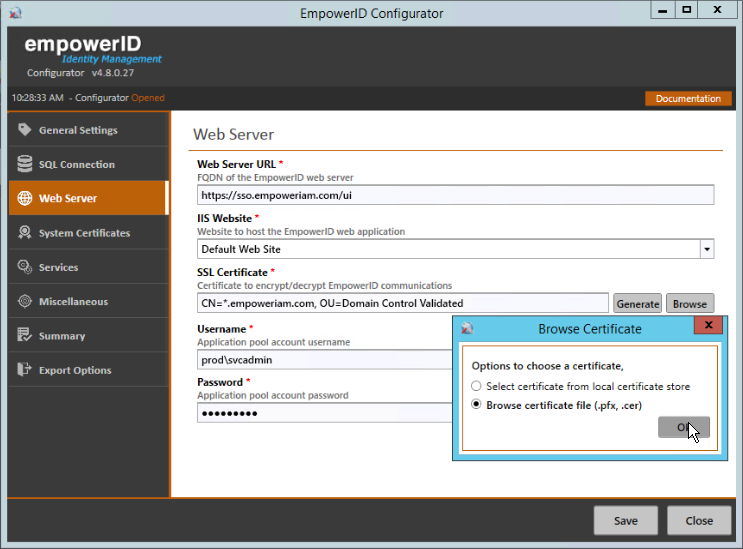
- Select Browse certificate file and click OK, then navigate to the new certificate file and select it, then click Save and close the Configurator.
Add the certificate to the Personal Certificate Store on each EmpowerID web and app server by doing the following.
- Copy the certificate file to each server as needed.
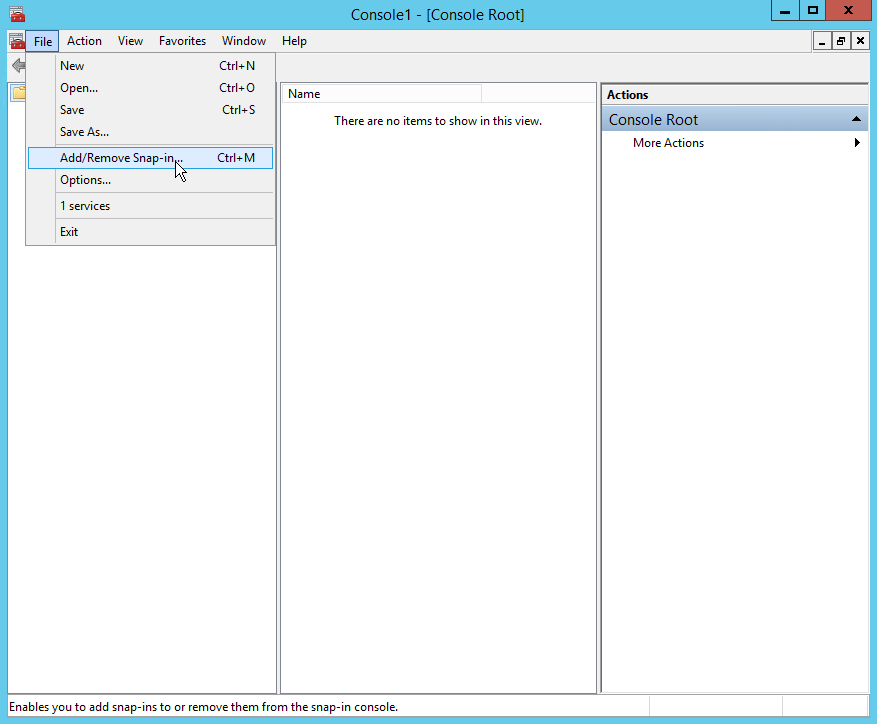
- On each server, open mmc and from the File menu, click Add/Remove Snap-in.
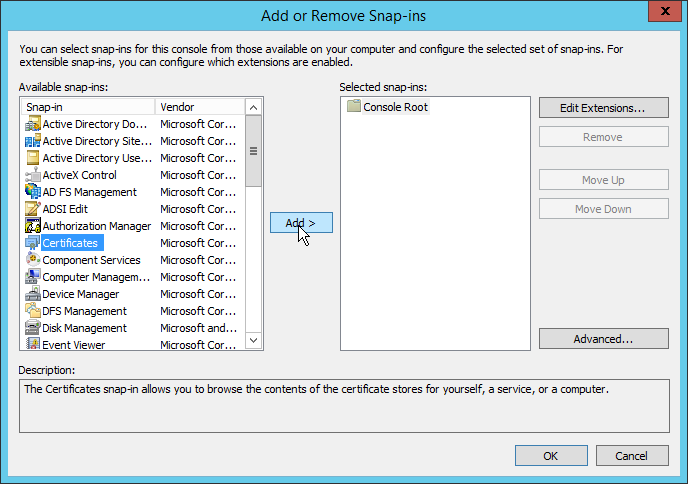
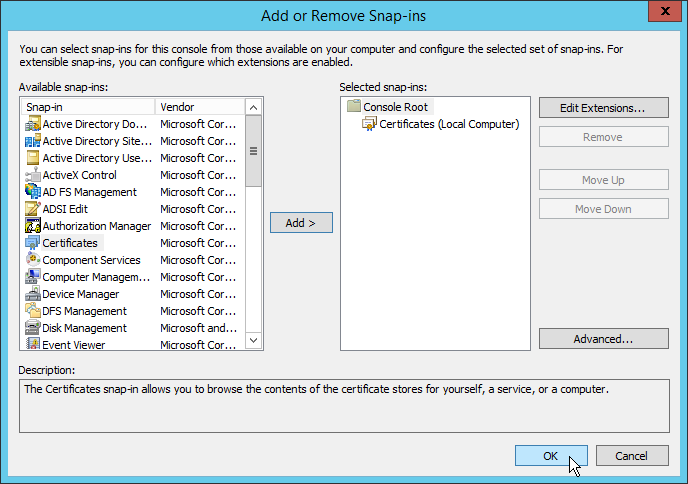
- In the Add or Remove Snap-ins dialog, select Certificates and then click Add.
- Select the Certificates snap-in and then click Add.
- From the Certificates snap-in dialog that appears, select Computer account and then click Next.
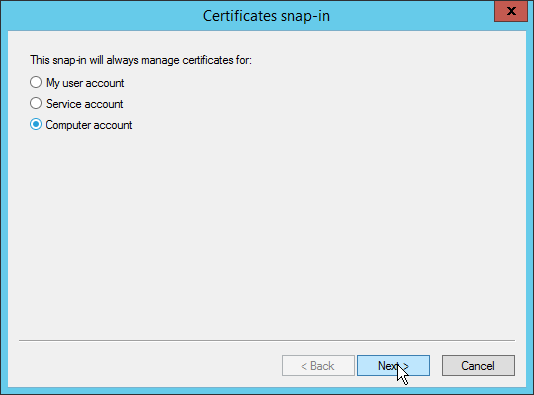
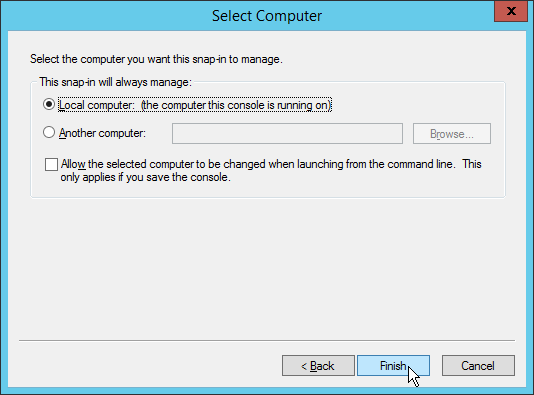
- Select Local computer and then click Finish.
- Click OK to close the Add or Remove Snap-Ins dialog.

- In the mmc console tree, expand the Certificates (Local Computer) node.
- Right-click the Personal node, point to All Tasks, and then click Import.
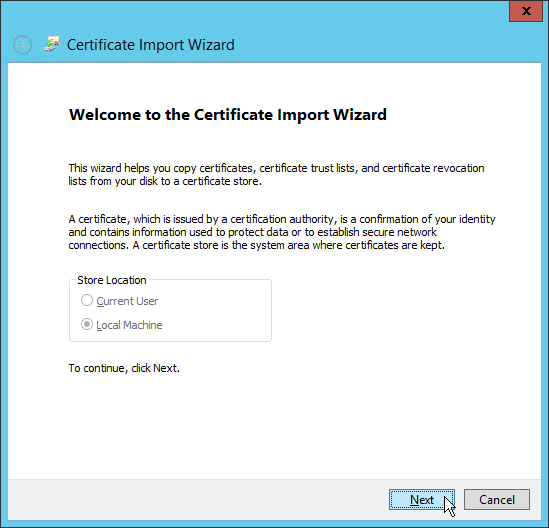
- In the Certificate Import Wizard that appears, click Next.
- On the File to Import page, click Browse.
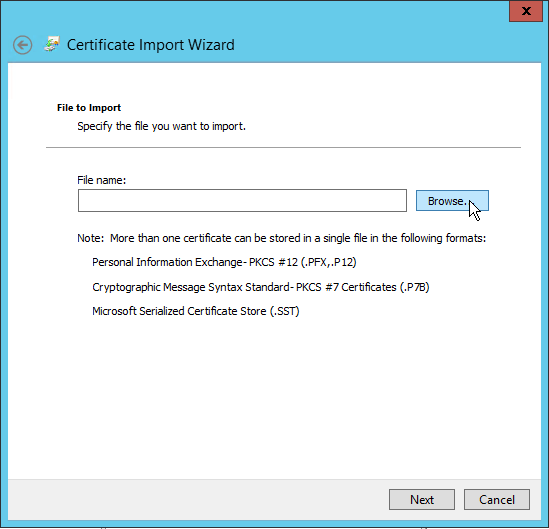
- Locate and select the desired certificate and then click Next.

- On the Private key protection page, enter the password for the certificate, select Mark this key as exportable and then click Next.

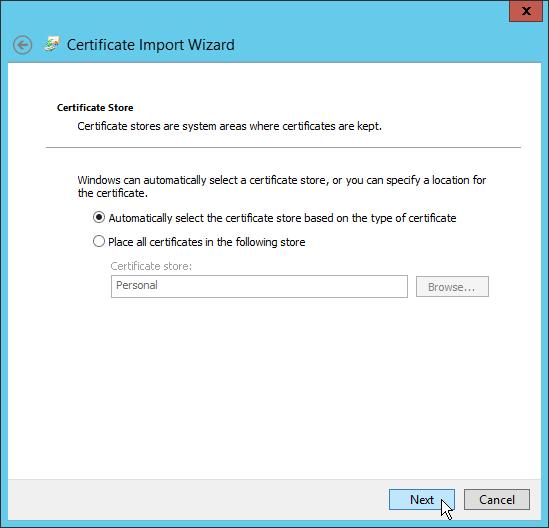
- Select Automatically select the certificate store based on the type of certificate and then click Next.
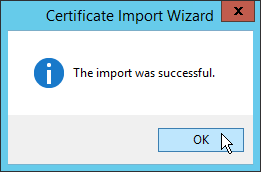
- Click Finish to close the Certificate Import Wizard.
- Click OK to close the import message.
- Bind the new certificate to port 443 on the default web site on all web servers by doing the following:
- From the Console Root tree of mmc, expand the Certificates and Personal nodes and the click Certificates.
- Locate the SSL certificate and then double-click it to open the Certificate Information dialog.
- From the Certificate Information dialog, click the Details tab and then locate and click the Thumbprint field.
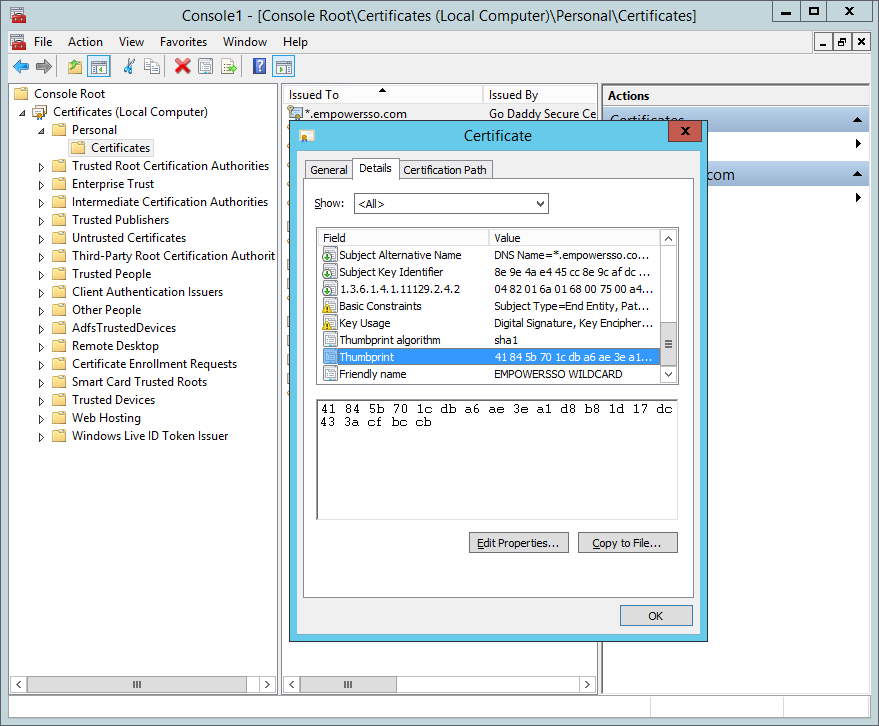
- Copy the Thumbprint to a text editor, such as Notepad, and then click OK to close the Certificate Information editor.
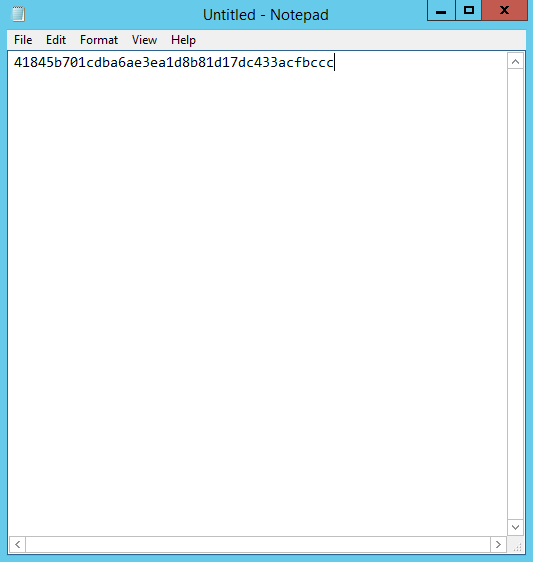
- From the text editor, remove all spaces from the Thumbprint as shown below.
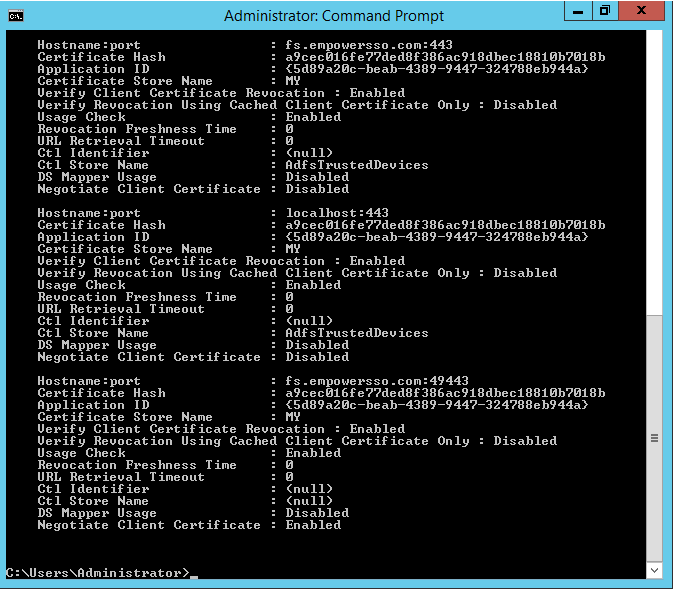
Open a command prompt and run
Span style background: #f4f2f9;color: #0072be; netsh http show sslcert
to retrieve the current port configuration.
Remove the SSL certificate from by running
Span style background: #f4f2f9;color: #0072be; netsh http delete sslcert ipport=0.0.0.0:443
from the command prompt. Change the port number as needed.
Return to your text editor and copy the thumbprint of the new SSL certificate.
Update the certificate binding for each port by running
Span style background: #f4f2f9;color: #0072be; netsh http add sslcert ipport=0.0.0.0:443 certhash=41845b701cdba6ae3ea1d8b81d17dc433acfbccc appid={5d89a20c-beab-4389-9447-324788eb944a}
from the command prompt. The certhash parameter should be set to the thumbprint for your SSL certificate. The appid parameter should be set to that retrieved above (by running
Span style background: #f4f2f9;color: #0072be; netsh http show sslcert
).
- Open SQL Server Management Studio, expand Databases, and click the node for the EmpowerID database.
In the toolbar, click the New Query button and execute
Span style background: #f4f2f9;color: #0072be; SELECT * FROM CertificateStore
to find the CertificateStoreID values for both the old and new certificates.
Execute
Span style background: #f4f2f9;color: #0072be; UPDATE CertificateAppliesTo SET CertificateStoreID = 3 WHERE CertificateStoreID = 2
to update the CertificateAppliesTo table. This replaces the expired certificate with the new everywhere the expired certificate was used. Be sure to replace "2" and "3" with your certificate store IDs.
Finally, execute
Span style background: #f4f2f9;color: #0072be; UPDATE EmpowerIDServer SET CertificateStoreID = 3
to update the EmpowerIDServer table's CertificateStoreID column. Be sure to replace "3" with the certificate store ID for the new certificate.
...