The EmpowerID Cloud Gateway enables your EmpowerID Cloud SaaS tenant to inventory and manage your on-premise systems without requiring ports to be opened on your firewall. The Cloud Gateway is a lightweight client that can be installed on a Windows desktop or server machine in your on-premise network. The Cloud Gateway client then makes a secure and encrypted outbound HTTPS connection to an EmpowerID queue in Azure as a bridge for communication between the EmpowerID Cloud servers and your on-premise network. You can install multiple Cloud Gateways on-premise for fault tolerance and increased performance.
| Note |
|---|
The EmpowerID Person account used to connect the Cloud Gateway to EmpowerID should be a dedicated account specific to that purpose. The account needs to have the following:
|
To install the EmpowerID Cloud Gateway
On the designated on-premise machine, double-click the EmpowerIDCloudGateway.msi installer file to run it.
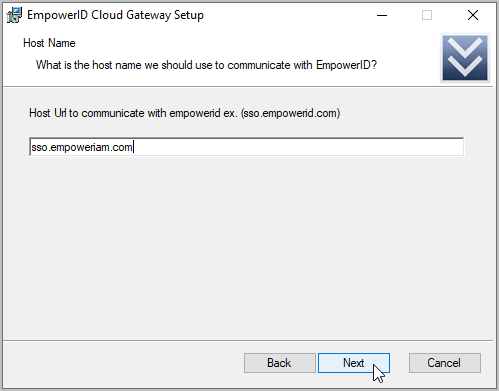
In the EmpowerID Cloud Gateway Setup wizard that appears, enter the Host URL to connect with and click Next.

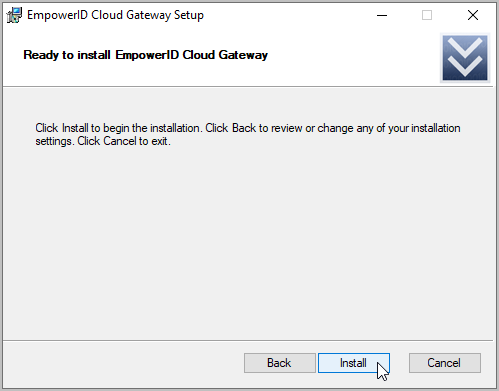
On the Ready to install page, click the Install button.

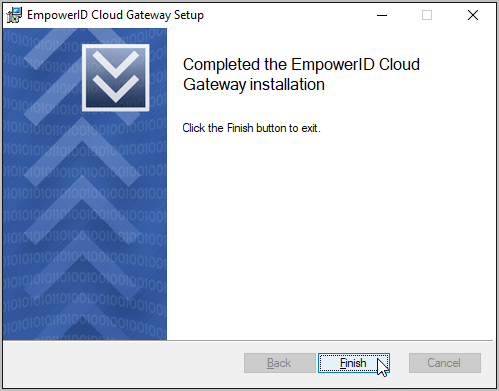
When the agent finishes installing, click the Finish button to close the wizard.

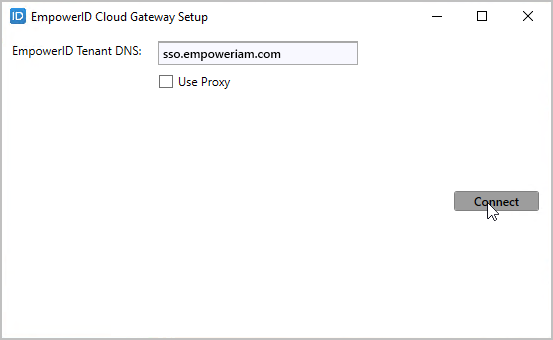
You should see the EmpowerID Cloud Gateway Setup window appear.
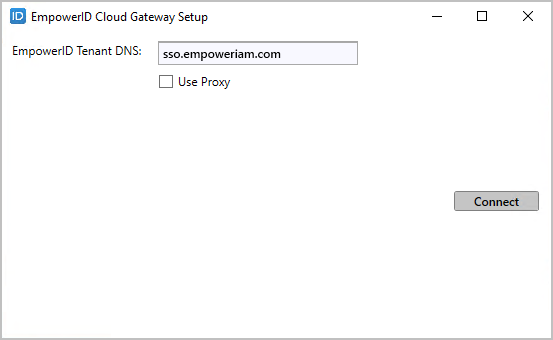
Optionally, if you are using a proxy to connect to the internet, select Use Proxy and then enter the address in the Proxy Address field.

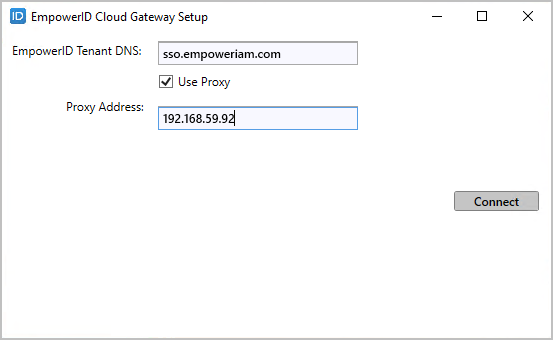
Click Connect.

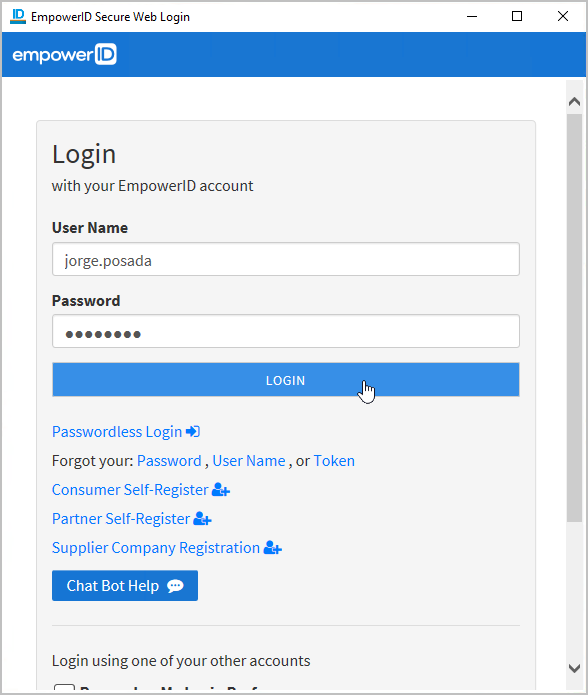
Enter your the EmpowerID username and password for the dedicated cloud service account and click Login.

Click OK to close the Registration Complete message box.
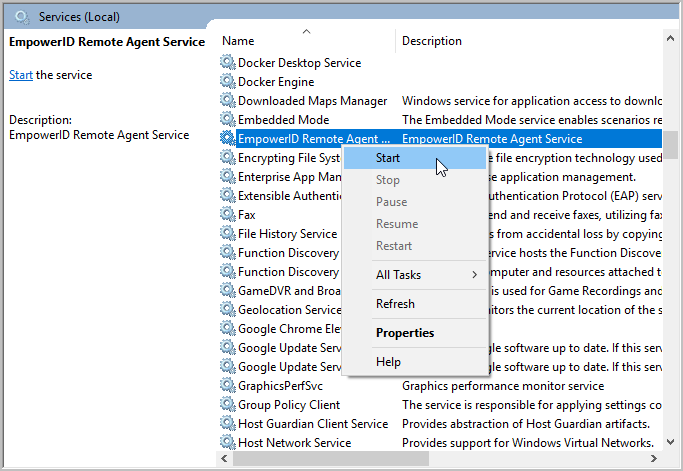
Open Services.msc and start the EmpowerID Remote Agent Windows service.
...

| Note |
|---|
After you have installed the Cloud Gateway Client, you will need to set the Server Role to Cloud Gateway for the server hosting the client. Please see Configuring Server Roles for more information. |
| Insert excerpt | ||||||
|---|---|---|---|---|---|---|
|