This article describes how to extend the Workflow Studio supports extending the default EmpowerID REST API and create a simple API endpoint that returns a string in Workflow Studio.
...
by allowing you to create your own custom API endpoints using the API Item Type. In Workflow Studio, Item Types are templated class libraries that provide a base starting point for building an implementation of a specific type. The API Item Type provides a starting point for creating a REST API endpoint.
This tutorial walks through the basics of creating an API endpoint that can be consumed in EmpowerID.
In this tutorial, you will learn how to do the following:
▪ Create an API project in Workflow Studio
▪ Add a controller class
▪ Open the project in Visual Studio
▪ Add logic to the business layer, controller and route
▪ Publish and call the API in EmpowerID
To follow the tutorial, you need to have Visual Studio as it is the development tool used for writing class library code.
Create API project in Workflow Studio
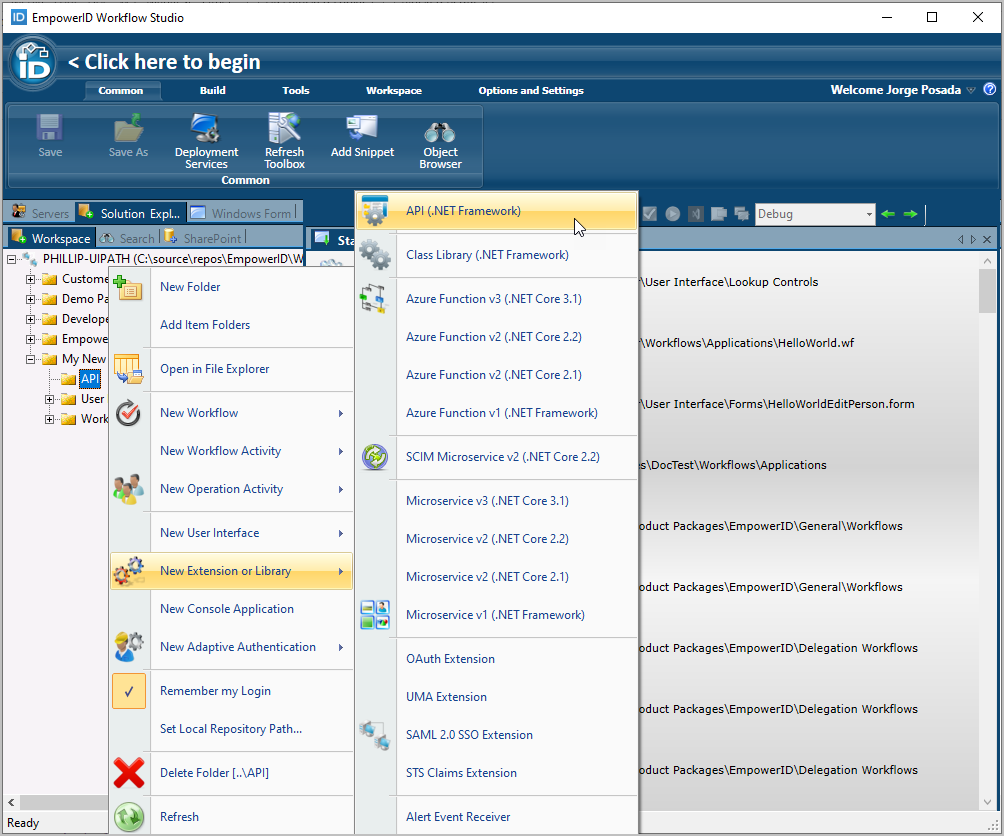
In Workflow Studio, right-click the folder where you want to create the endpoint API project and select New Extension or Library > Class LibraryAPI (.NET Framework).

In the Solution pane to the right of the C# Editor that opens, click the Properties tab and then click the Ellipsis button for the Supports property.

Select WebApi from the Supported Types dialog that opens and then click OK to close the dialog.
 You should see the value of the Supports property update to WebApi.
Click the Solution tab to return to the default Solution view.
In the code tree for the solution, right-click the class library node and select Add New Implementation > Add New WebApi Implementation.

Name the class TestCustomAPIEndPoint and then click OK.

Workflow Studio generates a stub for the API project and opens the base class for it in the C# Editor.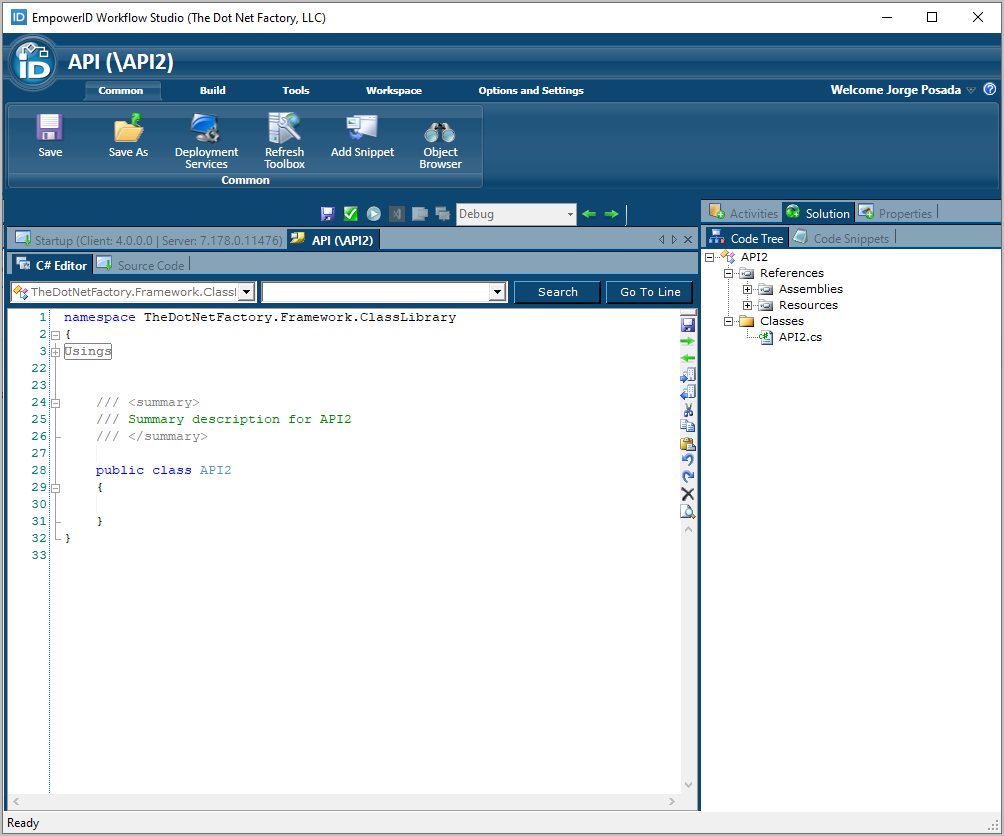
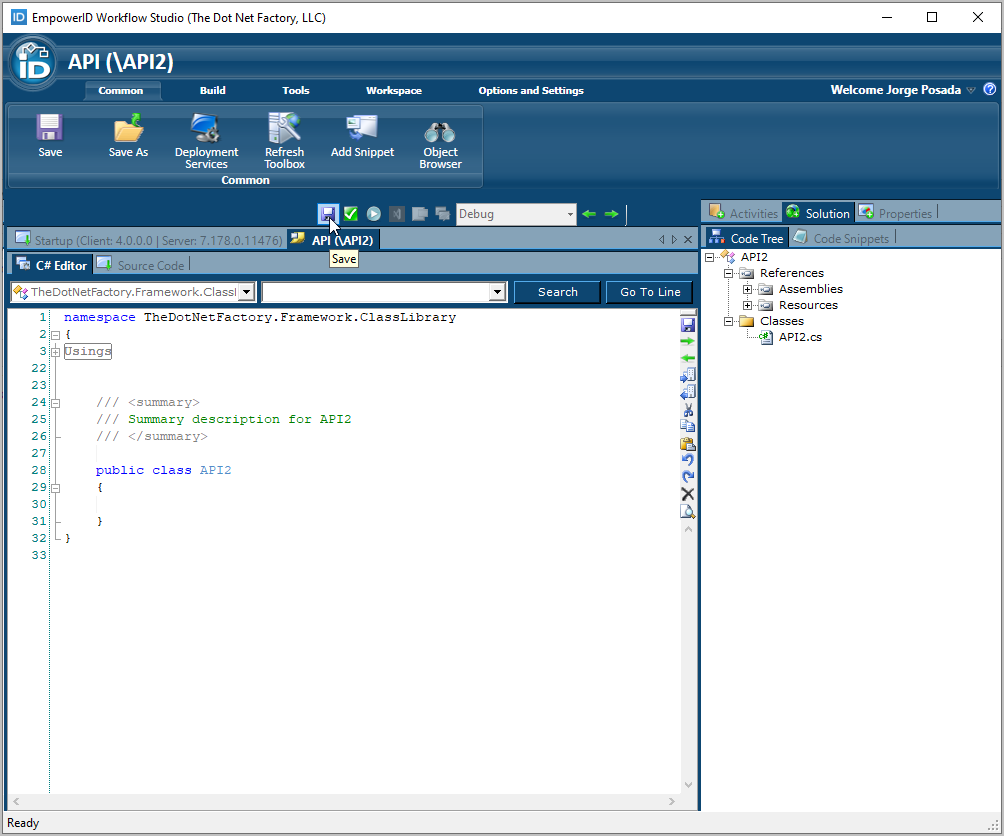
Click the Save above the C# Editor.
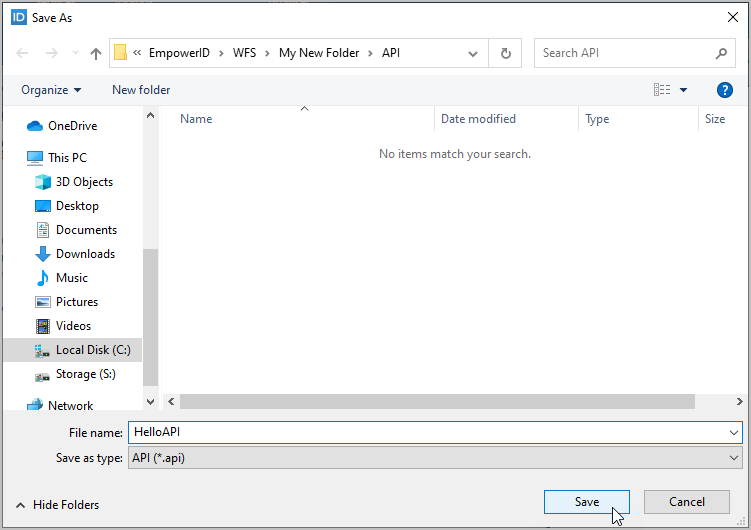
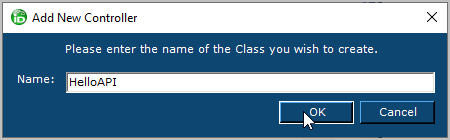
Name the API HelloAPI and click Save.
Workflow Studio generates a stub for the new API class.
Next, add a controller to the API to receive incoming HTTP requests and send the response back.
Add a controller
In the Code Tree, right-click the project and select Add New Controller.
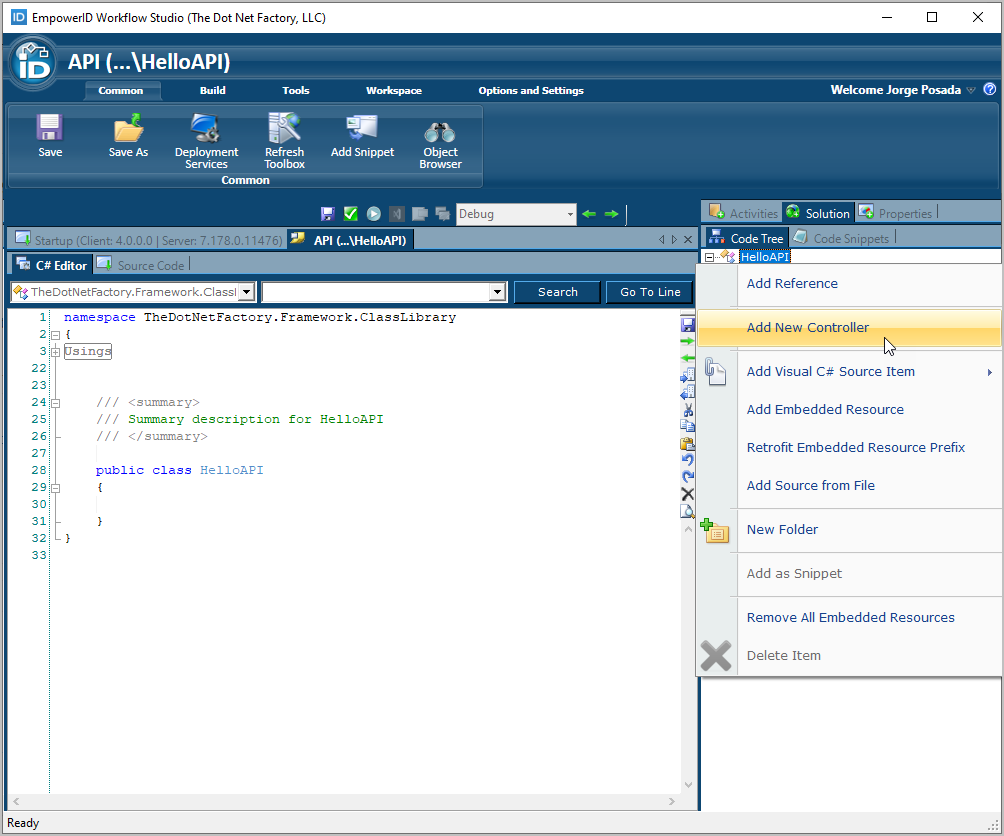
Name the controller HelloAPI and click OK.
Workflow Studio creates the new class and opens it in the C# Editor. Notice the class is decorated with the RBACProtectedAttribute and the RelatedApplicationAttribute.
▪ RBACProtectedAttribute — This attribute is used to secure access to the endpoint using the RBAC authorization framework. It should not be removed.
▪ RelatedApplicationAttribute — This attribute specifies the parent application for the endpoint, which is set to the EmpowerID Web application by default (GUID). You can alter the parent to specify another application by setting the value of the GUID to that application. This allows you to publish APIs for users specific to the applications they use. For example, you could publish an API for customers or partners who use a CRM application that is registered in EmpowerID. By relating the endpoint to the CRM application, your customers or partners only need to have access to the application to consume the endpoint.
In the Code Tree, expand the classes node. You should see four new classes:
A business object class for adding methods
A controller for handling the HTTP requests
A Close the project.
Next, we will open the API project in Visual Studio and add logic to the controller and route.
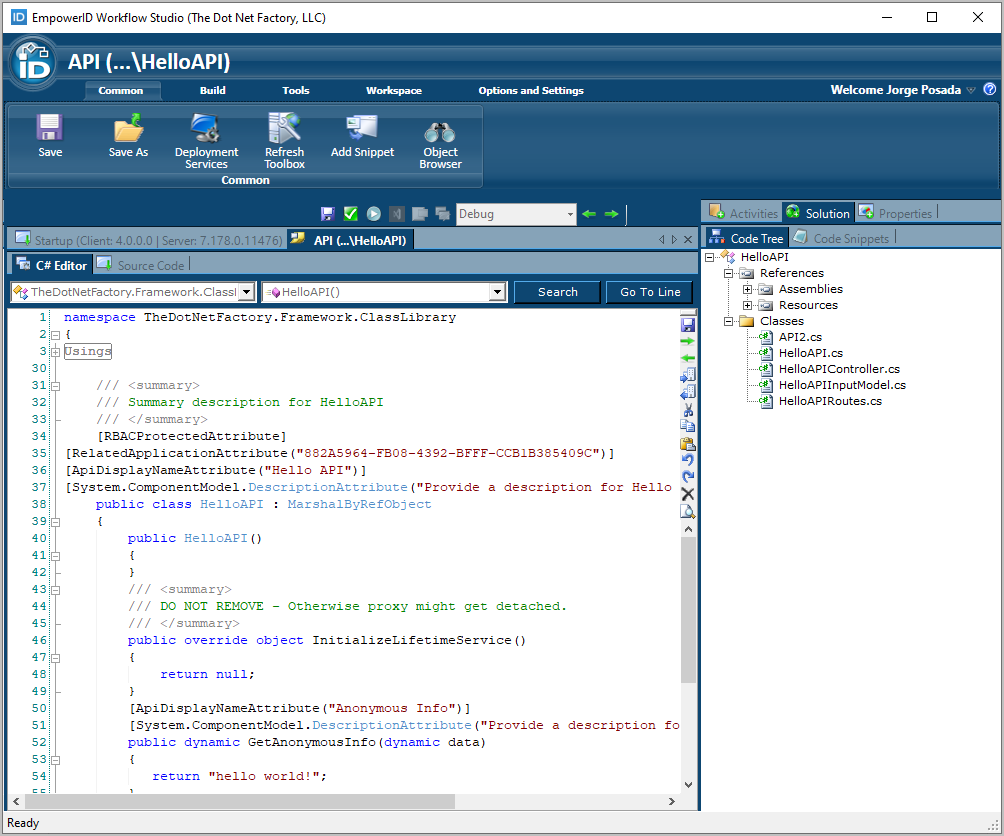
Additionally, notice that Workflow Studio generated the following classes in addition to the controller:
✔ A route for routing incoming HTTP requests to a specific action method on the controller
✔ A model

Open the controller class and in the C# Editor, add the to represent data
Open the project in Visual Studio
In the Source Control tree of Workflow Studio, locate the API project and double-click it.
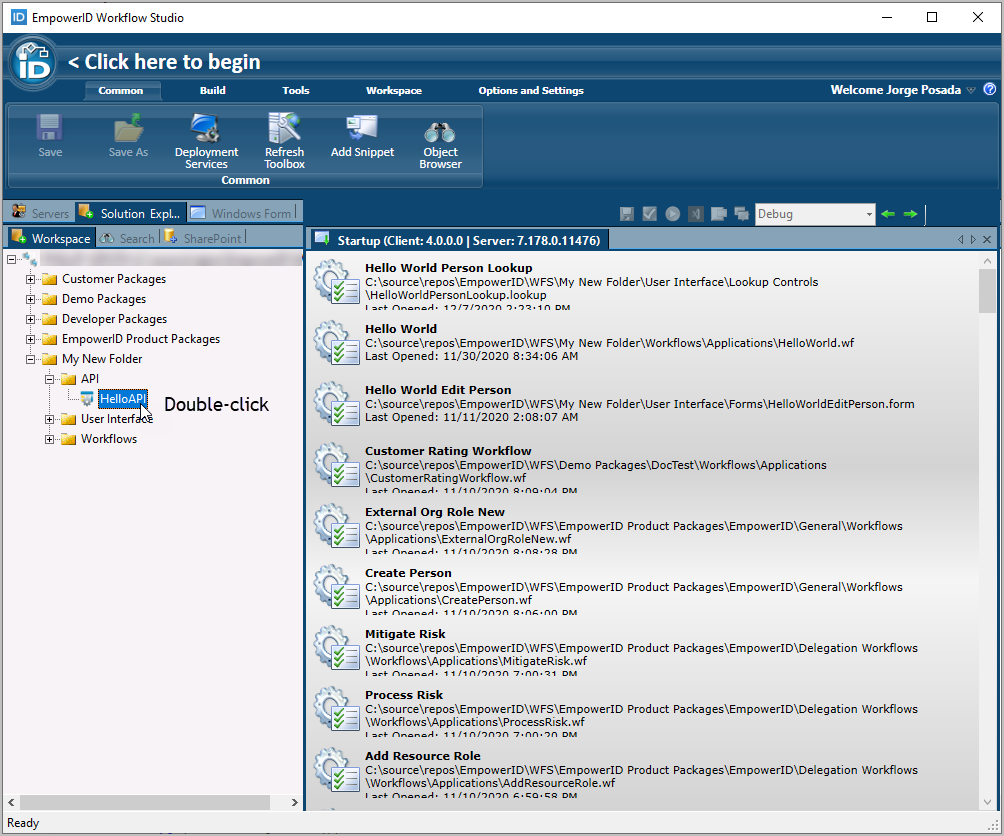
You should see the project open as a solution in Visual Studio.
Open the HelloAPI class and add a new method to the class that returns a string named GetHelloString().
Code Block public dynamic GetHelloString(dynamic data) { string helloString = "Hello API!"; return helloString; }Open the HelloAPIController class and add the following code to create the stub for a new anonymous method , the GetCustomStringnamed GetHelloAPIString() method. Decorate the method with ApiAllowAnonymous to allow anonymous access and use GET as the HTTP method.
Code Block language c# [ApiAllowAnonymous] [HttpGet] public IHttpActionResult GetCustomStringGetHelloAPIString(TestCustomAPIEndPointInputModelHelloAPIInputModel model) { var results = _implInstance.GetCustomStringGetHelloString(model); // Return object as JSON return Json((object)results); }
Open the TestCustomAPIEndPoint class and add the GetCustomString() method to it to return a string.
Code Block language c# public dynamic GetCustomString(dynamic data) { string customString = "Hello Custom API End Point!"; return customString; }Open the TestCustomAPIEndPointRoutes.cs file and in the C# editor HelloAPIRoutes.cs file and uncomment the route code and edit .
Edit the default route so that it looks like the following code.
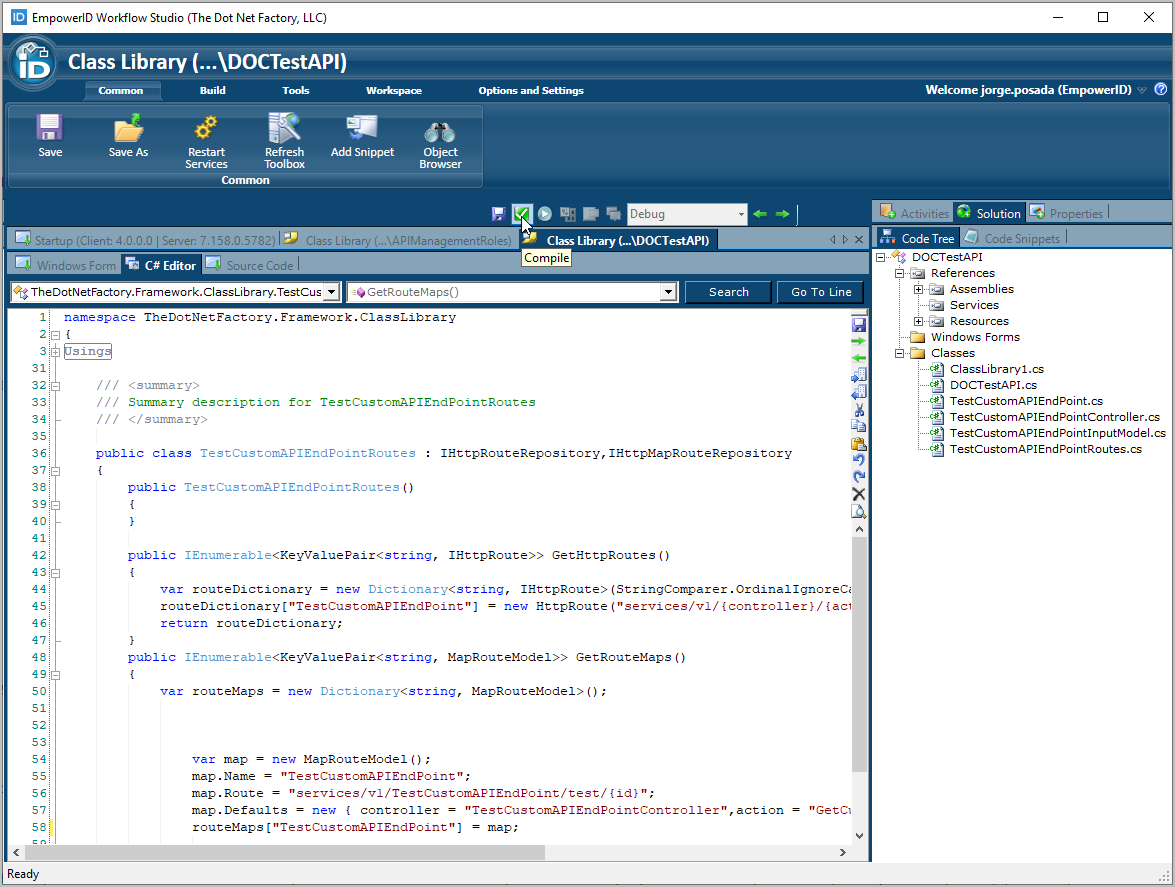
Code Block language c# public IEnumerable<KeyValuePair<string, MapRouteModel>> GetRouteMaps() { var routeMaps = new Dictionary<string, MapRouteModel>(); var testmap = new MapRouteModel(); testmap.Name = 'TestCustomAPIEndPointHelloAPI'; testmap.Route = 'services/v1/TestCustomAPIEndPointHelloAPI/maps/{id}'; testmap.Defaults = new { controller = 'TestCustomAPIEndPointControllerHelloAPIController',action = 'GetCustomStringGetHelloAPIString', id = RouteParameter.Optional }; routes['mapApi'] = testmap; return routeMaps; }Compile the class library.
Click Close to close the Operations log. If you see any errors, check your code and then compile the class library again.

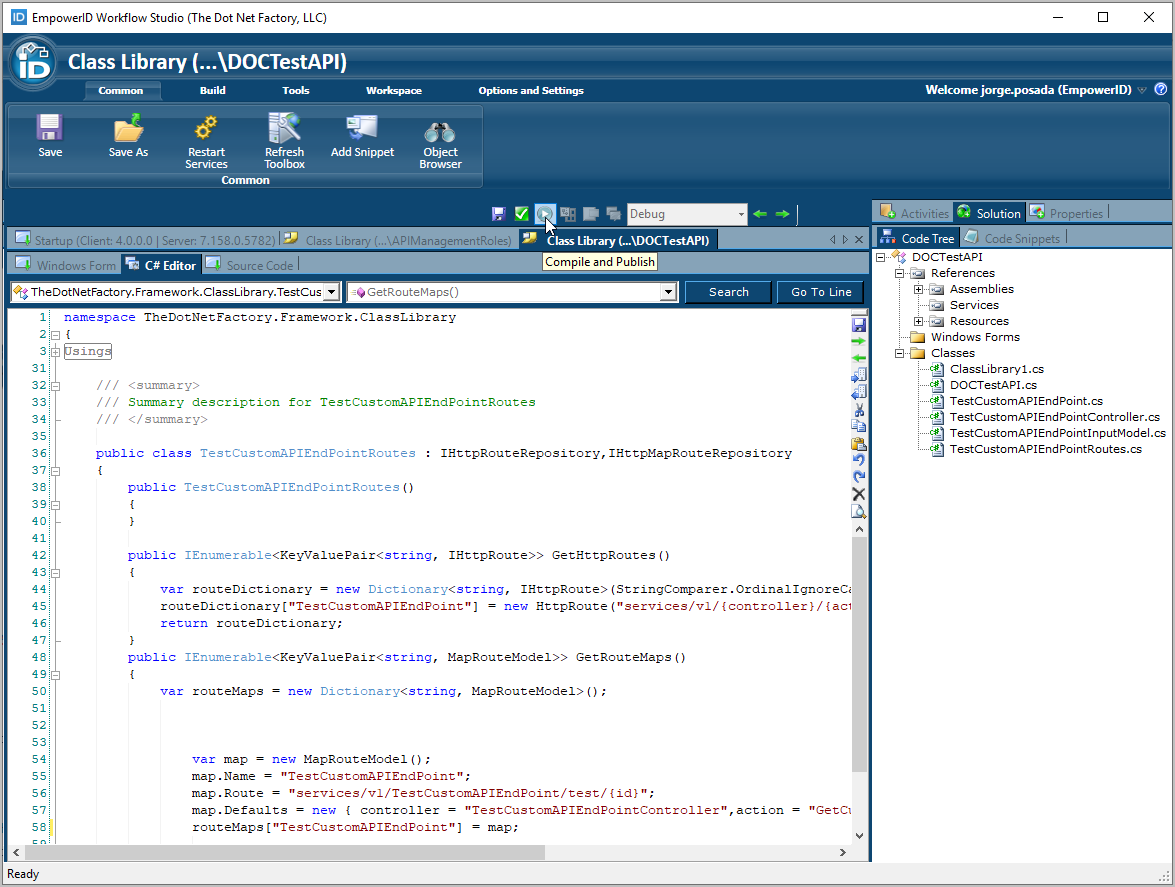
Compile and publish the class library.
Select No when prompted about restarting services.
Reset IIS.
...