Each text string that you see in the EmpowerID web UI is represented by a Locale Key. Developers use the Locale Key for titles, descriptions, and labels in the UI, and the Localized Text page allows you to customize the default text and to add translations for any languages you support.
The Default Value of a localized string is what appears by default, in the en, or English locale.
| Info |
|---|
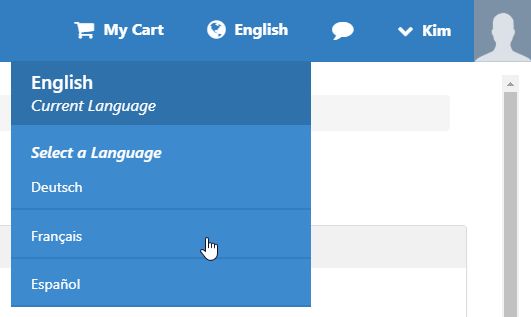
Each person can set their Preferred Language by clicking the globe next to My Cart and selecting from the languages supported in the organization. |

To customize a string
In this example, the company already uses the word "recertification" extensively in regards to keeping up with educational and certification requirements for their industry. Therefore the company wants to substitute the word "attestation" for "recertification."
- In the Navigation Sidebar, expand Admin, then Miscellaneous, and click Localized Text.
- On the Localized Strings tab, search for "recertification." In the results, all of the items in the Key Entry Name column show the word, but the Default Value column is the text that we need to change.

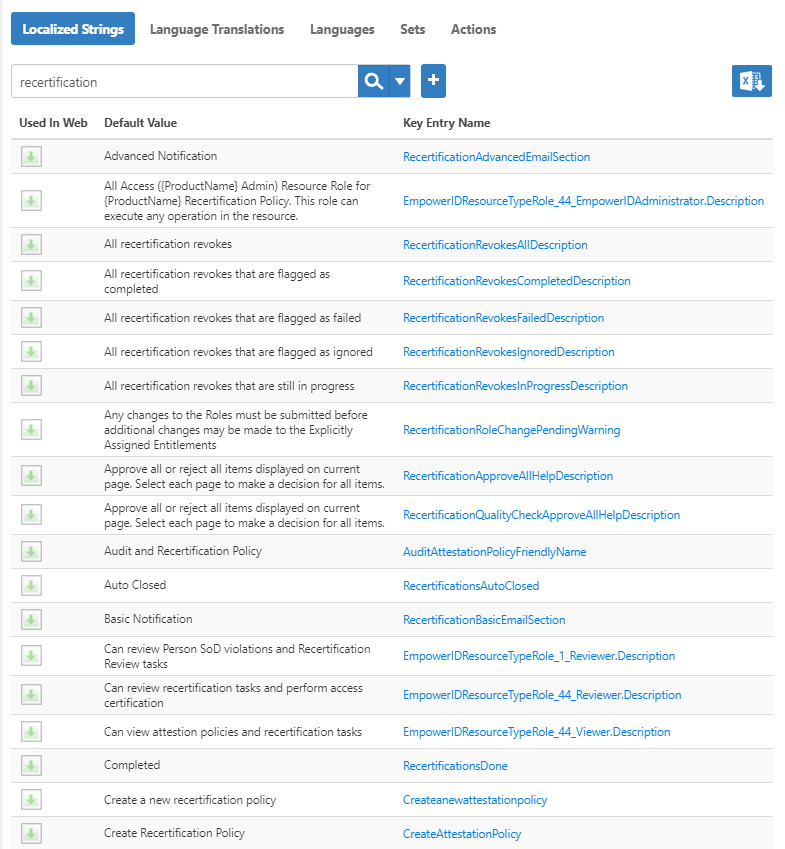
- Click the Key Entry Name link to open the one you want to customize, for example, RecertificationRevokesAllDescription.
- On the Locale Key Details page that appears, click the Edit button.

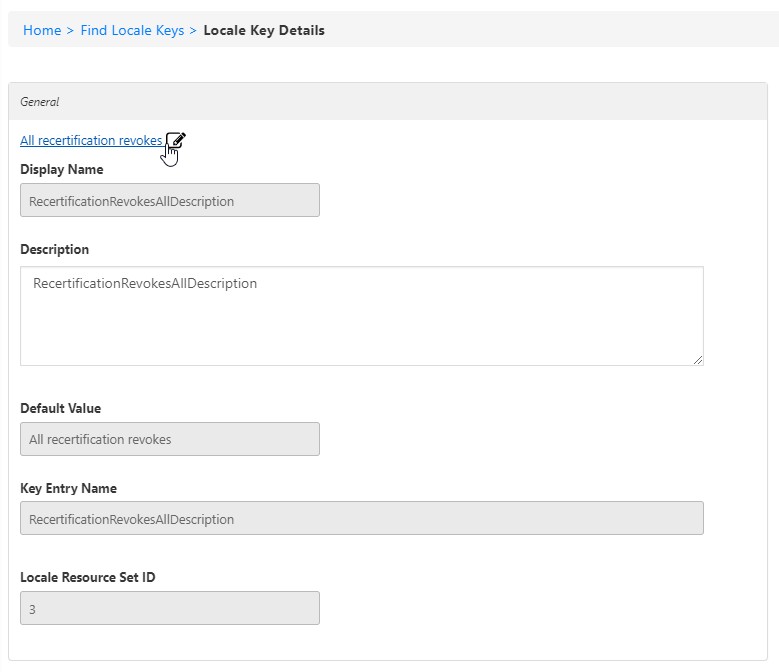
In edit mode, on the General tab, change the Default Value field, replacing "recertification" with "attestation."
Warning Do not change the Key Entry Name, or it will disconnect the string from the UI element.


- Click Save.
To localize a string
- In the Navigation Sidebar, expand Admin, then Miscellaneous, and click Localized Text.
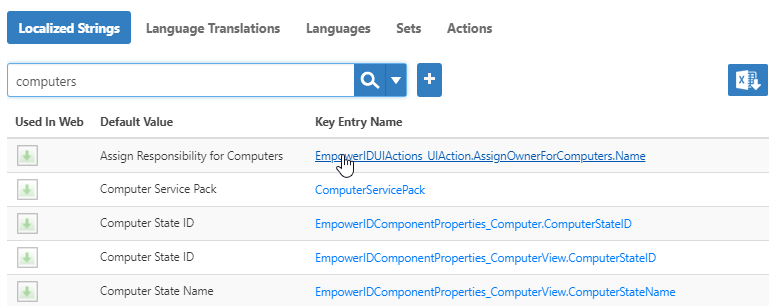
- On the Localized Strings tab, search for the string that you want to localize, and click the Key Entry Name link to open it.

On the Locale Key Details page that appears, click the Edit button.

On the Translations tab, click the Edit button next to the language that you want to translate.
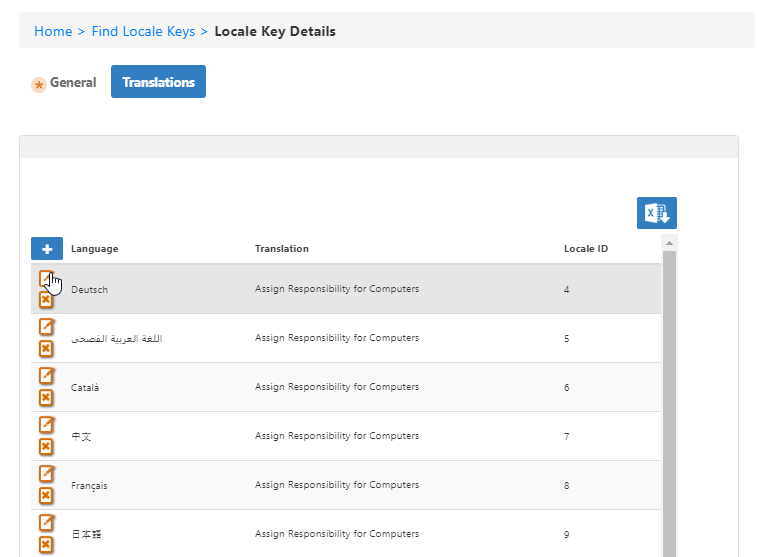
In the Translated Text dialog that appears, translate the text in the Value field.
Warning Do not change the Name field, as this is what connects the value to the proper place in the UI.

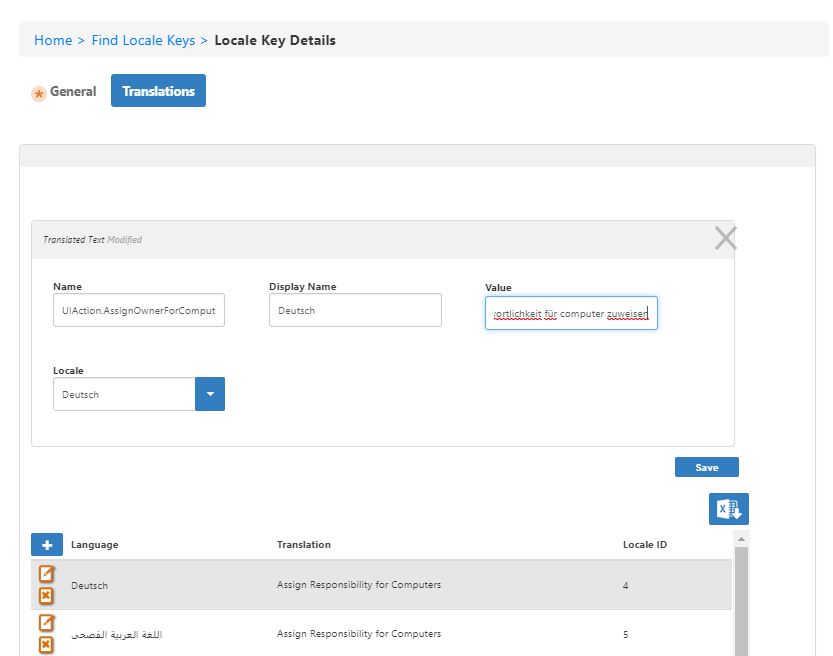
- Click Save to add your translation.
To update or correct a translation
- In the Navigation Sidebar, expand Admin, then Miscellaneous, and click Localized Text.
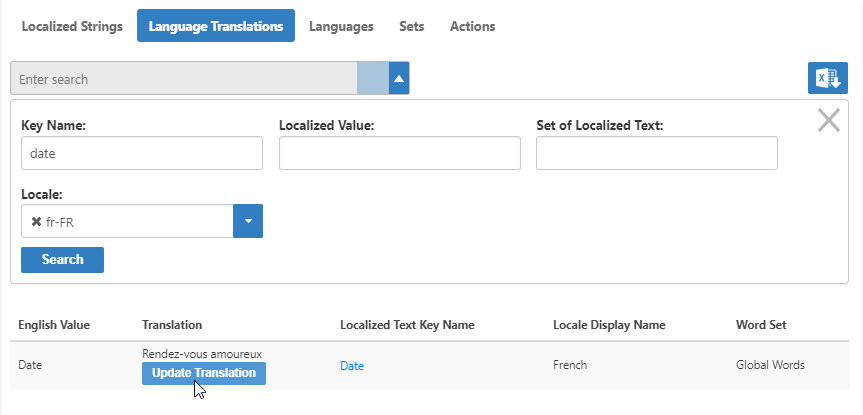
On the Language Translations tab, search for the string that you want to update, and click the Update Translation button for the string.
Tip Click the arrow to the right of the Search box to reveal the Advanced Search dialog and specify the locale.

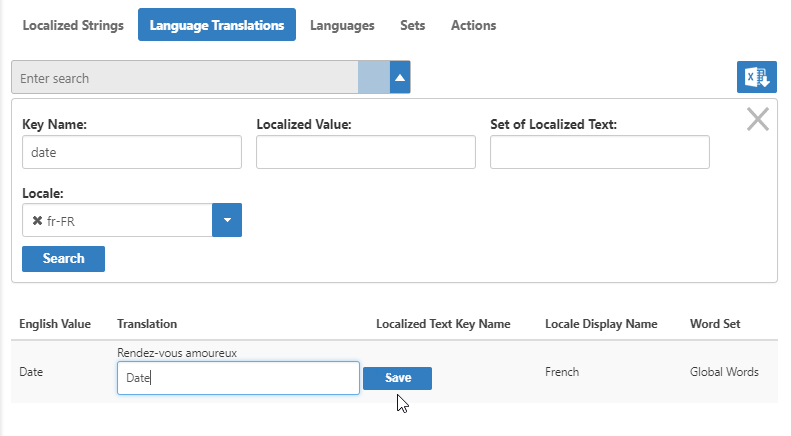
- In the text box that appears in the Translation column, update the text and click Save.

| Div | ||||||||||||||||||||||||
|---|---|---|---|---|---|---|---|---|---|---|---|---|---|---|---|---|---|---|---|---|---|---|---|---|
| ||||||||||||||||||||||||
|