| Div |
|---|
Home / Installation and Configuration Guide / Connecting to Directory Systems / Local Windows Servers / Current: Configuring Windows Management Instrumentation |
Configuring Windows Management Instrumentation
Microsoft's Windows Management Instrumentation (WMI) are conditions that consolidate the management of devices in a Microsoft Windows Network. Implementing WMI enables you to manage local and remote Microsoft Windows computers from a central server. EmpowerID uses WMI to manage windows services, application pools and file shares. This document provides instructions on how to configure WMI for use with EmpowerID.
Perform these procedures on any Microsoft Windows Servers that you wish to use to manage local users and groups.To assign Distributed Component Object Model (DCOM) permission
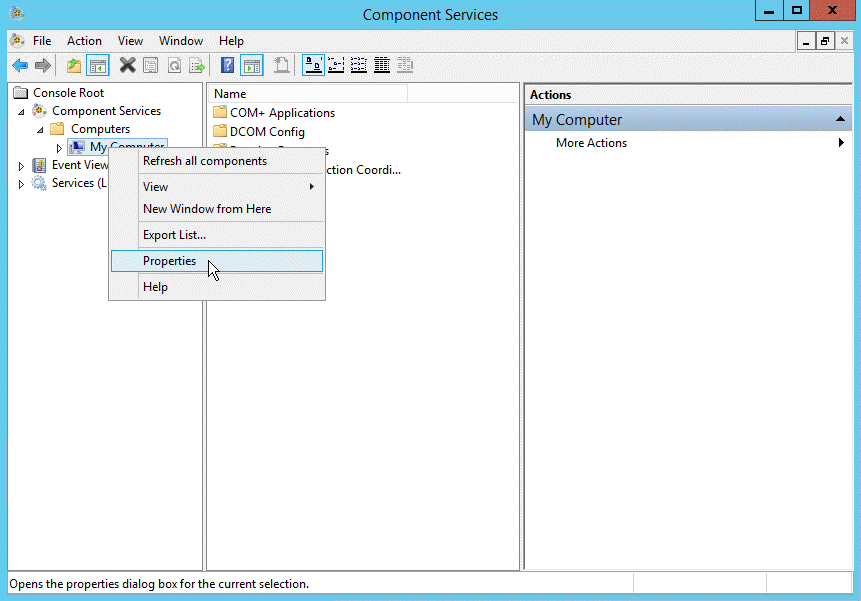
- Open Dcomcnfg.exe.
- From the Console Root tree, navigate to Component Service > Computers > My Computer.
- Right-click My Computer and select Properties from the context menu.
- From the My Computer Properties window that opens, click the COM Security tab.
- In the Access Permissions pane, click Edit Limits.
- From the Access Permission window that appears, ensure the Everyone user group has Local Access and Remote Access permissions.
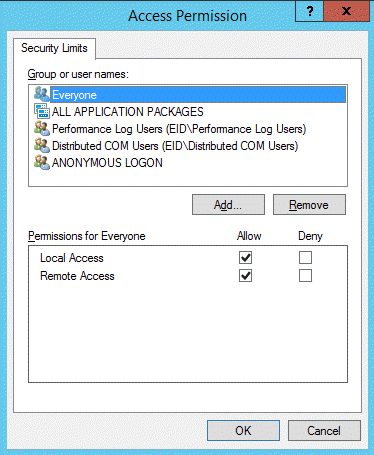
- Close the Access Permission window.
- Back in the My Computer Properties window, click Edit Limit in the Launch and Activation Permissions pane.
- From the Launch and Activation Permission window that appears, ensure the Everyone user group has both the Local Launch and Local Activation permissions.
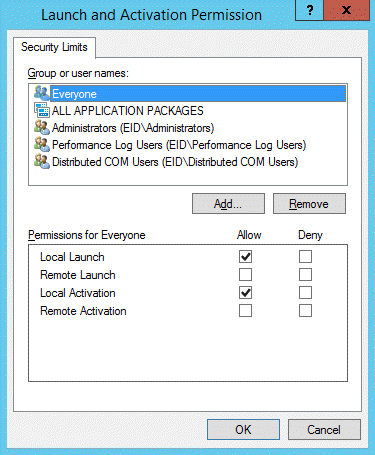
- Close the Launch and Activation Permission window and then close the My Computer Properties window.
- Back in Component Services (Dcomcnfg.exe), expand My Computer and click the DCOM Config node.
Right-click Windows Management and Instrumentation and click Properties.
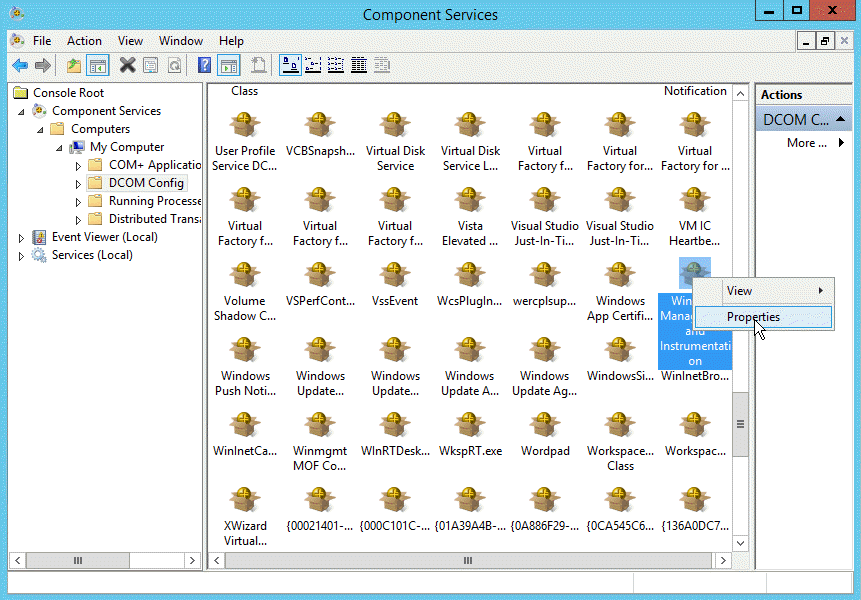
- From the Windows Management and Instrumentation Properties window that appears, click the Security tab.
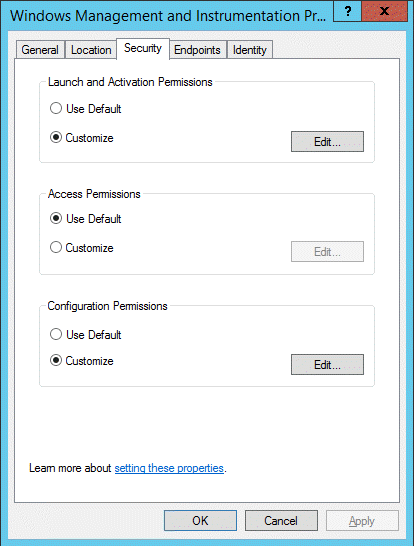
- From the Launch and Activation Permissions pane, click the Edit button.
- From the Launch and Activation Permissions window that appears, ensure that the proxy account on the local machine has Local Launch, Remote Launch, Local Activation and Remote Activation permissions allowed.
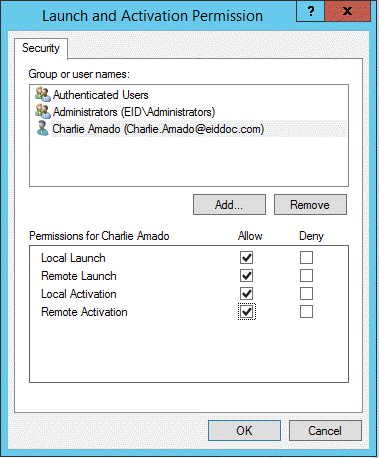
- Click OK to close the Launch and Activation Permission window.
- Back in the Security tab of the Windows Management and Instrumentation Properties window, ensure that Use Default is selected for Access Permissions.
- From the Security tab of the Windows Management and Instrumentation Properties window, click the Edit button in the Configuration Permissions pane.
- In the Change Configuration Permission window that appears, ensure that the proxy account on the local machine has Full Control, Read and Special permissions allowed.
To assign permission for the user to the WMI namespace
- From the Start menu, open WmiMgmt.msc.
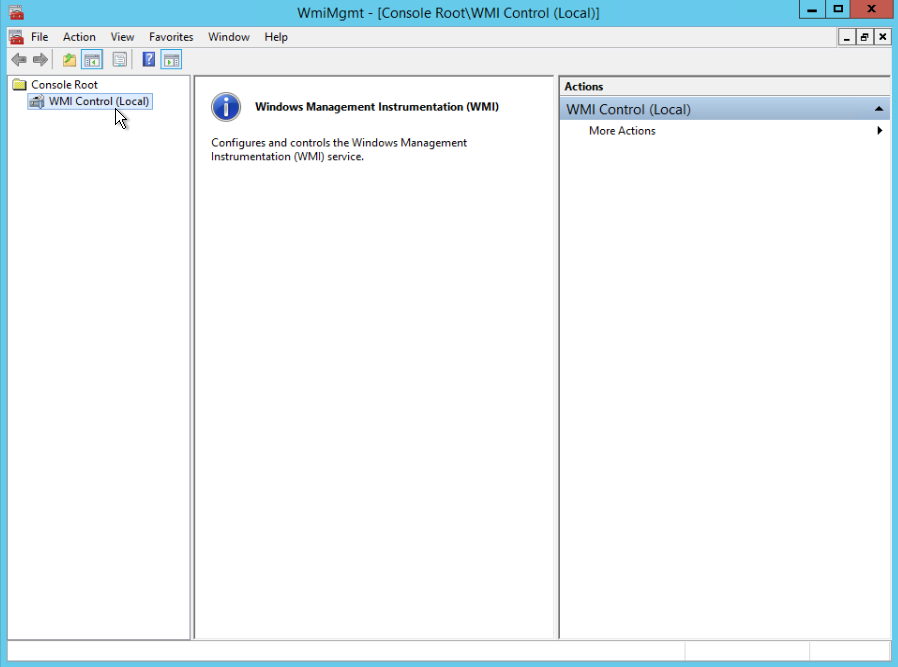
- Right-click WMI Control and select Properties.
- On the Security tab, select Root and click the Security button.
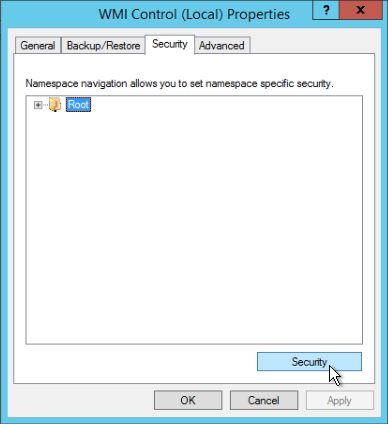
- Ensure that the Authenticated Users group has Execute Methods, Provider Right, and Enable Account allowed.
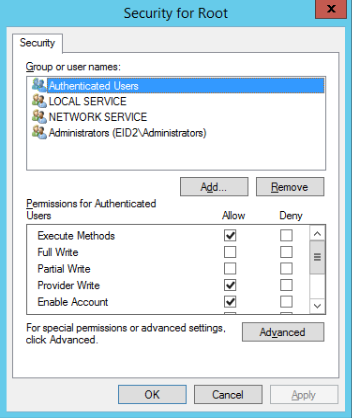
- Ensure that the Administrators group has all permissions.
To verify WMI impersonation rights
- From the Start menu, type Run.
- In the Run dialog that appears, type
gpedit.mscand click OK. - Under Local Computer Policy, expand Computer Configuration, then Windows Settings.
- Expand Security Settings, then Local Policies, and click User Rights Assignment.
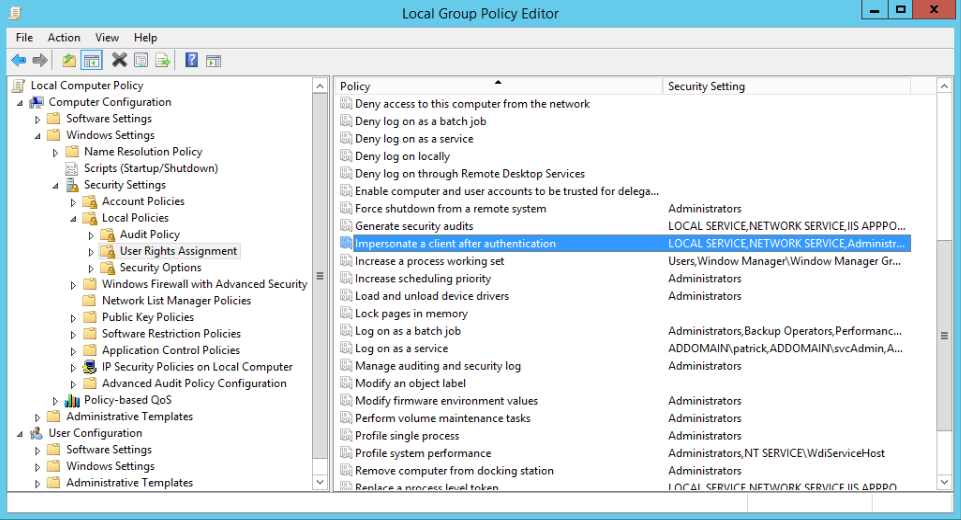
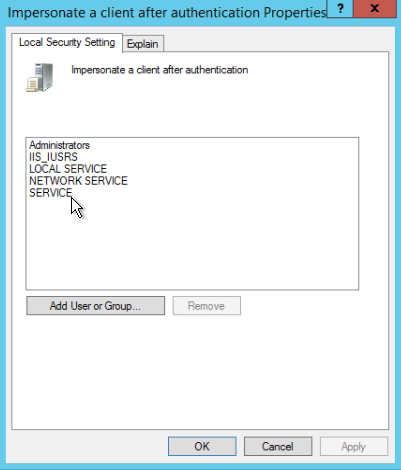
- Double-click Impersonate a client after authentication and verify that the Service account is granted rights.
Additional Steps for Users on Microsoft Windows XP Only
| Info |
|---|
Users who are operating the Windows XP OS must complete additional steps. The following link points to a support topic by Microsoft on how to set security in Windows XP Professional that is installed in a Workgroup. |
| Info | ||||
|---|---|---|---|---|
| ||||
| Div | ||||||||||||||||||||||||
|---|---|---|---|---|---|---|---|---|---|---|---|---|---|---|---|---|---|---|---|---|---|---|---|---|
| ||||||||||||||||||||||||
|