The EmpowerID Cloud Gateway enables your EmpowerID Cloud tenant to inventory and manage your on-premise systems without requiring ports to be opened on your firewall. The Cloud Gateway is a lightweight client that can be installed on a Windows desktop or server machine in your on-premise network. The Cloud Gateway client then makes a secure and encrypted outbound HTTPS connection to an EmpowerID queue in Azure as a bridge for communication between the EmpowerID Cloud servers and your on-premise network. You can install multiple Cloud Gateways on-premise for fault tolerance and increased performance.
| Info |
|---|
|
- Access to your Azure Tenant ID and other Azure sign-in values. For Microsoft help on this, see:
- A machine to use as the cloud gateway.
- A copy of the EmpowerIDRemoteAgent.msi file on the cloud gateway machine.
|
To set up your EmpowerID Server for the Cloud Gateway
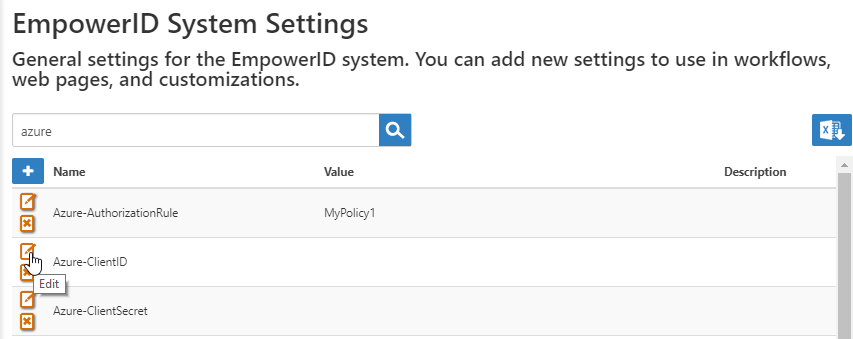
- In the navigation sidebar, expand Admin, then EmpowerID Servers and Settings, and select EmpowerID System Settings.
- Search for "Azure," and in the results, locate the Azure-ClientID setting and click the Edit button for it.
- In the form that appears, enter the GUID from your Azure client, and optionally enter a description.
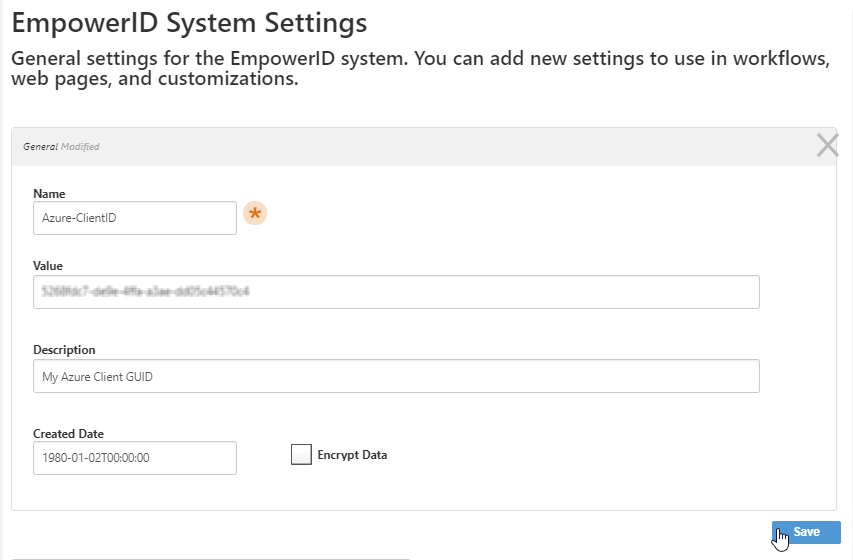
- Select the Encrypt Data checkbox if desired and then click Save.
- Repeat for the following Azure settings:
- Azure-ClientSecret (string)
- Azure-ResourceGroup (Name of the resource group)
- Azure-SubscriptionID (GUID)
- Azure-TenantID (GUID)
To install the EmpowerID Cloud Gateway
- On the remote machine, double-click the EmpowerIDRemoteAgentEmpowerIDCloudGateway.msi installer file to run it.
- In the EmpowerID Remote Agent Cloud Gateway Setup wizard that appears, enter the Host URL to connect with and click Next.
 Image Removed
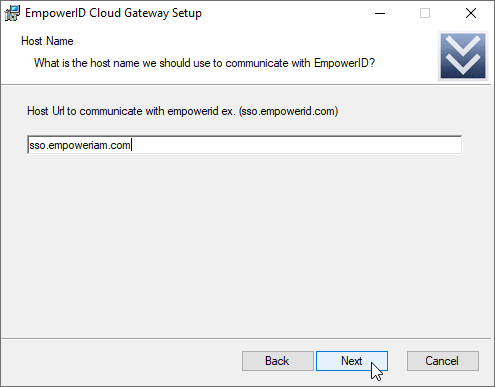 Image Added
- Since this must be installed as an administrator, a message flashes on your taskbar. Click it to open the User Account Control requesting permission to make changes on your device. Click Yes to continue.
On the Ready to install page, click the Install button.
 Image Removed
| Note |
|---|
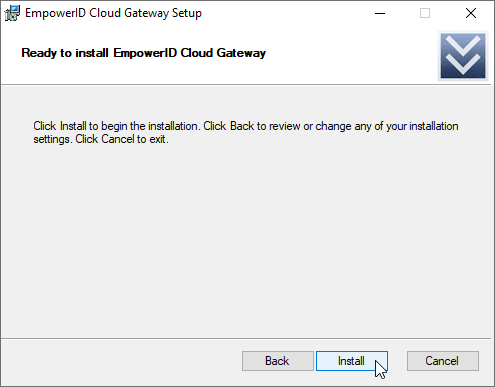 Image Added
- When the agent finishes installing, click the Finish button to close the wizard.
 Image Removed
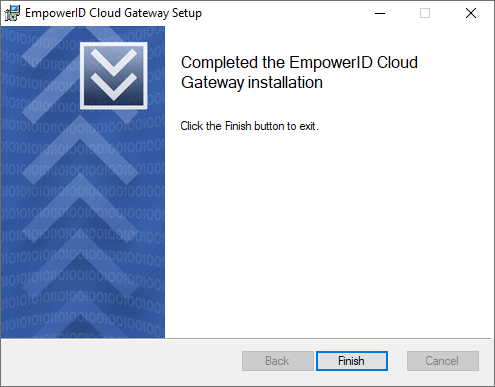 Image Added
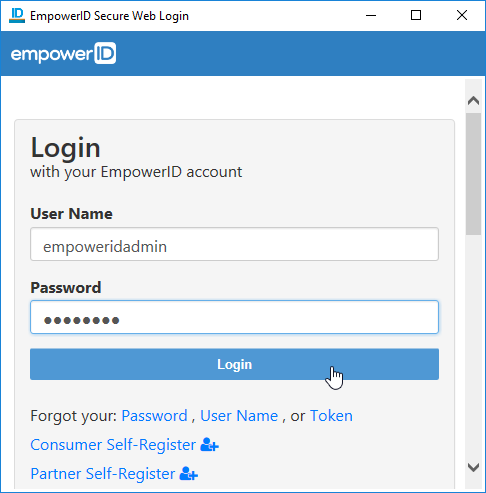
- An EmpowerID Secure Web Login dialog appears, where you can log into EmpowerID.
- Enter your credentials to log into your EmpowerID account. On the success message box that appears, click OK.
- The EmpowerID Remote Agent Setup dialog appears automatically, or you can open it from this folder:
C:\Program Files\TheDotNetFactory\Remote Agent\RemoteAgentConfigurator.exe
The EmpowerID Remote Agent Setup dialog displays the DNS of the server that you are accessing remotely, a Connected! message, and the name of the remote machine from which you are connecting.
 Image Removed
If you are not connected, you can click Connect, or you can change the EmpowerID Tenant DNS and click Connect.
 Image Removed
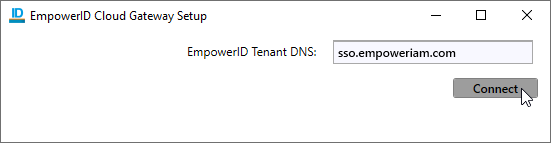 Image Added
- A dialog appears to let you know that registration is complete.
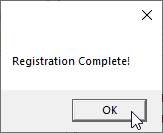 Image Added
- The EmpowerID Cloud Gateway Setup dialog displays the DNS of the server that you are accessing remotely, a Connected! message, and the name of the remote machine from which you are connecting.
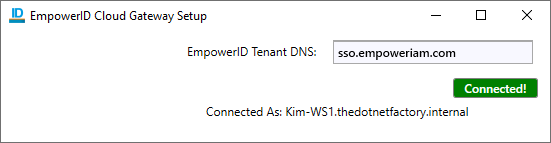 Image Added
- The Cloud Gateway adds the following values to your registry under
HKEY_LOCAL_MACHINE > SOFTWARE > TheDotNetFactory > EmpowerID > RemoteAgent- ApiKey
- ApiPath
- ClientID
- ServerGUID
- Thumbprint
To verify that the Cloud Gateway is working
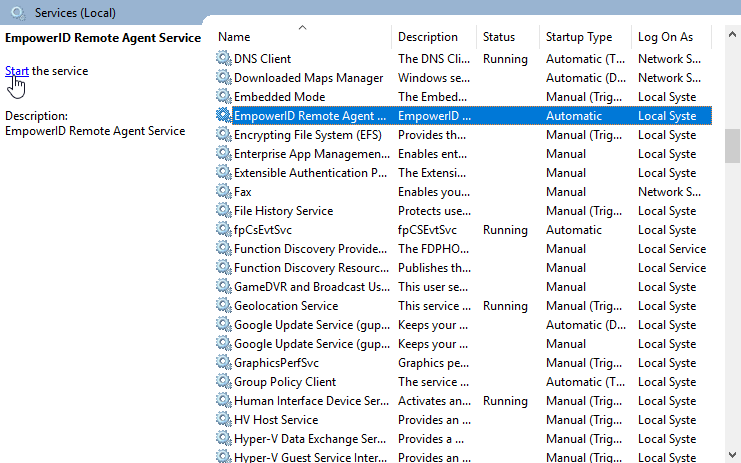
- Open Services on the cloud gateway machine.
- Locate the EmpowerID Remote Agent Service and start the service.
- On the EmpowerID Server that you are connected to, run the following workflow in your browser (replacing sso.empowersso.com with your server's FQDN) to ping the cloud gateway:
https://sso.empowersso.com/ui#w/pingempoweridserverviaremoteagent
- In the list of agents that appears, select your Cloud Gateway and click Submit.
 Image Removed
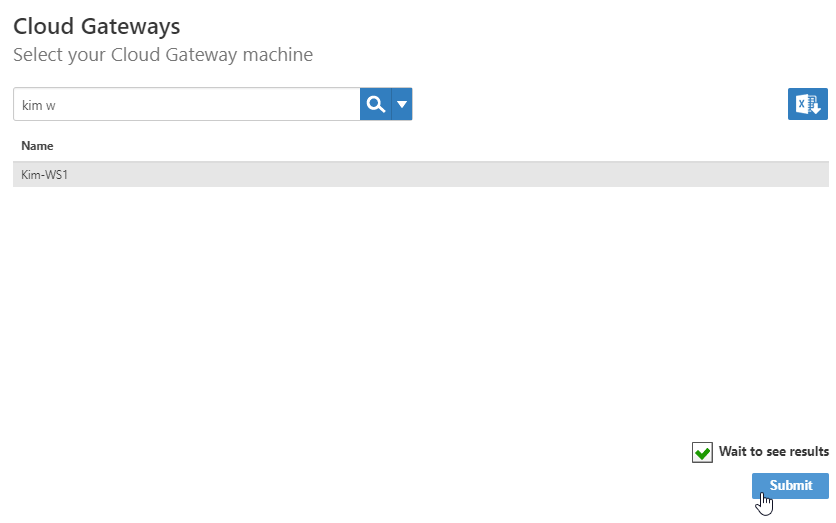 Image Added
- When it completes, this message appears: "The server was pinged."