Versions Compared
Key
- This line was added.
- This line was removed.
- Formatting was changed.
The ServiceNow connector lets you create, synchronize, and manage ServiceNow users, groups, roles, locations, companies, user roles, and group membership within EmpowerID. This topic demonstrates how to configure and use the connector.
| Info | ||
|---|---|---|
| ||
To connect EmpowerID to ServiceNow, you need a ServiceNow account. You also need the following from ServiceNow to create your Account Store.
*Your ServiceNow instance is part of the URL that you use to log in. It is the bold portion of this example URL: https:// dev12345.service-now.com/navpage.do These values authenticate EmpowerID to ServiceNow. You can also configure a Provisioning policy that allows you to automatically provision ServiceNow accounts for certain users. For more information, see Creating a Provisioning Policy for ServiceNow Accounts. |
When you connect EmpowerID to ServiceNow and configure your ServiceNow Account Store, the first time you run inventory, EmpowerID discovers all of the users, groups, memberships, roles, locations, companies, and user accounts in ServiceNow and creates them in the EmpowerID data warehouse. Subsequent inventory runs update any changes occurring since the LastTimeStamp value tracked by the ServiceNow connector. For more information about how the values map between ServiceNow and EmpowerID, expand the section below.
To create an account store for ServiceNow via the web site
- In the Navigation Sidebar, expand Admin, then Applications and Directories, and click Account Stores and Systems.
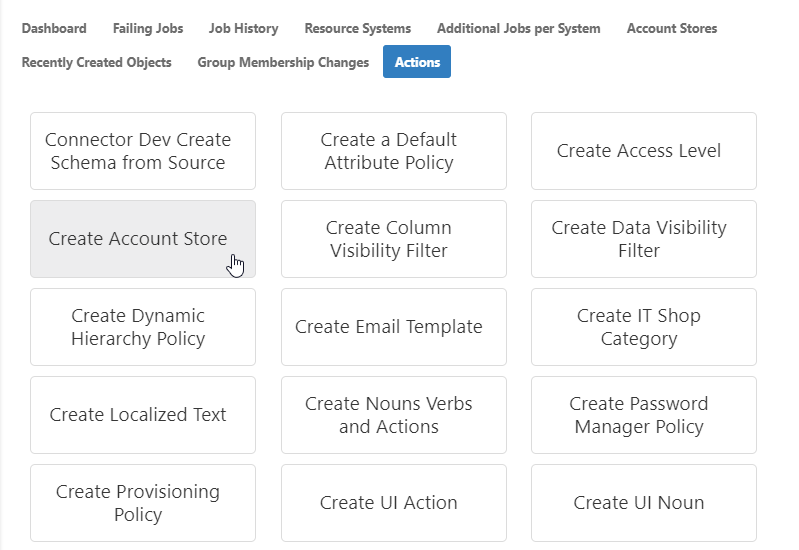
- Click the Actions tab, and then click the Create Account Store action.
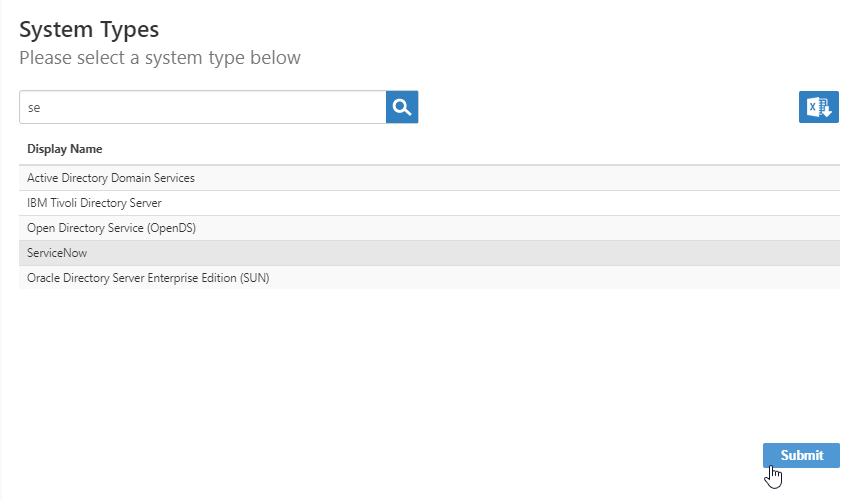
- Select ServiceNow from the list of System types and click Submit.
On the ServiceNow Settings page that appears, enter settings to connect to your ServiceNow instance to allow EmpowerID to discover and connect to it.
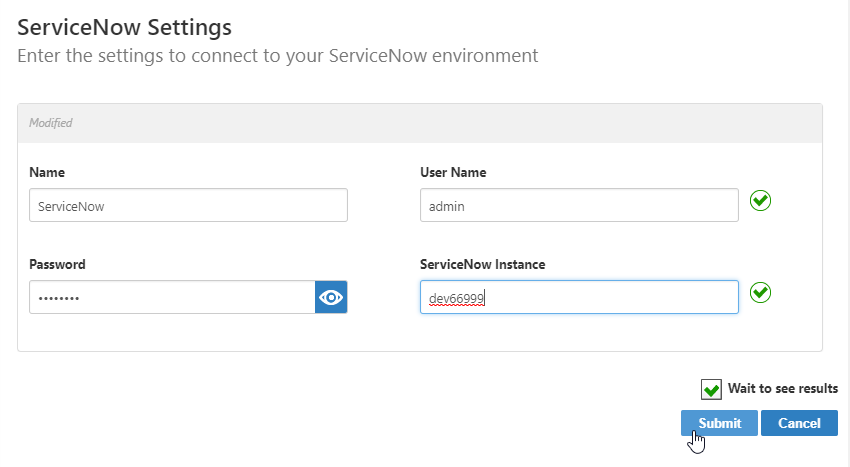
- In the Name and Display Name fields, enter a name for the ServiceNow account store.
- User Name - Your ServiceNow System Administrator's Username
- Password - Your ServiceNow System Administrator's Password
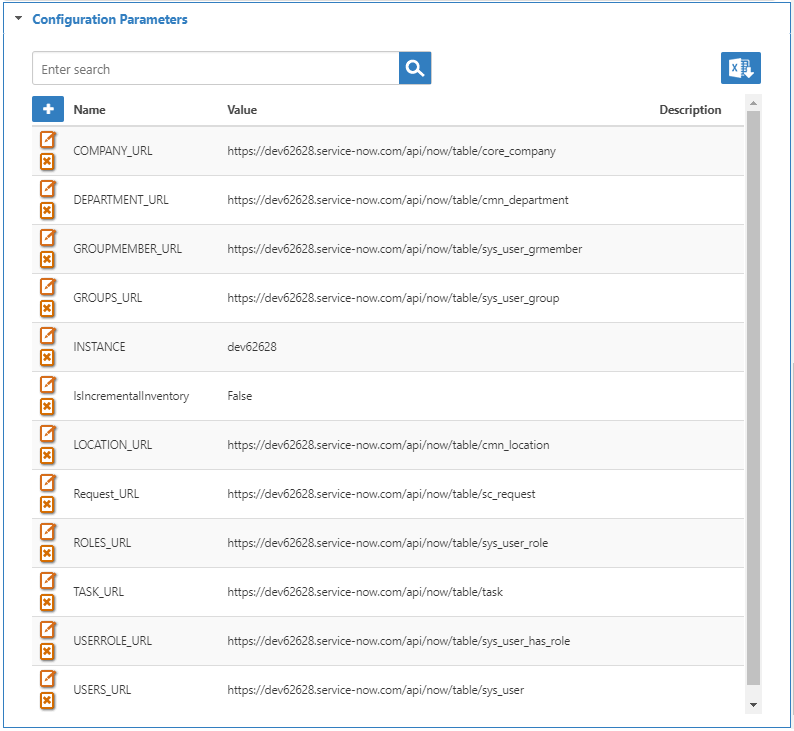
- ServiceNow Instance - The instance issued by ServiceNow, e.g. dev12345
Click Submit.
- The Account Store and associated Resource System are created and appear in both the web application and in the Management Console.
To edit account store settings on the web
- In the Navigation Sidebar, expand Admin, then Applications and Directories, and click Account Stores and Systems.
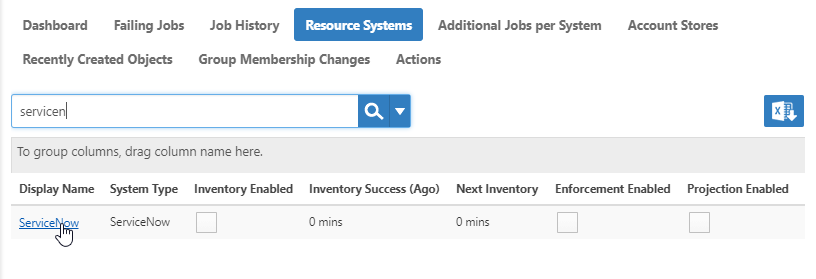
- On the Account Stores tab, search for the account store you just created and click the link to go to its details page.

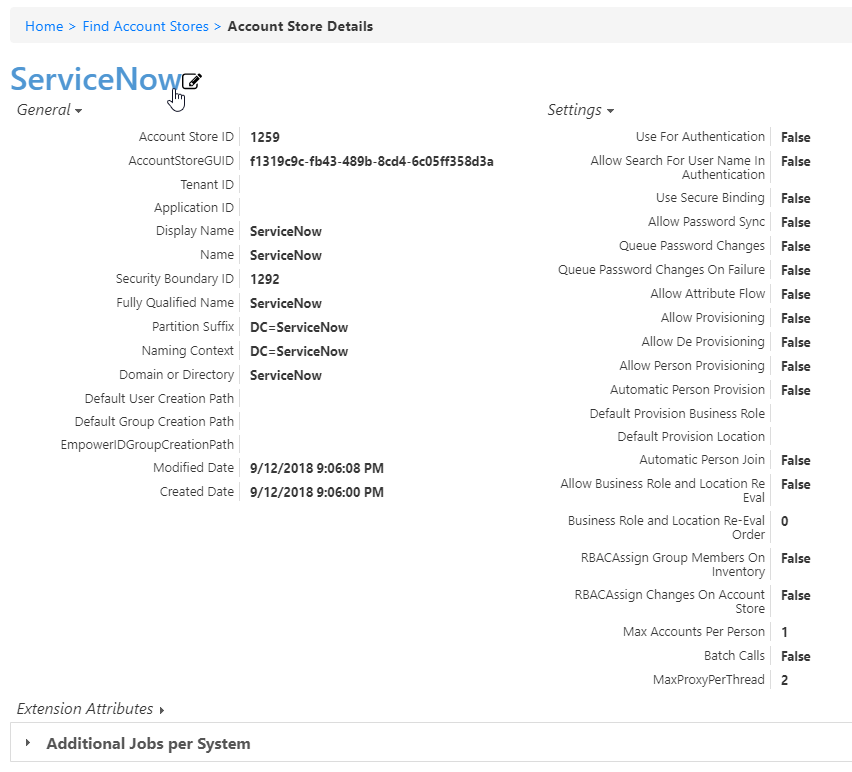
- On the Account Store Details page, click the Edit button or the name of the account store.
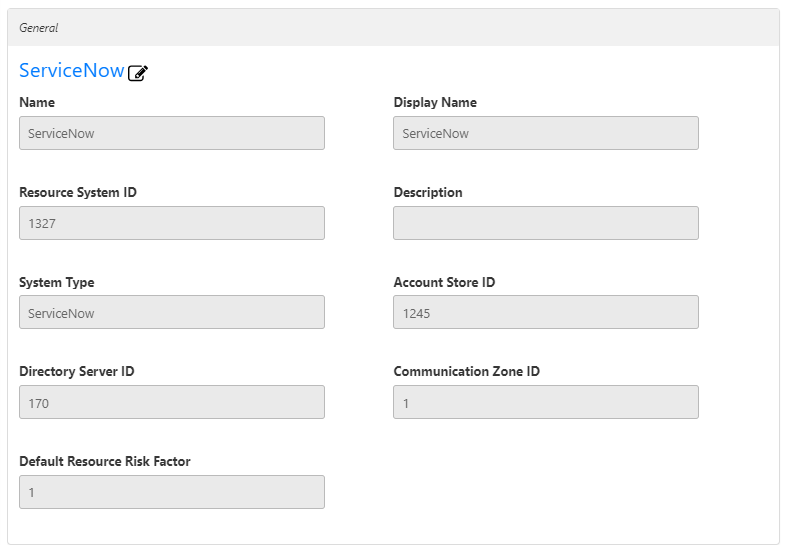
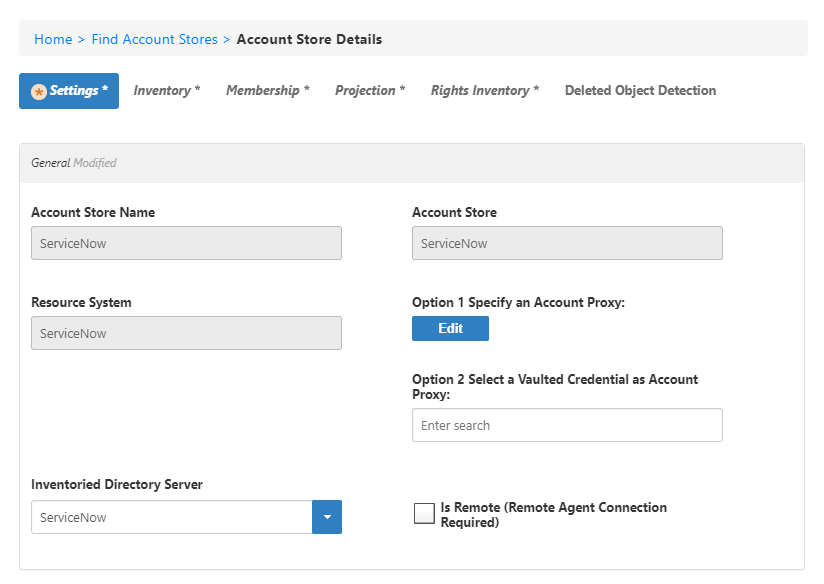
- In the edit view of the page, you can edit values in any of the enabled fields. In the General section, these are:
- Option 1 Specify an Account Proxy — Change the instance, user name, and password for the ServiceNow connection.
- Option 2 Select a Vaulted Credential as Account Proxy — Click in this box and press Enter to see a list of shared credentials in your system to use for the proxy connection.
- Inventoried Directory Server — Select the directory to inventory.
- Is Remote (Remote Agent Cloud Gateway Connection Required) — Select if you use a Remote Agentthe EmpowerID Cloud Gateway.
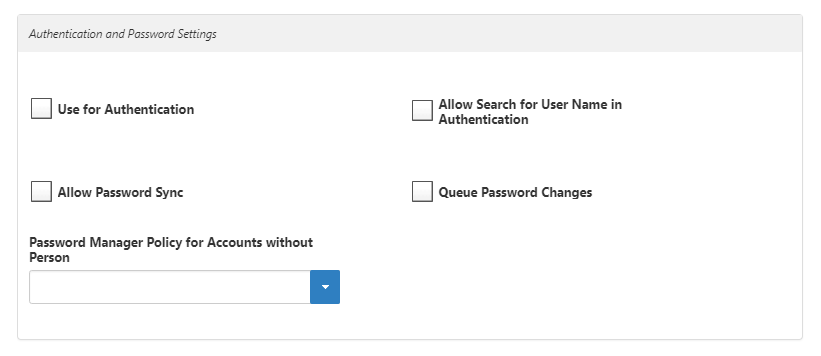
- In the Authentication and Password Settings section, you can select any of these values:
- Use for Authentication — Select to enable pass-through authentication.
- Allow Search for User Name in Authentication — Select to enable simple user name search, that is, without specifying the domain\username, for pass-through authentication. (This can cause delays if you have a great many domains and a huge number of users.)
- Allow Password Sync — Toggle to allow EmpowerID to sync password changes discovered during inventory.
- Queue Password Changes — Toggle to have EmpowerID send password changes to the Account Password Reset Inbox for batch processing.
- Password Manager Policy for Accounts without Person — Select a password manager policy to use for the account. If not selected, it uses the Default Password Manager Policy.
- In the Provisioning Settings section, you can select any of these values:
- Allow Person Provisioning (Joiner Source) — Toggle to allow EmpowerID to create Person objects from the user records discovered during inventory.
- Allow Attribute Flow — Toggle to allow attribute changes to flow between EmpowerID and the account store.
- Allow Provisioning (By RET) — Toggle to allow EmpowerID to create new Groups in ServiceNow from requests discovered during inventory.
- Allow Deprovisioning (By RET) — Toggle to allow EmpowerID to delete Groups in ServiceNow based on requests discovered during inventory.
- Default User Creation Path — Select a location in which to create users if none is specified.
- Default Group Creation Path — Select a location in which to create groups if none is specified.
- EmpowerID Group Creation Path — Select a location in which to create EmpowerID groups if none is specified.
- Max Accounts per Person — Enter the maximum number of user accounts from this domain that an EmpowerID Person can have linked to them. This prevents the possibility of a runaway error caused by a wrongly configured Join rule. We recommended setting this value to 1 unless users commonly have multiple accounts and you want them to be joined to the same person.
- Allow Account Creation on Membership Request — Toggle to allow users without accounts to request group membership and automatically have an account created.
- Recertify All Group Changes as Detected — Toggle to allow EmpowerID to generate recertification review tasks for all changes in ServiceNow Groups.
- Allow Business Role and Location Re-Evaluation — Toggle if you have multiple account stores to manage and want to specify a priority for each.
- Business Role and Location Re-Evaluation Order — Enter a number to specify the priority of the account store for determining the Business Roles and Locations to assign to a Person. Account Stores with a higher value take precedence.
- Default Person Business Role — Set a default Business Role to assign people if none is specified.
- Default Person Location — Set a default Location to assign people if none is specified.

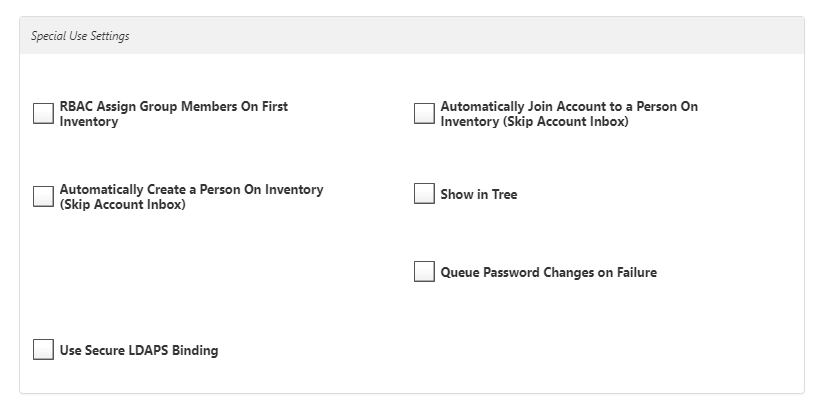
- In the Special Use Settings section, you can select any of these values:
- RBAC Assign Group Members On First Inventory - This setting pertains to Active Directory account stores only.
- Automatically Join Account to a Person On Inventory (Skip Account Inbox) — Toggle to allow EmpowerID to join newly discovered accounts to people during the inventory process if they meet the Join Rule as specified by the Custom_Account_InventoryInboxJoinBulk SQL stored procedure.
- Automatically Create a Person On Inventory (Skip Account Inbox) — Toggle to allow EmpowerID to provision EmpowerID people for new accounts discovered during the inventory process if they meet the Provision Rule specified by theCustom_Account_InventoryInboxGetAccountsToProvision SQL stored procedure.
- Show in Tree — Toggle to show the account store in the Locations tree.
- Queue Password Changes on Failure — Toggle to have EmpowerID send password changes to the Account Password Reset Inbox only when the change fails.
- Use Secure LDAPS Binding — Toggle to bind accounts with encryption.
- In the Naming Fields section, you can set these values:
- Application ID — If the account store is a one-to-one match with a Tracking Only application, enter the Application Resource GUID of the application. (This value is supplied automatically if you select the Create a New Account Directory option when creating a Tracking Only application.)
- Tenant ID — Enter the Tenant ID, if supplied by the connection account. (AWS uses this.)
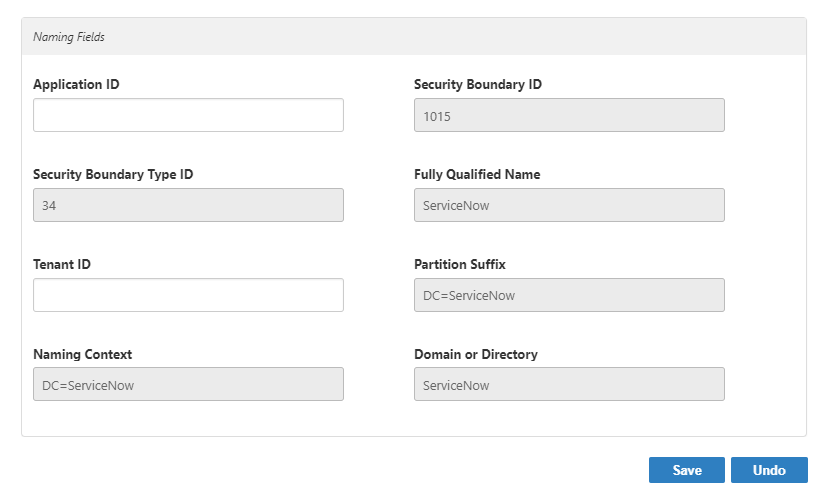
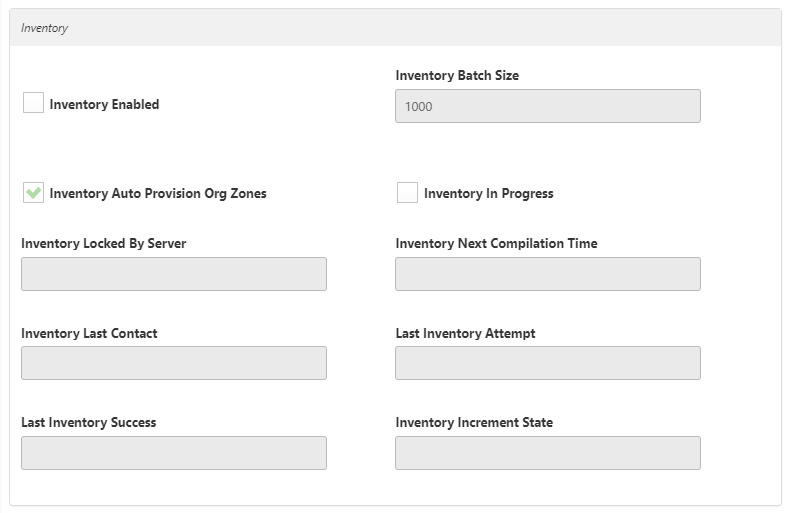
- On the Inventory tab, you can set the inventory schedule, and then select Inventory Enabled when it is set up to your satisfaction. By default, inventory runs every ten minutes.
- When you have finished editing, click Save.
| HTML Comment | ||
|---|---|---|
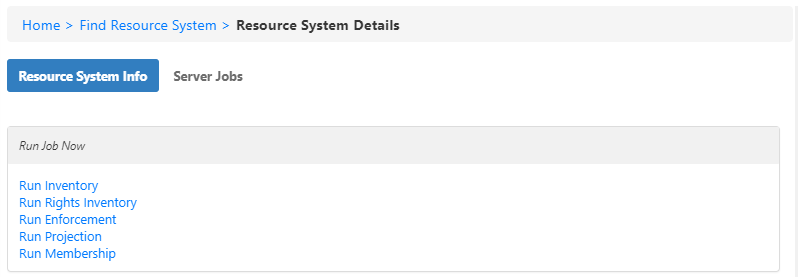
To turn on inventory on the webIn the Management Console, you configured the settings in the Account Store Details, but on the web, these settings are found on the associated Resource System.
|
To connect EmpowerID to ServiceNow in the Management Console
- Log in to the EmpowerID Management Console as an administrator.
- Click the EmpowerID icon, and select Configuration Manager from the menu.
- Click Account Stores, and then click the Add New button above the grid.
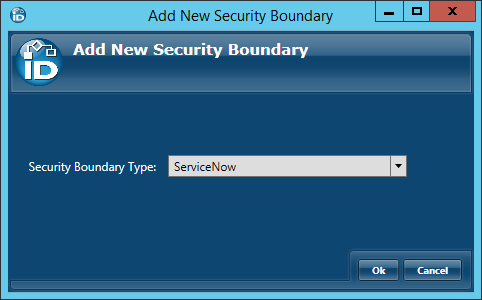
- In the Add New Security Boundary window that opens, select the ServiceNow Security Boundary type and click OK.
- In the Account Store Details window that appears, enter these settings.
- Account Store Name - ServiceNow
- User Name - Your ServiceNow System Administrator's Username
- Password - Your ServiceNow System Administrator's Password
- ServiceNow Instance - The instance issued by ServiceNow, e.g. dev12345
Click Save. EmpowerID creates the ServiceNow account store and adds a record for it in the Account Stores and Resource Systems grids.
Info EmpowerID uses these credentials to connect to your ServiceNow account. If they are incorrect, the connection fails and the account store is not created.
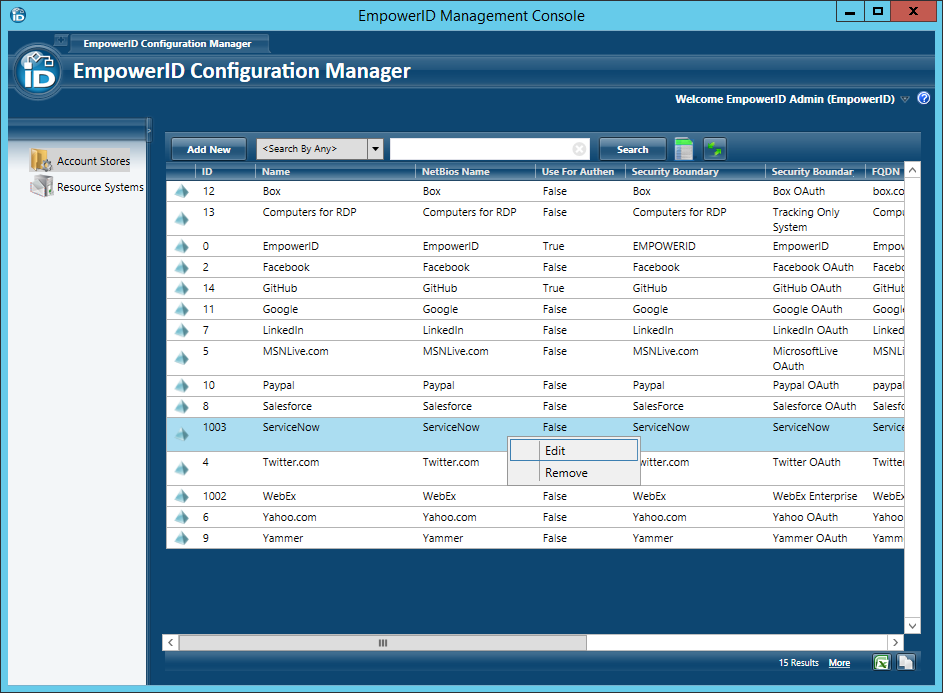
- Double-click to edit the ServiceNow account store you created. This opens the Account Store Details for the ServiceNow system.
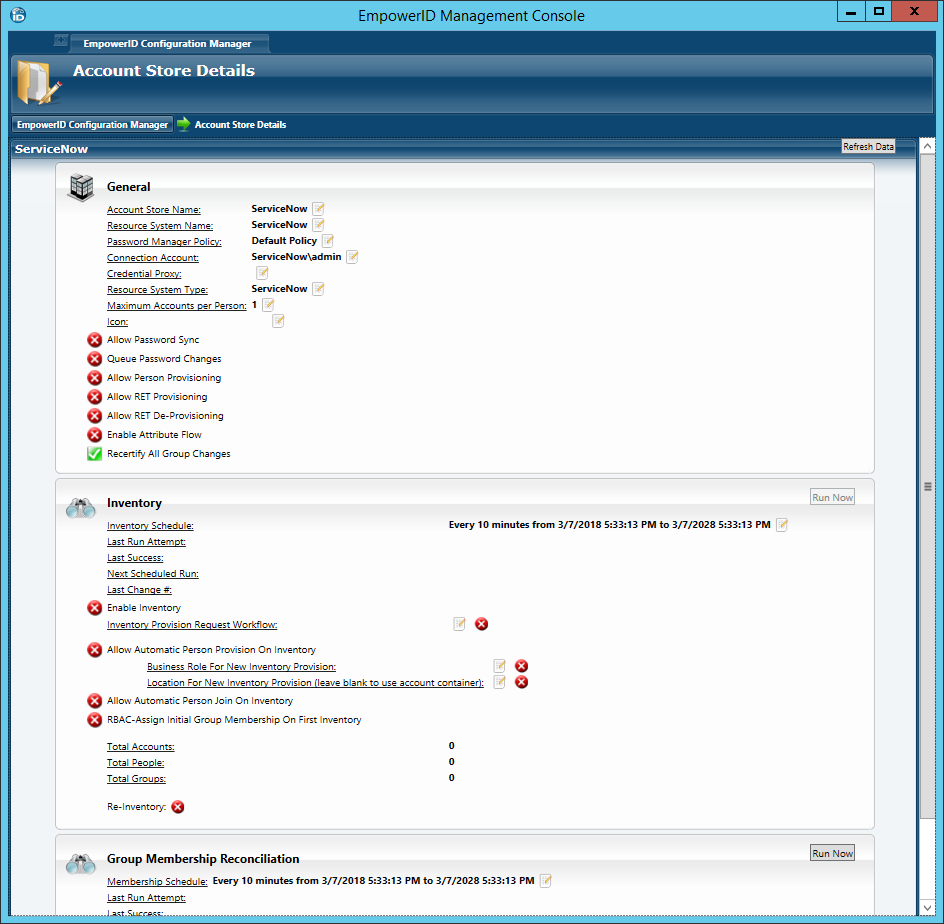
To configure the account store
The Details screen has three panes—a General pane, an Inventory pane, and a Group Membership Reconciliation pane—each with settings for configuring a different aspect of the ServiceNow account store you just created. For more information, expand each drop-down below.
| Info |
|---|
Before configuring EmpowerID to manage the account store, you should determine whether you want EmpowerID to provision Person objects from the user records it discovers in the account store. If so, answer the following questions before turning on inventory.
For a greater discussion of these points within the context of connecting EmpowerID to an account store, see Active Directory. |
- In the General pane of the Account Store Details screen, toggle the red sphere
 to a green check box
  for each feature that you want to turn on. For example, toggle Allow Person Provisioning to create an EmpowerID Person for each ServiceNow user.
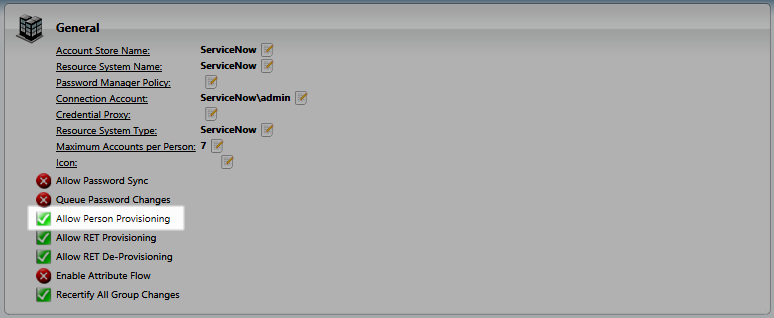
- Click the Edit
 button to the right of other properties to change their values.
 - In the Inventory pane of the Account Store Details screen, if you enabled Allow Person Provisioning, toggle the Allow Automatic Person Provision On Inventory to create an EmpowerID Person for each new, unique ServiceNow user discovered during inventory.
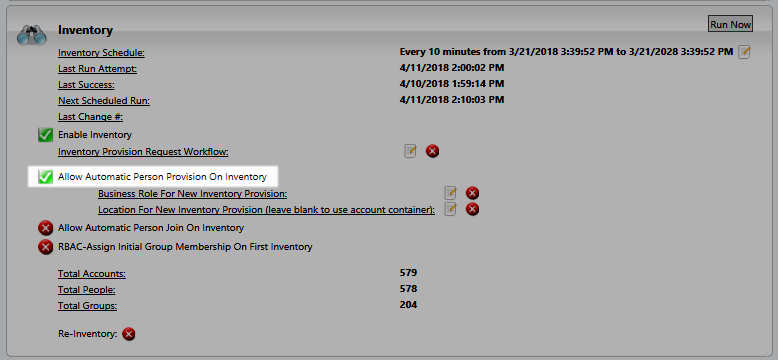
- You can also set a Business Role and Location for the people created from ServiceNow users. To do so, click theEdit
 button to the right of each line and select a value.
 - Toggle the button to the left of Enable Inventory from a red sphere to a green check.
- Wait several minutes, and click Refresh Data to see the Total Accounts, People, and Groups fields populate in the Inventory pane.
If you allowed provisioning, you can check for new Person objects in the Web UI. To do so, expand System Logs, select Audit Log, and navigate to the Recently Created Objects tab.
Tip If your Person objects are not provisioned, ensure that you have enabled the Account Inbox permanent workflow.
| Info | ||||
|---|---|---|---|---|
| ||||
| Div | ||||||||||||||||||||||||
|---|---|---|---|---|---|---|---|---|---|---|---|---|---|---|---|---|---|---|---|---|---|---|---|---|
| ||||||||||||||||||||||||
|
