| Info |
|---|
Prerequisites To install the EmpowerID Orchestration Pack to ServiceNow, you need to import into your ServiceNow instance the XML file that was provided to you by EmpowerID. This file contains the necessary configuration settings for the pack as well as the endpoint information the activities need to call the EmpowerID API. |
In this topic, we take you through the steps for importing the prerequisite XML file into ServiceNow and adding each of the workflows in the Orchestration Pack to the ServiceNow Service Catalog. Finally, we demonstrate how to make the EmpowerID Chat Bot available to users within Service Now.
Import the XML file into ServiceNow
Login to your ServiceNow instance.
Search for System Update Sets in the Filter Navigator and then click Retrieved Update Sets.
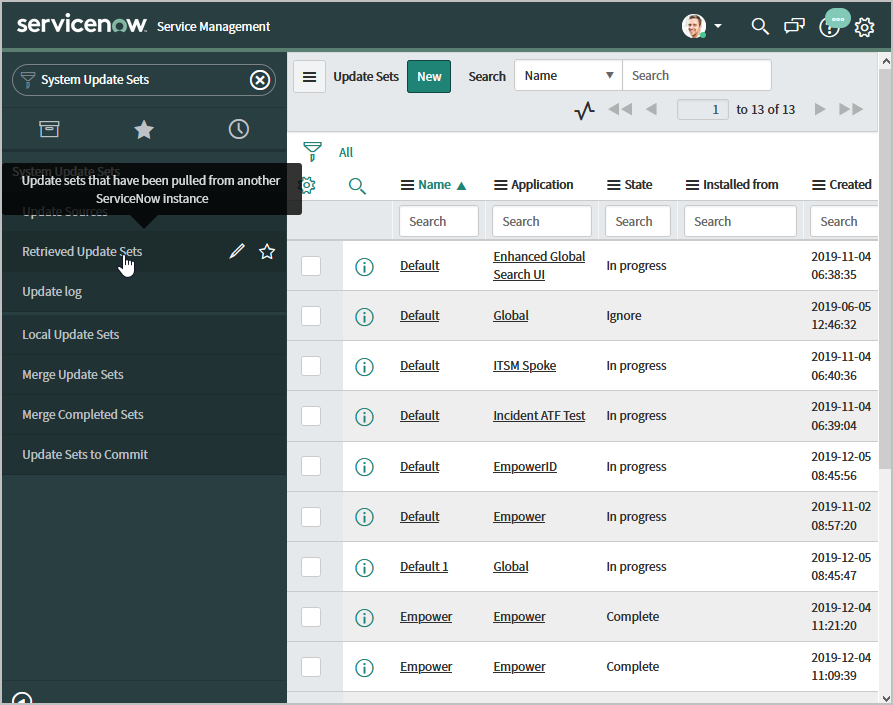

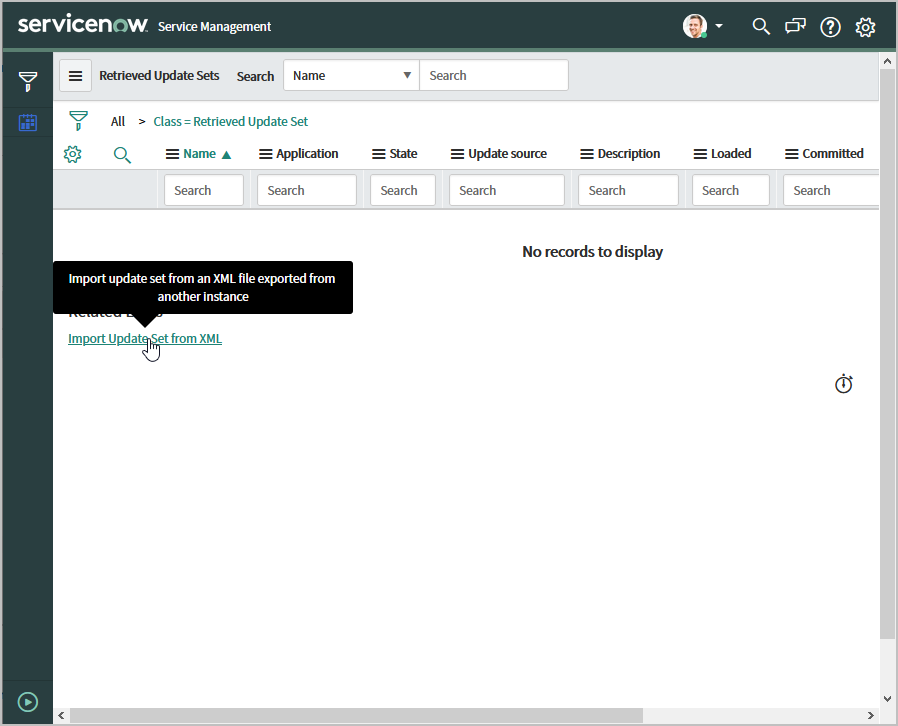
Click Import Update Set from XML.

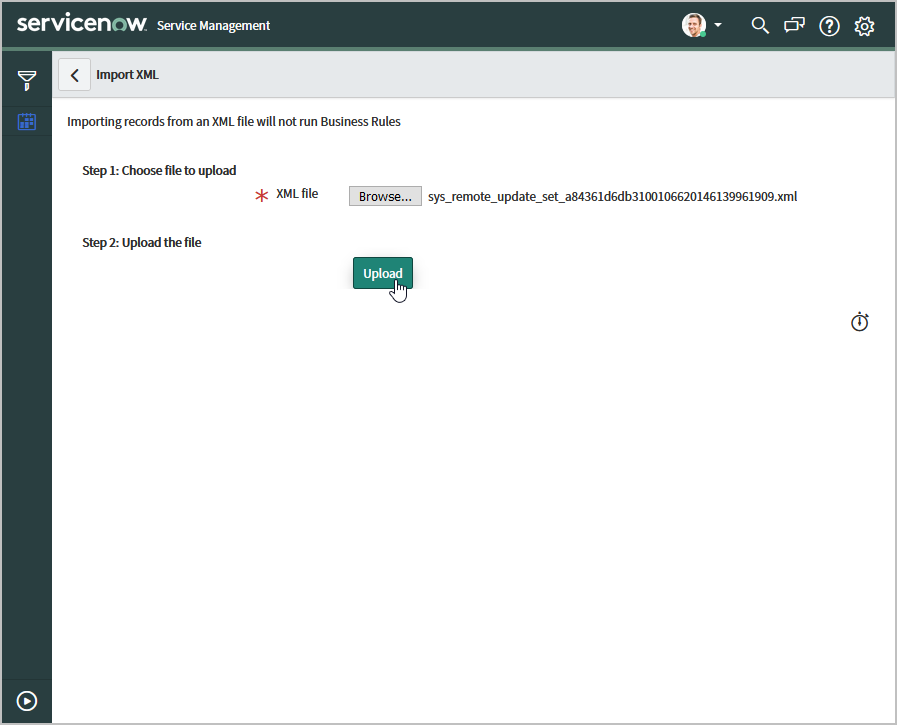
Browse for and select the XML file you received from EmpowerID.
Click Upload.

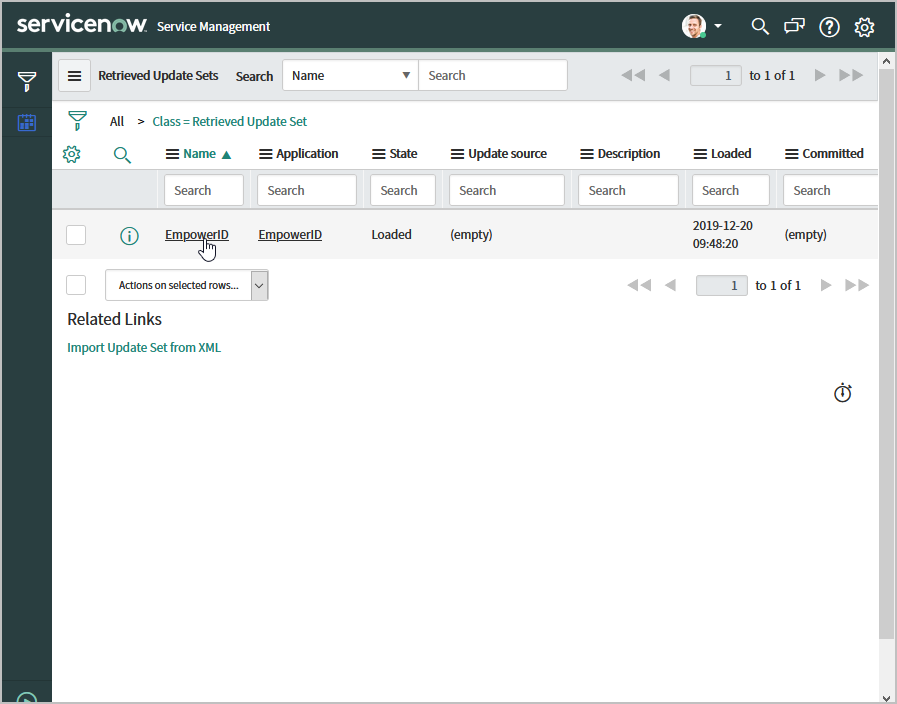
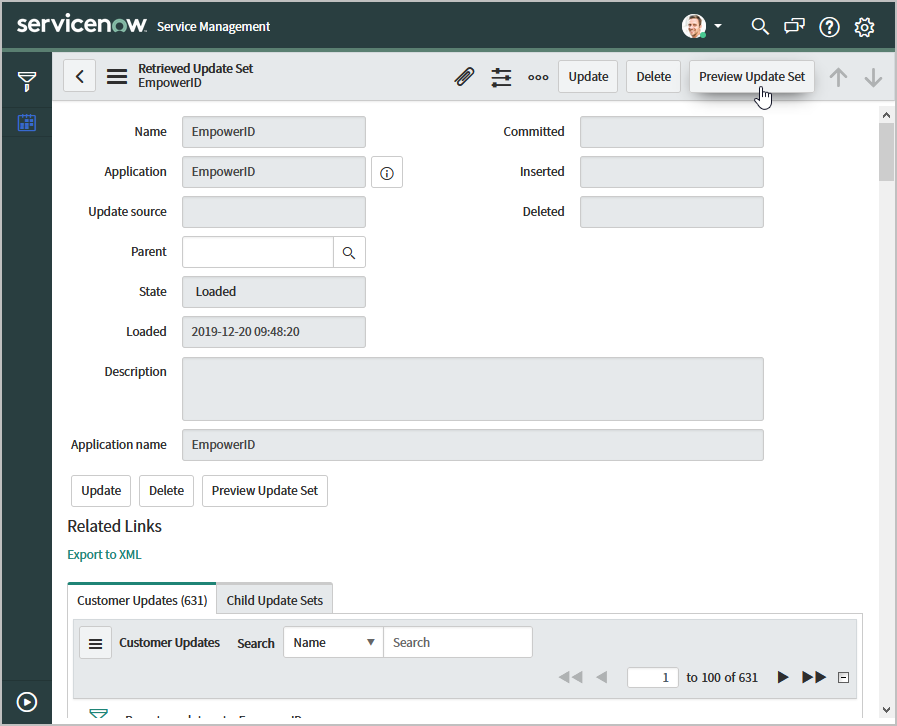
Under Retrieved Update Sets, click the Name link for the application you just uploaded.

Click Preview Update Set.

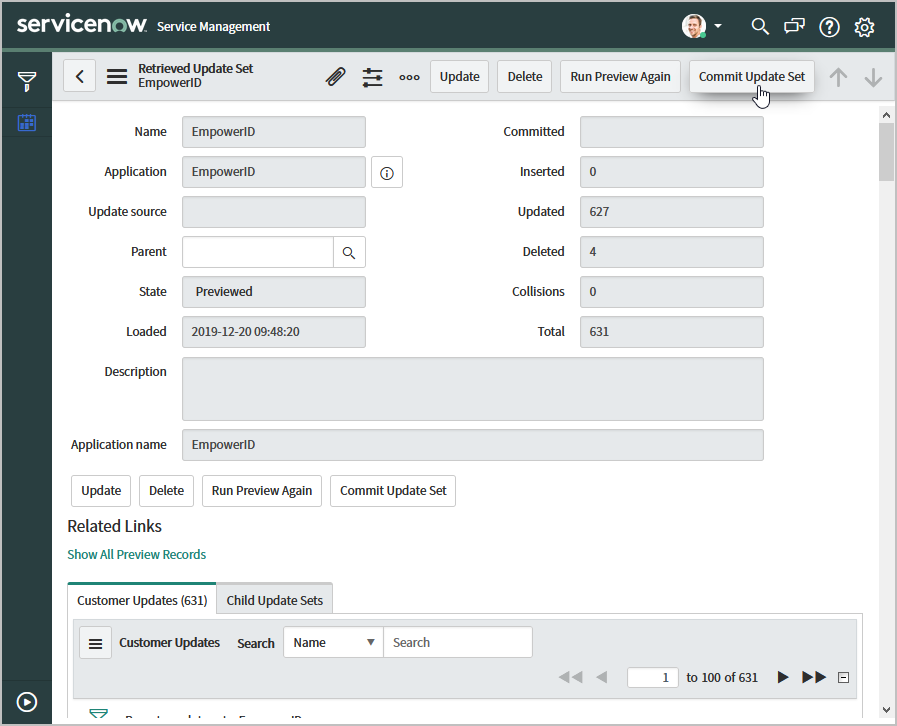
If the preview is successful, click Commit Update Set.

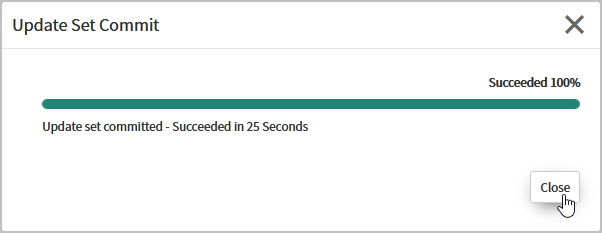
Click Close to closethe Update Set Commit window.
If the preview contains errors, scroll to look for them.
Select all the errors and then under Actions on the selected rows, click Accept remote update and then click Commit Update Set.
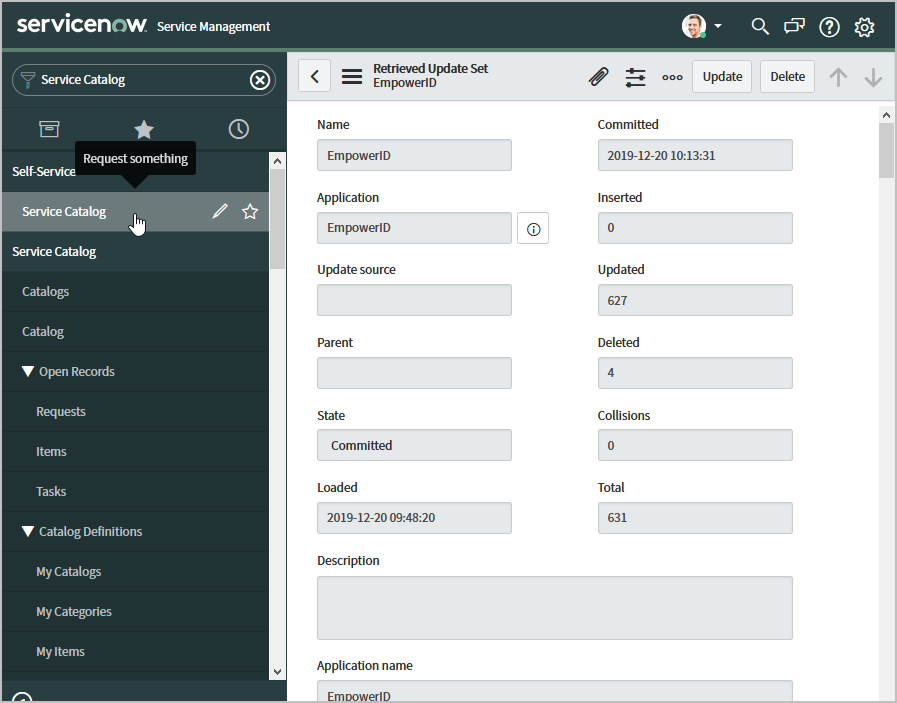
All the items should be deployed in the instance. The next step is to create UI Actions for the deployed instance.
To add EmpowerID Workflows to the Service Catalog
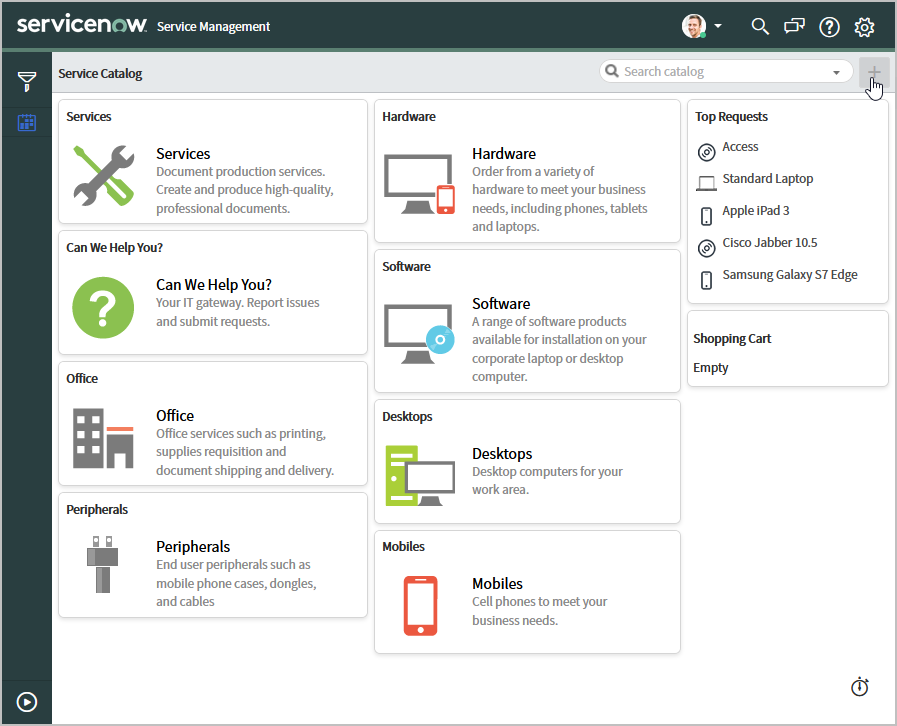
In ServiceNow, search for Service Catalog in the Filter Navigator and then click Service Catalog.

Click Add New button inthe main pane of the Service Catalog,

In the Sections dialog that appears, select Catalog Categories > EmpowerID Services and then click Add here.


You should see EmpowerID Services as a new widget.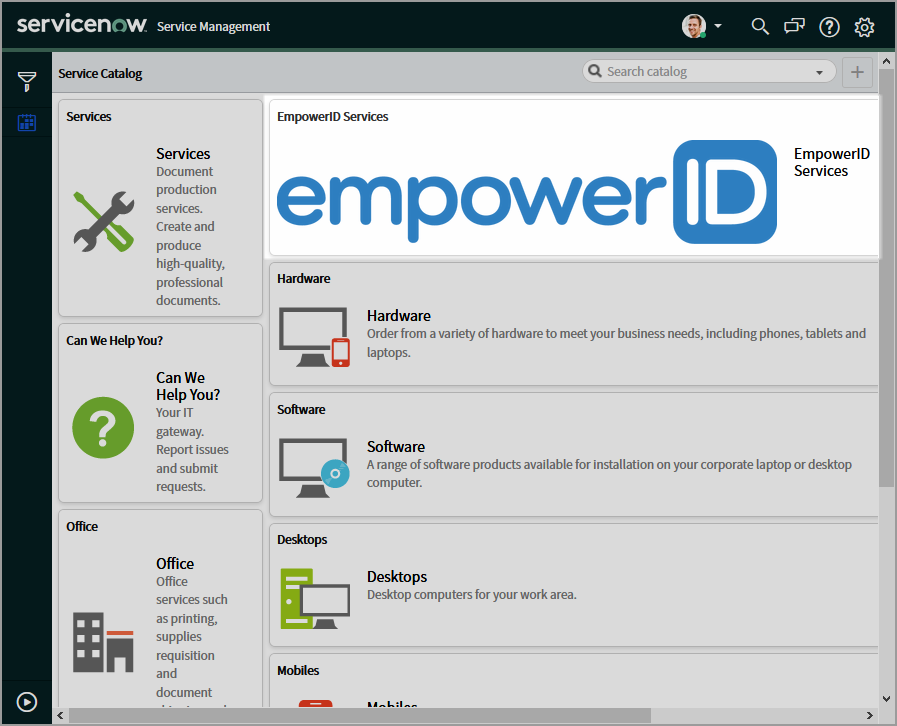

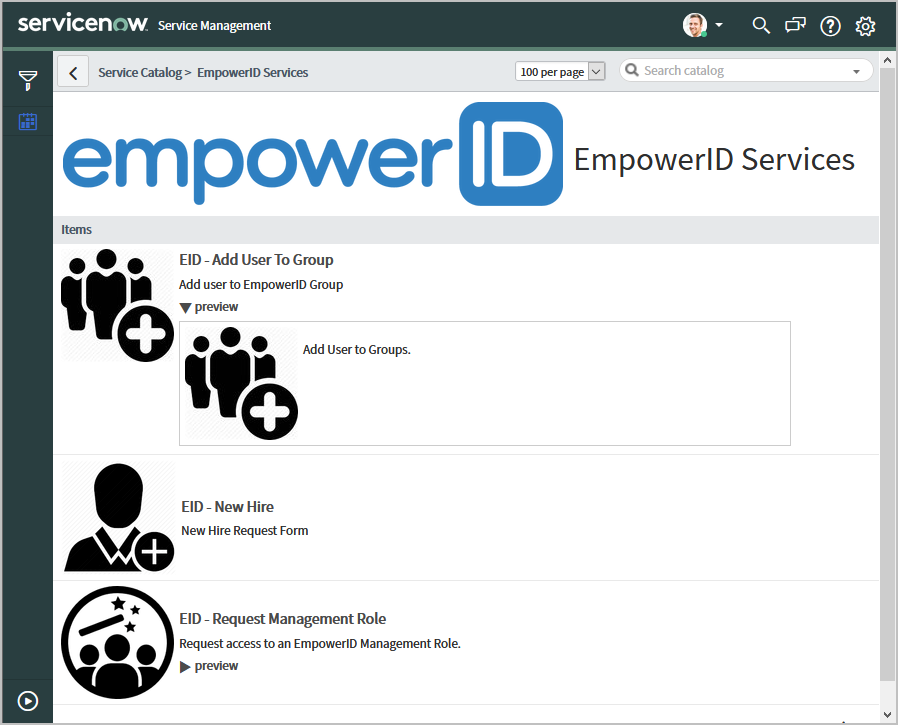
Click the EmpowerID Services widget.
You should see the three EmpowerID workflows.

Next, let’s incorporate the Change Password workflow into ServiceNow and display it as a link in the main menu.
To add the Change Password workflow to the main menu
In ServiceNow, search for Portals in the Filter Navigator and then click Portals.

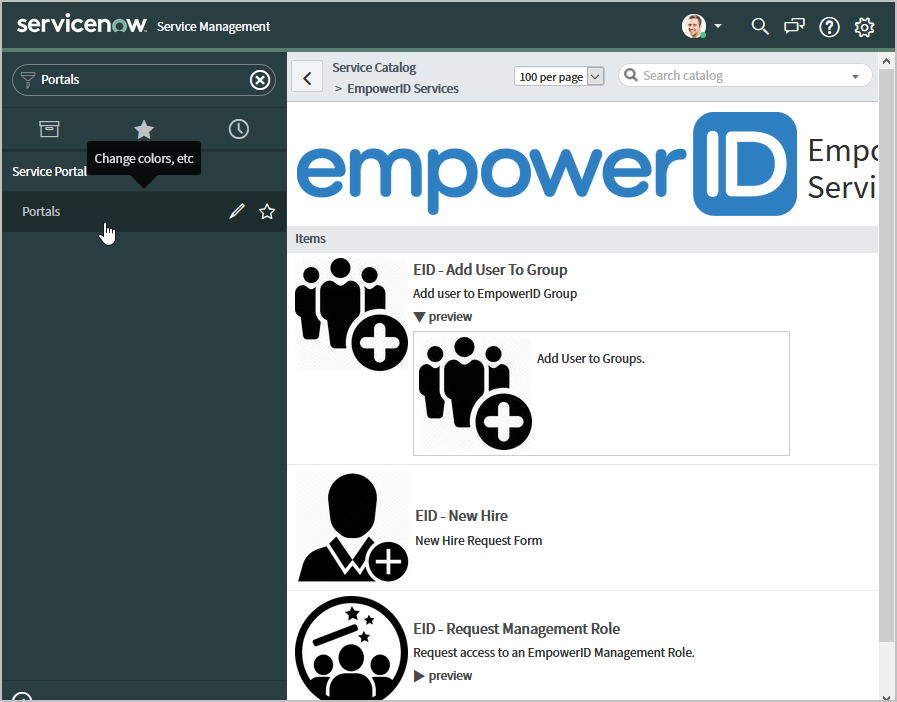
Click Service Portal.

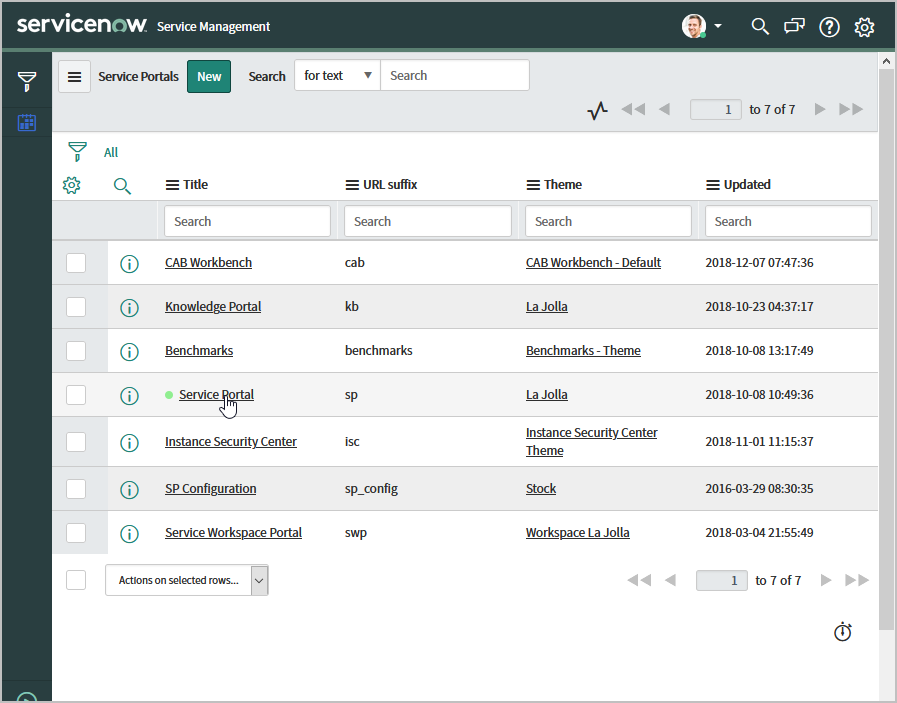
In the Service Portals view, click the Info button to the right of the Main Menu.
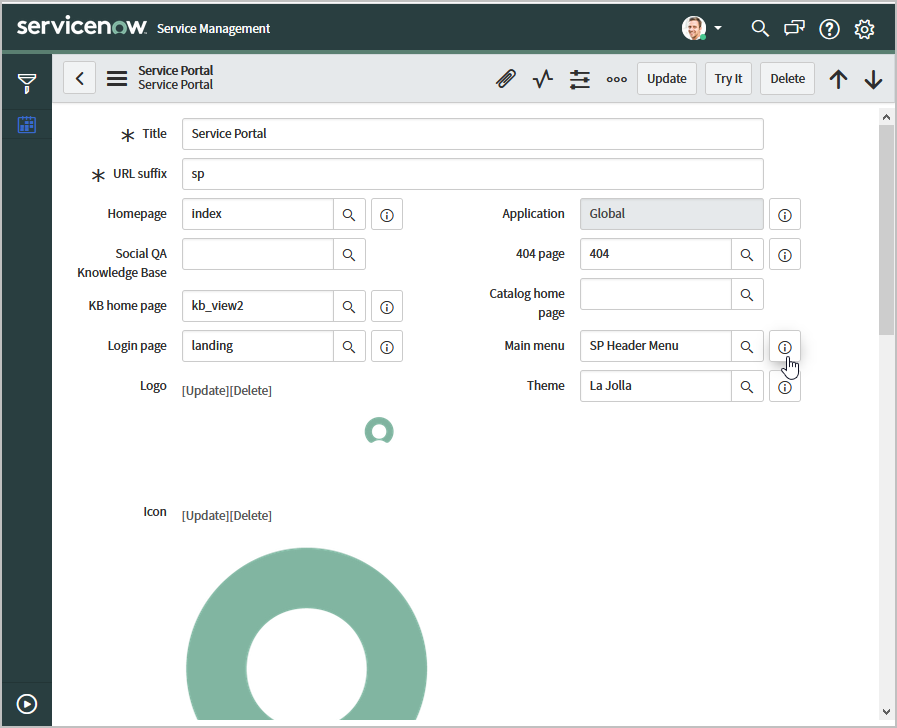

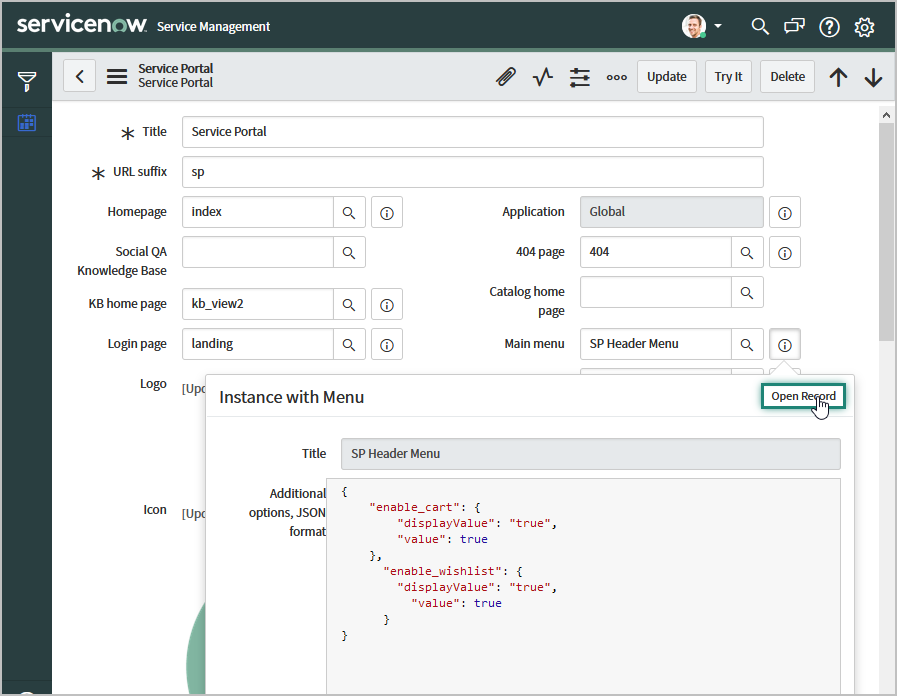
Click Open Record.

Under Menu Items, click New.
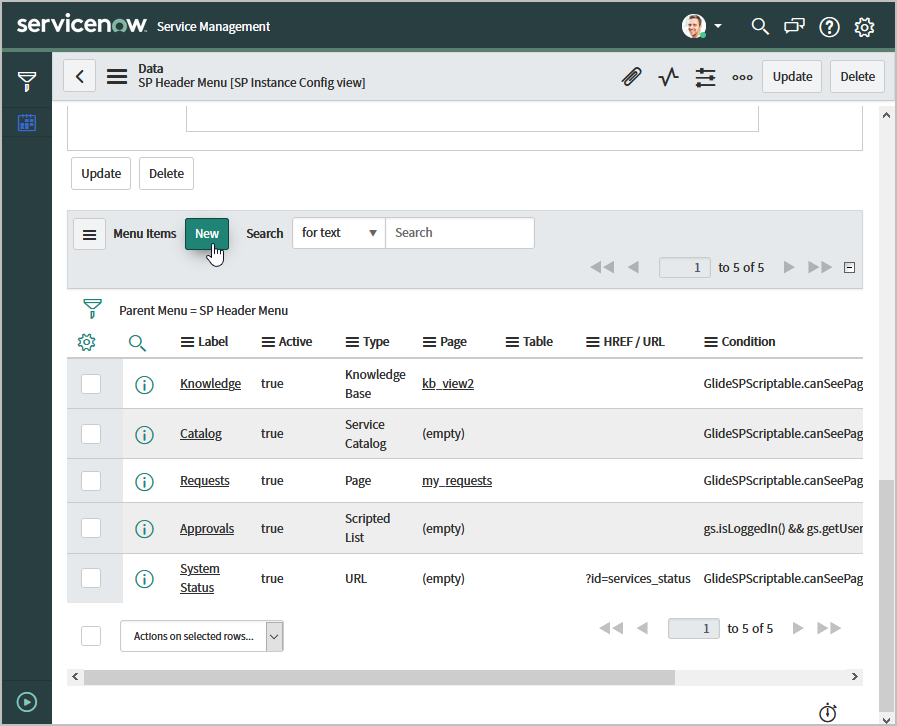

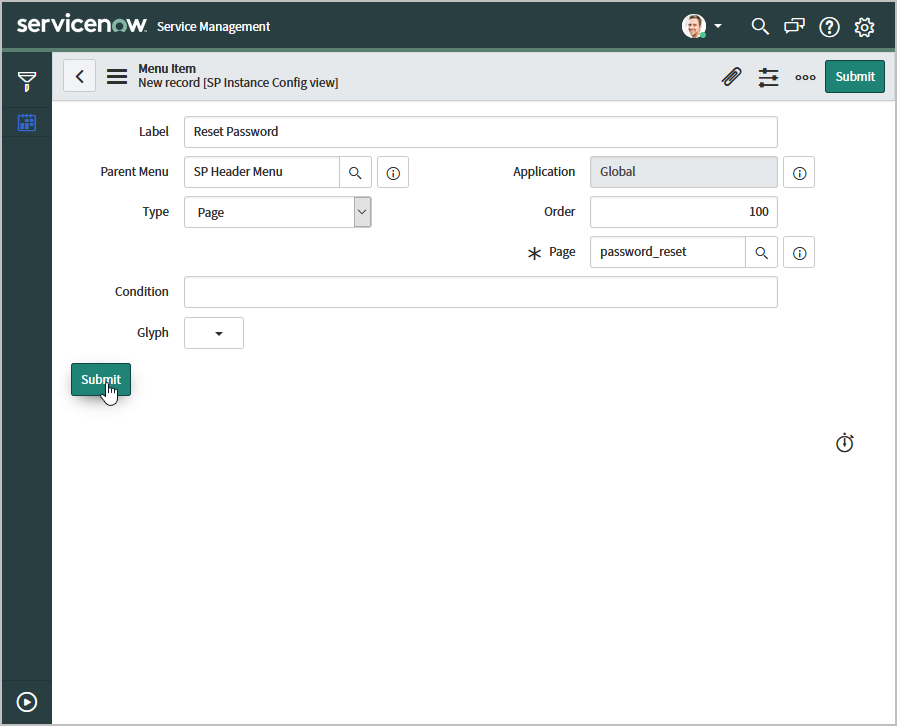
In the Menu Item form do the following:
Enter Reset Password in the Label field.
Enter password_reset in the Page field.
Click Submit.

In the ServiceNow Filter navigator, search for Service Portal and then click Service Portal.
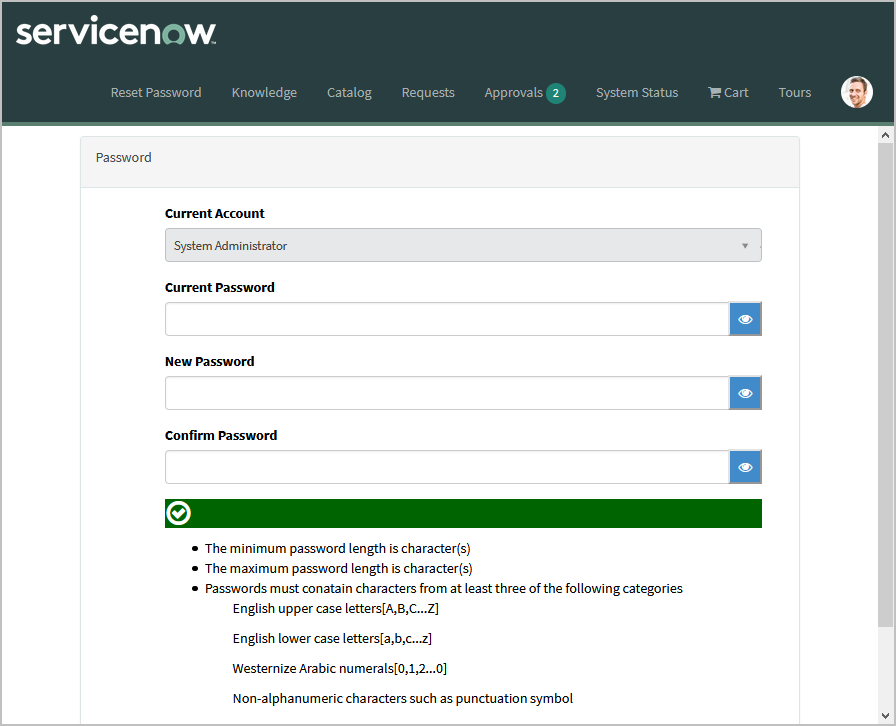
The Reset Password link should be displayed as a menu item.
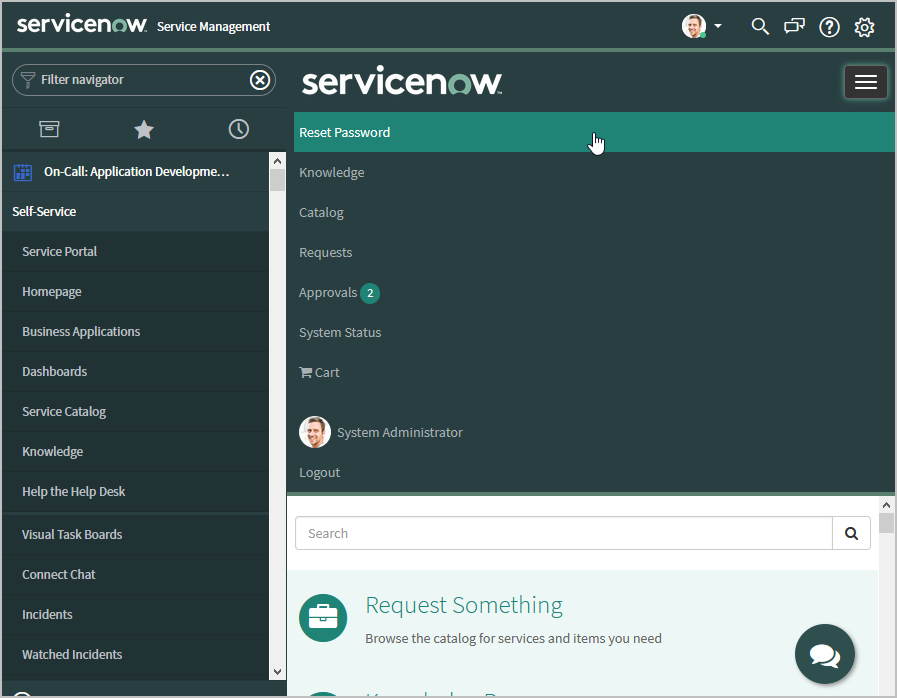

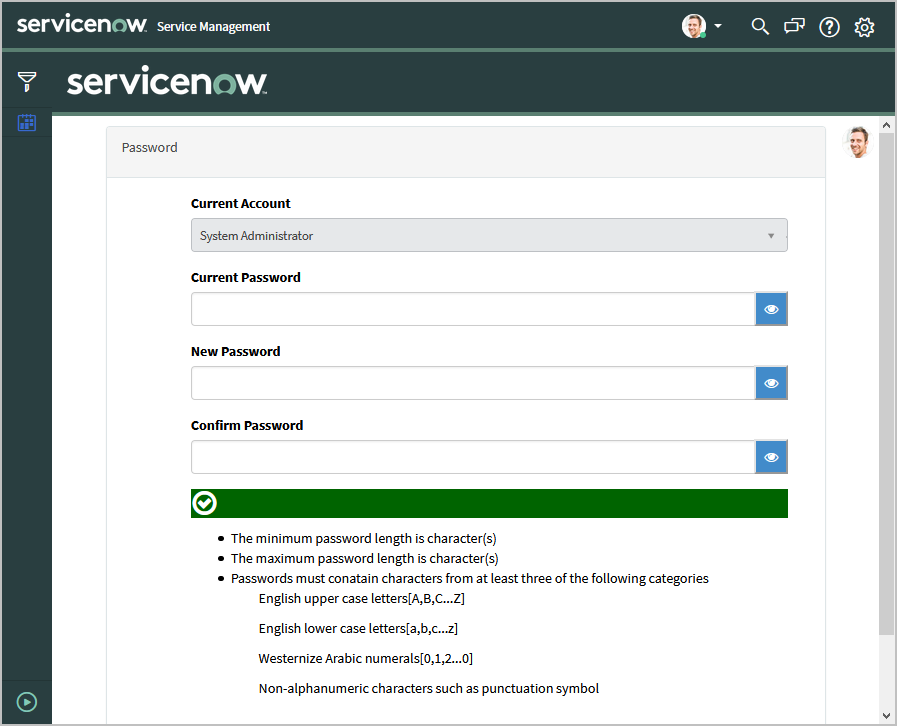
Click Reset Password.
The Reset Password page should be displayed.

Next, let’s display Change Password as a catalog item.
To add Change Password to the Service Catalog
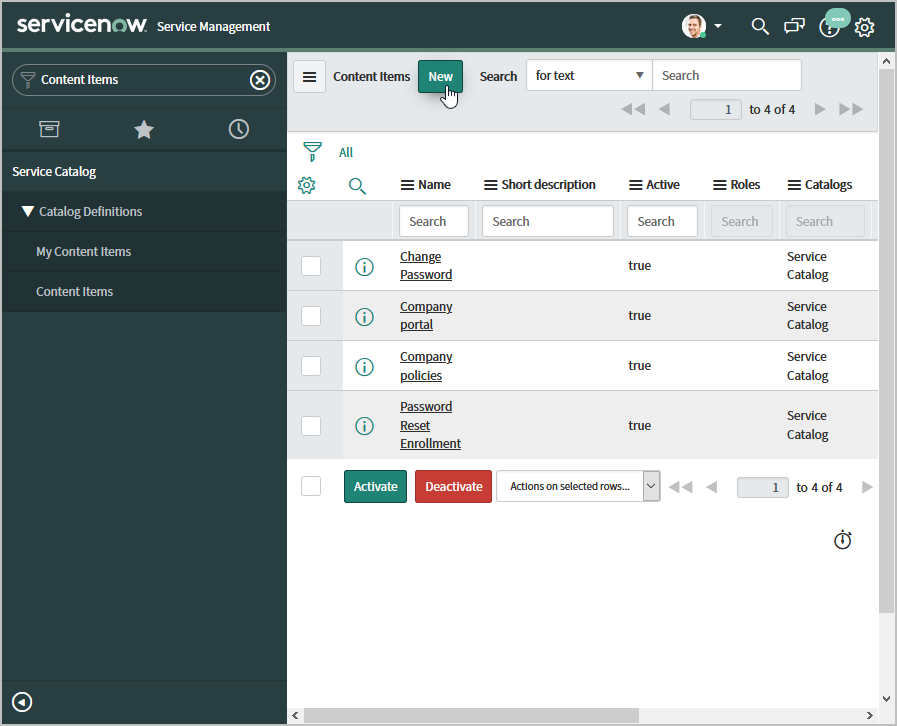
In the ServiceNow Filter navigator, search for Content Items and then click Content Items.
In the Content Items view, click New.

In the New record form that opens, do the following:
In the Name field, enter a name for the Catalog item, such as Reset EmpowerID Password.
Click the Lock button to the right of the Catalogs link.
Enter Service Catalog in the search field and then click Service Catalog.

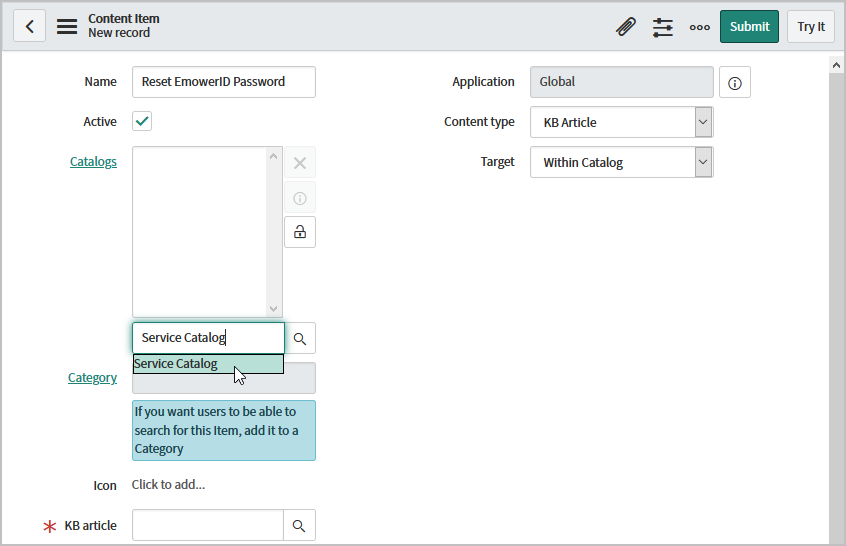
Click the Lock button to lock the catalogs.


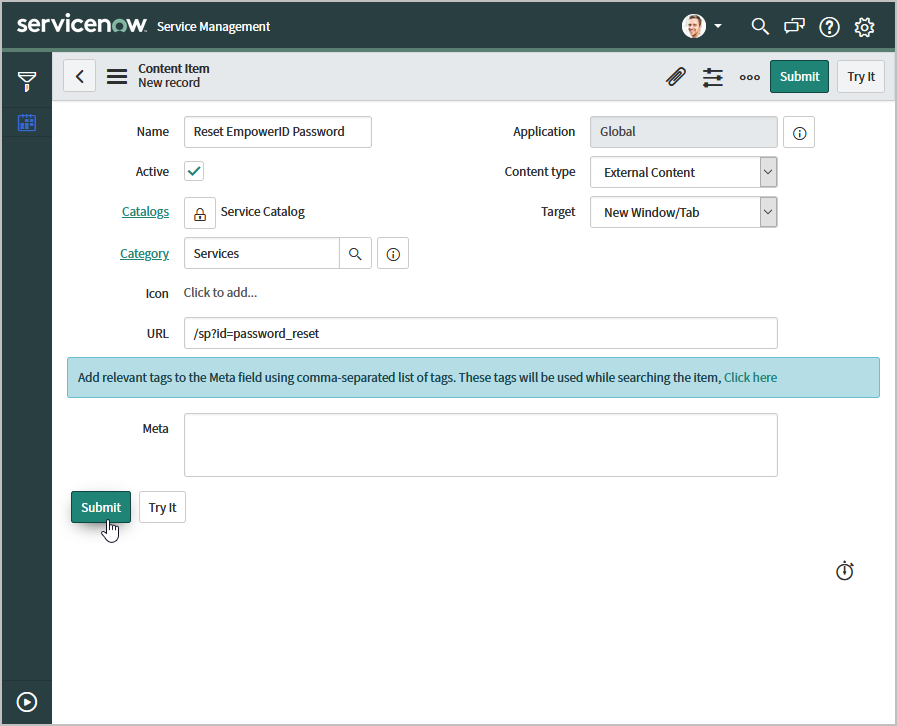
In the Category field, search for and select Services.
For Content Type, select External Content.
For Target, select New Window/Tab.
In the URL field, enter /sp?id=password_reset.
Click Submit.

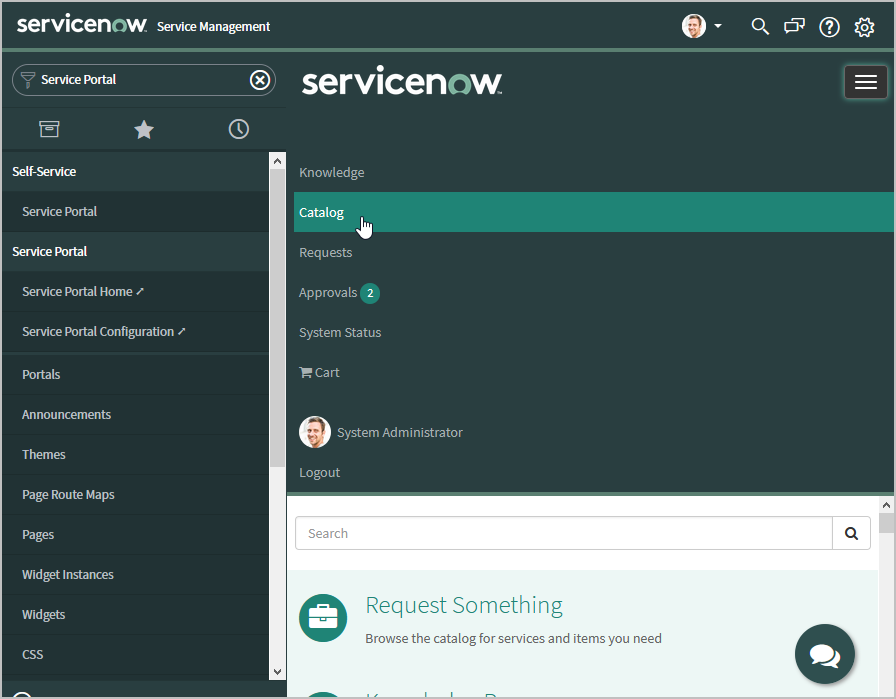
In the ServiceNow Filter navigator, search for Service Portal and then click Service Portal.
On the top menu bar, click Catalog.

Search for the Catalog item that was created, e.g., Reset EmpowerID Password.
Click the Catalog item.

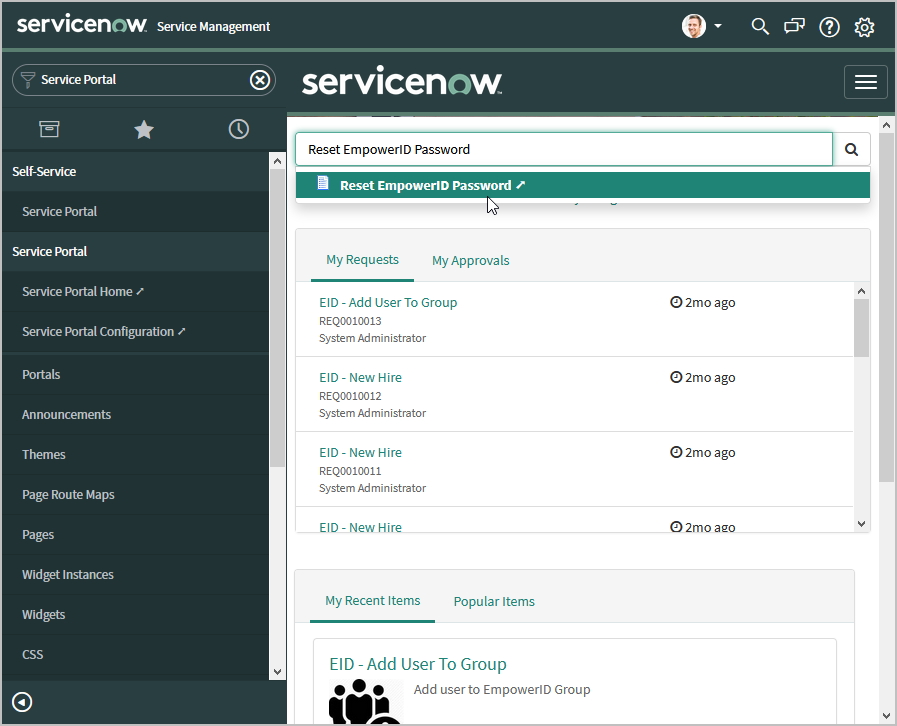
You should see the Reset Password page display in a new tab.

| Info |
|---|
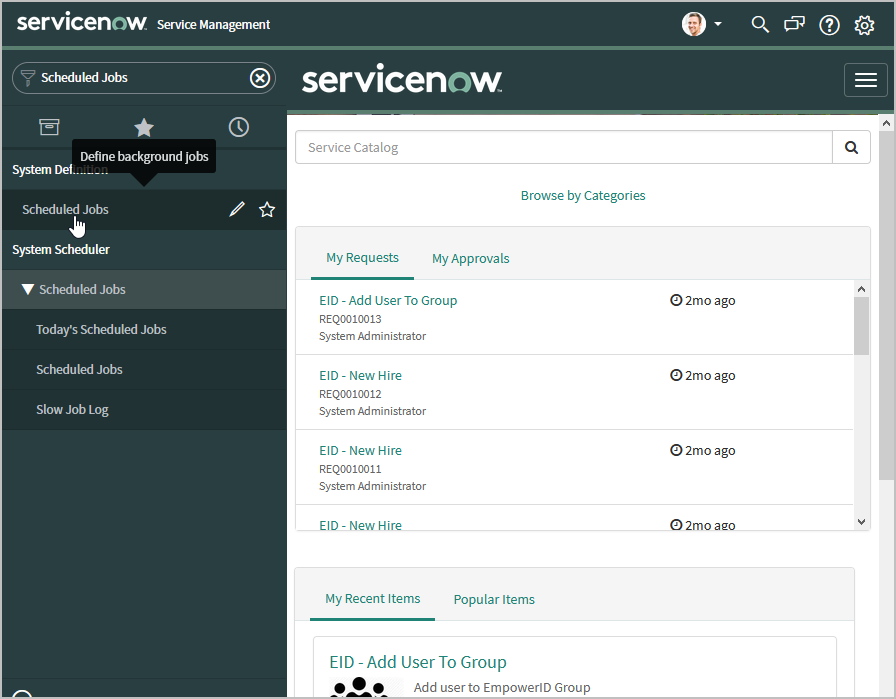
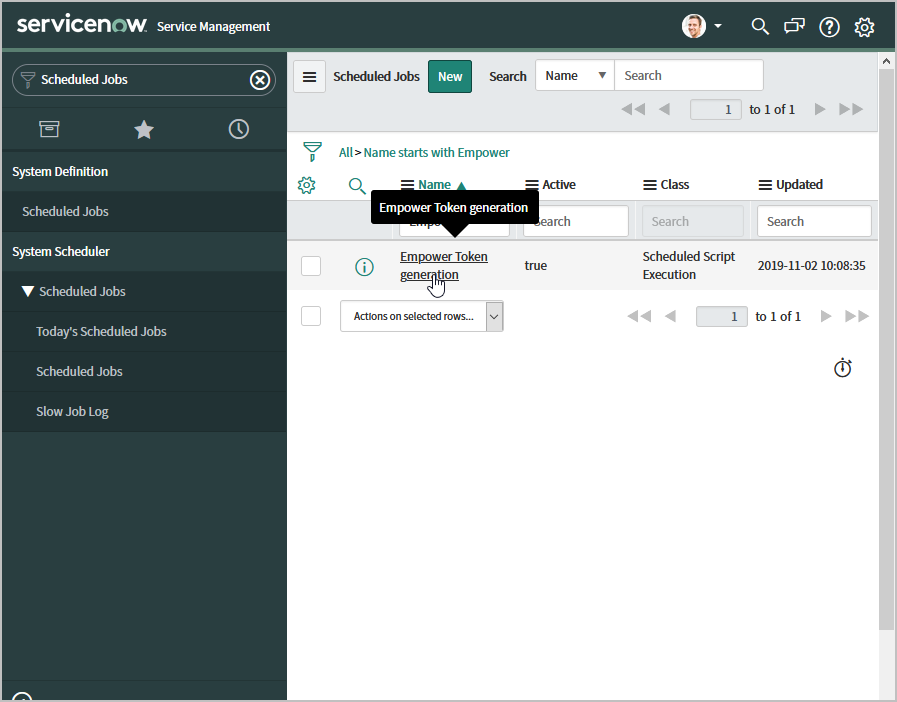
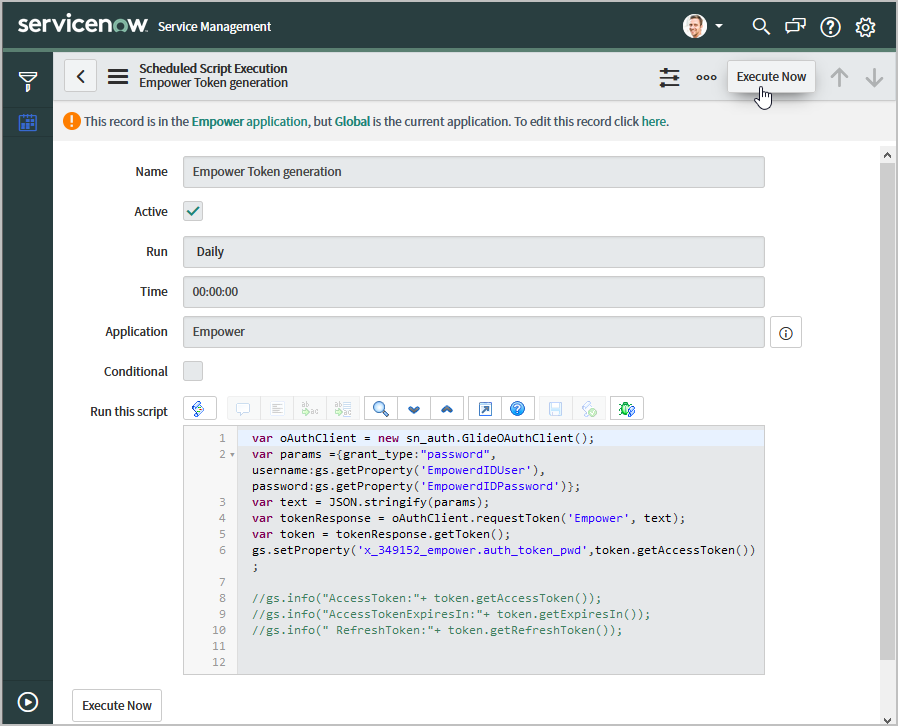
Change Password workflow is using EmpowerID API to successfully Change a user’s password. To call EmpowerID API a token must be generated. Currently it has been configured as a Scheduled Job, the Empower Token Generation job, which runs every once a day. This job is responsible for generating tokens which is used to authenticate EmpowerID. For a new instance this job should be executed first, after which it will continue to generate tokens. |
Next, let’s add the EmpowerID Chat Bot to ServiceNow.
| Expand | ||
|---|---|---|
| ||
|


To add the EmpowerID Chat Bot
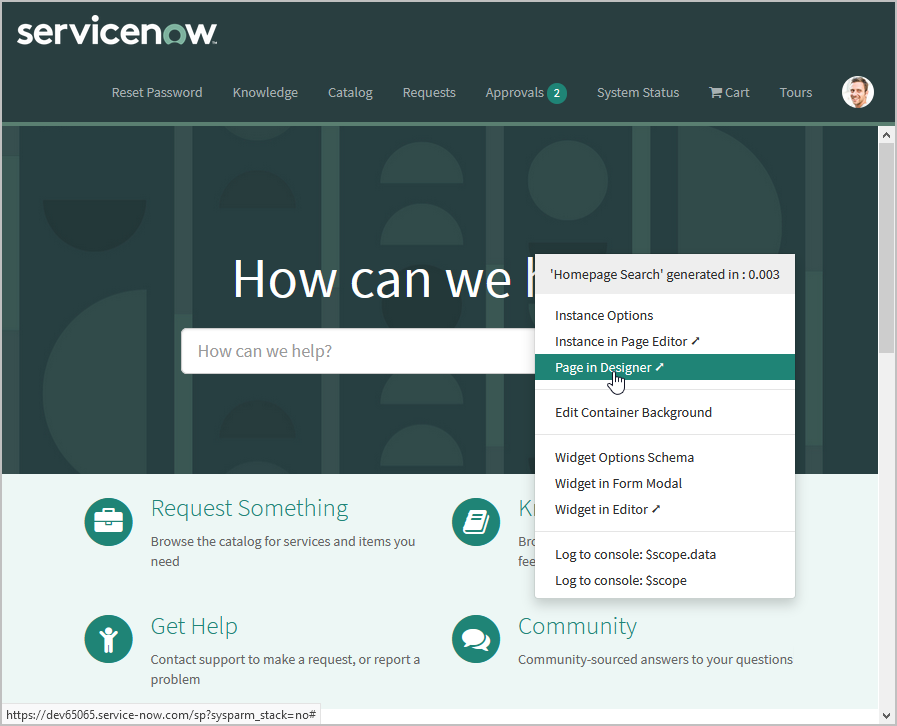
In the ServiceNow Filter navigator, search for Service Portal and then click Service Portal Home.
On the Service Portal Home page, press the CTRL key on your keyboard and then right-click on the page.
Select Page in Designer from the context menu that appears.

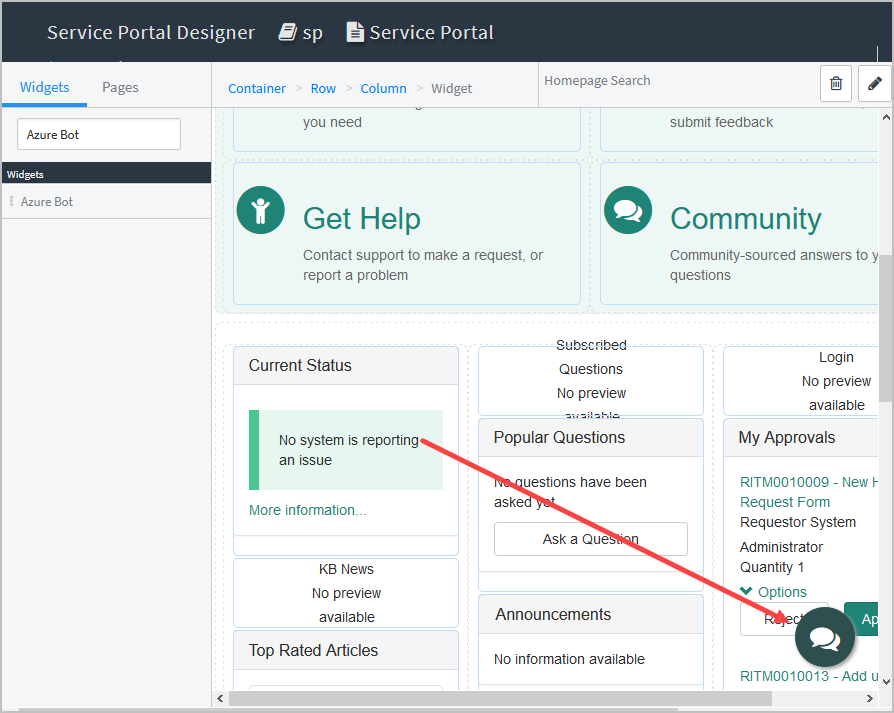
Select the Widgets tab and then search for Azure Bot.
The bot appears on the lower right of the page.

| Div | ||||||||||||||
|---|---|---|---|---|---|---|---|---|---|---|---|---|---|---|
| ||||||||||||||
IN THIS ARTICLE
|