| Style | ||
|---|---|---|
| ||
In EmpowerID, Provisioning policies, also known as "Resource Entitlements" or "RETs," are policies that can be created to automate the provisioning, moving, disabling and de-provisioning of resources to users based on their meeting certain qualifying criteria, such as belonging to a specific group, Management Role, Business Role and Location, or Query-Based Collection. Once a policy is created and enabled, EmpowerID continuously evaluates the policy to determine who should and should not have the resource as specified by the conditions of the policy.
This topic demonstrates how to create a RET policy that provisions Salesforce accounts.
...
To create a provisioning policy that provisions Salesforce accounts
- In the Navigation Sidebar of the EmpowerID Web interface, expand Admin, then Policies, and click Provisioning Policies (RETS).
- From the Resource Entitlements/Provisioning Policies Management page, click the Actions tab and then click the Create Provisioning Policy tile.
- In the Choose Type section of the Policy Details form that appears, select Salesforce Account from the Object Type To Provision drop-down.
- In the General section of the form, do the following:
- Type a name and display name in the Name and Display Name fields, respectively.
- Optionally, type a description in the Description field.
- Select the Salesforce domain in which the accounts are to be provisioned from the Directory drop-down.
The Choose Type and General sections of the form should look similar to the below image.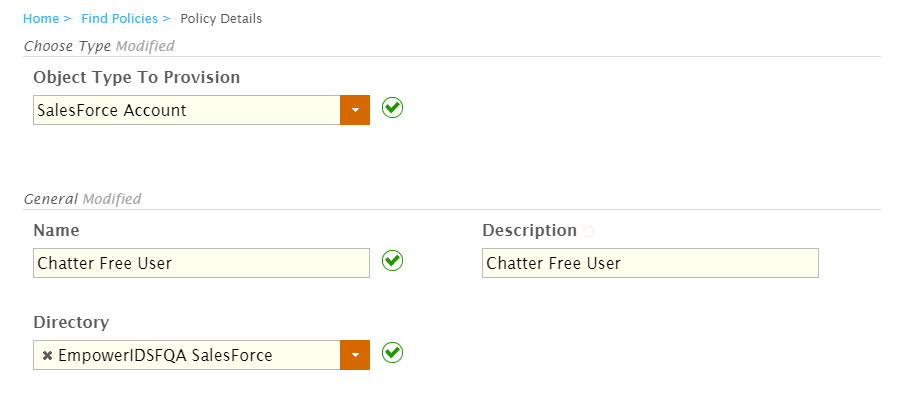
- All Provisions Require Approval - If this option is selected, the provisioning of each RET specified by the policy will need to be approved by a user delegated access to the Resource Entitlement Inbox.
- All Deprovisions Require Approval - If this option is selected, the deprovisioning of each RET specified by the policy will need to be approved by a user delegated access to the Resource Entitlement Inbox.
- Require Approval if Provision Batch Larger Than Threshold - This field allows you to set a numeric value that needs to be reached by a single run of the Resource Entitlement Inbox before an approver needs to approve the provisions. If the threshold is reached, EmpowerID will not provision any of the accounts until approval is granted.
Require Approval if Deprovision Batch Larger Than Threshold - This field allows you to set a numeric value that needs to be reached by a single run of the Resource Entitlement Inbox before an approver needs to approve the deprovisions. If the threshold is reached, EmpowerID will not deprovision any of the accounts until approval is granted.
Info As a best practice, when testing provisioning policies, select All Provisions Require Approval and All Deprovisions Require Approval to become familiar with how EmpowerID processes RETs. Then, when moving to production, you can set the approval thresholds to a number that makes sense for your environment.
In our example, we have selectedAll Provisions Require ApprovalandAll Deprovisions Require Approval, meaning that the provisioning and deprovisioning of all accounts must be approved before those accounts will be processed by RET Inbox.
- In the Advanced section of the form, do the following:
- Leave On Claim Action set to Do Nothing.
- Leave On Transform Action set to Do Nothing.
- Select Deprovision from the On Revoke Action drop-down. This tells EmpowerID to disable the Salesforce account if the person no longer meets the criteria to receive the resource from the RET, such as would occur if the person was terminated or moved to a Business Role and Location without a RET policy for the specified resource.
- Leave the Creation Location Path Resolver Assembly and Creation Location Path Resolver Type fields empty. These fields allow you to use a custom assembly to set where an account (or any RET that requires a path) should be created.
The Advanced section of the form should now look like the following image: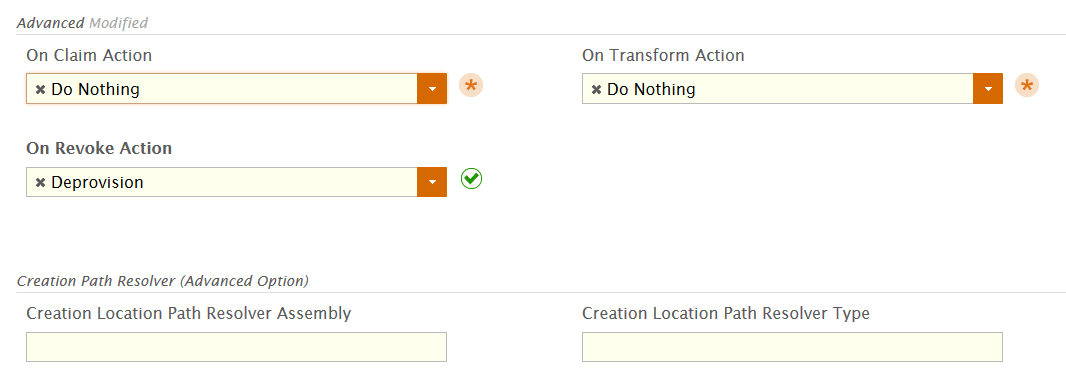
- Back in the main form, click Save.
Next, add Configuration Parameters to the policy you just created. These parameters allow you to specify the Salesforce profile and role each user created by the policy is to be assigned. If Configuration Parameters are not set, EmpowerID assigns all users to the Chatter Free profile by default.
To set the Configuration Parameters
- Navigate to the Resource Entitlements Find page by clicking the Find Policies breadcrumb located at the top of the Policy Details page for the policy you just created.
- From the Policies tab of the Resource Entitlements Find page, search for the policy you just created and click the Display Name link.
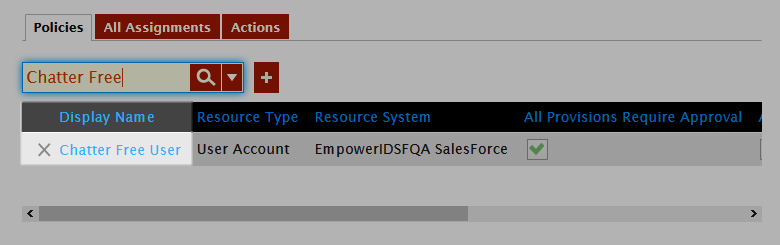
This opens the View page for the policy. View pages allow you to view and manage resources.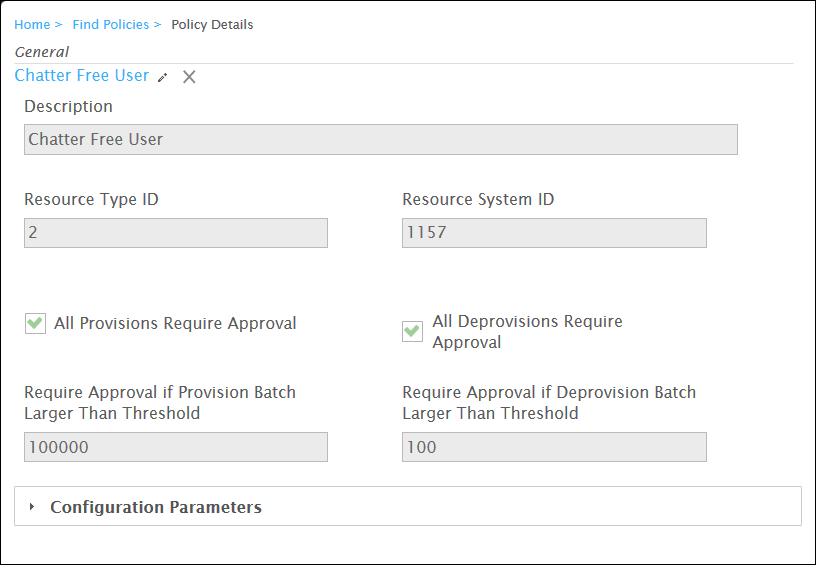
- In the View page, click the Configuration Parameters accordion to expand it and then click the Add Parameter (+) button.
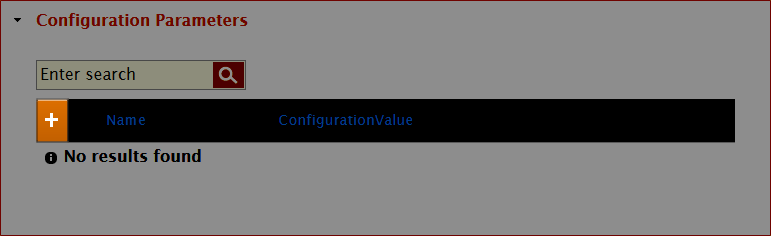
Type ProfileId in the Name field and the name of the Salesforce profile in the ConfigurationValue field and then click Save. EmpowerID sends this information to Salesforce. If you do not set a ProfileId, EmpowerID passes the Chatter Free User profile to Salesforce by default.
Warning The ConfigurationValue must match the name of the corresponding Profile in Salesforce.
- If the Profile you are setting can have a role in Salesforce, click the Add Parameter (+) button again, type UserRoleId in the Name field, the name of the Salesforce role in the Configuration Value field and then click Save.
Next, assign the policy you just created to one or more targets as demonstrated below.
To assign the provisioning policy to users
...
Next, assign the policy you just created to one or more targets as demonstrated below.
To approve the resource entitlements
- In the Navigation Sidebar, expand System Logs and click RET Inbox.
- Click the Pending Batches tab to see your batch for the Salesforce Resource Entitlement. In our case, the Resource Entitlement batch is the Chatter Free User batch.
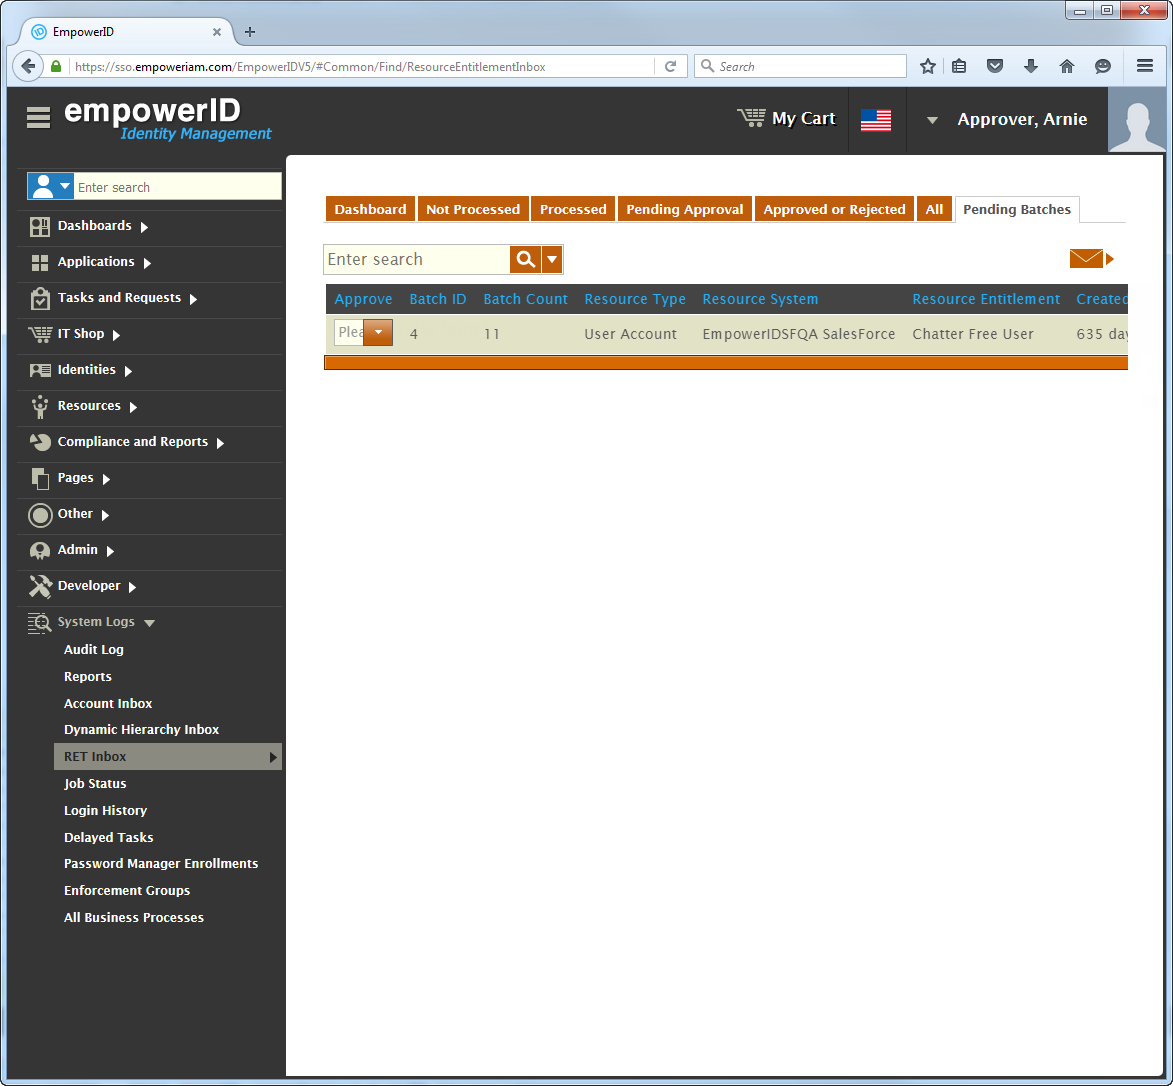
- To approve the batch, click the Approval drop-down and select Approve from the menu.

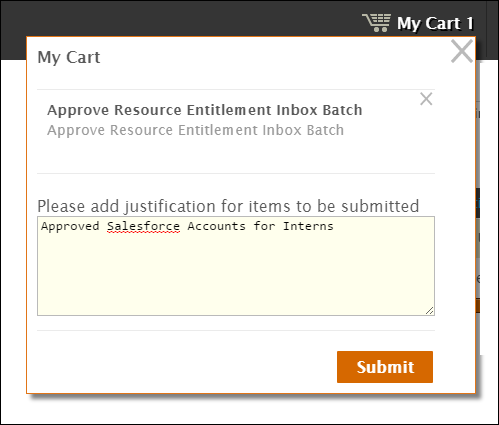
- Click the shopping cart icon at the top of the page, then type a reason for the approval in the cart dialog and then click Submit.
| Tip |
|---|
After the RET Inbox has provisioned the Salesforce accounts, you can view and manage those accounts and the groups created for those accounts from the Salesforce Management page. Navigate to the Salesforce Management page by expanding Pages in the Navigation Sidebar and clicking Salesforce Manager. |
| Info | ||||
|---|---|---|---|---|
| ||||
...