| Div | ||
|---|---|---|
| ||
/wiki/spaces/E2D/pages/29982926 / Installation and Configuration / Connecting to Directory Systems / Current: Connecting to Microsoft Azure |
| Insert excerpt | ||||||
|---|---|---|---|---|---|---|
|
EmpowerID Azure connector allows organizations to bring the instances in their Azure subscription to EmpowerID, where they can be managed as computer objects, giving authorized users the ability to start, stop and delete Azure instances from EmpowerID. To connect EmpowerID to Azure in this way involves doing the following procedures:
- Adding your Azure Certificate to the Personal Certificate Store on an EmpowerID Web server
- Exporting the Azure Certificate from the Person Certificate Store to your EmpowerID Web server in Base-64 Encoded format
- Adding the Azure certificate to the EmpowerID certificate store
- Creating an EmpowerID Person as a service account for the Azure connection
- Mapping the Azure certificate to the EmpowerID Person you create
- Creating the Azure connection in EmpowerID
| Info | ||
|---|---|---|
| ||
In order to connect EmpowerID to Azure, you need to have an Azure subscription with a management certificate and provide to EmpowerID the following information
|
| Insert excerpt | ||||||
|---|---|---|---|---|---|---|
|
| Insert excerpt | ||||||
|---|---|---|---|---|---|---|
|
To add your Azure certificate to the Personal certificate store
- On your EmpowerID Web server, open MMC.
- From MMC, add the Certificates snap-in for the local computer if needed.
- Expand the Certificates node, right-click Personal, point to All Tasks and click Import.
- In the Certificate Import Wizard that appears, click Next.
- Click Browse and locate your certificates.
- In the Open window that appears, select one of your certificates and click Open.
- Continue through the Certificate Import Wizard, until completed.
Next, export the certificate to a location on your server in base64-encoding format as demonstrated below. You will need this when creating the Azure connection in EmpowerID.
To export the Azure Certificate using Base-64 Encoding
- From the Personal store, right-click the Azure certificate you just imported and select All Tasks > Export from the context menu.
- In the Certificate Export Wizard that appears, click Next.
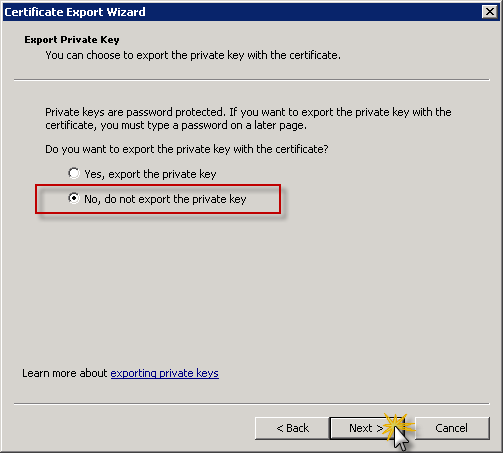
- Select No, do not export the private key and click Next.
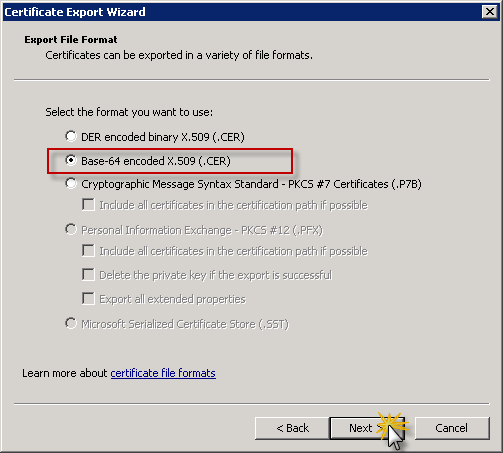
- Select Base-64 encoded X.509 (.CER) and click Next.
- Select an export location, naming the exported certificate accordingly and click Next.
- Click Finish to complete the export.
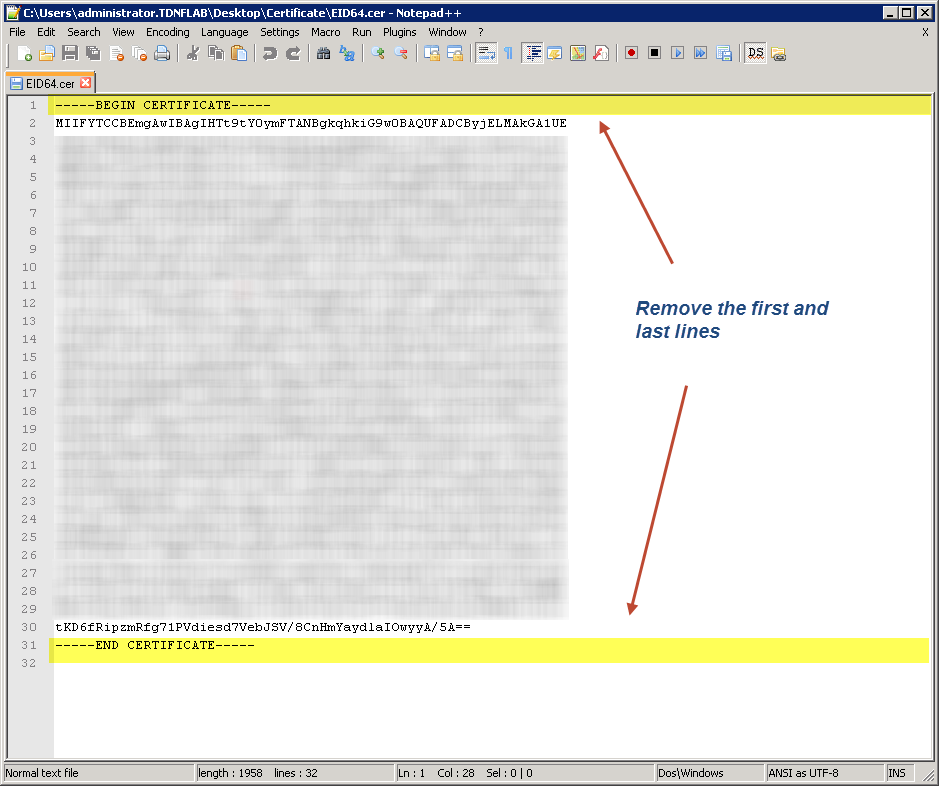
- Open the exported certificate in a text editor and remove the first and last lines (----BEGIN CERTIFICATE---- and ----END CERTIFICATE----).
To add the Azure certificate to the EmpowerID certificate store
- Open the EmpowerID Certificate Manager utility. In a default installation of EmpowerID, the path to the executable is location at "
C:\Program Files\TheDotNetFactory\EmpowerID\Programs\EmpowerID.CertificateManager.exe"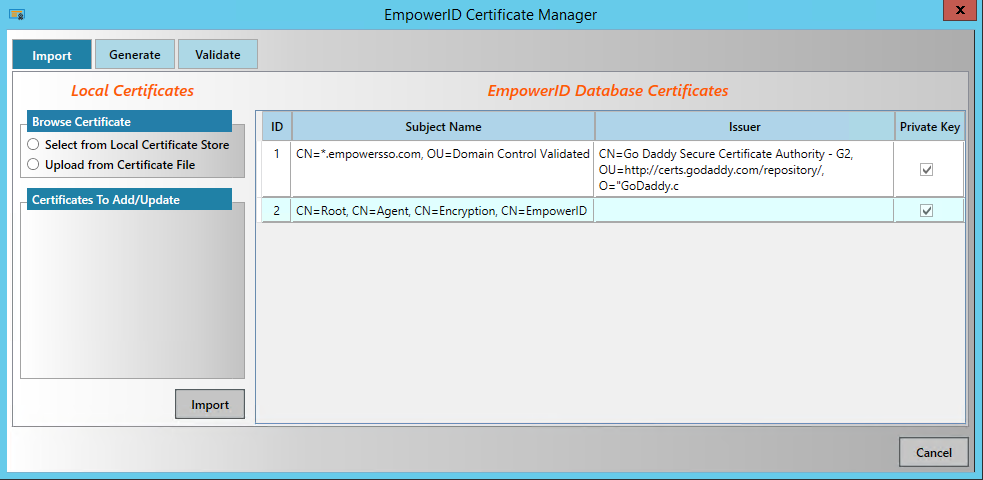
- From the Import tab of the EmpowerID Certificate Manager, select Upload from Certificate File and then browse for the file.
- Click No when asked if the certificate requires a password.
To create an EmpowerID Person account for the Azure connection
- Log in to the EmpowerID Web application as an administrator.
- From the Navigation Sidebar of the Web interface, expand Identities and click People.
- On the Person page, click the Create Person Simple Mode action.
- Enter a first name and a last name for the Person account in the First Name and Last Name fields, respectively. As this Person account serves as an identity for the Azure connection, you should name it accordingly. In our example, we are naming the Person "Azure Proxy."
- Underneath Primary Business Role and Location, click Select a Role and Location.
- In the Business Role pane of the Business Role and Location selector that appears, type Temp, press ENTER and then click Temporary Role to select it.
- Click the Location tab to open the Location pane and then type Temp, press ENTER and click Temporary Role to select it.
- Click Select to select the Business Role and Location for the Person account and close the Business Role and Location.
Click Save to create the EmpowerID Person.
To map the Azure certificate to the EmpowerID Person
- From the Navigation Sidebar, search for the person you just created and click the tile for that person.
- From the View page for the person, expand the Editable Multivalued Fields accordion (located near the bottom of the page) and then click the Edit link in the Mapped Login Certificates pane.
- Search for and select the Azure certificate.
Click Save.
Info Certificates can only be mapped to one person. If you decide at a later point in time to use another Person account for the Azure connection, you must remove the certificate mapping from the first EmpowerID Person before you can map it to the new person.
To create the Azure connection in EmpowerID
- Log in to the EmpowerID Management Console as an administrator.
- Click the application icon and select Configuration Manager from the menu.
- In Configuration Manager, select the Account Stores node and then click the Add New button above the grid.
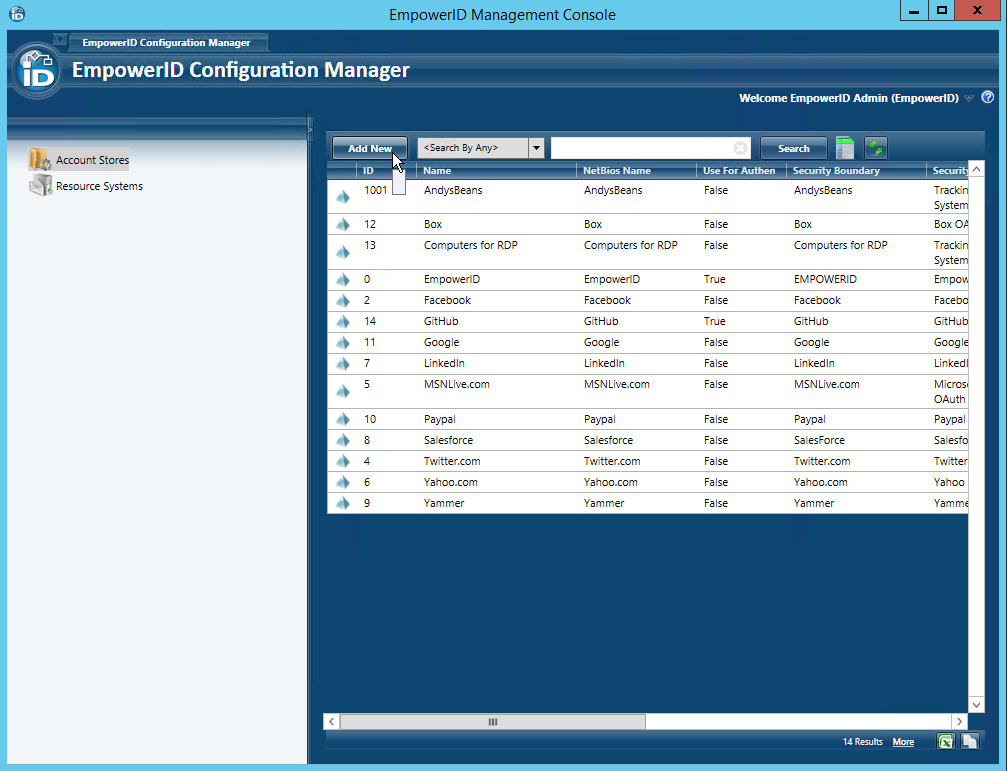
- In the Add New Security Boundary window that opens, select the Microsoft Azure Subscription Security Boundary type from the drop-down list and then click OK.
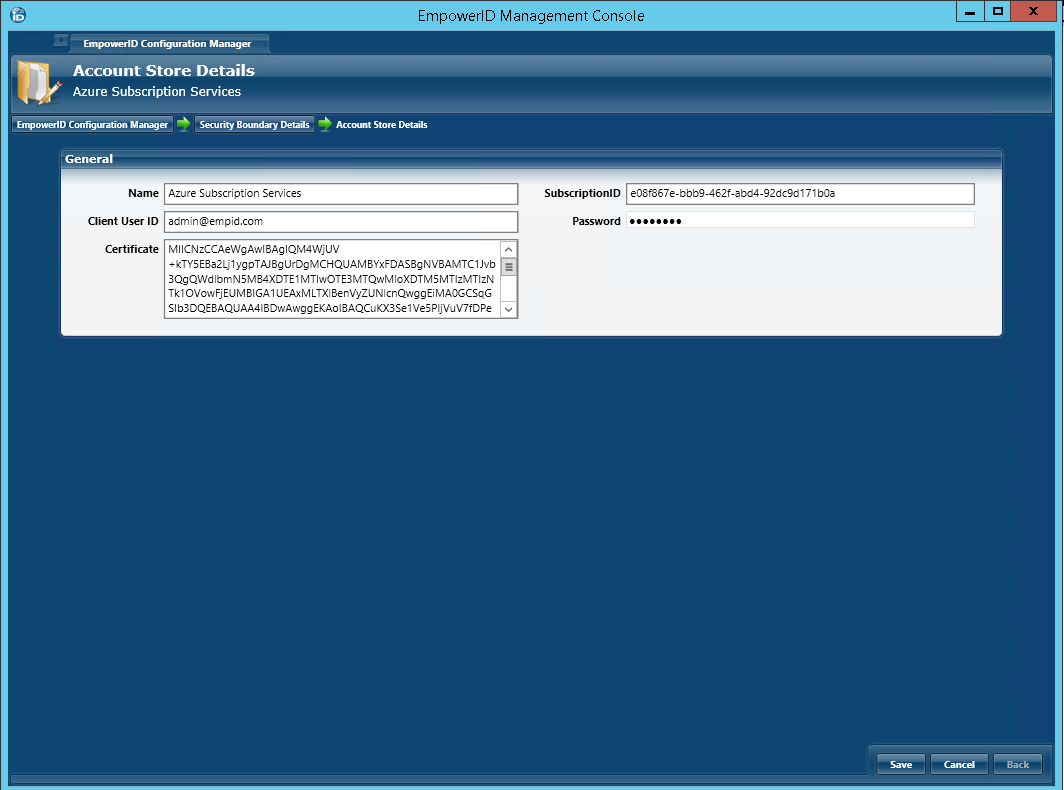
- In the Account Store Details window that appears, do the following:
- Type a name for the connector in the Name field.
- Type your Azure Subscription ID in the SubscriptionID field.
- Type the user id of an Azure administrator in the Client User ID field. This account is the proxy account that EmpowerID uses to inventory the Azure instances.
- Type the password for the above Azure administrator in the Password field.
- Paste the Base-64 encoded format of your Azure certificate in the Certificate field.
- Click Save.
- Back in the main screen of Configuration Manager, search for the account store you just created and then double-click it or right-click it and select Edit from the context menu.
- In the Azure Account Store Details screen that appears, scroll to the Inventory pane and toggle the red sphere to the left of Enable Inventory so that it becomes a green check box.
.
| Div | ||||||||||||||||||||||
|---|---|---|---|---|---|---|---|---|---|---|---|---|---|---|---|---|---|---|---|---|---|---|
| ||||||||||||||||||||||
|