Home / Identity Administration / User Accounts and Groups / Current: Adding Groups to Groups
EmpowerID allows you to easily add one or more groups as members of another group. When you do so, members of the added groups gain any entitlements and delegations associated with the group to which they are being added. For example, if you a group with a policy that specifies that members of that group have a home folder, and you add a group without such a policy to that group, then the members of the group without the policy will be given a home folder.
This topic demonstrates how to add groups to groups in EmpowerID.
...
| Info | ||
|---|---|---|
| ||
EmpowerID must first be connected to an external account directory, like Active Directory. For more information, see Connecting to Active Directory. |
To add a group to another group
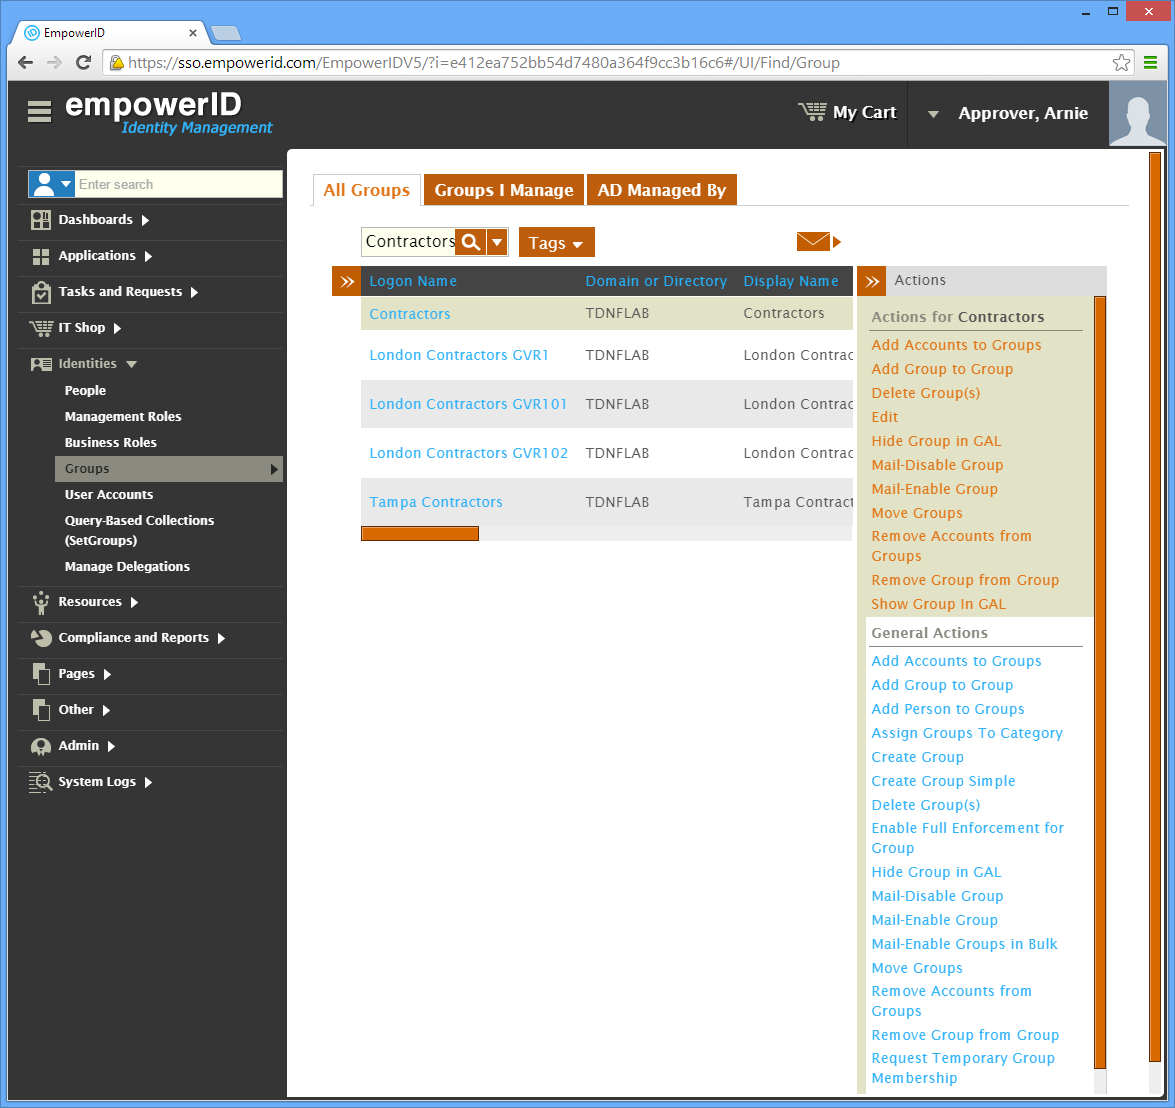
- In the Navigation Sidebar, expand Identities and click Groups.
Search for the group in which you want to nest another group and then click the record for that group. A list of contextual actions that can be executed against that group appear in the Actions pane.
Info In the following image, the Locations pane has been collapsed to conserve screen real estate.

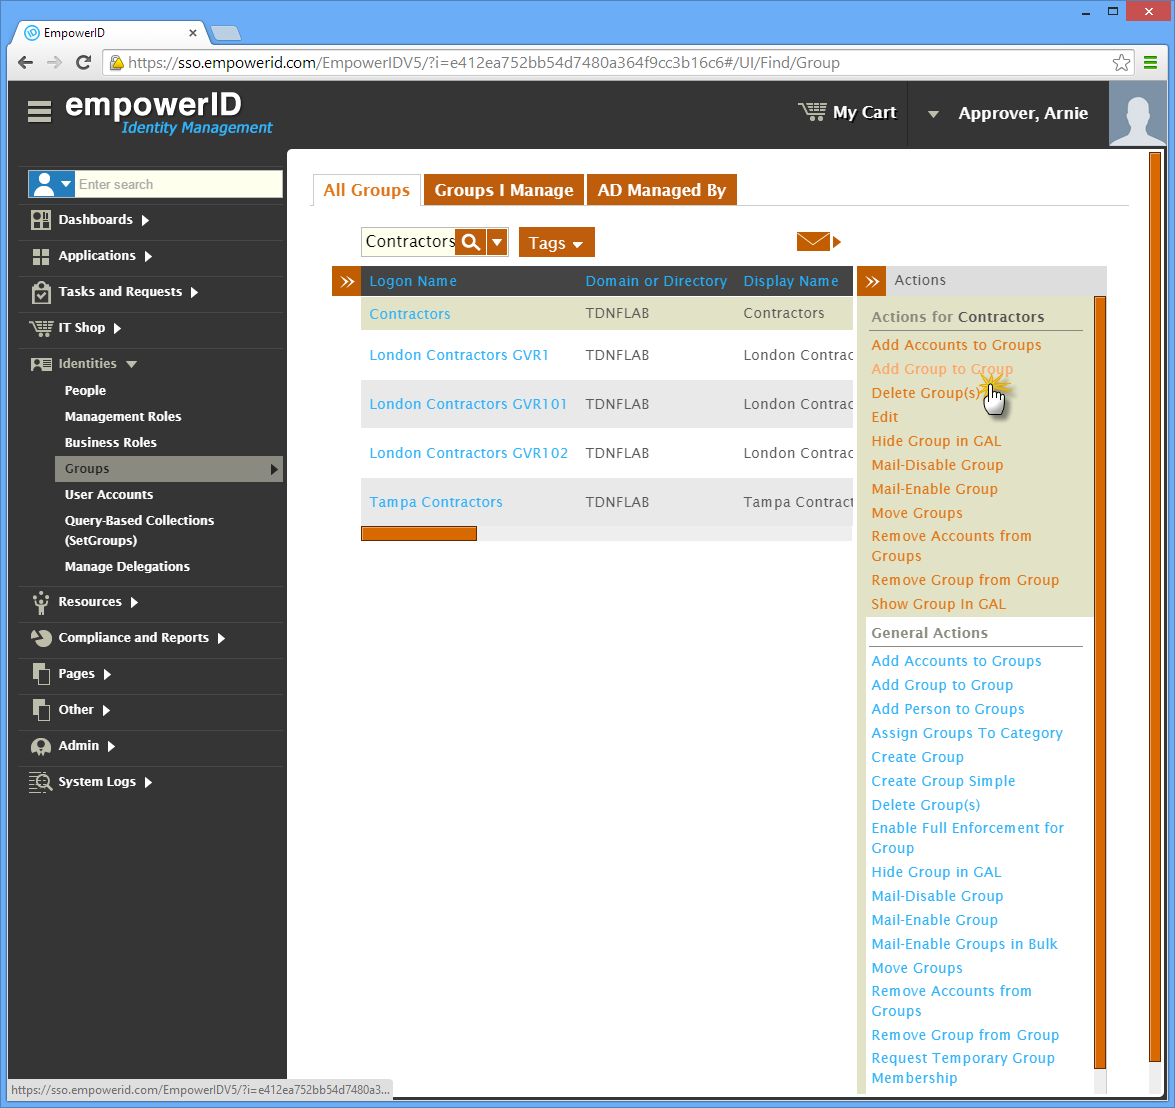
- Click the Add Group to Group action.
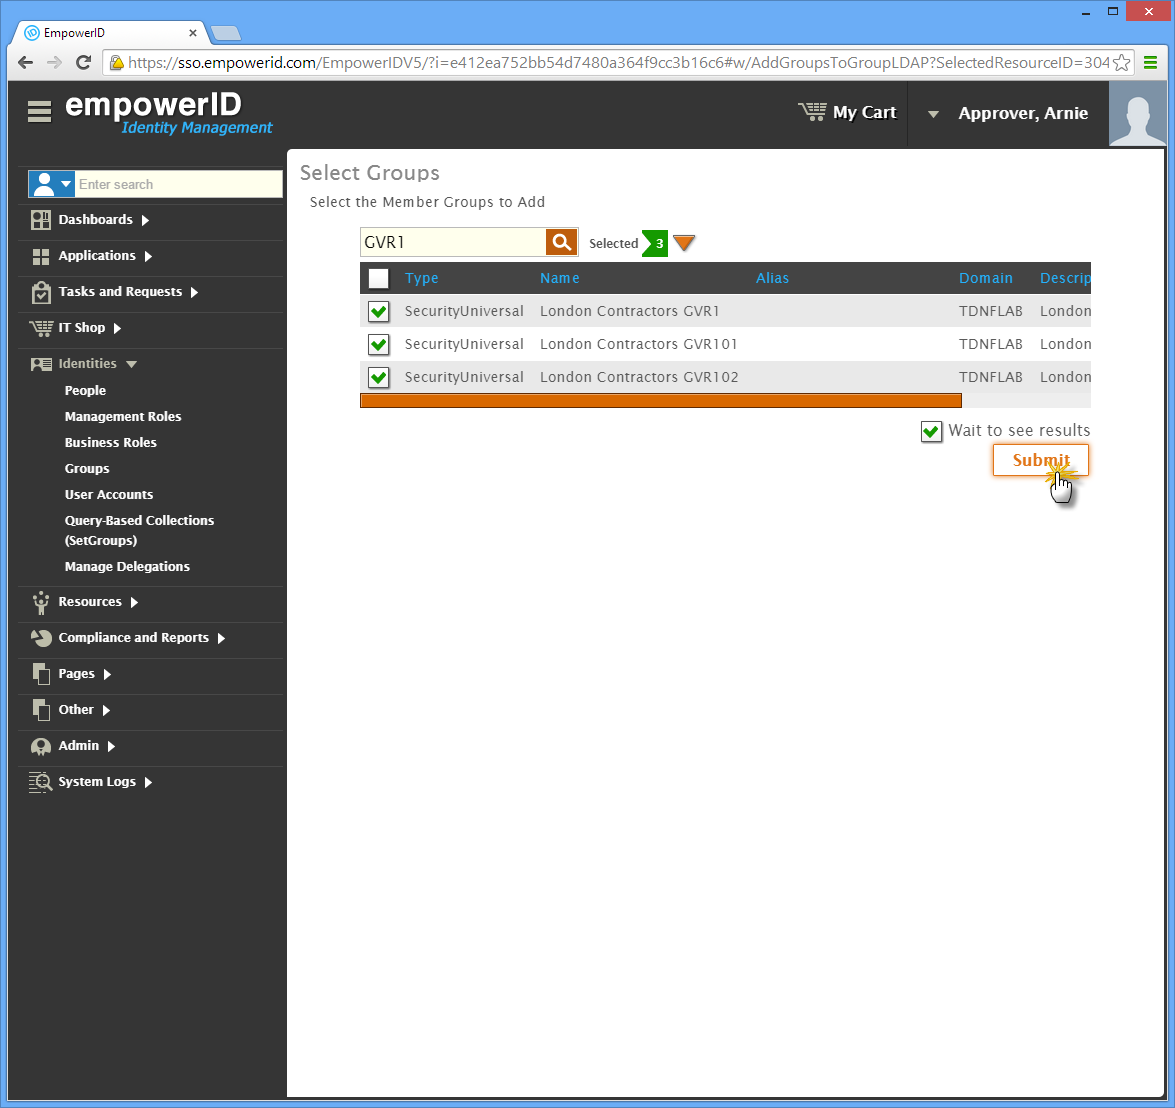
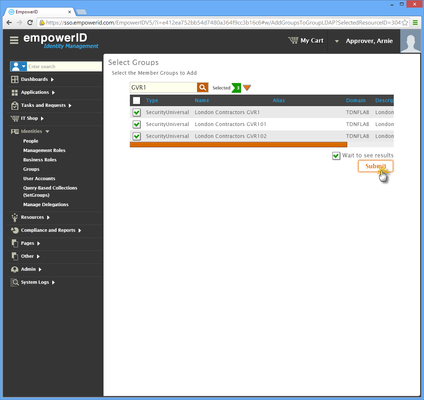
- In the Group Lookup that appears, search for the group you want to add to the group.
- Tick the box beside the group to select it.
- Repeat, steps 5 and 6, adding as many groups as needed.
- When you have finished adding groups, click Submit.
- Click Yes to confirm you want to add the group(s) to the group and then click OK to close the Operation Execution Summary.
To verify the nested group in EmpowerID
- Search for the group to which you just added the groups.
- From the grid, click the Logon Name link for the group.


This directs you to the View One page for the group. View One pages allow you to view details about an object in EmpowerID and make changes to those objects as needed.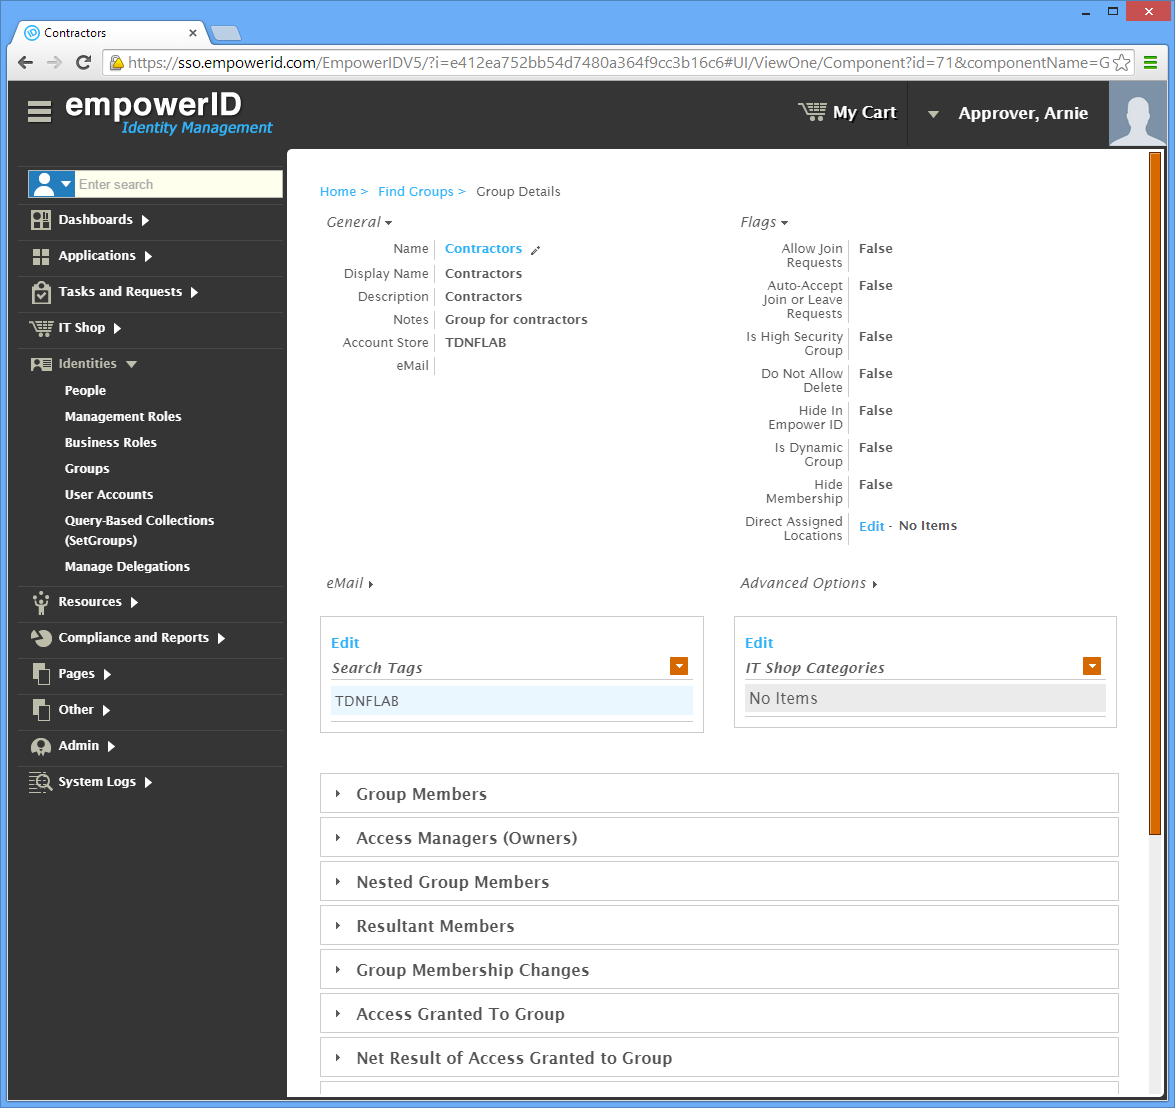

From the View One page, expand the Nested Group Members accordion to verify that records for the new members appear.


Tip If you have an email address that is registered in EmpowerID, you can have EmpowerID email you the group membership by clicking the email icon.
To verify the nested group in Active Directory
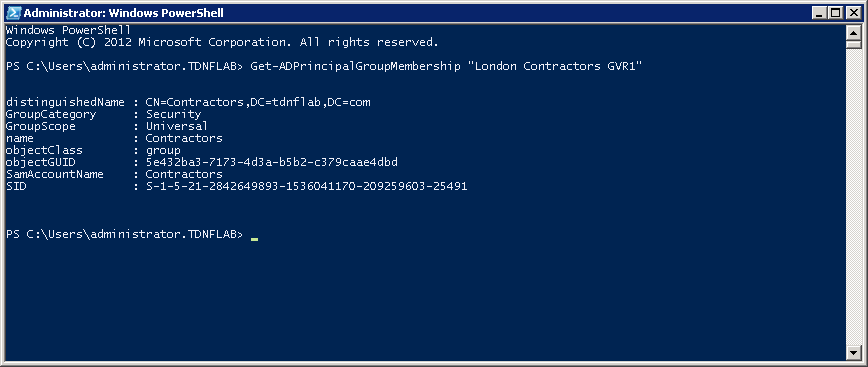
On a server with the Active Directory PowerShell module, run the following PowerShell cmdlet (substituting the group in the cmdlet with the group you nested):
Code Block language powershell theme Emacs Get-ADPrincipalGroupMembership "London Contractors GVR1"
- Verifty that the group is a member of the group to which you added it.