| Style | ||
|---|---|---|
| ||
...
This topic demonstrates how to assign Management Roles to different types of users in EmpowerID.
To assign Management Roles to People
- In the navigation sidebar, expand Identities and click Management Roles.
- Search for the Management Role you want to assign and click the Display Name link for that role.

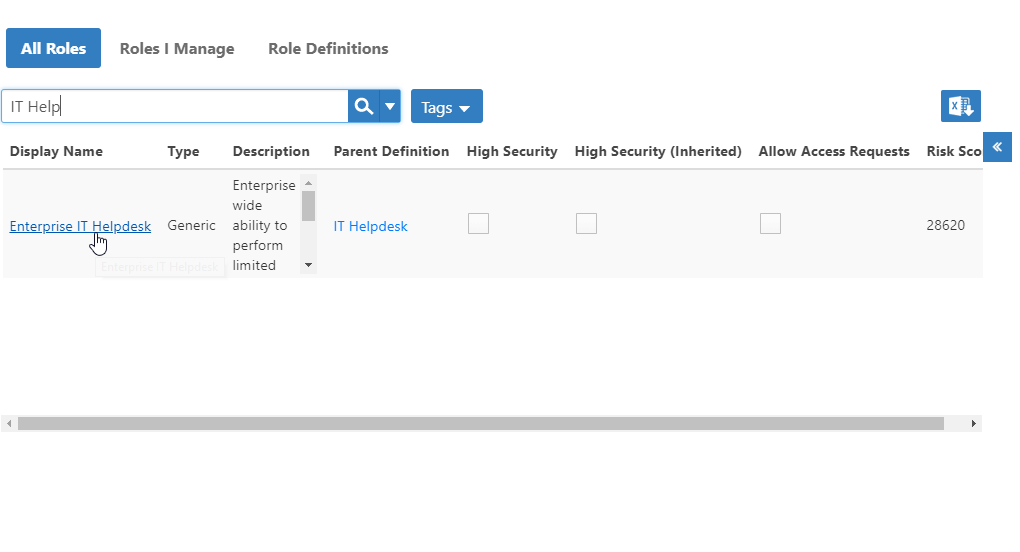
This directs you to the View One page for the Management Role. View One pages allow you to view and make changes to EmpowerID objects.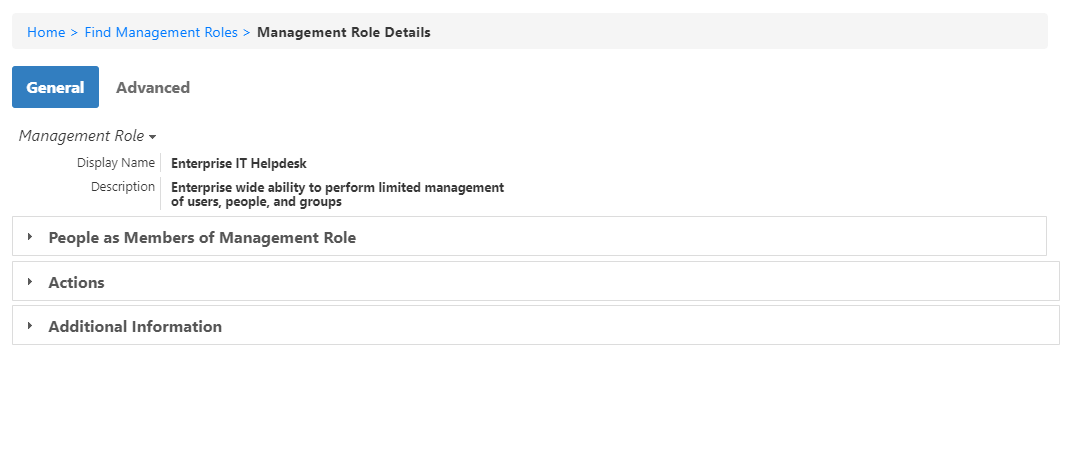

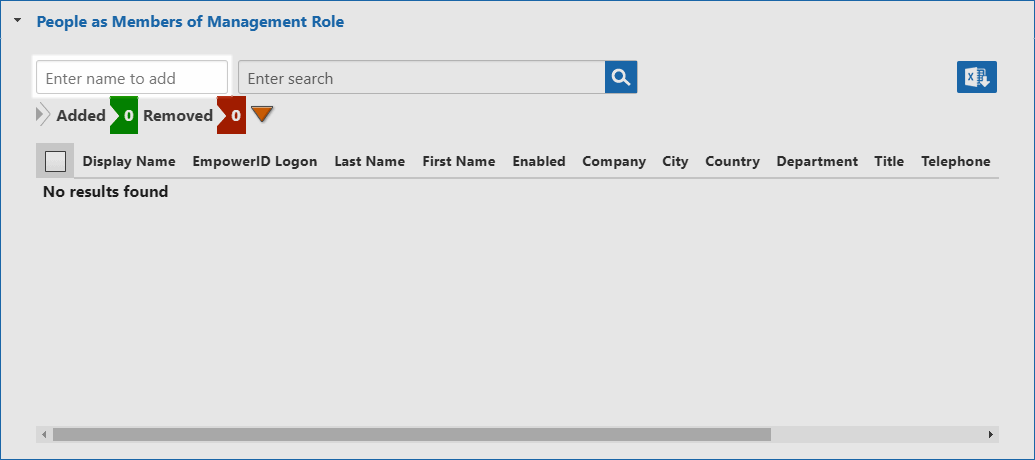
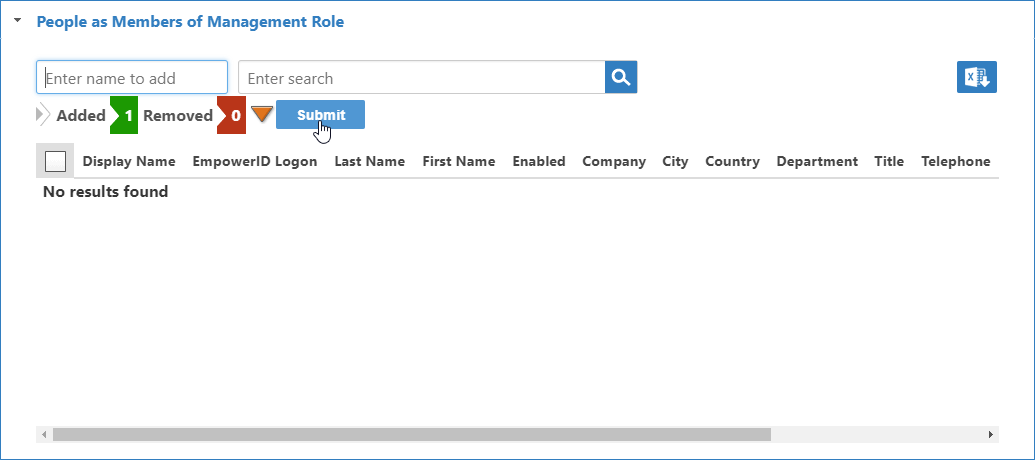
- Expand the People as Members of Management Role accordion and enter the name of the Person you want to add to the role in the Enter name to add field.
- In the Enter a Person Name to Add field that appears, enter the name of the person that you want to make a member and then click the tile for that person.
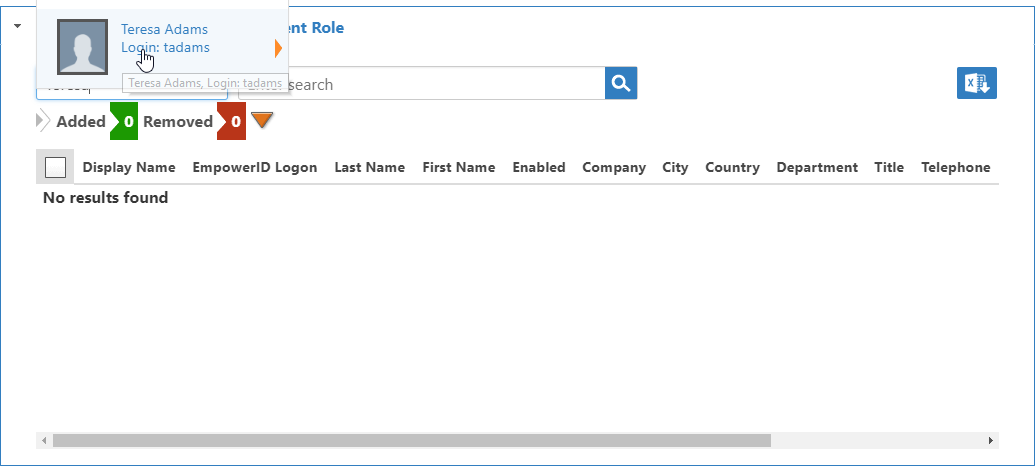
- Repeat for each person you want to add to the role.
- When finished adding people, click Submit.
To assign Management Roles to Other types of Users
- In the navigation sidebar, expand Identities and click Management Roles.
Search for the Management Role you want to assign and click the Display Name link for that role.
- On the View One page for the Management Role that appears, click the Advanced tab.
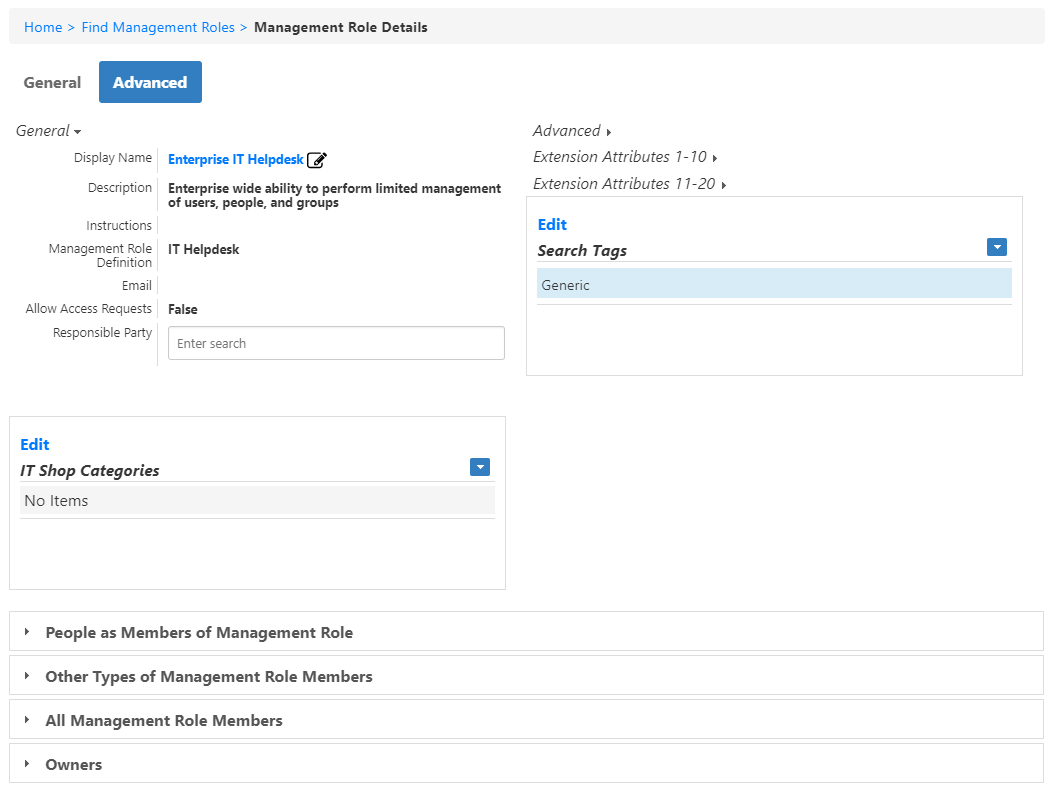

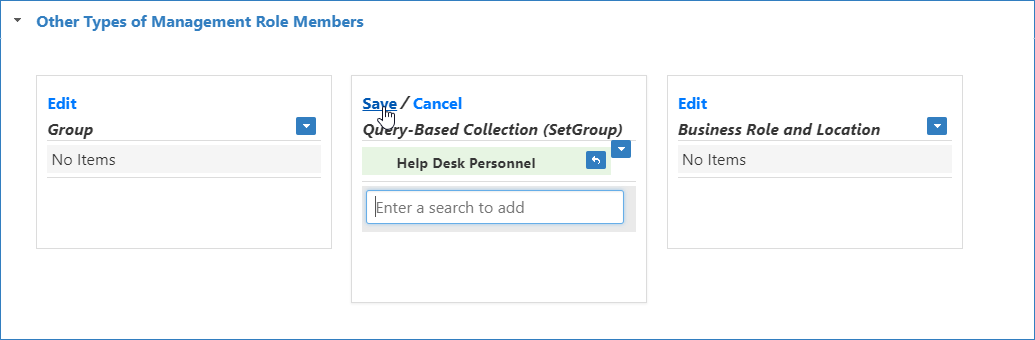
- Expand the Other types of Management Role Members accordion.

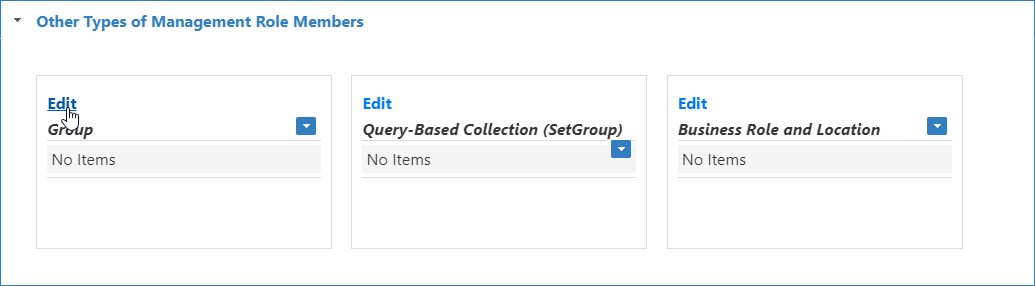
- From the accordion, click the Edit link for the member type you want to make a member of the role. This example assigns the Management Role to a group.
- In the Search field that appears, enter the name of the member to assign to the Management Role and click the tile for that member. This example adds the Help Desk Personnel Query-Based Collection to the Management Role.
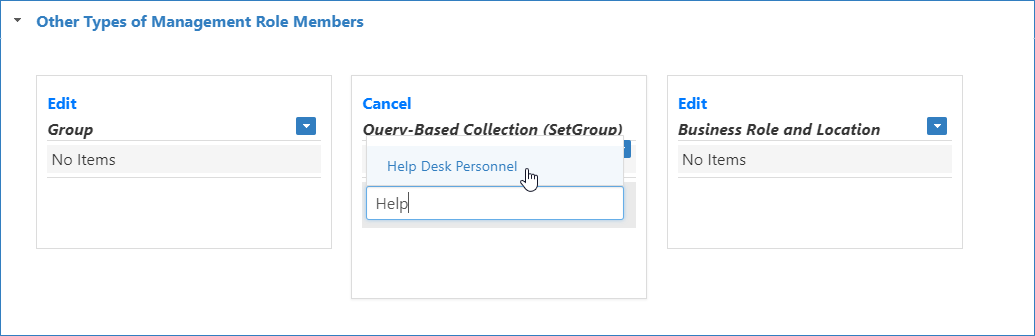
- Click Save.
...