EmpowerID ships with over 100 email templates for every situation that we have identified that warrants a notification. Many of these must be enabled explicitly.
You can use email test mode to send all email notifications to one email account to ensure that you have them configured correctly before you begin sending them out to users.
To enable email test mode
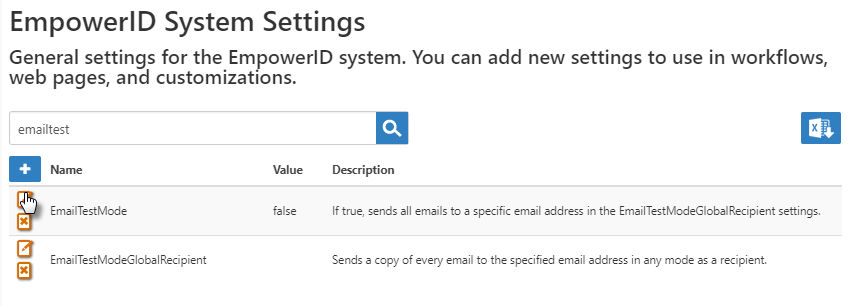
- In the web application, expand Admin, then EmpowerID Servers and Settings, and click EmpowerID System Settings.
- Search for "emailtest" and click the Edit button next to EmailTestMode.
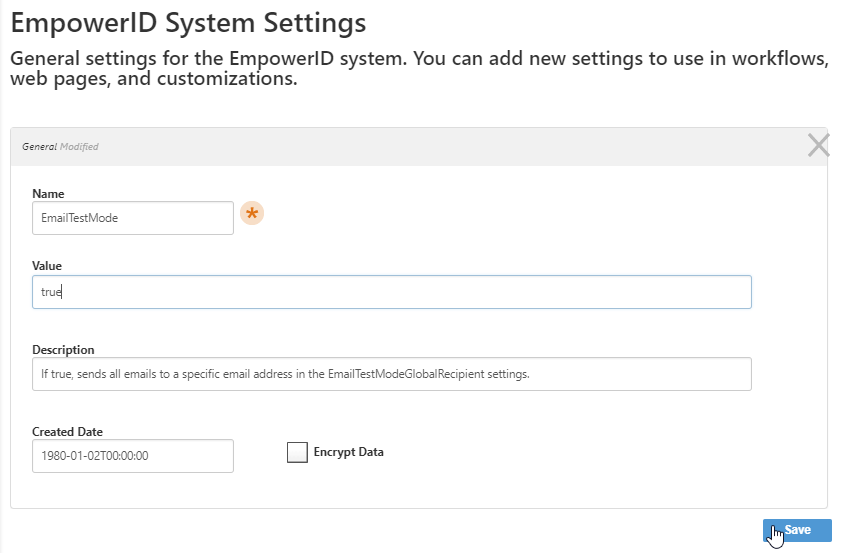
In the dialog that appears, change the Value from false to true and click Save.
Warning Do not change the Name field. Changing the Name field disconnects the setting from EmpowerID.
- To set the email address to which to send all notifications, click the Edit button next to EmailTestModeGlobalRecipient.
In the dialog that appears, enter the email address in the Value field and click Save.
Warning Do not change the Name field. Changing the Name field disconnects the setting from EmpowerID.
Note A copy of every email is sent to the email address provided here, even after you turn off test mode. This is a good way to keep an archive of every email.
Message recipients
- Onboarding emails are sent to the newly created person, and to the manager specified in the CreatePerson workflow.
- Approval emails are sent to the people who run request workflows and, if they are sent for approval, those who approve them.
- Password emails, expiration warnings, and other personal notifications are sent to the affected user.
- Management role notification emails are sent to people who have management roles that enable them to receive the messages.
- EmpowerID Security Alerts — Allows admin users to receive security event related alerts.
- EmpowerID System Notifications — Allows users to receive alerts concerning EmpowerID system events such as failed jobs.
- Group Membership Change Alerts — Allows admin users to receive notifications of group membership changes.
- Group Owner Notifications — Allows group owners to receive notifications of group membership changes.
To see all Notifications type management roles in the web application, expand Identities and click Management Roles, then click the Type heading twice to sort descending.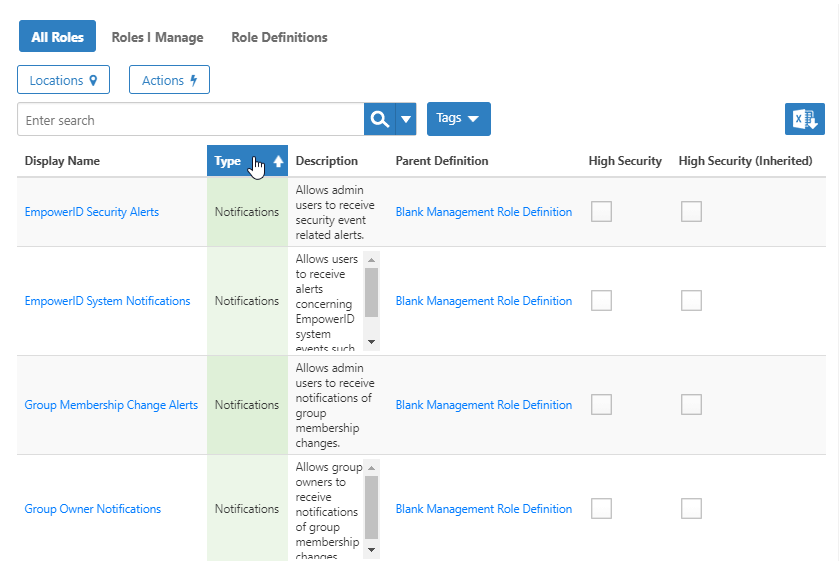
You can assign these management roles to any person, business role and location, group, or query-based collection. See Assigning Management Roles for more information.
- Dynamic hierarchy alerts, if enabled and if the group is mail-enabled, are sent to the person, management role, or group specified in
- https://sso.empowersso.com/UI/#w/assignpeopletoalerts
-

- or https://sso.empowersso.com/UI/#w/
- assignmanagmentrolestoalerts
- or https://sso.empowersso.com/UI/#w/assigngroupstoalerts
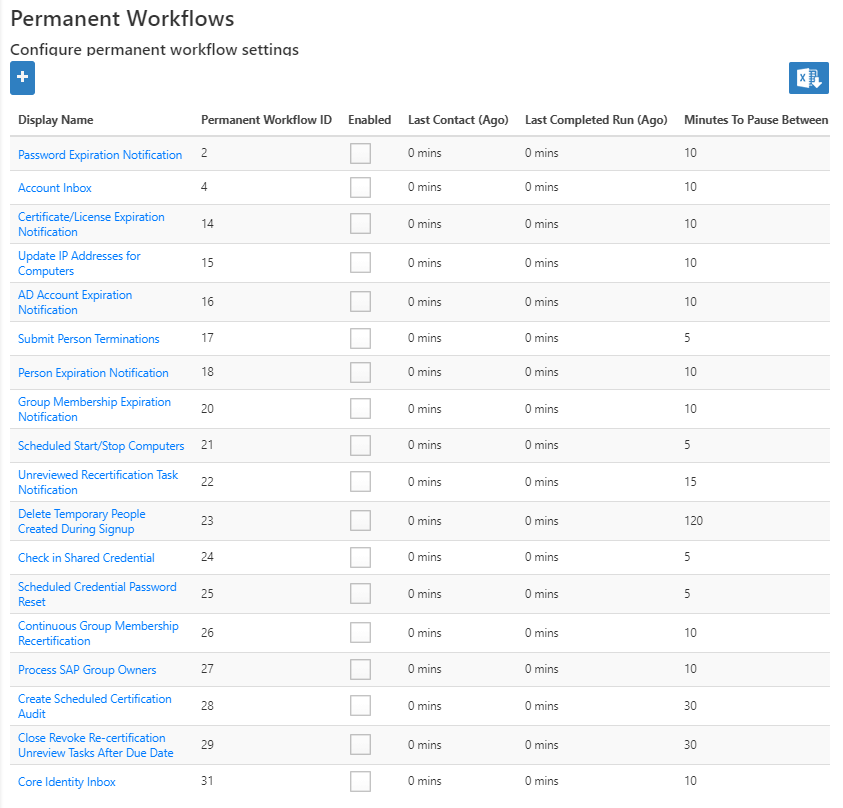
Permanent workflows
Permanent workflows trigger some notifications. These workflows are disabled by default.
To access permanent workflows in the web application, expand Admin, then EmpowerID Servers and Settings, and click Permanent Workflows.
Request workflows
A request workflow is one that runs in response to a request by a person. Some request workflows send notifications that are necessary to ensure that EmpowerID runs smoothly. Some have optional approvals that you can enable as workflow parameters.
You can schedule re-notifications or manager escalations on individual workflows in the web application. Re-notifications send email to the task owner, and manager escalations send email to the task owner's manager.
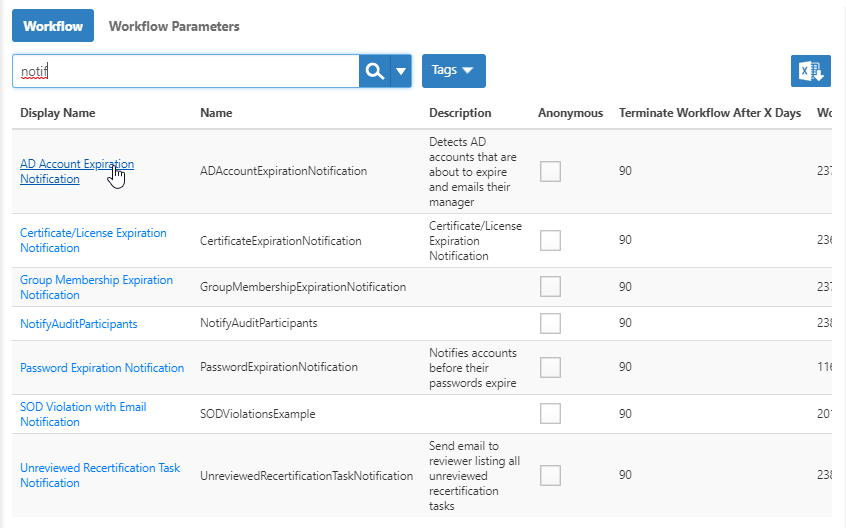
- Expand Resources and click Workflows. (Search for "notif" to find workflows that specifically send notifications.)
Click a workflow's Display Name, and on the Workflow Details page that appears, click the Edit icon.
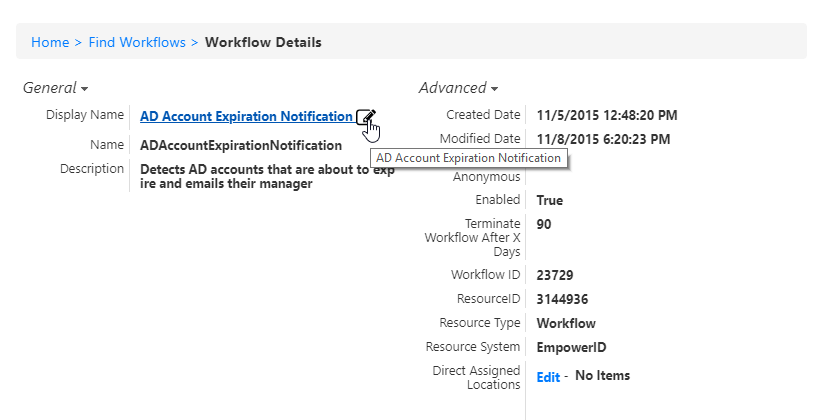
Info On the General tab, you can disable the workflow.
- Click the Schedule tab, and in the Task Owner Renotification section, you can enable and schedule re-notifications.
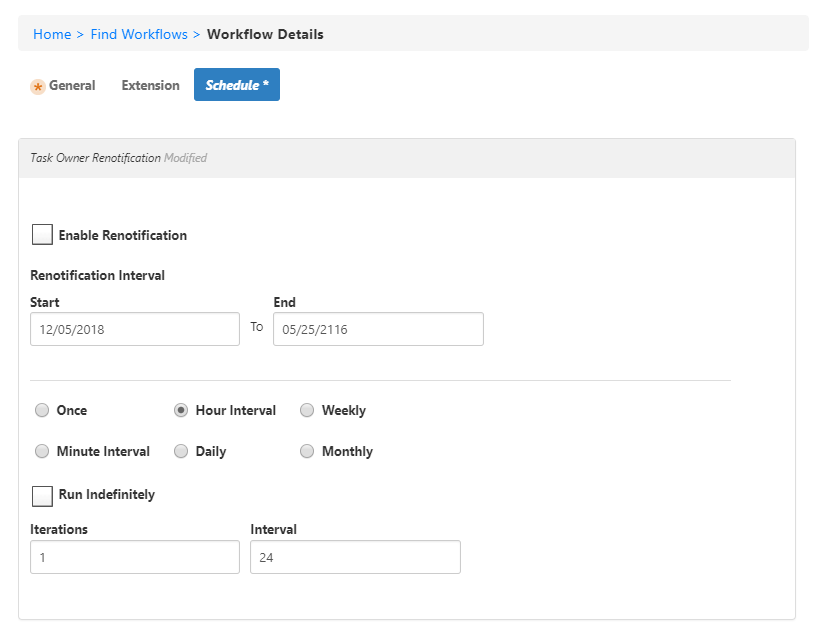
- In the Task Owner Manager Renotification section, you can enable and schedule manager notifications.
Email templates
You can find all of EmpowerID's email templates in the database in the EMailMessage table, or in the web application by expanding Admin, then Miscellaneous, and selecting Localized Emails. See Localized Emails for details on how to edit, translate, and create emails.
Email messages fall into several categories.
| Div | ||||||||||||||||||||||
|---|---|---|---|---|---|---|---|---|---|---|---|---|---|---|---|---|---|---|---|---|---|---|
| ||||||||||||||||||||||
|