...
- From the navbar, expand Privileged Access and click Request Access.
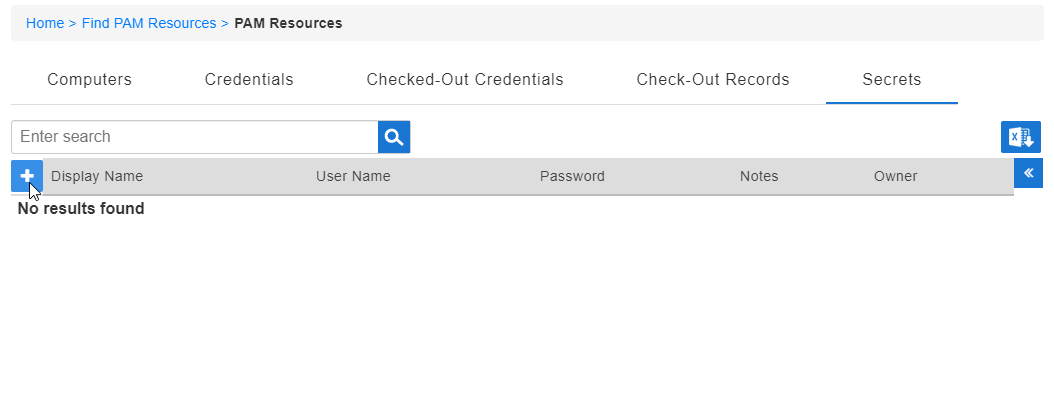
- Click the Secrets tab and then click the Create New Secret button.
This opens the Password Vault Data form, which contains contextual fields related to the secret type.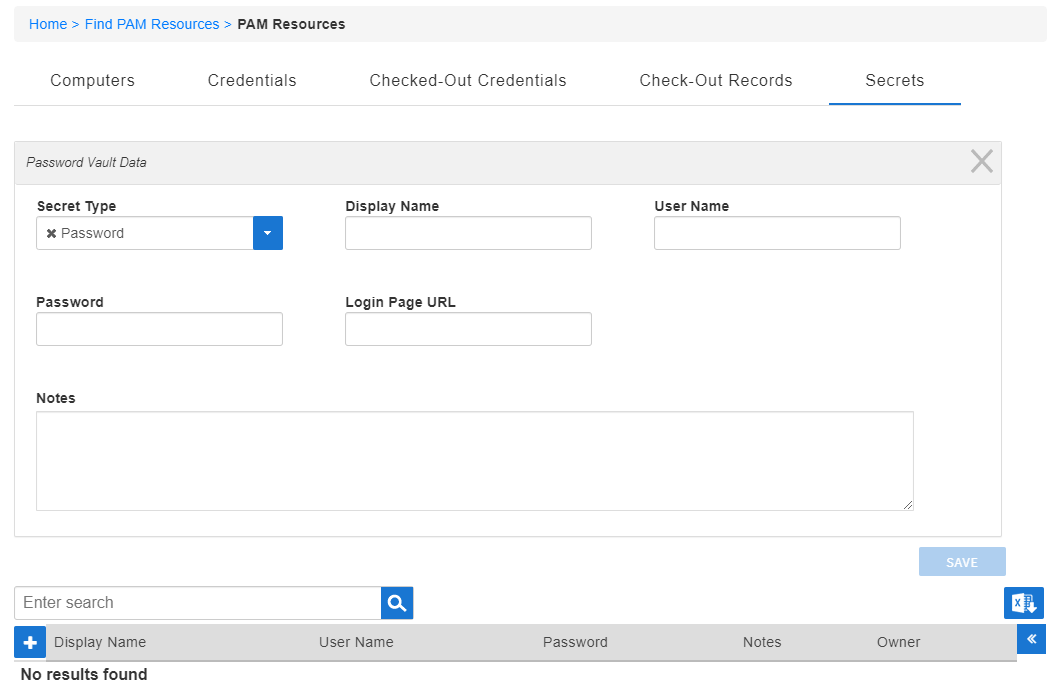
- Select the type of you want to create from the Secret Type field. In this example, we are vaulting password information for a personal account in a Web application..
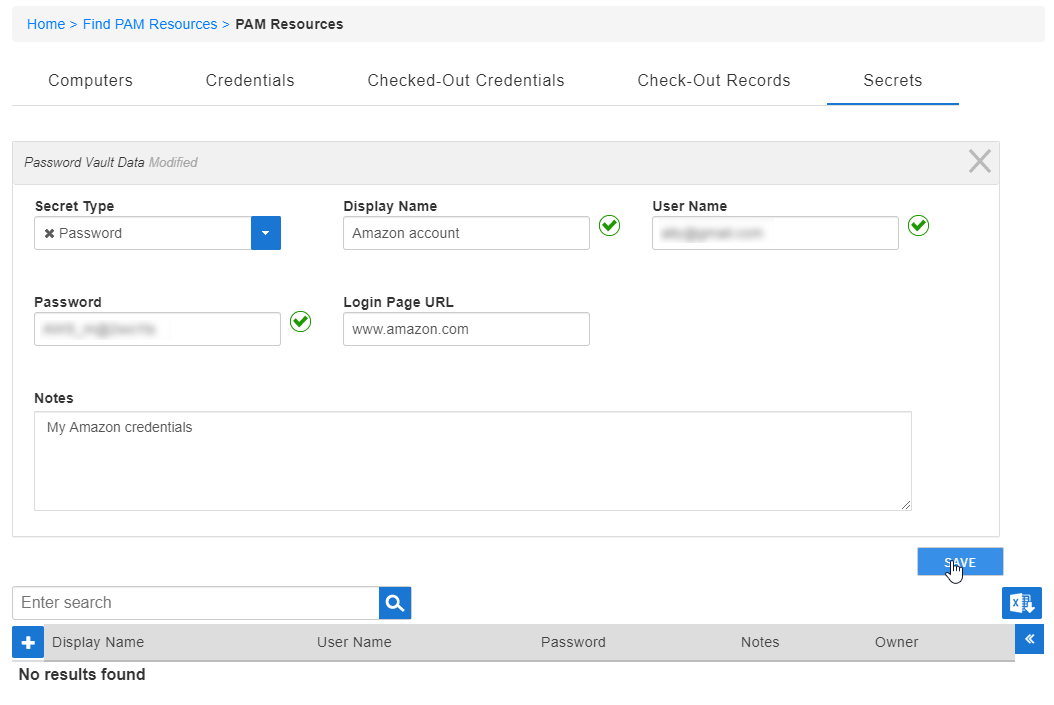
- Enter a Display Name for the secret in the Display Name field. What you enter here is what displays to you in the EmpowerID UI.
- Enter the User Name for the account in the User Name field.
- Enter the Password for the account in the Password field.
- Optionally, enter the Login Page URL in the Login Page URL field.
- Optionally, enter any Notes in the Notes field.
- Click Save.
- Enter your Master Password and then click OK.
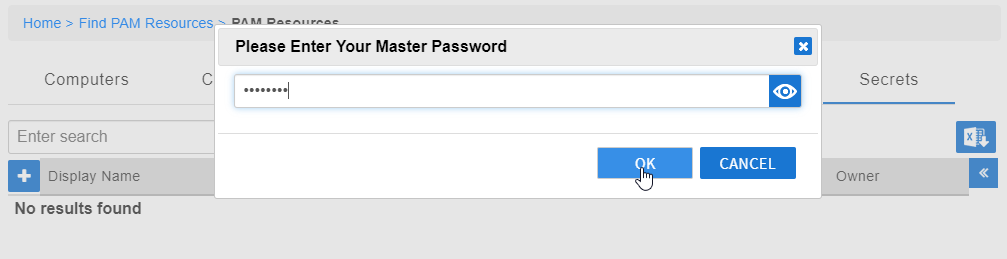
Once EmpowerID processes your request, you will see the secret in the Secrets tab. This secret will only show for you and for those people with whom you share it.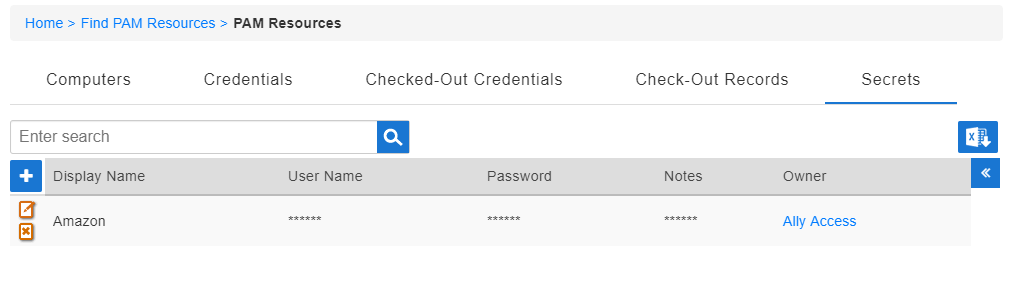
| Insert excerpt | ||||||
|---|---|---|---|---|---|---|
|