| import | https://docs.empowerid.com/docs.css |
|---|
EmpowerID includes a number of CRUD (create, read, update, delete) workflows for manipulating directory objects via the EmpowerID Virtual Directory. These workflows include the following.
| Workflow | What it does in an EmpowerID connected directory |
|---|---|
LDAPCreateAccount | Creates a new user account object |
| LDAPCreateOU | Creates a new OU container |
| LDAPCreateGroup | Creates a new group object |
| LDAPUpdateAccount | Updates an account object |
| LDAPUpdateOU | Updates an OU container |
| LDAPUpdateGroup | Updates a group object |
| LDAPDeleteAccount | Deletes a user account object |
| LDAPDeleteOU | Deletes an OU container |
| LDAPDeleteGroup | Deletes a group |
In this topic, we demonstrate how to create new directory objects by creating a new AD user account from the EmpowerID Virtual Directory.
...
To create a new user account via the EmpowerID Virtual Directory
| Info |
|---|
Depending on the tool you use for managing directory objects, the steps depicted below may differ for you. |
- From your LDAP management tool, navigate to the EmpowerID root tree node and then expand the o=empowerid and cn=directories nodes.
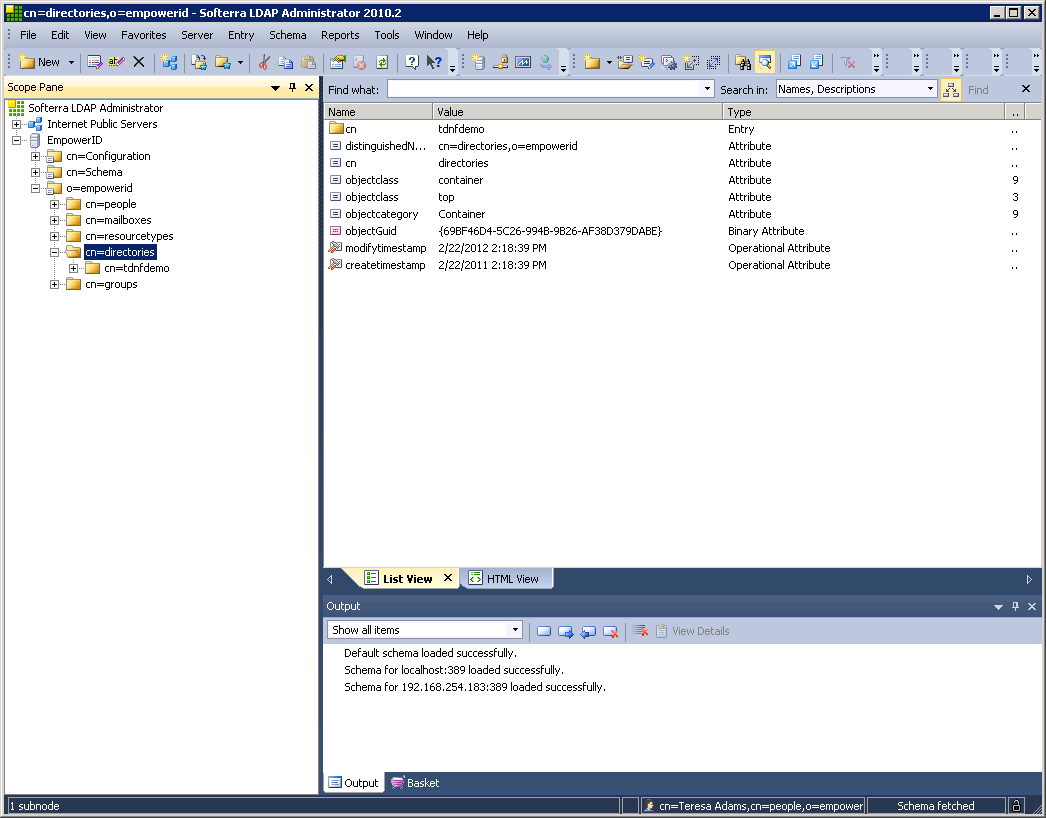
- Expand the the appropriate directory node and locate the OU in which you wish to place the new user account.
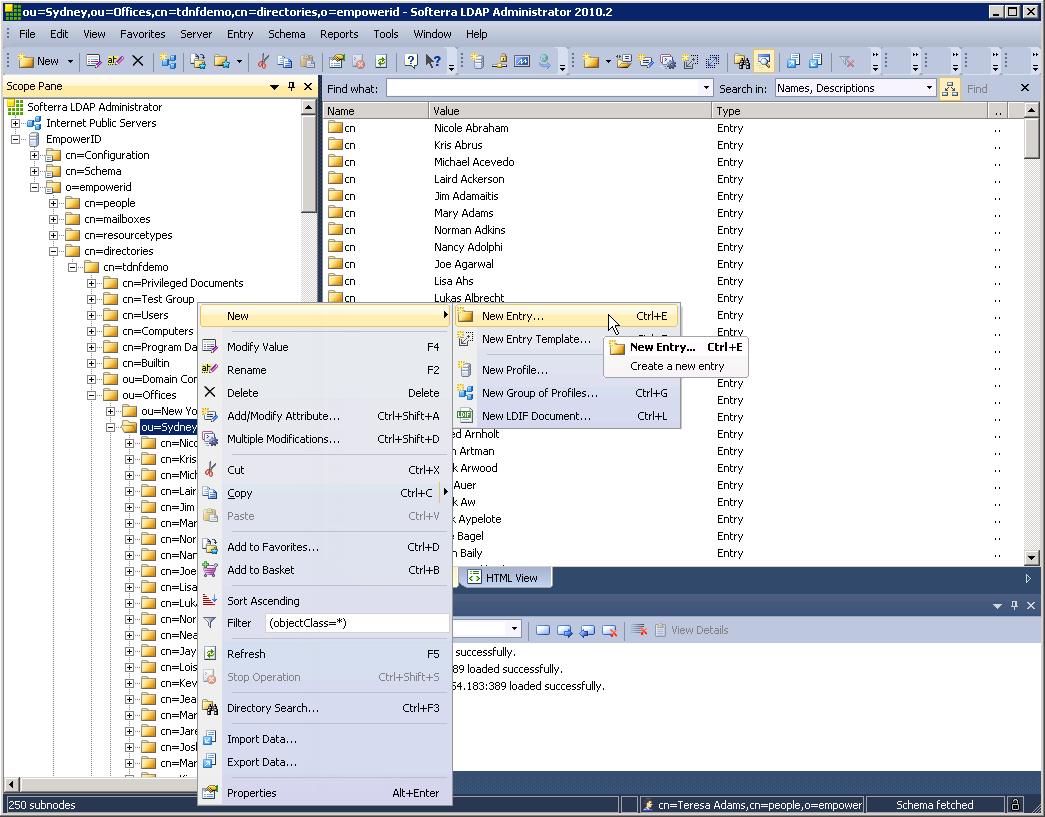
- Right-click the OU node and select New, then New Entry.
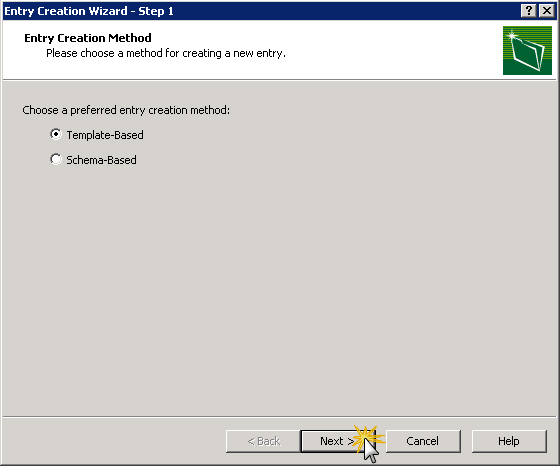
- In the Entry Creation Wizard that appears, select Template-Based and then click Next.
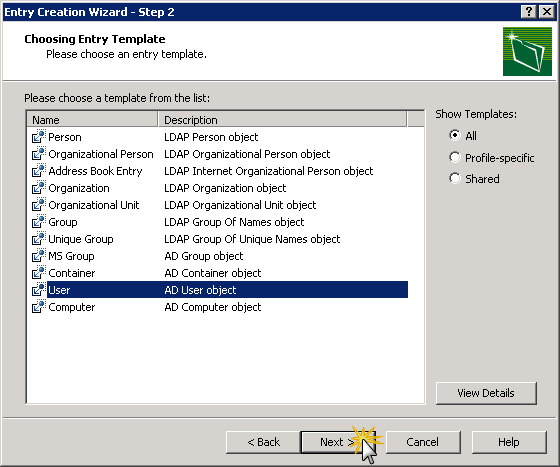
- Select User and then click Next.
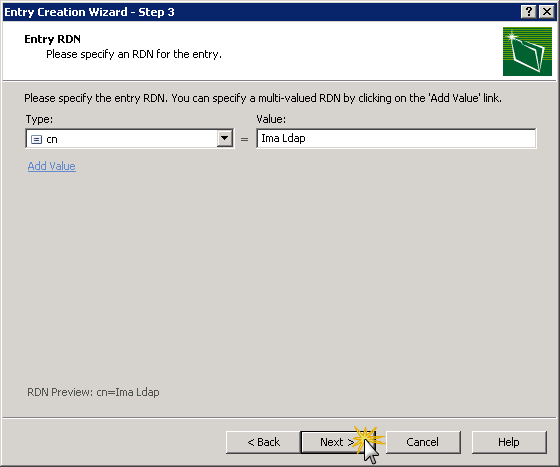
- Specify cn as the RDN type, enter the appropriate value for the type and then click Next.
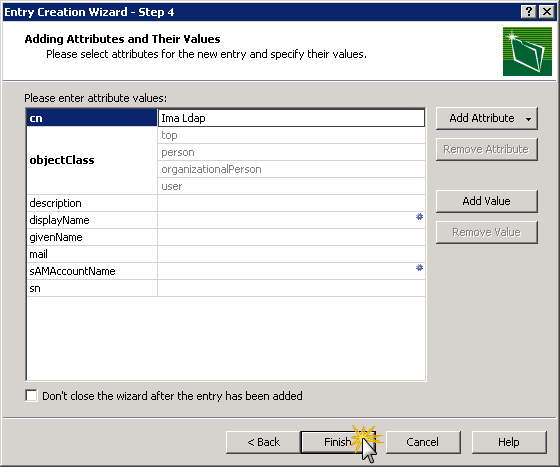
- Review the entry and then click Finish.
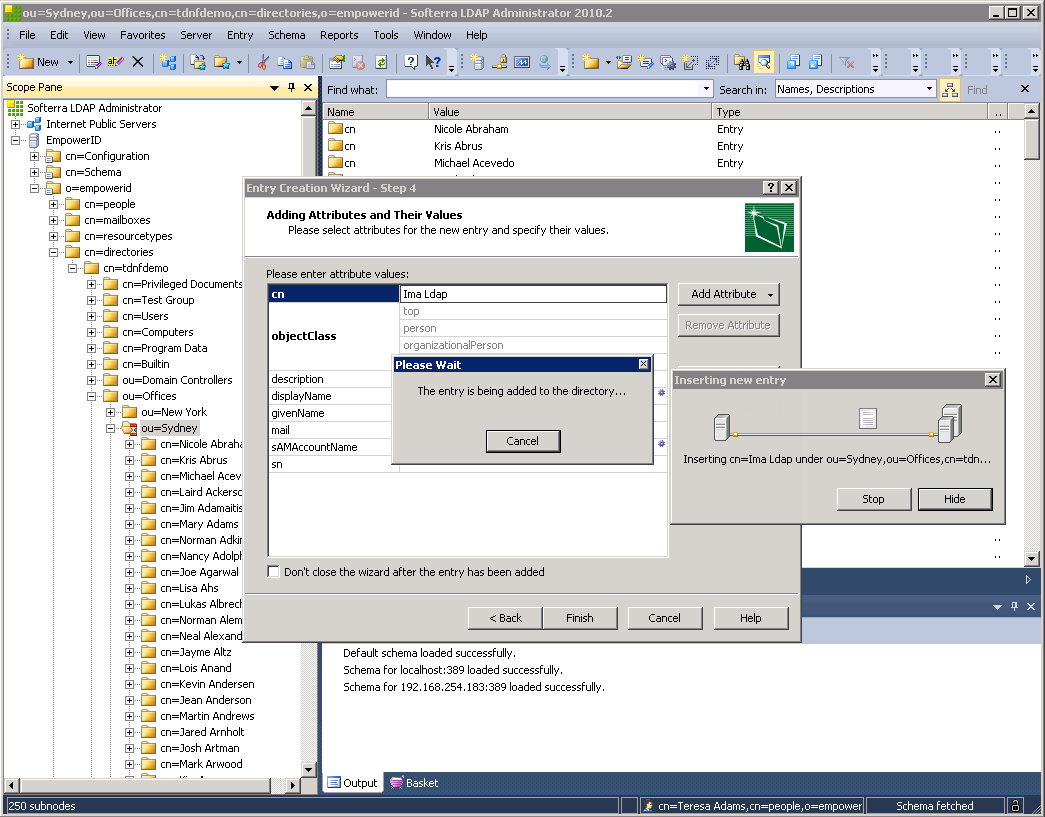
- Wait while the workflow executes.
| Style | ||
|---|---|---|
| ||