Versions Compared
| Version | Old Version 16 | New Version Current |
|---|---|---|
| Changes made by | ||
| Saved on |
Key
- This line was added.
- This line was removed.
- Formatting was changed.
| Insert excerpt | ||||||
|---|---|---|---|---|---|---|
|
EmpowerID UltiPro connector allows organizations to bring the user and group data in their UltiPro system to EmpowerID, where it can be managed and synchronized with data in any connected back-end user directories. Once connected, you can manage this data from EmpowerID in the following ways:
Account Management
Inventory user accounts
Create, Update and Delete user accounts
Enable and Disable user accounts
Group Management
Inventory groups
Inventory group memberships
Create and Delete groups
Add and Remove members to and from groups
Attribute Flow
Users in UltiPro are inventoried as accounts in EmpowerID. The below table shows the attribute mappings of UltiPro user attributes to EmpowerID Person attributes.
UltiPro Attribute | Corresponding EmpowerID Attribute | Description |
|---|---|---|
EmployeeID | EmployeeID | Employee ID assigned to a user |
EmployeeType | EmployeeType | Employee Type of a user |
EmployeeStatus | Status | Employee Status of a user |
JobCode | JobCode | Employee job code |
FirstName | FirstName | First Name of a user |
PreferredFirstName | PreferredFirstName | Preferred First Name of a user |
LastName | LastName | Last Name of a user |
MiddleName | MiddleName | Middle Name of a user |
Email address of a user | ||
WorkPhone | Telephone | Main work telephone number of a user |
HomePhone | HomeTelephone | Main home telephone number of a user |
JobTitle | Title | Job title of a user |
DateOfBirth | DateOfBirth | Birth date of a user |
Department | Department | Department in which a user works |
DepartmentNumber | DepartmentNumber | Department Number where a user works |
Company | Company | Company where a user works |
Division | Division | Organizational division where a user works |
Location | Location | Location of user |
Manager | ManagerPersonID | Employee ID of user’s manager |
| Info |
|---|
In order to connect EmpowerID to UltiPro, you must have an UltiPro account that is configured to interface with external systems. This means that you must have the following (provided by UltiPro):
These values are used to authenticate EmpowerID to UltiPro. In addition, you must create a report as a Web service that specifies the fields you want to expose and then provide EmpowerID with the path to that service. Additionally, you will need to create a report and expose it as a service. The report needs to have the below fields. Fields designated as required indicate that a value must be provided. |
Field Position | Description | Required |
|---|---|---|
1 | Last Name | Yes |
2 | Middle Name | No |
3 | First Name | Yes |
4 | Preferred First Name | No |
5 | Location | No |
6 | Phone Number | No |
7 | Email Address | No |
8 | Mobile Phone | No |
9 | Job Title | No |
10 | Department Name | No |
11 | Company | No |
12 | Manager Name | No |
13 | Manager ID | No *Required if Manager Name is provided |
14 | Employee ID | No *Must be unique for each employee |
15 | Windows Login | No |
16 | Sales ID | No |
16 | Sales ID | No |
17 | Manager Flag | Yes *Yes for manager; No for non-manager |
18 | Employee Status | Yes *Active, Terminated |
19 | Employee Type | No |
20 | Sales Force | No |
21 | Date Of Birth | No |
22 | Division | No |
23 | Business Unit | No |
24 | Department Summary | No |
25 | Hire Date | No |
To create an UltiPro account store in EmpowerID
In On the navigation sidebarnavbar, expand Admin > Applications and Directories and then click Account Stores and Systems.
On the Account Stores page, click Create Account Store.
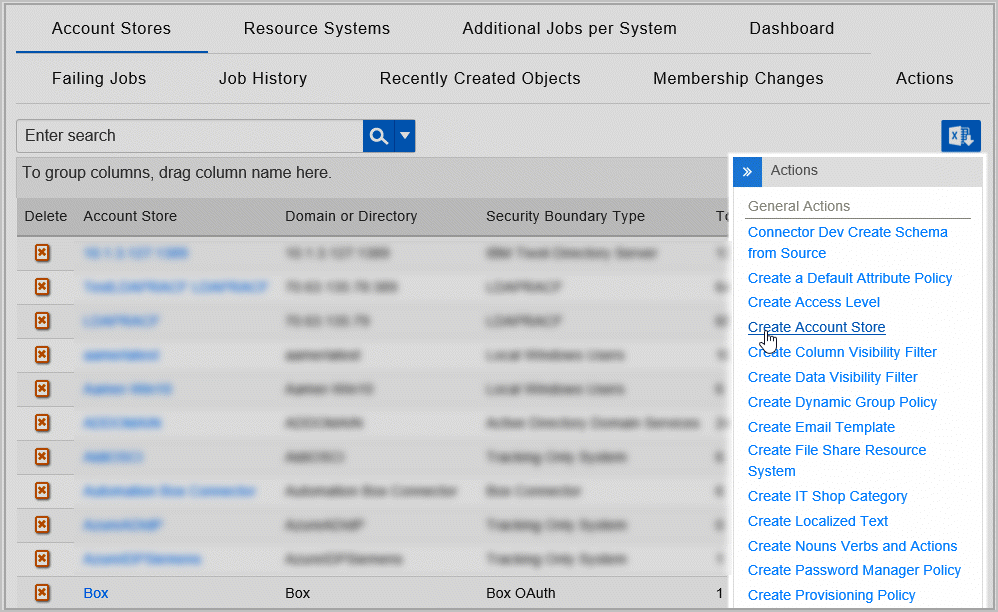 Image Removed
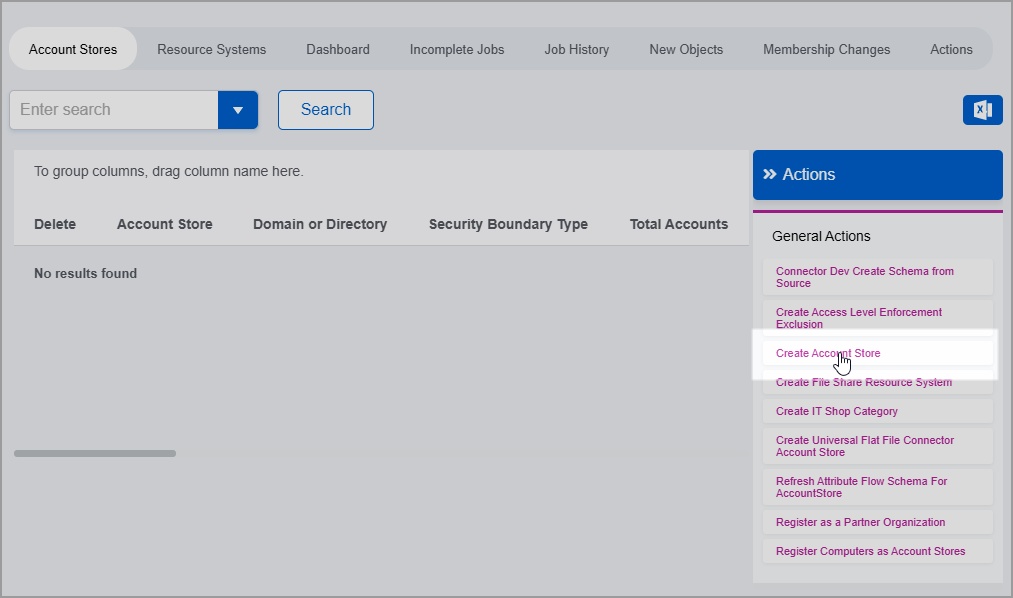 Image Added
Under System Types, search for UltiPro.
Click UltiPro to select the type and then click Submit.
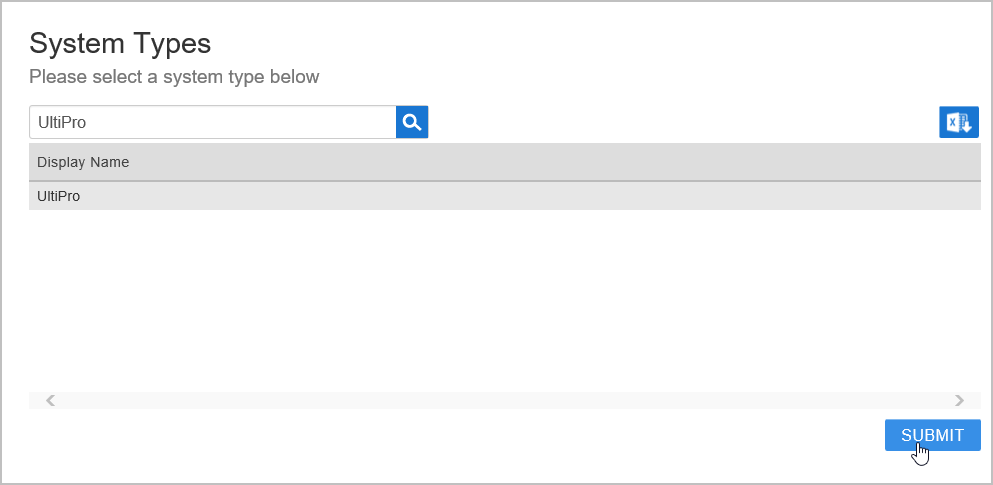 Image Removed
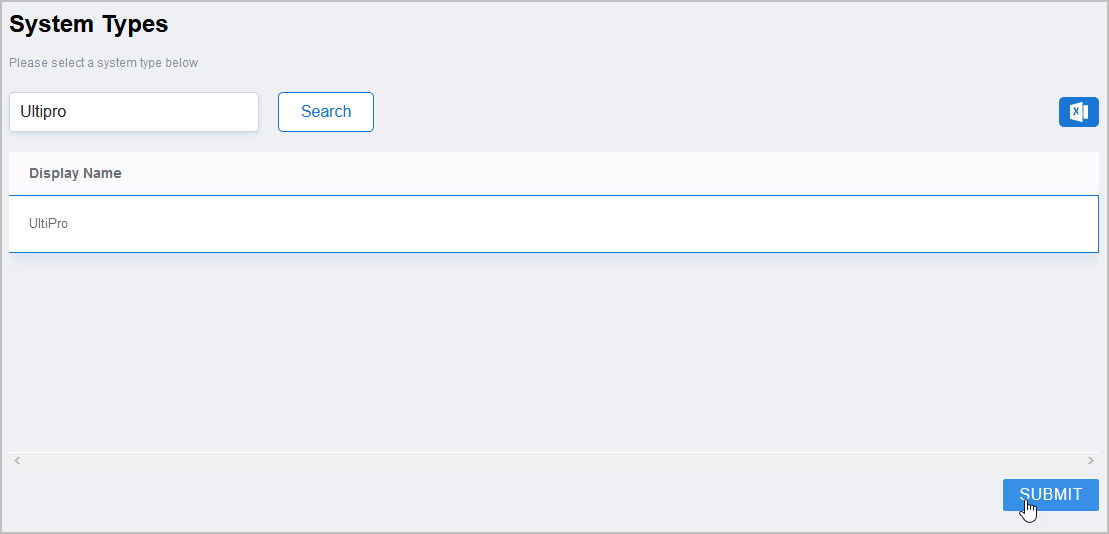 Image Added
On the UltiPro Settings page that appears, fill in the following information:
Name — Enter a name for the account store
Client Key — The Customer API Key issued by UltiPro
User API Key — The User API Key issued by UltiPro
Report Path — The path to the report that you created in UltiPro and exposed as a service
Base URL — The Base URL for your UltiPro system, e.g. https https://service123.ultipro.com/service/
User Name and Password — Your UltiPro credentials
When ready click Submit to create the account store.
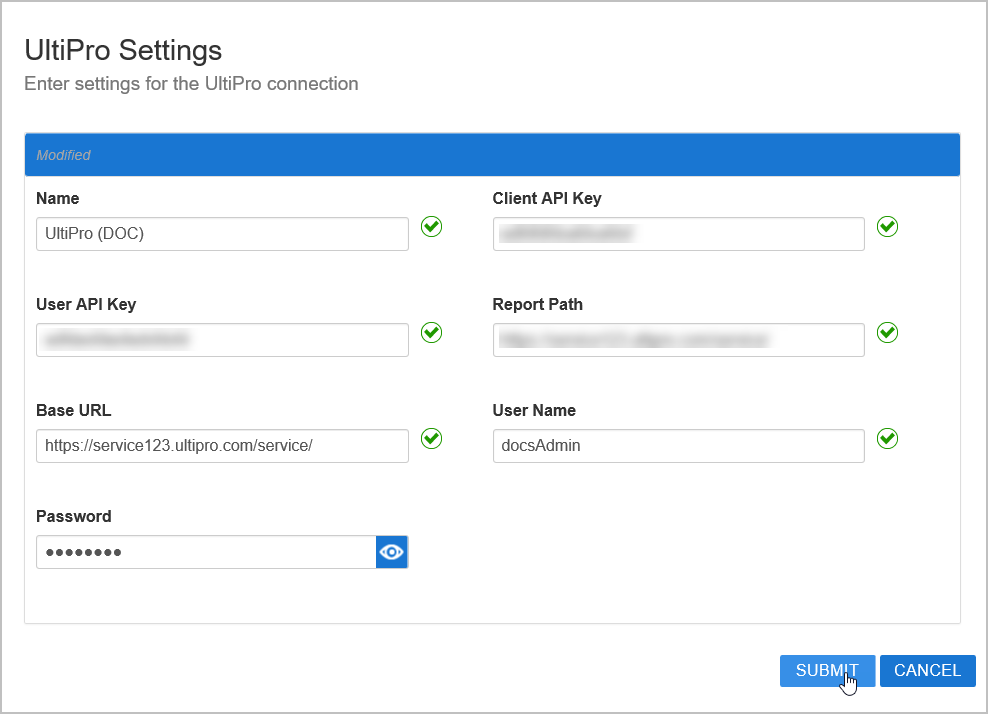 Image Removed
EmpowerID creates the account store and the associated resource system. The next step is to configure attribute flow between the account store and EmpowerID.
| Insert excerpt | ||||||
|---|---|---|---|---|---|---|
|
To configure account store settings
On the Account Store and Resource System page, click the Account Store tab and then click the pencil icon to put the account store in edit mode.
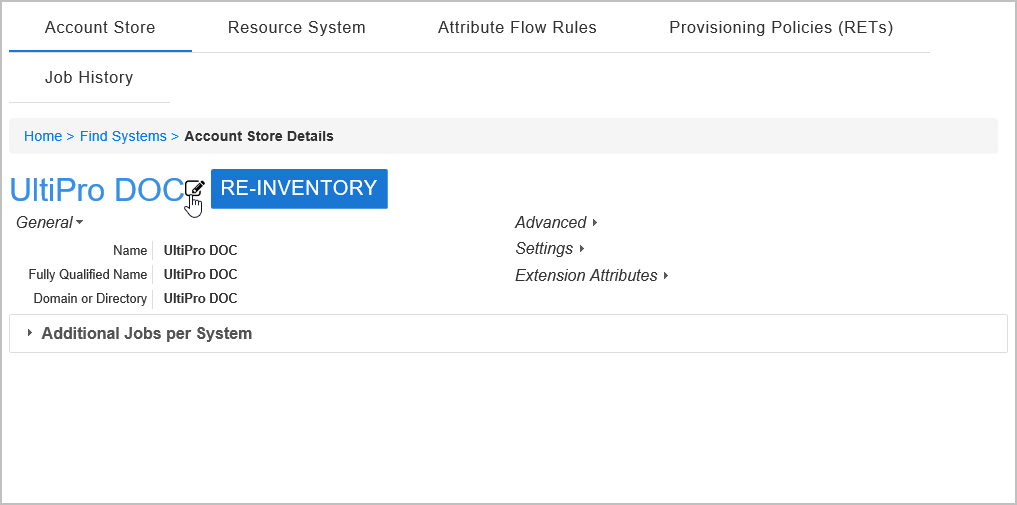 Image Removed
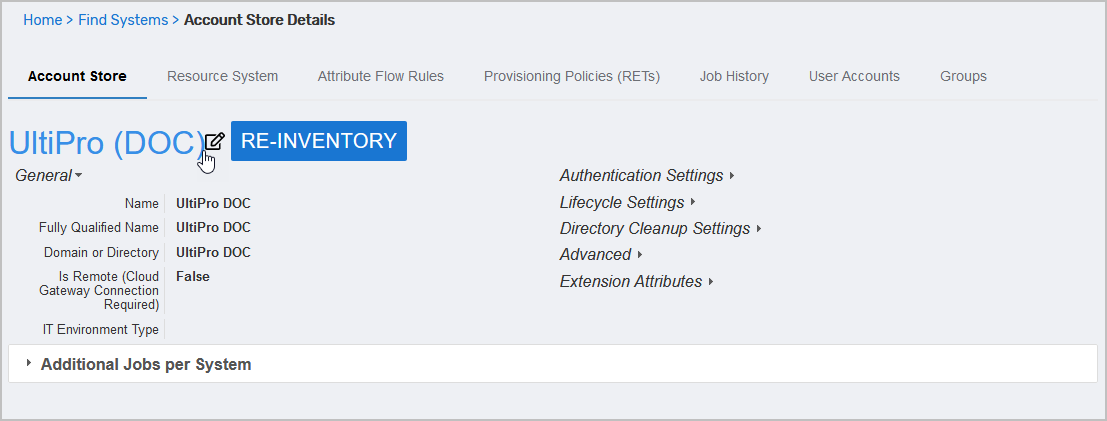 Image Added
This opens the edit page for the account store. This page allows you to specify the account proxy used to connect EmpowerID to your UltiPro account as well as how you want EmpowerID to handle the user information it discovers in UltiPro during inventory. Settings that can be edited are described in the table below the image.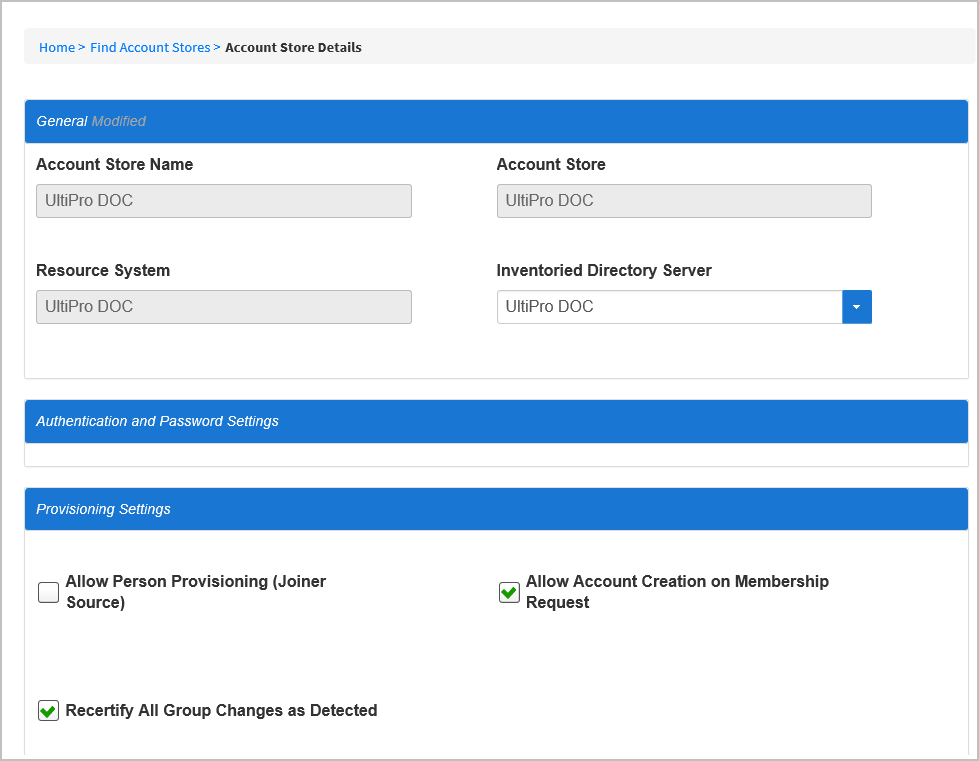 Image Removed
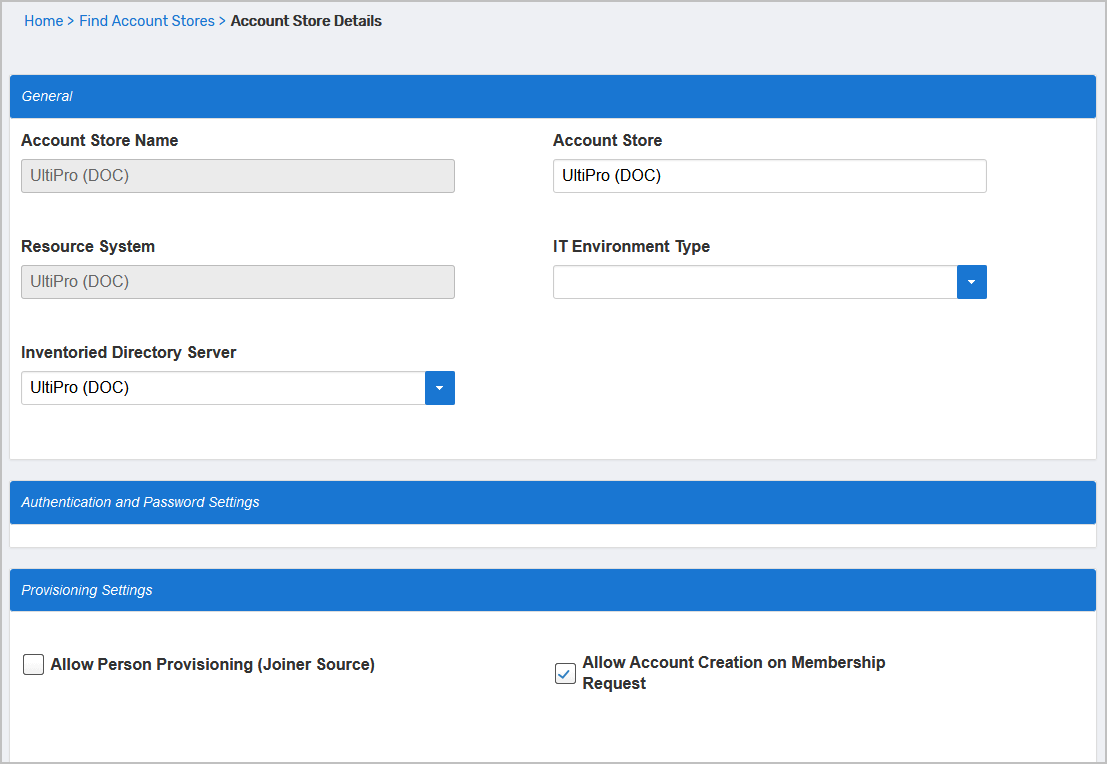 Image Added
Insert excerpt IL:UltiPro Account Store Settings IL:UltiPro Account Store Settings nopanel true Edit the account store as needed and then click Save to save your changes.
Next, enable the Account Inbox permanent workflow to allow the Account Inbox to provision or join the user accounts in Ultipro to EmpowerID Persons as demonstrated below.
| Tip |
|---|
EmpowerID recommends using the Account Inbox for provisioning and joining. |
To enable the Account Inbox Permanent Workflow
| enable_accountinboxpw.mp4 |
To monitor inventory
From the navigation sidebar, expand System Logs > Policy Inbox Logs and click Account Inbox.
The Account Inbox page appears. This page provides tabbed views of all information related to processing new user accounts discovered in a connected account store during inventory. An explanation of these tabs follows.
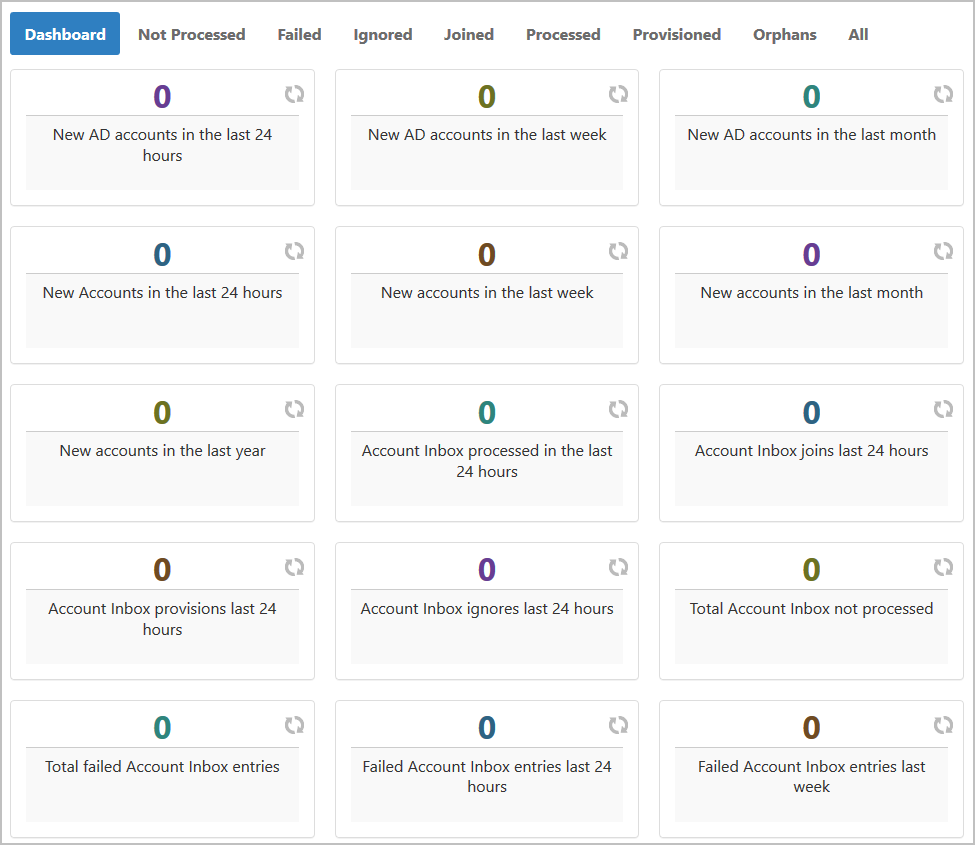
Dashboard — This tab provides a quick summary of account inbox activity.
Not Processed — This tab displays a grid view of all inventoried user accounts not yet used to provision a new EmpowerID Person or joined to an existing Person. Any accounts that fail to meet the Join and Provision rules are displayed here as well.
Failed — This tab displays a grid view of any account joining or provisioning failures.
Ignored — This tab displays a grid view of all accounts ignored by the account inbox. Accounts are ignored if they do not qualify as user accounts.
Joined — This tab displays a grid view of all accounts joined to an EmpowerID Person. Joins occur based on the Join rules applied to the account store.
Processed — This tab displays a grid view of all accounts that have been used to either provision a new EmpowerID Person or joined to an existing EmpowerID Person.
Provisioned — This tab displays a grid view of all accounts that have been used to provision an EmpowerID Person. Provisioning occurs based on the Provision rules applied to the account store.
Orphans — This tab displays a grid view of all user accounts without an EmpowerID Person.
All — This tab displays a grid view of all user accounts and the status of those accounts in relation to the Account Inbox.
| Insert excerpt | ||||||
|---|---|---|---|---|---|---|
|
| Div | |||||||||||||||||
|---|---|---|---|---|---|---|---|---|---|---|---|---|---|---|---|---|---|
| |||||||||||||||||
IN THIS ARTICLE
| maxLevel | 4
|