...
On the navbar, expand Infrastructure Admin > EmpowerID Servers and Settings and click EmpowerID System Settings.
This takes you to the EmpowerID System Settings page, where you can configure certain aspects of the application.
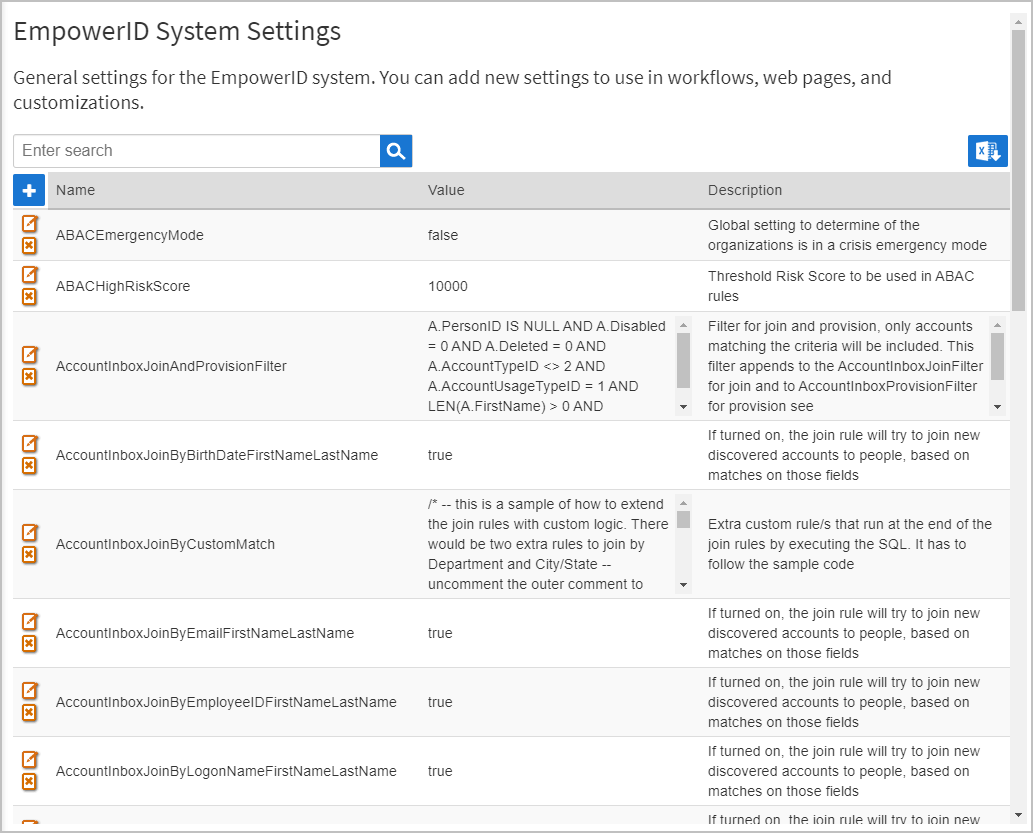
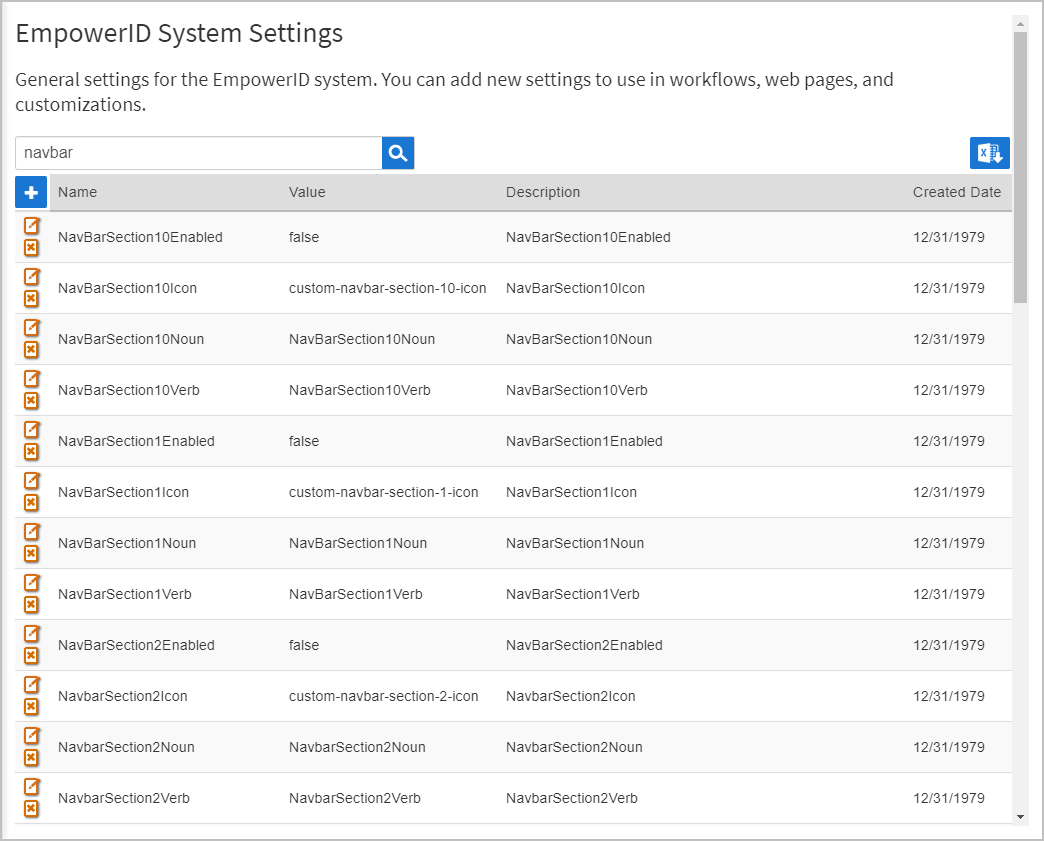
Search for navbar.
You should see settings for NavBarSection*Enabled, NavBarSection*Noun, NavBarSection*Verb, where * represents a whole number such as 10.
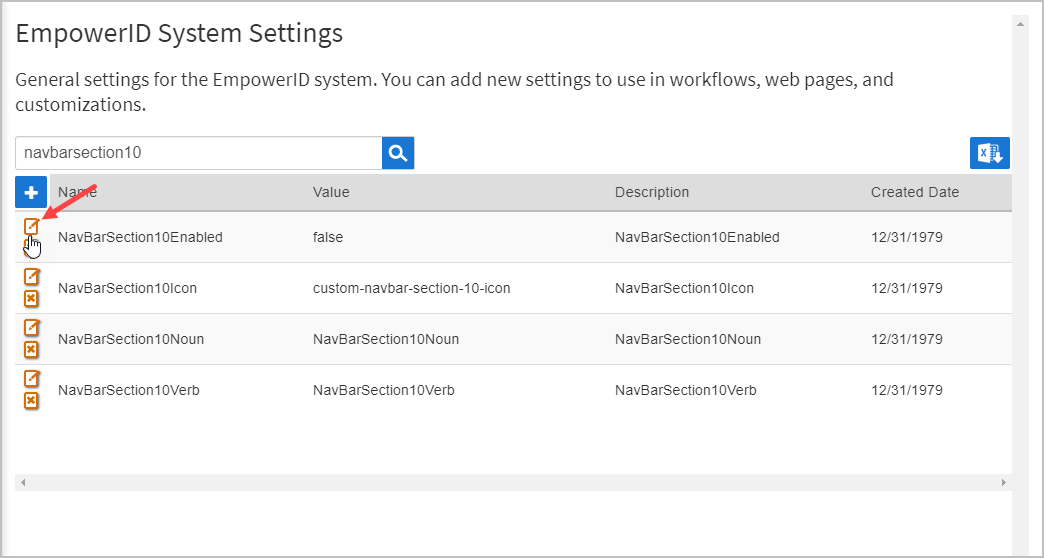
Filter the search to NavBarSection10 to reduce the number of objects returned to just those settings for that custom section.
Click the Edit button for NavBarSection10Enabled.

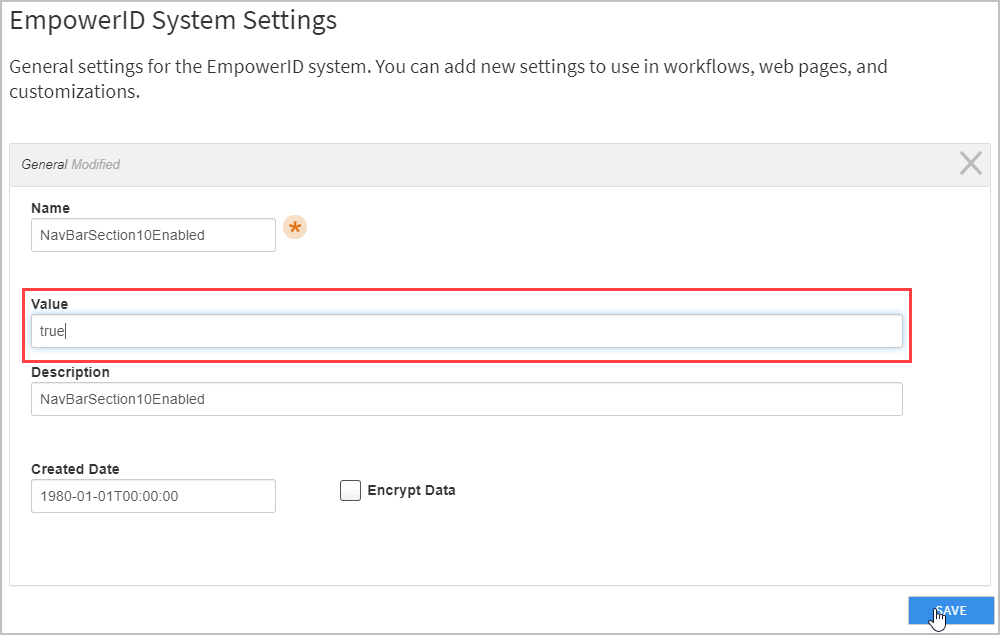
Change the Value from false to true and then click SAVE.

Recycle the EmpowerID IIS app pools and then refresh the browser.
You should the new navbar section at the top of the navbar.

Next, let’s edit the localized text entry so that the section displays something other than NavBarSection10Title.
...
On the navbar, expand Admin > Miscellaneous and click Localized Text.
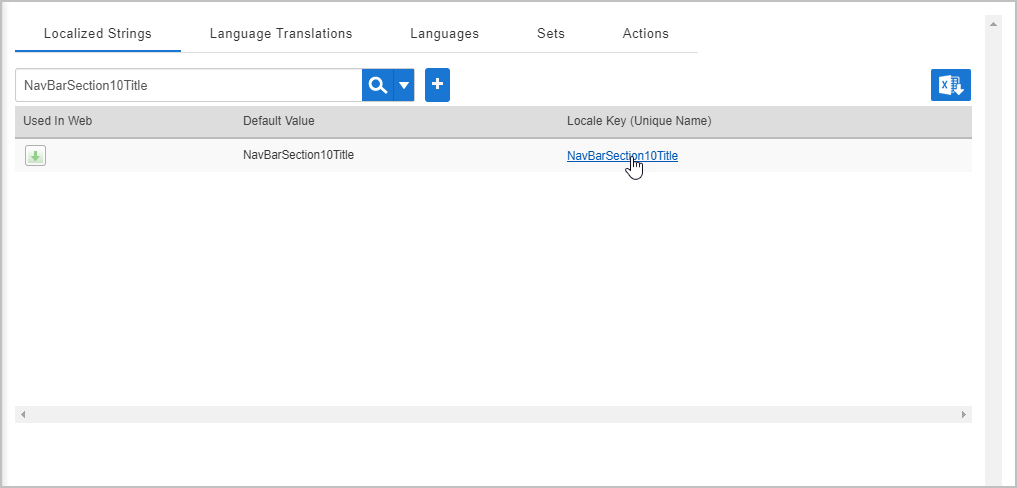
This takes you to the LocaleKeyEntry page, where you can create new localized strings and well as edit exiting ones.
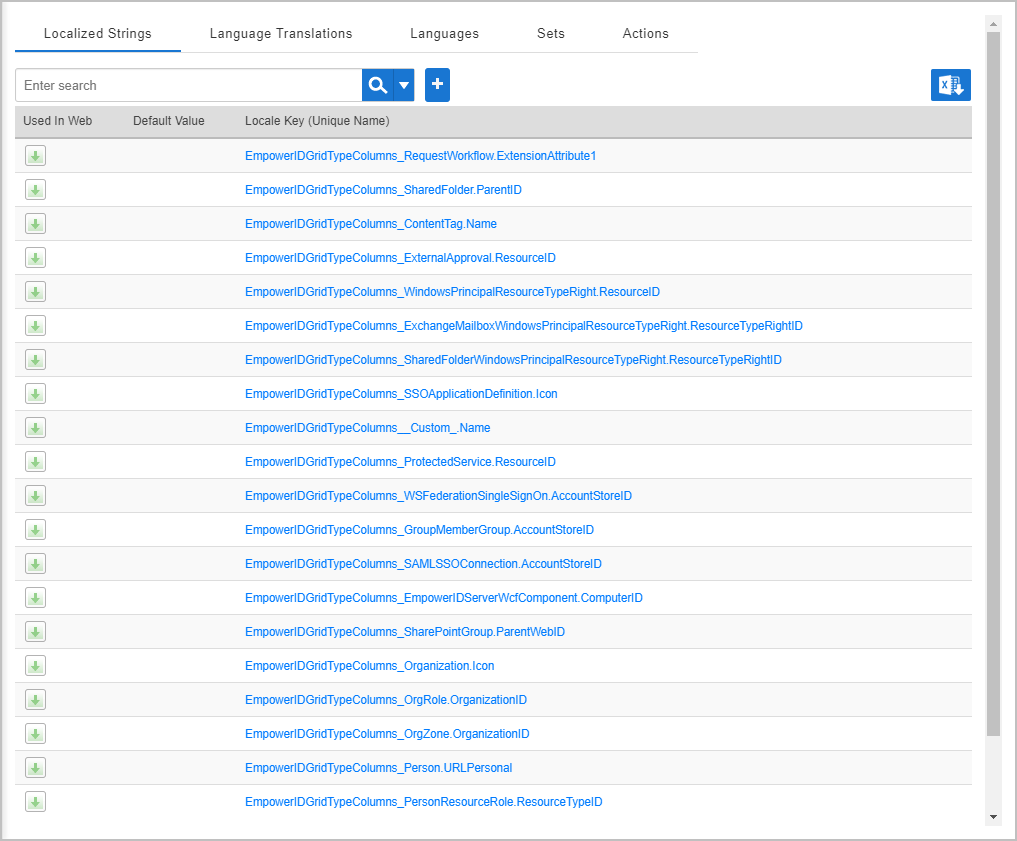
From the Localized Strings tab, search for NavBarSection10Title and then click the Local Key (Unique Name) link.

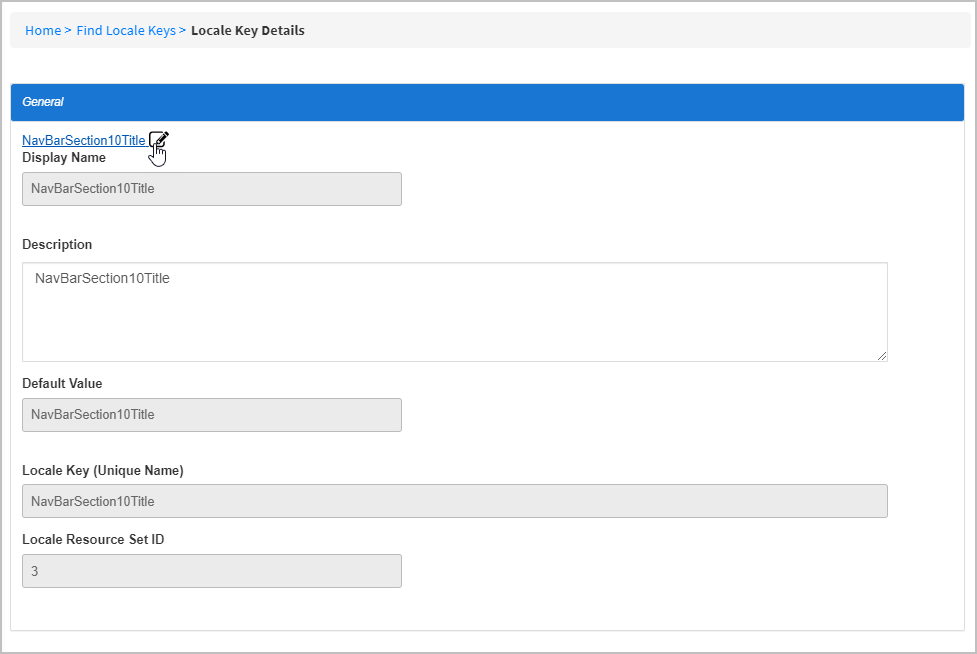
On the Locale Key Details page that appears, click the Edit icon to put the Locale Key in edit mode.

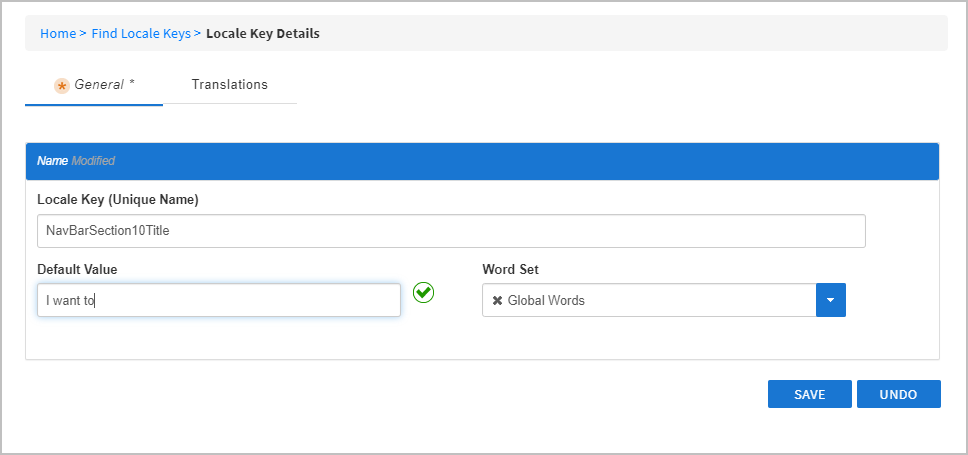
Change the Default Value from NavBarSection10Title to something more meaningful. In our example, we are changing the value to I want to.

Save your changes and recycle the EmpowerID IIS app pools.
Refresh your browser.
You should the title text for new navbar section update to reflect your change.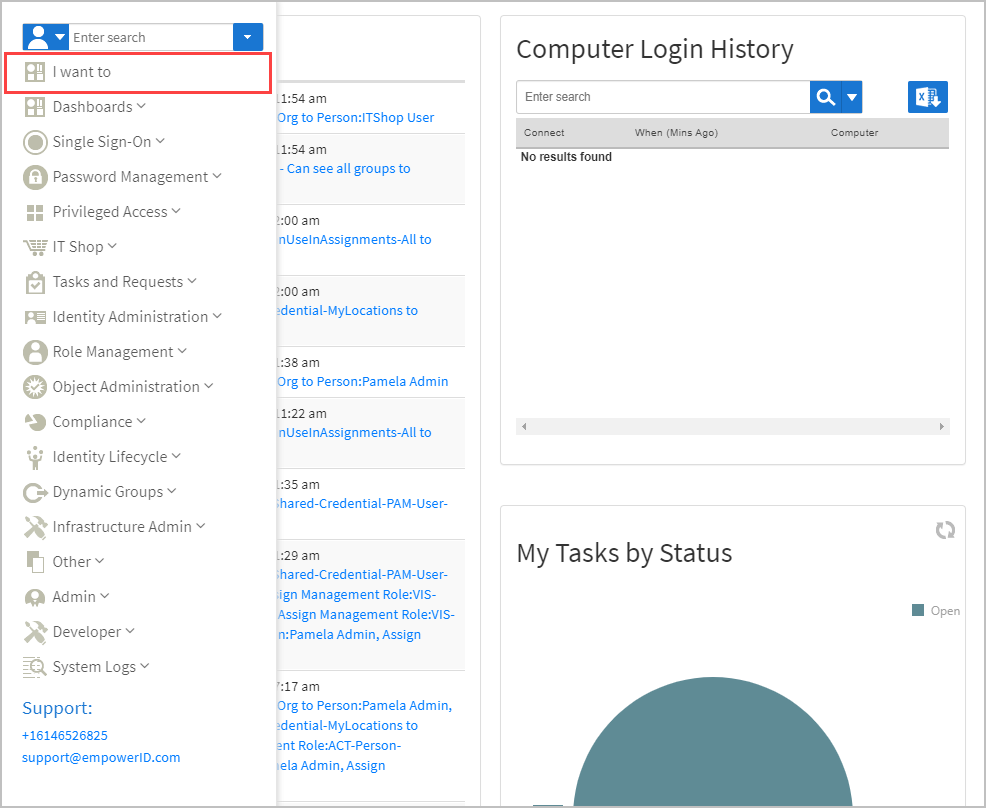

Next, lets create a new UIAction named ChangeMyPassword that we will then add to the new section.
...
On the navbar, expand Admin > Miscellaneous and click Noun Verb Action Navigation.
This takes you to the NounVerbsAction page, which where you create new UINouns, UIVerbs and UIActions, as well as view and edit existing ones.
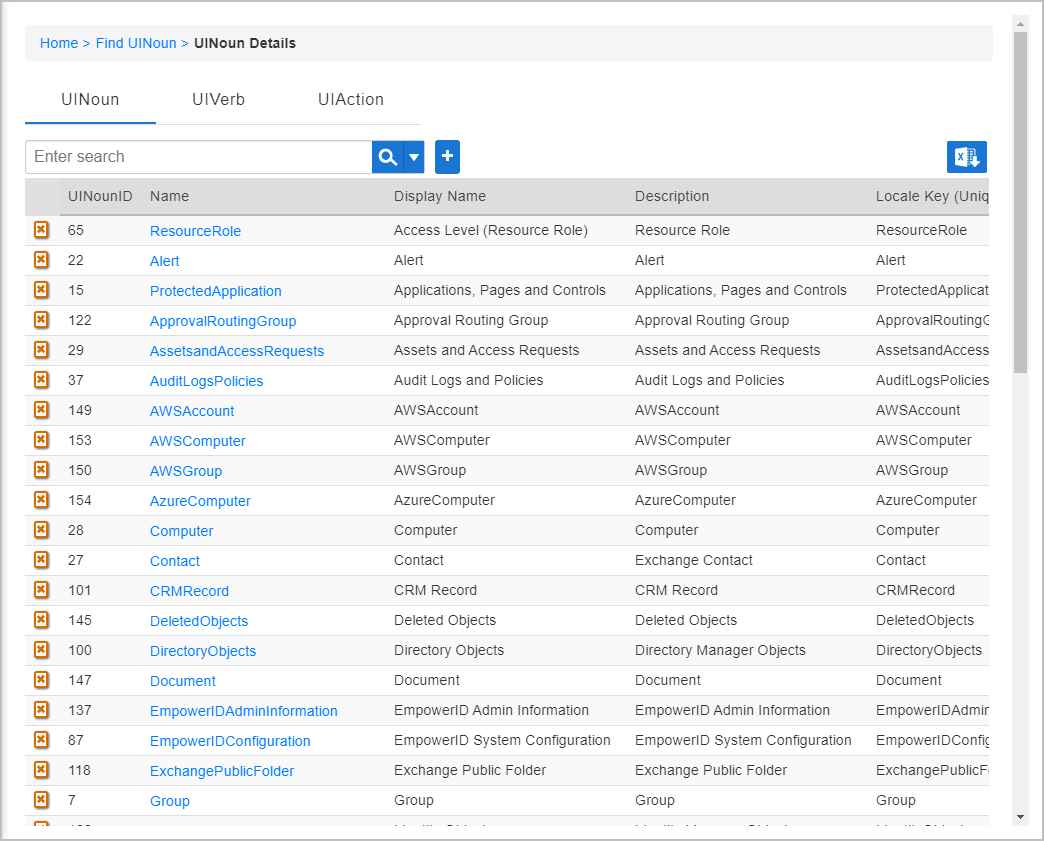
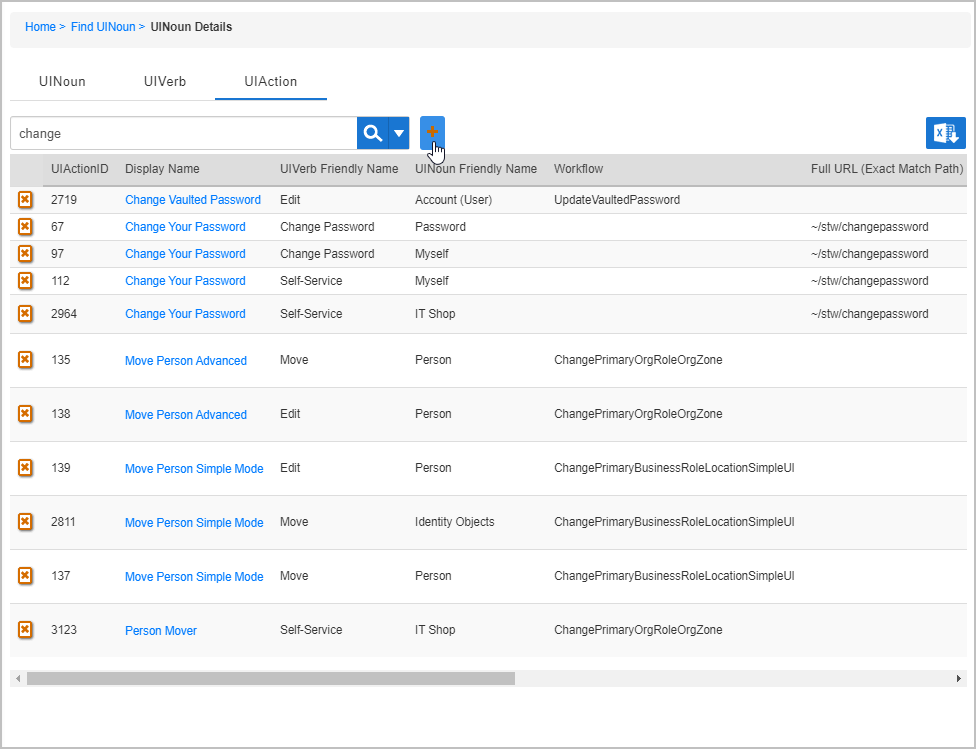
Go to the UIAction tab, and then click the Create New UIAction button.

Fill in the Actions Details form with the following information:
Action Name (no spaces) — ChangeMyPassword
Display Name — Change My Password
Description — Change your password
Locale Key (Unique Name) — ChangeMyPassword
Locale Key for Description — Change my password
Verb — Change PasswordNavbarSection10Verb
Noun — PasswordNavbarSection10Noun
Toggle Is a Contextual Action Only so that it is not selected.
Select Workflow and then select Change Password

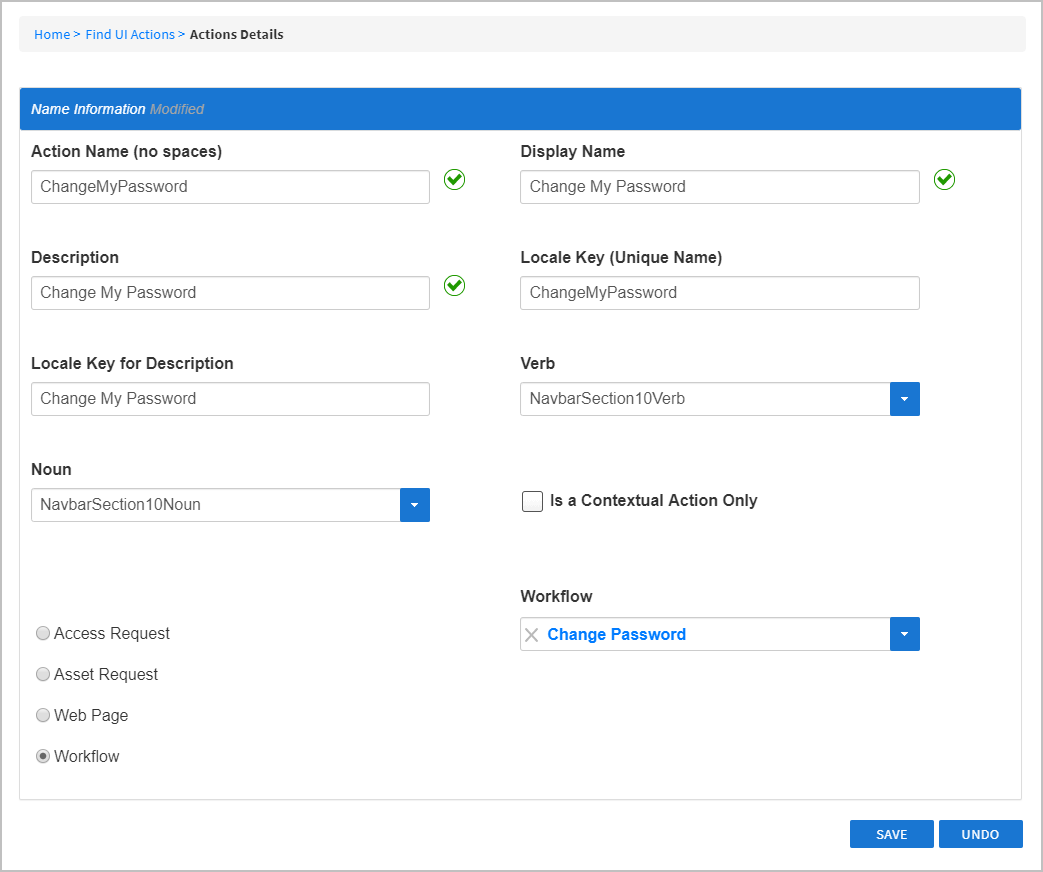
Save the new UIAction.
Recycle the EmpowerID IIS app pools and then refresh your browser.
You should see the new UIAction underneath the custom navbar section.
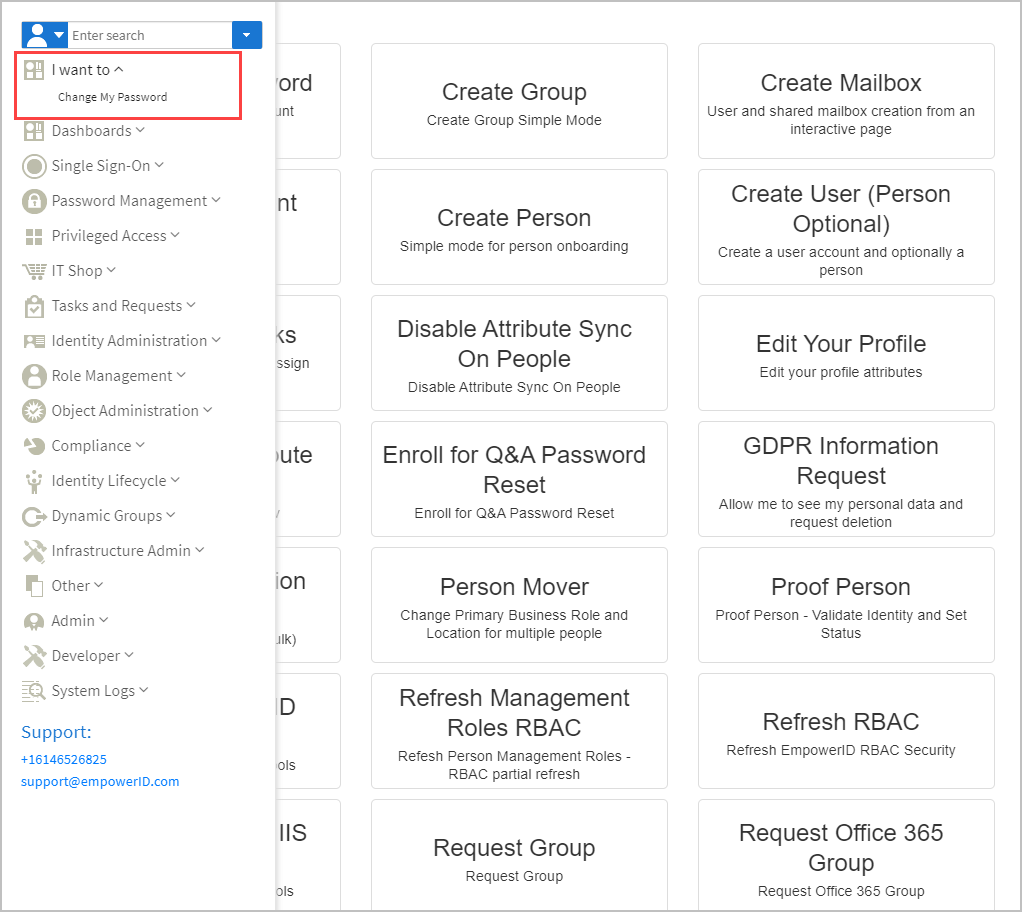
After enabling the navbar section and adding UIActions to it, you need to configure access to the section and any workflows or pages grouped under the section before users will be able those navbar items. By controlling access in this way, you can completely customize which navbar items appear to which users as shown below.
...