...
On the navbar, expand Admin > Applications and Directories and then click Account Stores and Systems.
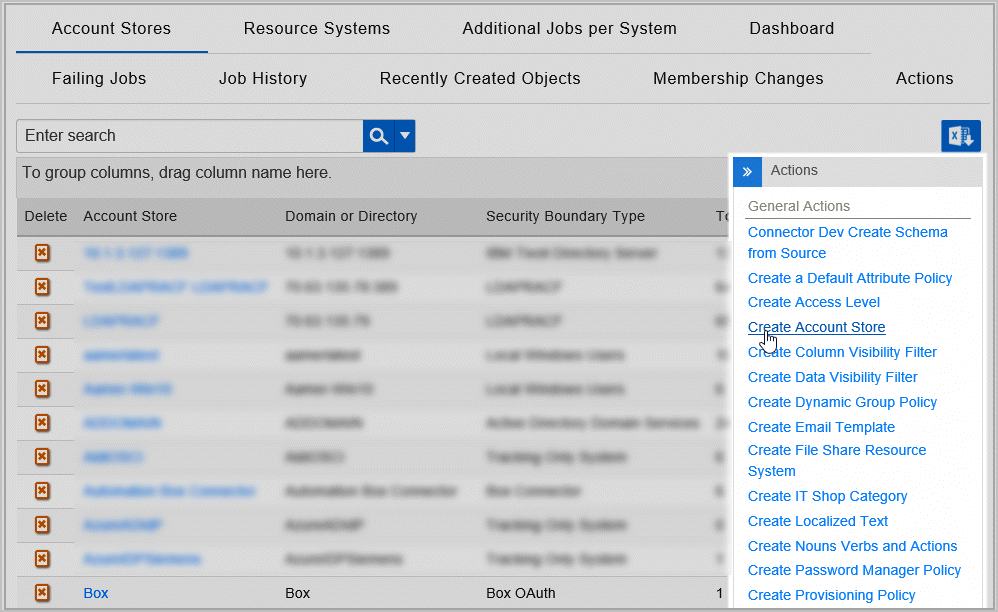
On the Account Stores page, click Create Account Store.

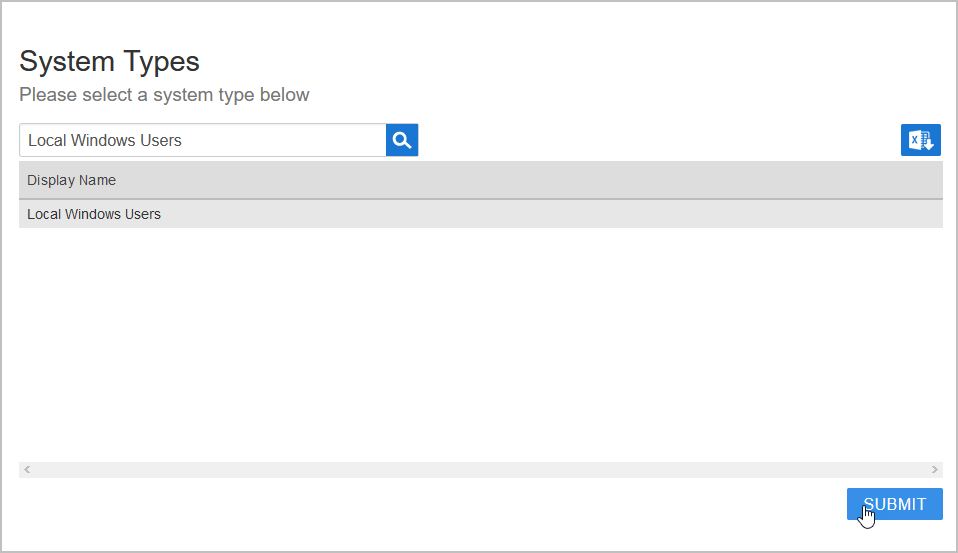
Under System Types, search for Local Windows Users.
Click Local Windows Users to select the type and then click Submit.

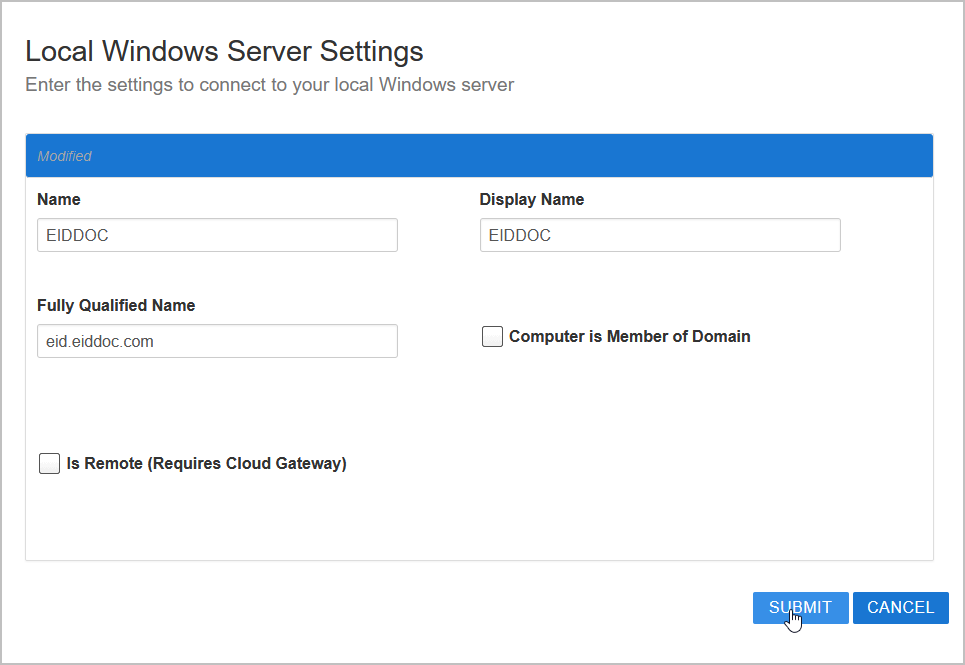
On the Local Windows Server Settings page, fill in the following information:
Name — Enter a name for the account store.
Display Name — Enter a display name for the account store.
Fully Qualified Name — Enter a display name for the account store.
Computer is Member of Domain — Select this option if your server belongs to a domain that is already inventoried in EmpowerID. If selected, EmpowerID links the computer to an already-inventoried domain computer. If this option is left cleared, EmpowerID creates a new computer object for the server.
Is Remote (Requires Cloud Gateway) — This setting appears for account stores with local directories, such as Active Directory, LDAP, SAP, local Windows servers, etc. When enabled, this tells EmpowerID to use the Cloud Gateway Connection for that account store. This option requires the Cloud Gateway Connection to be installed on an on-premise machine. For installation information, please see Installing the EmpowerID Cloud Gateway Client.
When ready, click Submit.

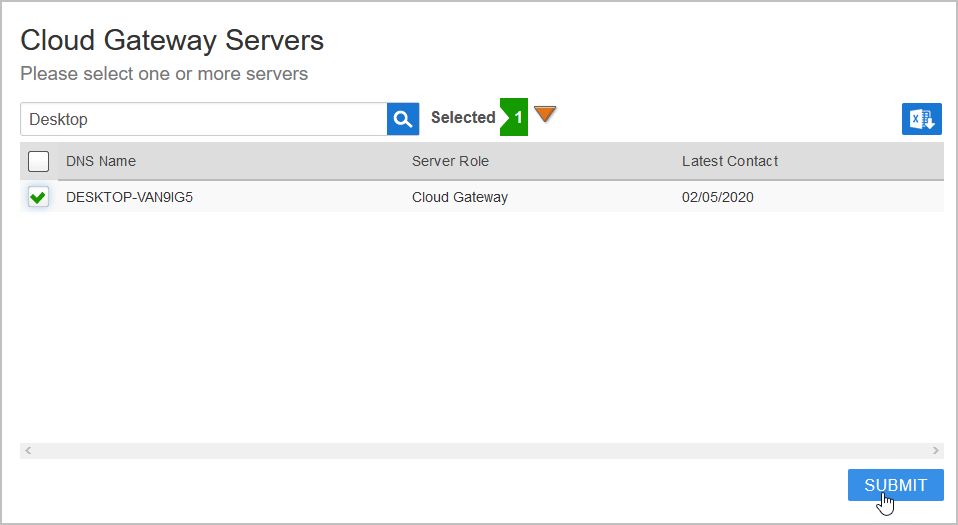
If you selected Is Remote (Requires Cloud Gateway), search for and select one or more cloud gateway servers and then click Submit. You will not see this screen if you did not select Is Remote (Requires Cloud Gateway).

EmpowerID creates the account store and the associated resource system. The next step is to configure the account store settings.
...
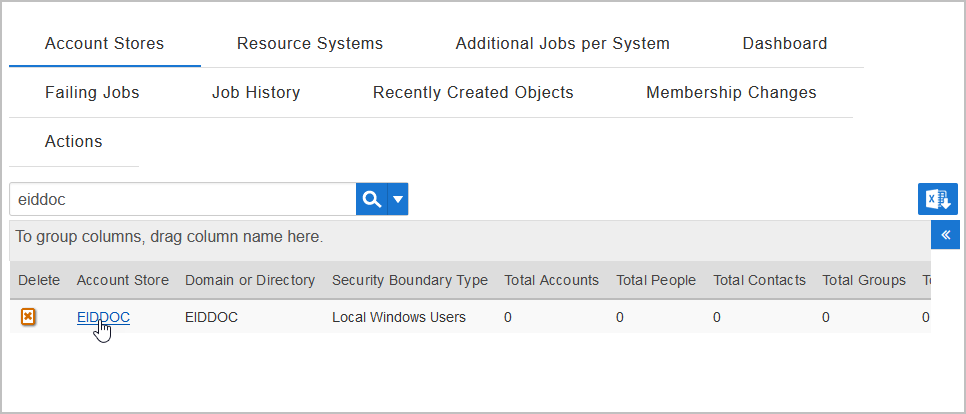
From the Account Stores tab of the Account Stores and Systems page, search for the account store you just created and click the Account Store link for it.

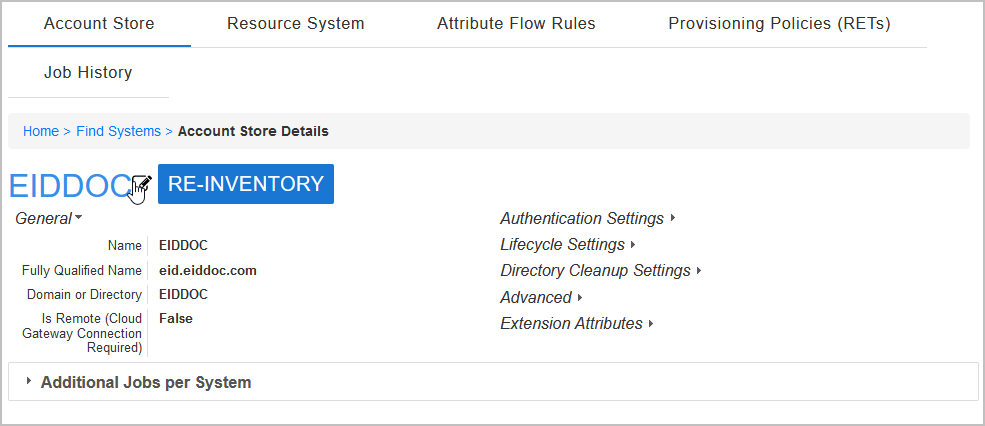
On the Account Store Details page, click the pencil icon to put the account store in edit mode.

This opens the edit page for the account store. This page allows you to specify the account proxy used to connect EmpowerID to your Windows server as well as how you want EmpowerID to handle the user information it discovers there during inventory. Settings that can be edited are described in the table below the image.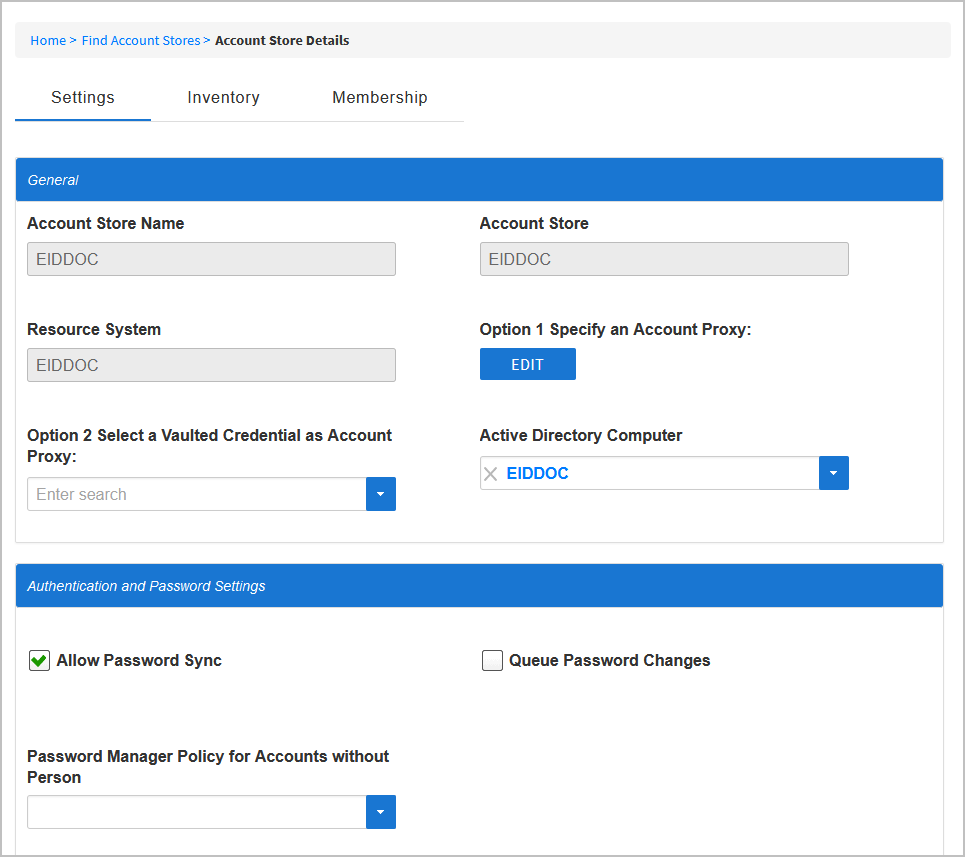

Insert excerpt IL:Local Windows Account Store Settings IL:Local Windows Account Store Settings nopanel true Edit the account store as needed and then click Save to save your changes.
Now that everything is configured, you can enable the Account Inbox Permanent Workflow and monitor inventory. Be sure inventory is enabled on the account store settings page.
...