Before connecting EmpowerID to an external directory, please review the Getting Started with Directory Systems topic. The topic walks you through the prerequisites you need to complete before connecting to an external directory for the first time. These prerequisites include:
- Configuring the appropriate server roles for your EmpowerID servers
- Reviewing the Join and Provision Rules for your environment
- Reviewing the Join and Provision Filters for your environment
If you have already connected EmpowerID to another external directory, you can skip these prerequisites.
Once IdentityForge has been configured for EmpowerID, you can add an AS/400 Identity Forge Connector domain to the EmpowerID Identity Warehouse as a managed Account Store. This topic demonstrates how to do so.
Prerequisites
Before connecting EmpowerID to AS/400, you must configure Identity Forge for EmpowerID. See IdentityForge for the details.
To connect to AS/400
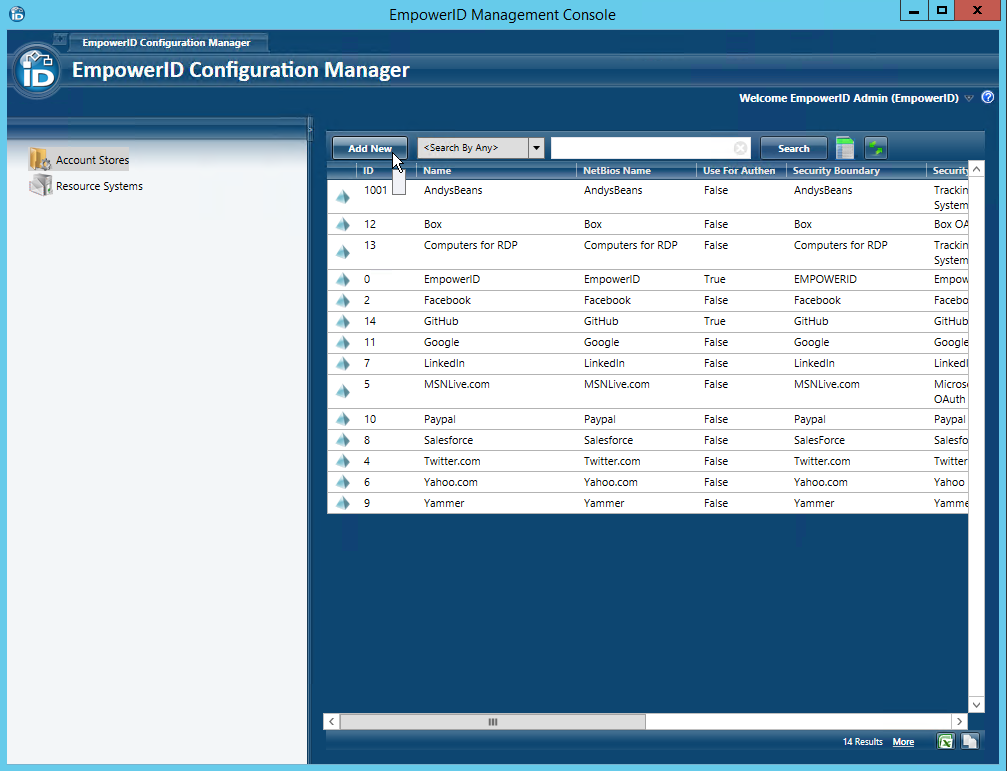
- Log in to the EmpowerID Management Console as an administrator.
- Click the application icon and select Configuration Manager from the menu.
- In Configuration Manager, select the Account Stores node and then click the Add New button above the grid.
- In the Add New Security Boundary window that opens, select the IBM AS/400 Security Boundary type from the drop-down list and then click OK.
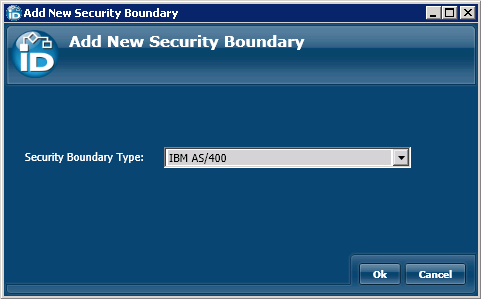
This opens the AS400 Directory window.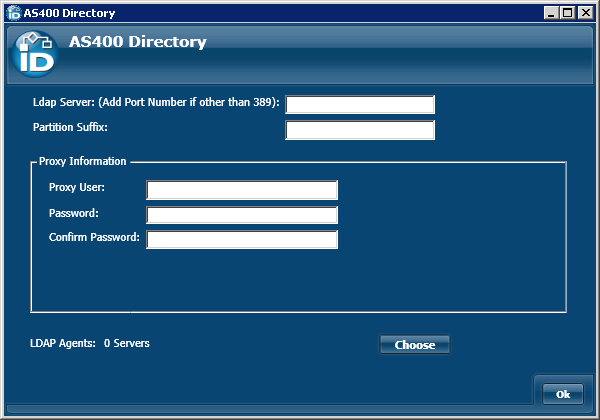
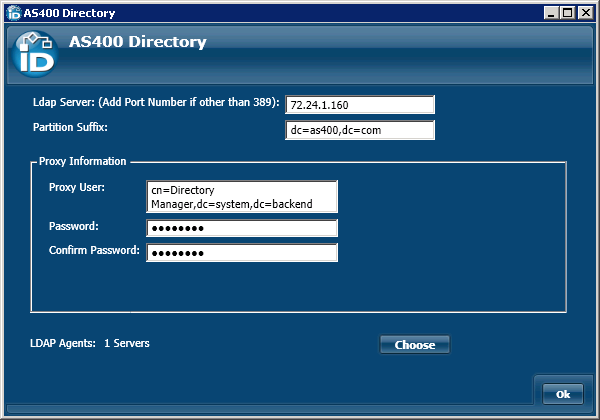
- In the AS400 Directory window, do the following:
- Enter the name of the server on which the directory is installed and include the port number if it is other than 389 in to the Ldap Server field.
- Enter the partition suffix in the Partition Suffix field.
- Enter the proxy information into the fields of the Proxy Information panel. The user account must have read access to the partition that holds the objects in the directory. The user account entered here is saved as the default proxy account (connection credential) used when managing these objects. You can change this at any time.
At this point, the AS400 Directory window should look similar to the following image.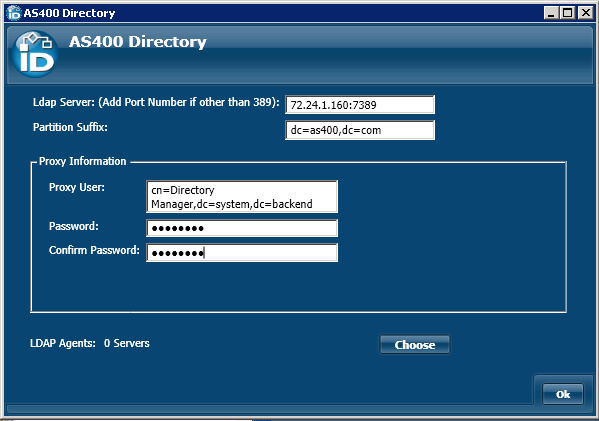
- Click the the Choose button below the Proxy Information panel to open the Choose Servers window. This window provides the interface for selecting the server(s) where the EmpowerID AS/400 Agent(s) reside..
- In the Choose Servers window that appears, toggle the Server button from a red sphere to a green check box for each server running the EmpowerID AS/400 Agent. You must pick a server running the Agent that is in the same Forest and can communicate with the AS/400 Directory over LDAP port TCP 389. Please note that the agent must be started on a server before the server will show in the Choose Servers window.
- Click OK to close the Choose Servers window.
- This returns you to the AS400 Directory window, which should look similar to the following image.
- Click OK to close the AS400 Directory window.
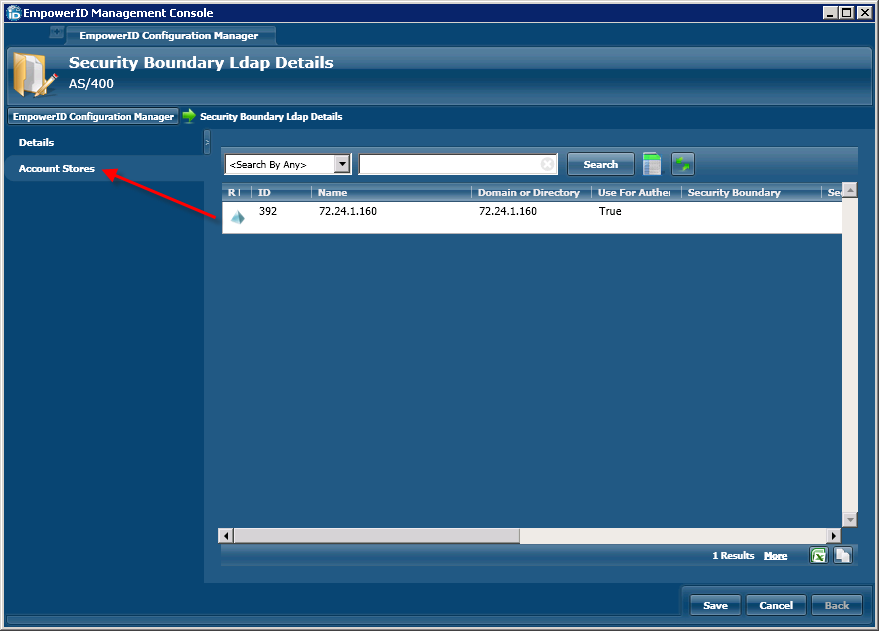
- In the Security Boundary Ldap Details screen that appears, change the Display Name from the server and port to something more friendly, such as AS/400. You should see the new display name appear on the screen.
- Click the Account Stores tab to the left of the screen.
From the grid to the right of the tab, double-click the AS/400 Security Boundary or right-click it and select Edit from the context menu.
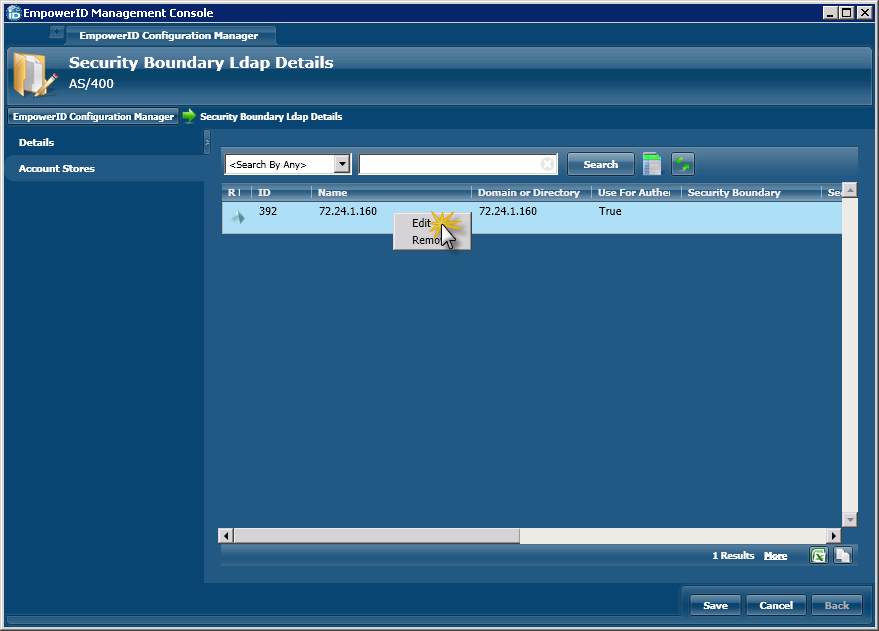
This opens the Account Store Ldap Details screen. This screen is used to configure the settings that EmpowerID uses to manage the domain. A description of the settings available from this screen follows.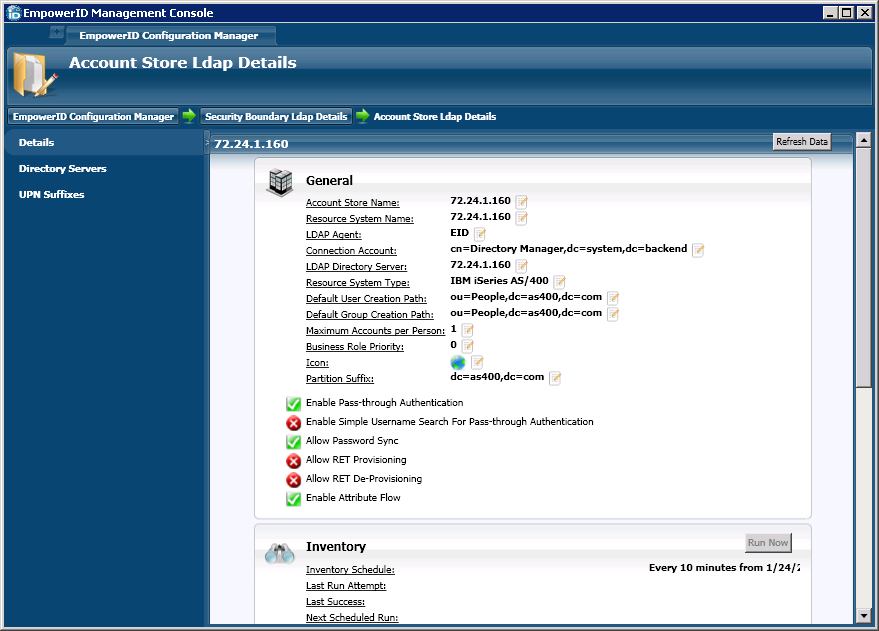
Once you have completed the configuration of your Account Store, you should:
- Configure the attribute flow rules for the account store (by default all attributes except the mail attribute are set for bidirectional flow).
- Map your external locations to corresponding EmpowerID Locations.
- Turn on inventory.