Managing AWS Groups
Once you have connected EmpowerID to AWS, you can manage your AWS groups in EmpowerID. This includes:
- creating new AWS groups
- adding AWS users to groups
- removing AWS users from groups
- deleting groups
This topic demonstrates how to manage AWS groups in EmpowerID.
Prerequisites
You must have an AWS account and create an AWS account store for it in EmpowerID.
To create AWS Groups in EmpowerID
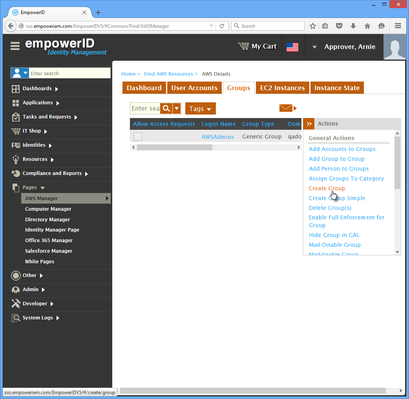
- In the Navigation Sidebar of the EmpowerID Web interface, expand Pages and click AWS Manager.
- In AWS Manager, click the Groups tab and then click Create Group to initiate the Create Group workflow.
- In the General section of the Create Group page that appears, do the following:
Enter a name for the group in the Name, Logon Name, and Display Name fields.
AWS does not allow spaces in group names.
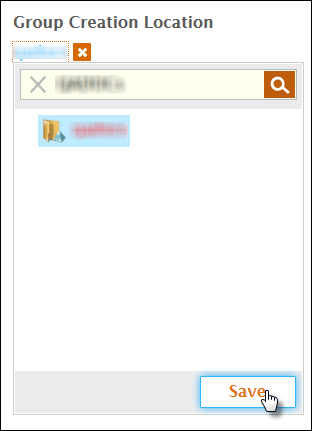
- Below Group Creation Location, click the Select a Location link and in the Location Selector that appears, search for and select your AWS location.
- Click Save to close the Location Selector.
- Select the Generic Group from the Group Type drop-down.
- Optionally, type any notes in the Notes field.
- Type a description for the group in the Description field. This field is required.
- Select Allow Join Requests to allow the group to appear in the IT Shop. Leave the option cleared to prevent users from requesting group membership.
- Select Auto-Accept Join or Leave Requests if you want to give users the ability to join or leave the group without requiring approval.
Once you have completed the above, the General section of the form should look similar to the below image.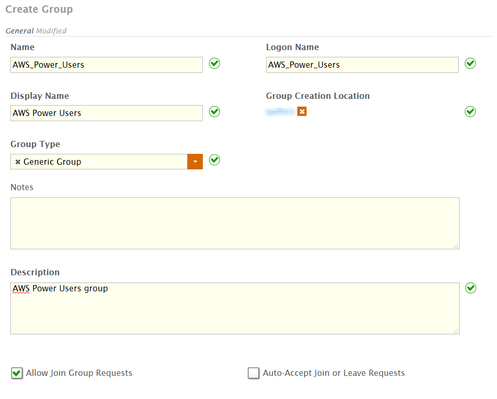
- In the Advanced section of the form, select whether you want to prevent the group from being deleted in EmpowerID.
- Once you have finished filling in the form, click Save to create the group.
EmpowerID creates the group and opens the View page for the group.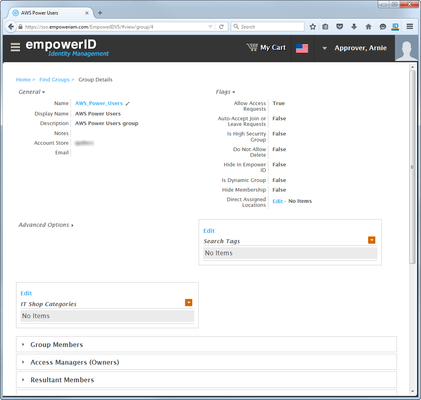
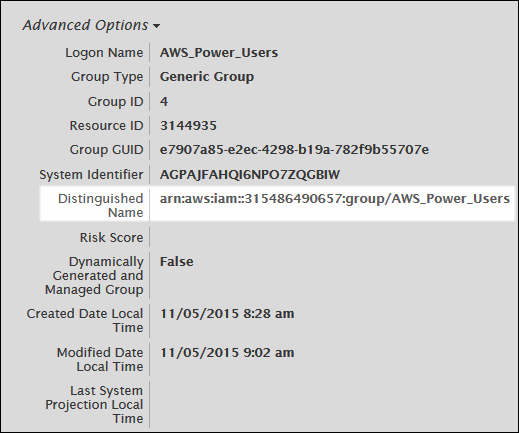
- Expand the Advanced Options drop-down and verify that you see the AWS identifier for the group in the Distinguished Name field.
To verify the new Group in AWS
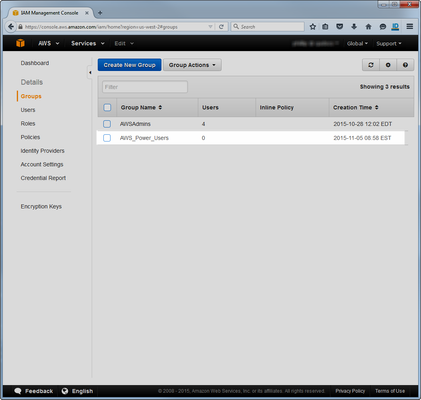
- From your Web browser log in to your AWS account as an administrator.
- From the AWS dashboard , click the Groups navigational link and verify that you see the group you created in EmpowerID.
Managing AWS Groups
- In the Navigation Sidebar of the EmpowerID Web interface, expand Pages and click AWS Manager.
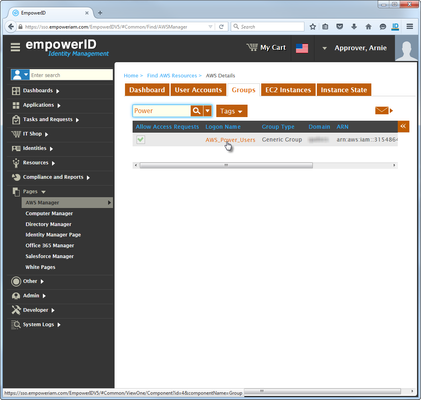
- In AWS Manager, click the Groups tab and search for the group in which you want to add members.
- Click the Logon Name link for that group.
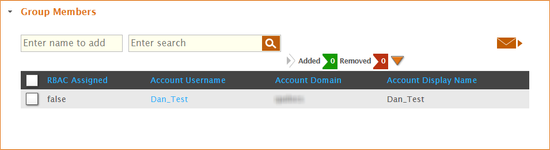
This directs you to the View One page for the group. View One pages allow you to view and edit the objects to which they are linked. - From the View One page for the group, expand the Group Members accordion. The accordion displays current group members in the grid.
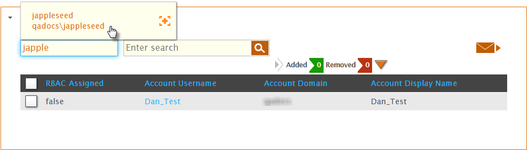
- Add and remove members from the group as needed. To add a member, type the name of an AWS user account in the Enter Search field and click the tile for that user account to select it.
You can remove existing members by ticking the box to the left of the user account you want to remove.

Notice that the Added and Removed flags have updated to show the number of user accounts being added and removed from the group.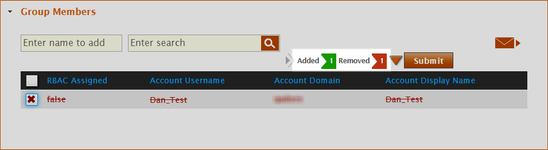
You can review what has been added and removed by clicking the drop-down arrow to the right of the flags.
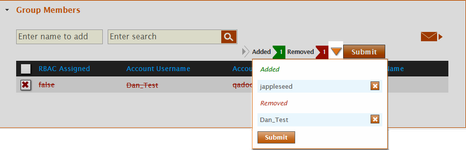
- To submit your changes, click either of the Submit buttons. (If you have the drop-down opened, you can click Submit there, or you can click the larger Submit button.)
To verify the changes to group membership in AWS
- From your Web browser log in to your AWS account as an administrator.
- From the AWS dashboard, click the Groups navigational link and look for the group whose membership you changed.
- Click the record for that group.
- AWS directs you to the summary page for that group. You should see your changes in the Users pane.
In the below image, we see one user, "jappleseed." This is the user we added to the group above. Additionally, the user we removed, "dan_test", is no longer a member of the group.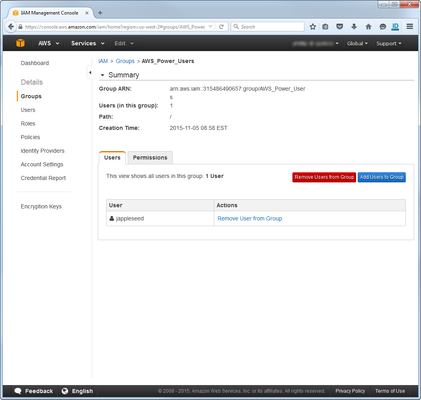
To delete an AWS group in EmpowerID
An AWS group with members cannot be deleted. Before attempting to delete an AWS group in EmpowerID, be sure to remove any members.
- In the Navigation Sidebar of the EmpowerID Web interface, expand Pages and click AWS Manager.
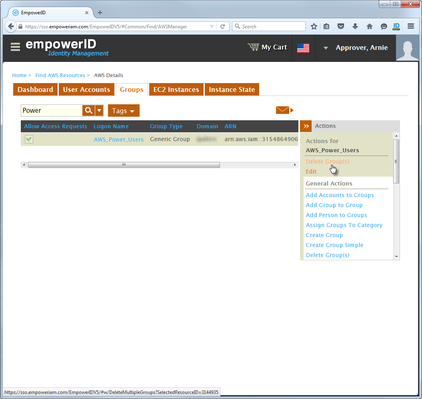
- In AWS Manager, click the Groups tab and search for the group you want to delete. The group cannot have any members.
- Click the record for that group to select it and then click the Delete Group action link.
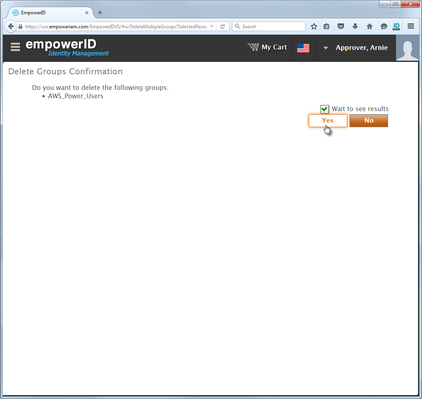
- Click Yes to confirm you want to delete the group.
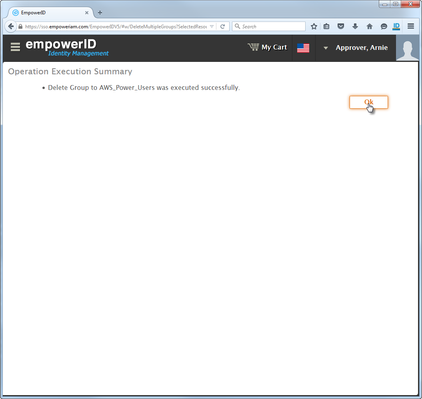
- If you left Wait to see results selected, click OK to close the Operation Execution Summary.
To verify the group deletion in AWS
- From your Web browser log in to your AWS console as an administrator.
- From the AWS console, select Identity & Access Management.
- Click the Groups navigational link and search for the group you just deleted. You should no results.
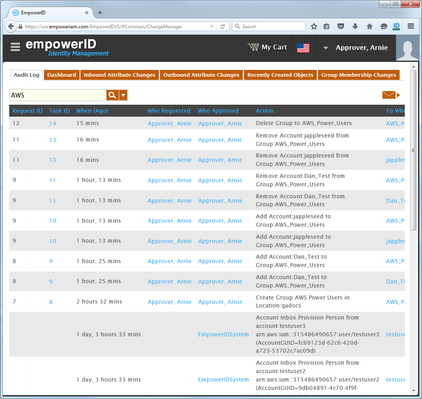
EmpowerID keeps a log of all AWS actions performed in EmpowerID, including what was done, when it was done and who did it. To view these logs, expand System Logs in the Navigation Sidebar and click Audit Log. Once in Change Manager, search for AWS to filter the changes displayed.