Vaulting Non-Computer Credentials
In EmpowerID, non-computer credentials are vaulted user names and passwords that can be requested and checked out by users to access the specific applications and other resources authorized by those credentials. When you vault a non-computer credential, you specify the type of credential you are vaulting and link it to the Shared Credential policy for that credential type. EmpowerID encrypts the user name, password and notes information for all credential types.
When a request for a non-computer credential is approved, users check out the credential to access the resources authorized by the credential. When the user is done with the credential—or the allocated time frame for using the credential has expired—the credential is checked in. Depending on the policy associated with the credential, the password may or may not be reset by the EmpowerID system.
To initiate any credential vaulting, a user needs an access assignment that includes the Computer PAM User Full Access or Computer PAM User Limited Access Management Role. This Management Role allows users to view and connect to privileged applications, vault credentials, and link them to applications.
Users who vault credentials are the owners or Access Managers for those credentials. Access Managers can approve or deny access requests for the credentials they own.
When the Default Access Duration in Minutes setting on the credential's linked policy is reached, EmpowerID automatically checks in the credentials and terminates the user's access to the credentials. For more time, the user must request access again.
To vault a non-computer credential
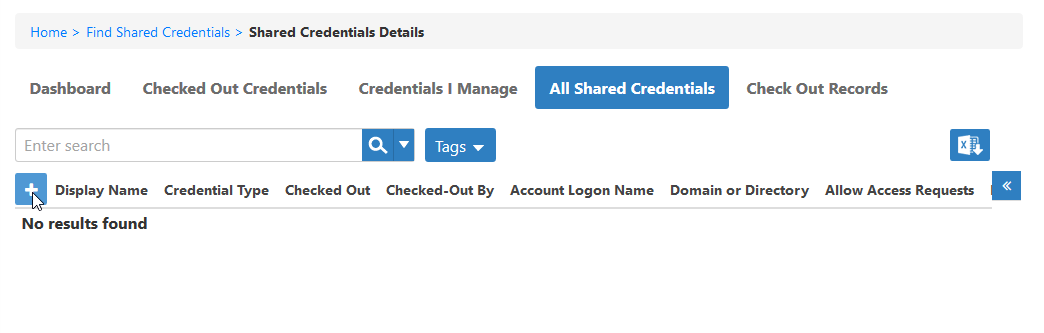
- In the navigation sidebar of the EmpowerID Web interface, expand Resources and click Shared Credentials.
- From the Shared Credentials page, click the All Shared Credentials tab and then click the Add Shared Credential button.
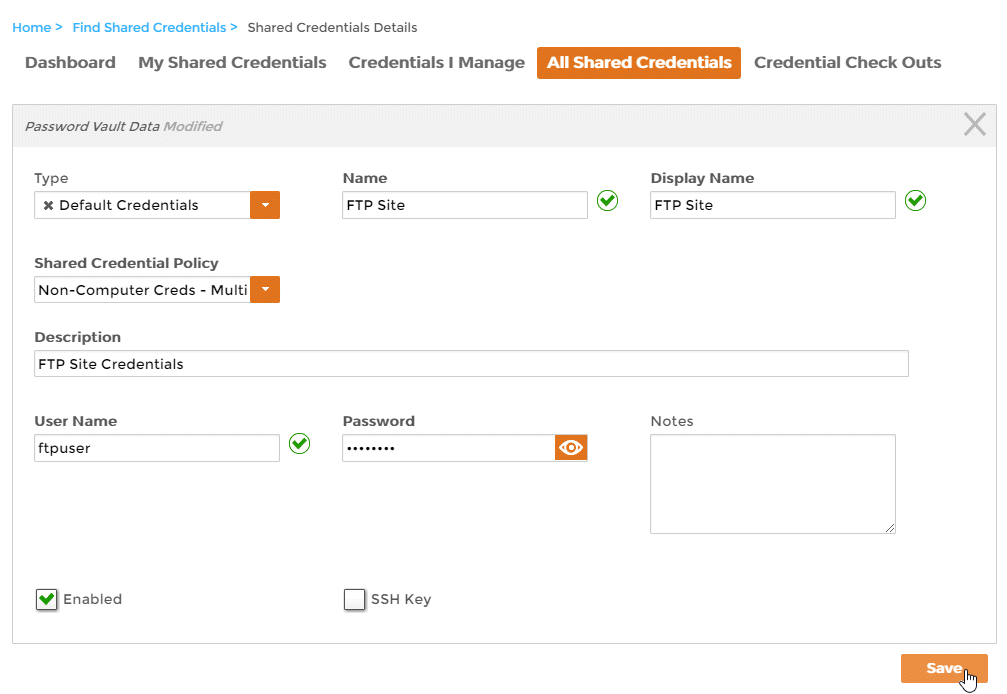
- Select the appropriate credential type from the Type drop-down.
- Enter a name for the credential in the Name and Display Name fields.
- Click the Shared Credential Policy drop-down and select the appropriate one to link to the credentials. Here are the default options:
- Non-Computer Creds - Multi-Check-Out - No Password Reset — Select this policy to create credentials for an account where more than one check out is allowed and you do not want EmpowerID to reset the password when a user checks in the credentials.
- Non-Computer Creds - No Approval, No Multi Check-Out with Password Reset — Select this policy to create credentials for an account where more than one check out is not allowed, no approval is required, and you want EmpowerID to reset the password when a user checks in the credentials.
- Non-Computer Creds - No Multi-Check-Out with Password Reset — Select this policy to create credentials for an account where more than one check out is not allowed and you want EmpowerID to reset the password when a user checks in the credentials. Please note that this policy type is only valid for use with user accounts with passwords that have been vaulted in EmpowerID. The user account must belong to a domain or account store that has been inventoried by EmpowerID.
- Service Account with Scheduled Password Reset — Select this policy for credentials for a Windows Service account or IIS App pool identity.
When you select this policy, EmpowerID resets the password against all Windows servers in your environment that have Windows Services or App Pools. Please note that this policy type is only valid for use with service accounts with passwords that have been vaulted in EmpowerID. The service account must belong to a domain or account store that has been inventoried by EmpowerID.When using password reset, if the user checks out the credential but never actually sees the details and does not use it to connect to a privileged session, then the password is not reset on check in.
- Type a description in the Description field.
- Type the user name for the account you are vaulting in the User Name field.
- Type the password for the account you are vaulting in the Password field.
- Click Save.
- If you have not yet entered your master password for this session, EmpowerID prompts you to do so. Enter your master password and click OK.
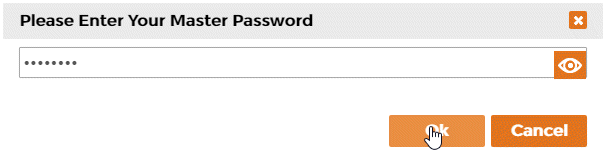
- If you have not yet created a master password for yourself, EmpowerID prompts you to do so. Enter a password in the Password and Confirm Password fields and click OK.