Deleting Groups
Home / Identity Administration / User Accounts and Groups / Current: Deleting Groups
This topic demonstrates how to delete an Active Directory security group in EmpowerID.
Prerequisites
EmpowerID must be connected to Active Directory and the group must exist in EmpowerID. For a detailed walk through of connecting EmpowerID to Active Directory, see Connecting to Active Directory.
To delete a group in EmpowerID
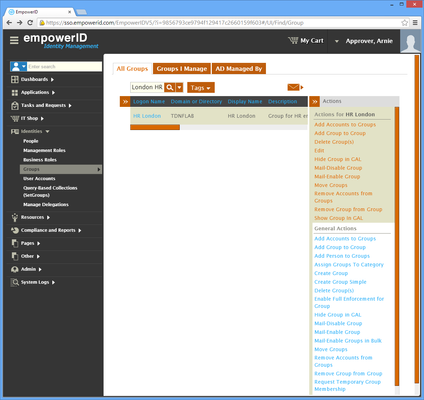
- In the Navigation Sidebar of the EmpowerID Web interface, expand Identities and click Groups.
Search for the group you want to delete and then click the record for that account. You should see a list of contextual actions that can be executed against that group appear in the Actions pane.
In the following image, the Locations pane has been collapsed to conserve screen real estate.
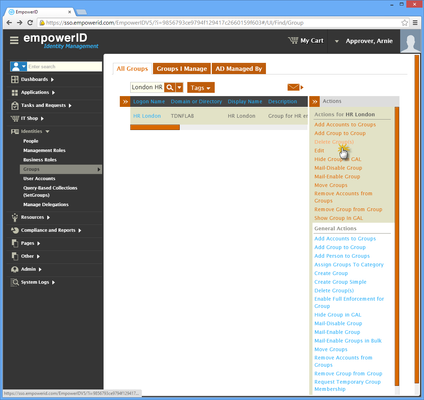
- Click the Delete Group(s) action.
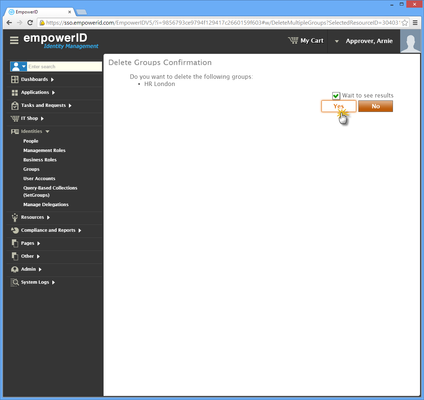
- Click Yes to confirm that you want to delete the group.
- Click OK to close the Operation Execution Summary.
To verify that the group was deleted in EmpowerID
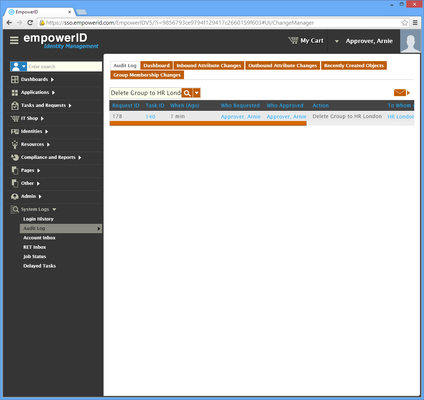
- In the Navigation Sidebar, expand System Logs and click Audit Log.
- From the Home page of the EmpowerID Web application, click the View Audit Logs, then View Change Manager tiles.
- From the Audit Log tab of Change Manager, type Delete Group to <Group Name> in the Search field to see the Delete Group action appear in the grid.
To verify that the group was deleted in Active Directory
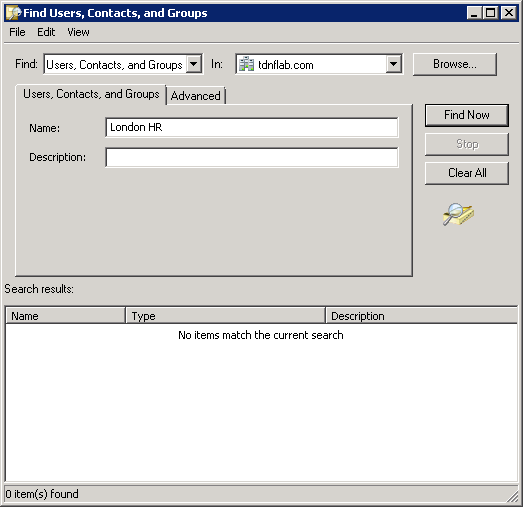
- Open Active Directory Users and Computers and search for the group you deleted.
- You should see no results returned.
, multiple selections available,
