VMware ESXi
The ESXi connector allows organizations to bring the user, permissions, and roles data in their stand-alone VMware ESXi systems to EmpowerID, where it can be managed and synchronized with data in any connected back-end user directories.
ESXi roles and permissions are treated as EmpowerID groups and memberships.
Once connected, you can manage this data from EmpowerID in the following ways:
- Create new users
- Edit user attributes
- Delete users
- Create new roles and permissions
- Manage roles and permissions membership
- Delete roles and permissions
Additionally, EmpowerID provides provisioning policies or (also known as resource entitlements or RETs) that allow you to automatically provision ESXi accounts for any person within your organization based on your policy requirements. For more information, see Provisioning Policies.
This topic demonstrates how to connect EmpowerID to ESXi and how to configure it to meet your organization's needs.
To create an account store for ESXi on the web
- From the Navigation Sidebar, expand Admin, then Applications and Directories, and click Account Stores and Systems.
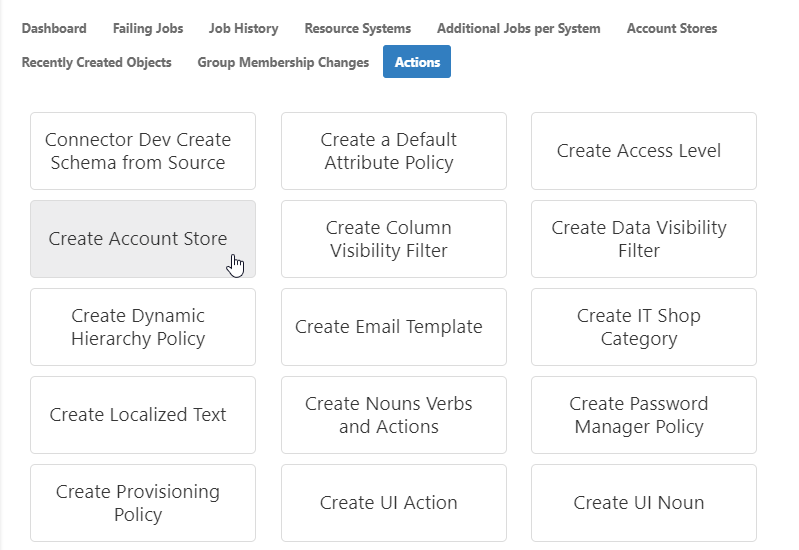
- Click the Actions tab, and then click the Create Account Store action.
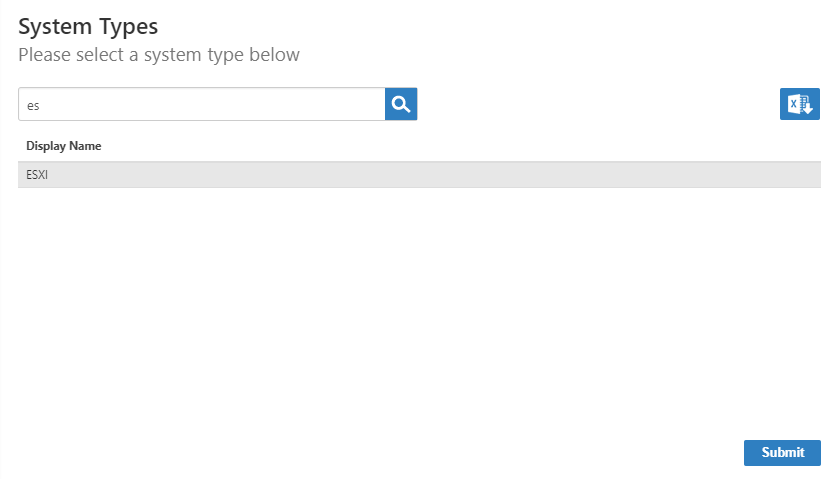
- Select ESXi from the list of system types.
- On the ESXi Settings page, provide the following values:
- Server — The IP address or FQDN of your ESXi Server
- Name — A name for the account store
- User Name — Your ESXi administrator or root user name
- Password — Your ESXi administrator or root user password
- Is Remote (Requires Cloud Gateway) — Select to indicate that the server is a cloud gateway.
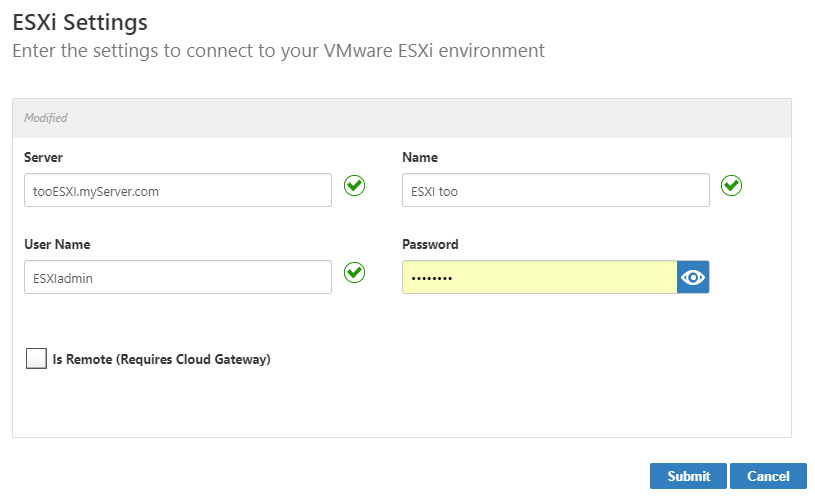
- Click Submit.
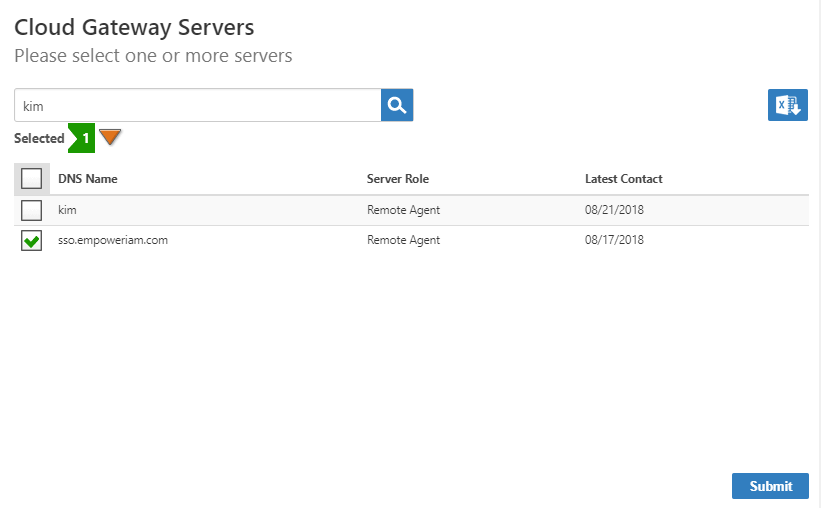
On the Cloud Gateway Servers page that appears, select the appropriate EmpowerID server and click Submit.
The Cloud Gateway Servers page displays only servers on which the EmpowerID Web Role service is running. If you do not see your server on the page, check the following:
- Ensure that the server has been assigned either the All-in-One Server or Web Front-End server role.
- Ensure that the EmpowerID Web Role service is running on the server.
(The LDAP Management Host Web Service is responsible for LDAP communications and is enabled by default on each server running the EmpowerID Web Role service.)
- The Account Store is created and appears in the Account Stores grid and an associated Resource System appears on the Resource Systems tab.
To edit account store settings on the web
In the Navigation Sidebar, expand Admin, then Applications and Directories, and click Account Stores and Systems.
On the Account Stores tab, search for the account store you just created and click the link to go to its details page.
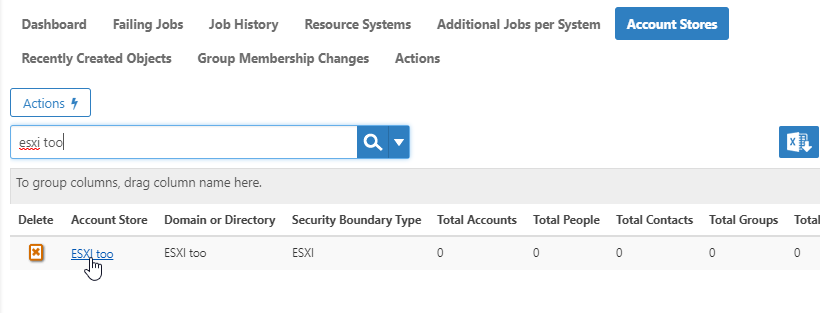
On the Account Store Details page, click the Edit button or the name of the account store.
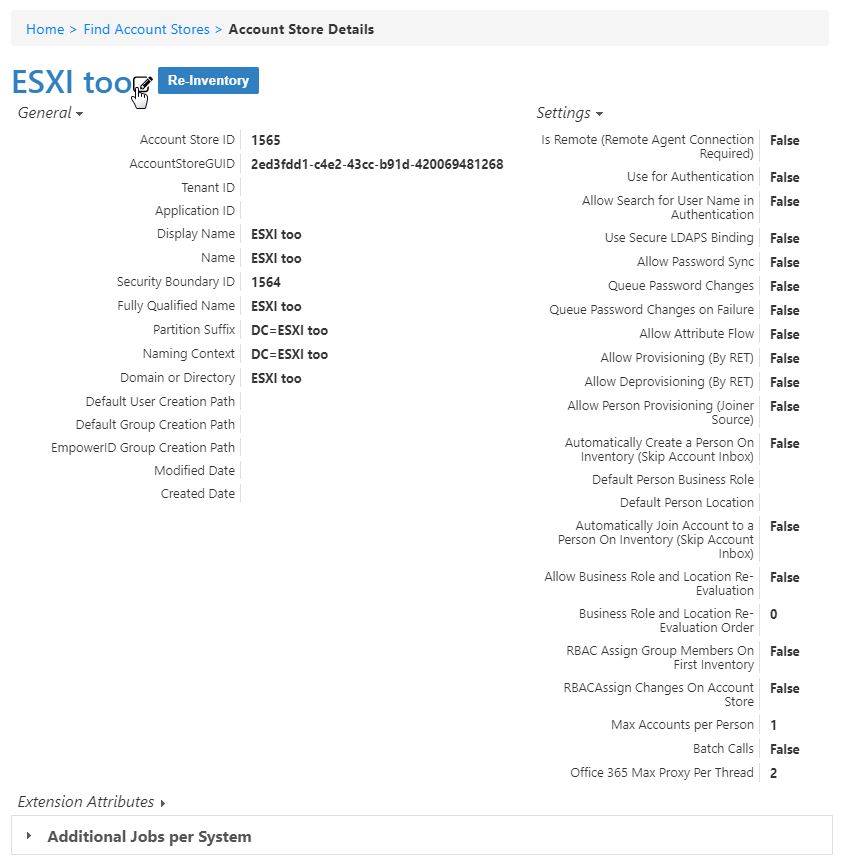
In the edit view of the page, you can edit values in any of the enabled fields on several tabs as detailed in the tables below. Do not enable inventory until the end.
If you do not want all of the users and groups found during inventory to go in the same location in EmpowerID, we recommend Mapping EmpowerID Locations to External Locations before enabling inventory.
When you have finished editing, click Save.
Clicking the Save button on any of the tabs saves any changed settings on all of the tabs, so there is no need to save it after each tab.
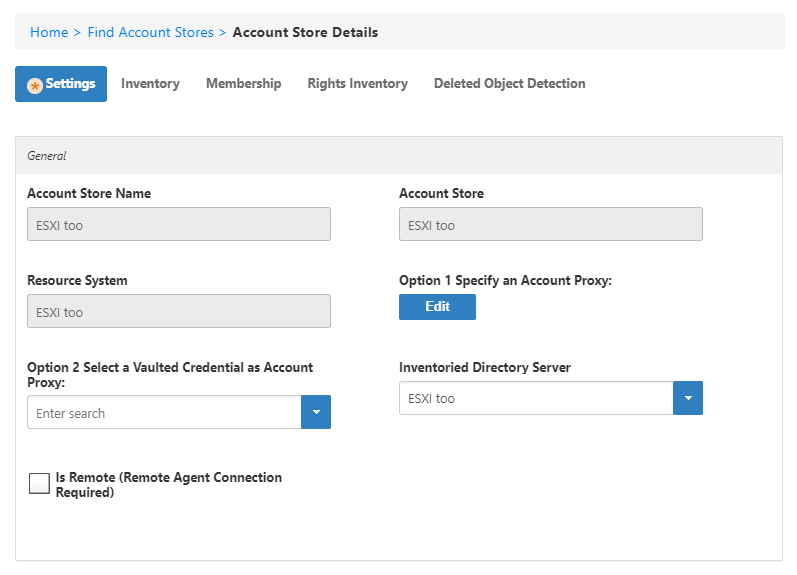
Settings Tab
General section
| Setting | Description |
|---|---|
| Option 1 Specify an Account Proxy | Click Edit to change the Domain (Server), User Name, and Password that was entered when the account store was created. |
| Option 2 Select a Vaulted Credential as Account Proxy | Click the drop-down arrow to select a vaulted credential to use as the account proxy. |
| Inventoried Directory Server | Click the drop-down arrow to select from any connected ESXi servers. |
| Is Remote (Cloud Gateway Connection Required) | Select to indicate that the server is a cloud gateway. |
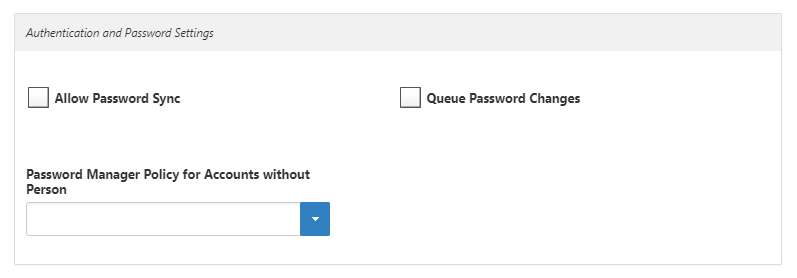
Authentication and Password Settings section
| Setting | Description |
|---|---|
| Allow Password Sync | Toggle to allow EmpowerID to sync password changes discovered during inventory. |
| Queue Password Changes | Toggle to have EmpowerID send password changes to the Account Password Reset Inbox for batch processing. |
| Password Manager Policy for Accounts without Person | Select a password manager policy to use for the account. If not selected, it uses the Default Password Manager Policy. |
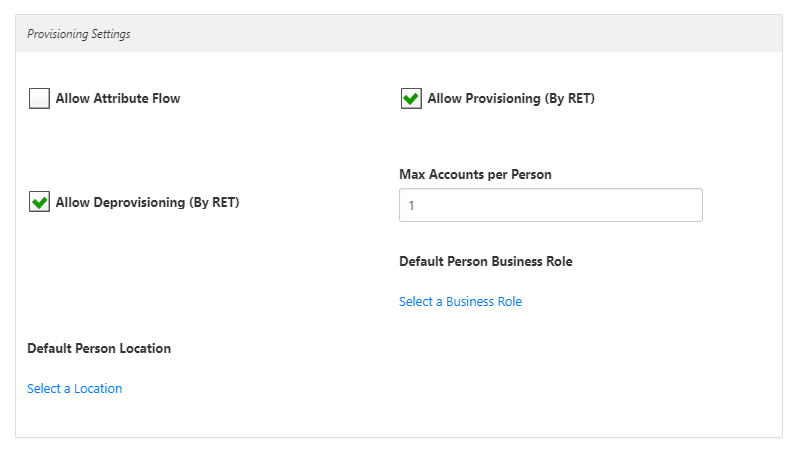
Provisioning Settings section
| Setting | Description |
|---|---|
| Allow Attribute Flow | Toggle to allow attribute changes to flow between EmpowerID and the account store. |
| Allow Provisioning (By RET) | Toggle to allow EmpowerID to create users in the system that were created in EmpowerID. |
| Allow Deprovisioning (By RET) | Toggle to allow EmpowerID to delete users in the system that were deleted in EmpowerID. |
| Max Accounts per Person | Enter the maximum number of user accounts from this domain that an EmpowerID Person can have linked to them. This prevents the possibility of a runaway error caused by a wrongly configured Join rule. We recommended setting this value to 1 unless users commonly have multiple accounts and you want them to be joined to the same person. |
| Default Person Business Role | Select a default Business Role to assign provisioned people if none is specified. |
| Default Person Location | Select a default Location to assign provisioned people if none is specified. |
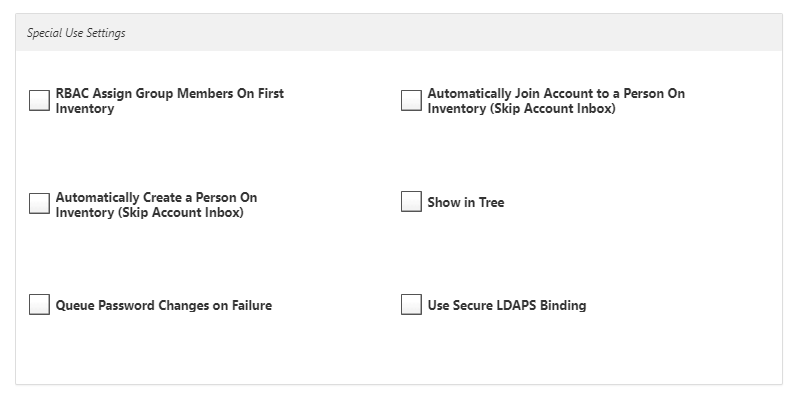
Special Use Settings section
| Setting | Description |
|---|---|
| RBAC Assign Group Members On First Inventory | This setting only pertains to Active Directory account stores. |
| Automatically Join Account to a Person On Inventory (Skip Account Inbox) | Toggle to allow EmpowerID to join newly discovered accounts to people during the inventory process if they meet the Join Rule as specified by the Custom_Account_InventoryInboxJoinBulk SQL stored procedure. |
| Automatically Create a Person On Inventory (Skip Account Inbox) | Toggle to allow EmpowerID to provision EmpowerID people for new accounts discovered during the inventory process if they meet the Provision Rule specified by the Custom_Account_InventoryInboxGetAccountsToProvision SQL stored procedure. |
| Show in Tree | Toggle to show the account store in the Locations tree. |
| Queue Password Changes on Failure | Toggle to have EmpowerID send password changes to the Account Password Reset Inbox only when the change fails. |
| Use Secure LDAPS Binding | Toggle to bind accounts with encryption. |
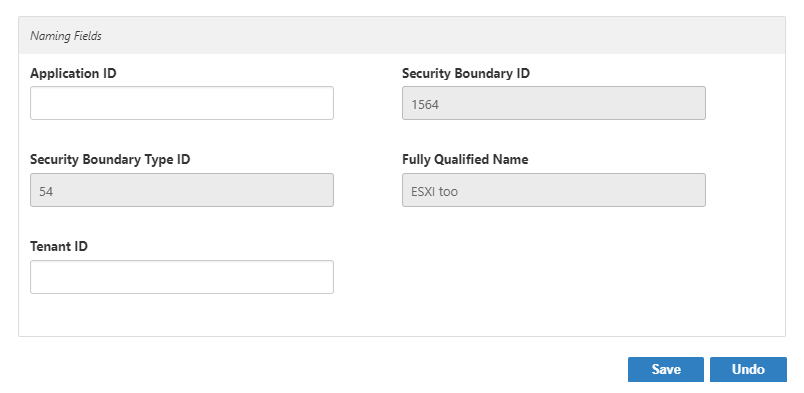
Naming Fields section
| Setting | Description |
|---|---|
| Application ID | If the account store is a one-to-one match with a Tracking Only application, enter the Application Resource GUID of the application. (This value is supplied automatically if you select the Create a New Account Directory option when creating a Tracking Only application.) |
| Tenant ID | Enter the Tenant ID, if supplied by the connection account. (AWS uses this.) |
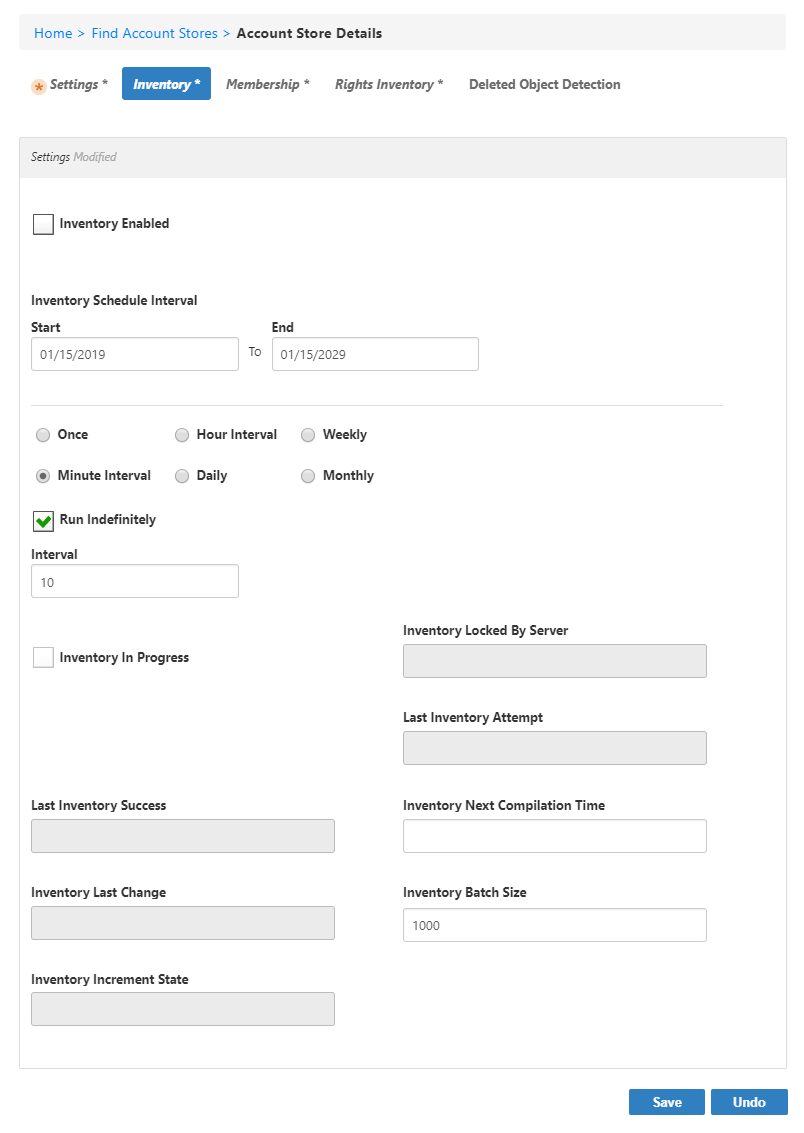
Inventory Tab
The Inventory tab is where you set scheduling and enable EmpowerID to take inventory of the external system. If you do not want all of the users and groups found during inventory to go in the same location in EmpowerID, we recommend Mapping EmpowerID Locations to External Locations before enabling inventory.
| Setting | Description |
|---|---|
| Inventory Enabled | Select this after everything is set up to your liking to allow EmpowerID to inventory the system. The Inventory Job must be enabled for inventory to occur. |
| Inventory Schedule Interval: Start | Set the date on which to begin inventorying the system. By default, this is set to the creation date of the account store. |
| Inventory Schedule Interval: End | Set the date on which to stop inventorying the system. By default, this is set to ten years after the creation date of the account store, but since Run Indefinitely is selected by default, this value is ignored unless you clear that checkbox. |
| Inventory Schedule Interval: (units) | Select the units for the interval at which to run inventory. By default, this is set to 10 minutes.
|
| Run Indefinitely | Select to allow inventory to run indefinitely, ignoring the End date. |
| Interval: (number) | Set the number of units for the interval at which to run inventory. By default, this is set to 10 minutes. |
| Inventory Next Compilation Time | If you do not want to wait for the next regularly scheduled inventory run, specify the time and date to run it next. |
| Inventory Batch Size | Specify the number of records to process in each batch, to avoid hanging up your system when large numbers of records are processed. By default, this is set to 1,000 records. |
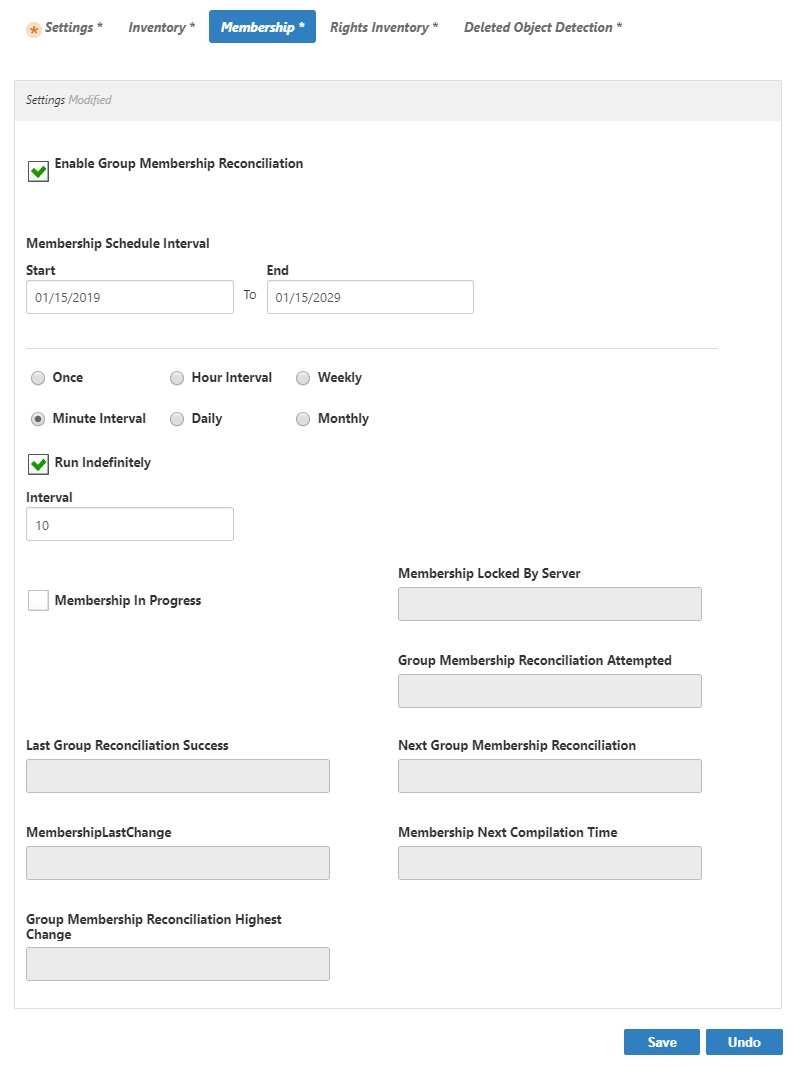
Membership Tab
Group membership reconciliation is enabled by default to run every ten minutes, indefinitely.
| Setting | Description |
|---|---|
| Enable Group Membership Reconciliation | Select to allow EmpowerID to reconcile group membership with the system. This is enabled by default. |
| Membership Schedule Interval: Start | Set the date on which to begin reconciling group membership with the system. By default, this is set to the creation date of the account store. |
| Membership Schedule Interval: End | Set the date on which to stop reconciling group membership with the system. By default, this is set to ten years after the creation date of the account store, but since Run Indefinitely is selected by default, this value is ignored unless you clear that checkbox. |
| Membership Schedule Interval: (units) | Select the units for the interval at which to run inventory. By default, this is set to 10 minutes.
|
| Run Indefinitely | Select to allow group membership reconciliation to run indefinitely, ignoring the End date. |
| Interval: (number) | Set the number of units for the interval at which to run rights inventory. By default, this is set to 10 minutes. |
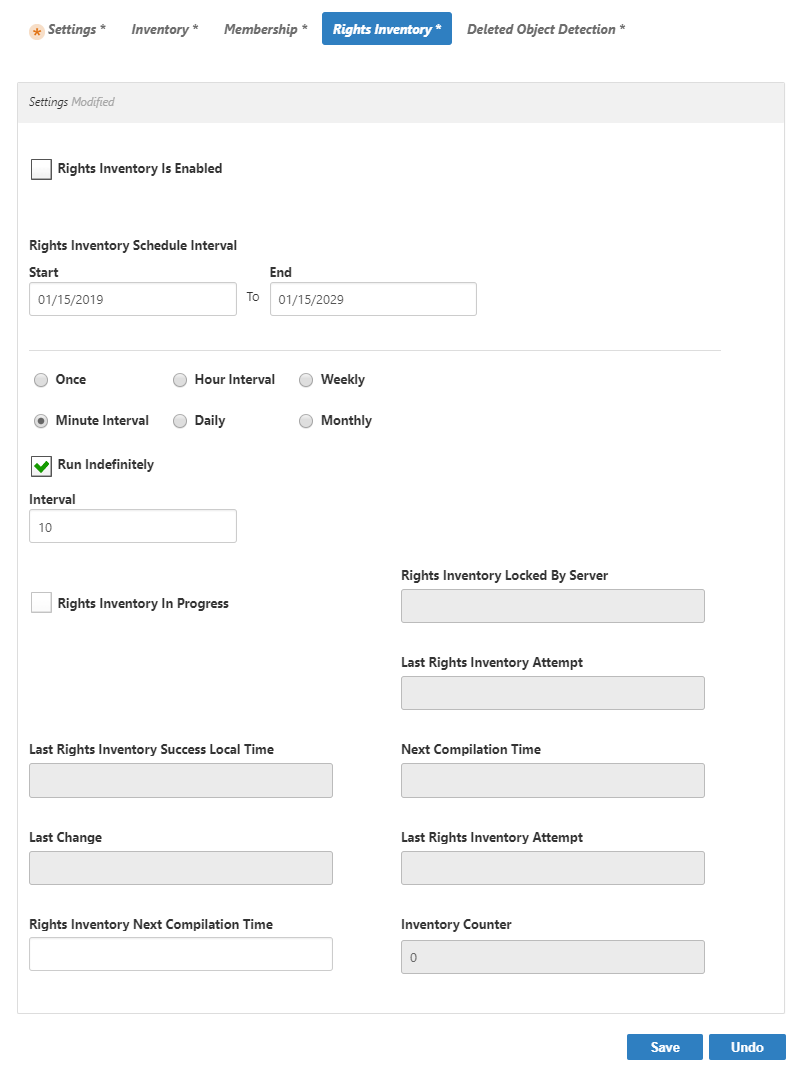
Rights Inventory Tab
The Rights Inventory tab is where you set scheduling and enable EmpowerID to take inventory of rights in the native system.
| Setting | Description |
|---|---|
| Rights Inventory Is Enabled | Select to allow EmpowerID to inventory native rights in the system. This is disabled by default. |
| Rights Inventory Schedule Interval: Start | Set the date on which to begin inventorying rights in the system. By default, this is set to the creation date of the account store. |
| Rights Inventory Schedule Interval: End | Set the date on which to stop inventorying rights in the system. By default, this is set to ten years after the creation date of the account store, but since Run Indefinitely is selected by default, this value is ignored unless you clear that checkbox. |
| Rights Inventory Schedule Interval: (units) | Select the units for the interval at which to run rights inventory. By default, this is set to 10 minutes.
|
| Run Indefinitely | Select to allow rights inventory to run indefinitely, ignoring the End date. |
| Interval: (number) | Set the number of units for the interval at which to run rights inventory. By default, this is set to 10 minutes. |
| Inventory Next Compilation Time | If you do not want to wait for the next regularly scheduled rights inventory run, specify the time and date to run it next. |
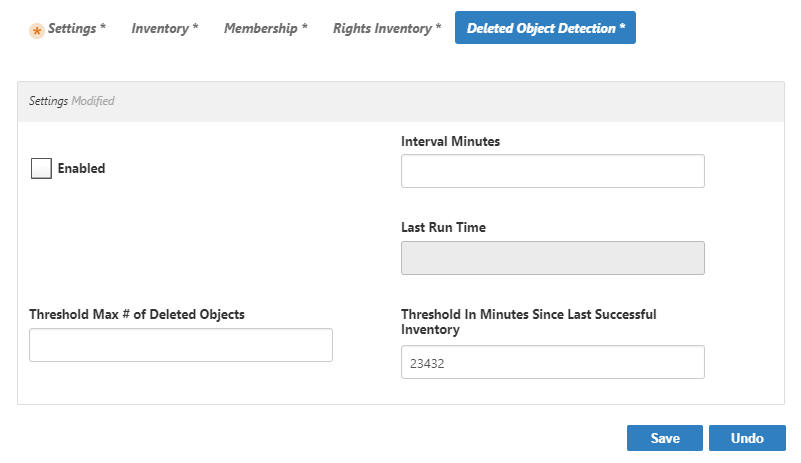
Deleted Object Detection Tab
You can enable EmpowerID to detect deleted objects in the system. This tab applies only to Active Directory. Your Attribute Flow settings dictate which system takes precedence.
| Setting | Description |
|---|---|
| Enabled | Select to enable deleted object detection. This is disabled by default. |
| Interval Minutes | Set the number of minutes for the interval at which to run rights inventory. |
| Threshold Max # of Deleted Objects | Specify the maximum number of deleted objects. |