Hello Workflow
This tutorial demonstrates how to create a simple EmpowerID workflow that can be deployed in your environment to update the attributes of an EmpowerID Person. The purpose of this tutorial is to guide you through the steps for completing a fully functional workflow comprised of common workflow components. In this tutorial, these components include the following:
- A Lookup Control — Lookup Controls are User Interface elements that can be placed in a workflow to allow users to search for EmpowerID objects. In this tutorial, we will create a Lookup that can be used to search for a person.
- A Form — Forms are User Interface elements that you place in a workflow to allow users to provide information to the workflow. In this tutorial, we will create a form that allows users to enter information about the person they searched for in the Lookup.
- An Operation Activity — Operation activities are protected workflow shapes that you place on the workflow to perform the actions of the workflow. Workflows can contain multiple Operation activities, depending on their complexity. In this tutorial, we will use a single Operation activity that when executed updates an attribute on a person. In EmpowerID, this person is known as the "target person."
When you have completed this tutorial, you should have foundational understanding of the various components and principles involved with creating EmpowerID workflows that can be used as a basis for creating more complex workflows.
To create the workflow, we will do the following:
- Create a package. In Workflow Studio, a package is a container that provides a logical structure through which you can manage workflow applications and all the components associated with them.
- Create and publish a Lookup Control that allows users to search for a person
- Create and publish a form with fields bound to an EmpowerID Person
- Build the workflow, adding to it the Lookup Control and form, as well as a Multi-Operation Operation Activity that verifies whether the current person attempting to edit the person has the appropriate access to do so.
- Bind the appropriate properties of the workflow activities to one another to ensure that the workflow data remains consistent throughout its lifecycle.
- Publish and test the workflow.
To create a package
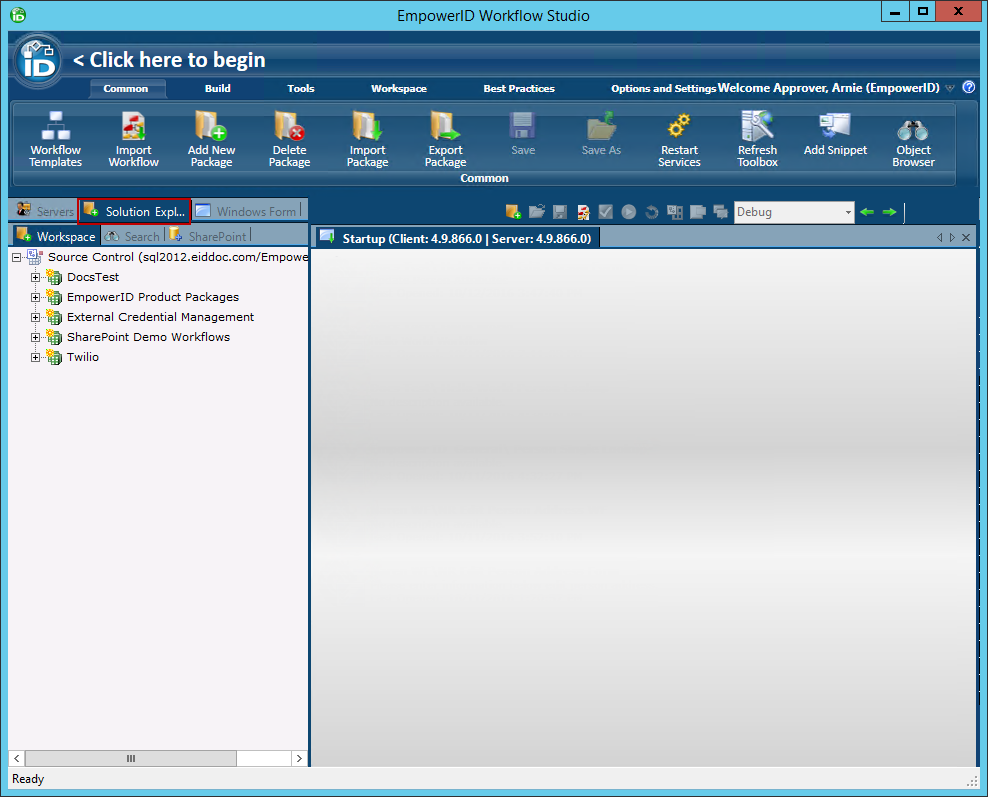
- In Workflow Studio, click on the Solution Explorer tab to the left of the IDE.
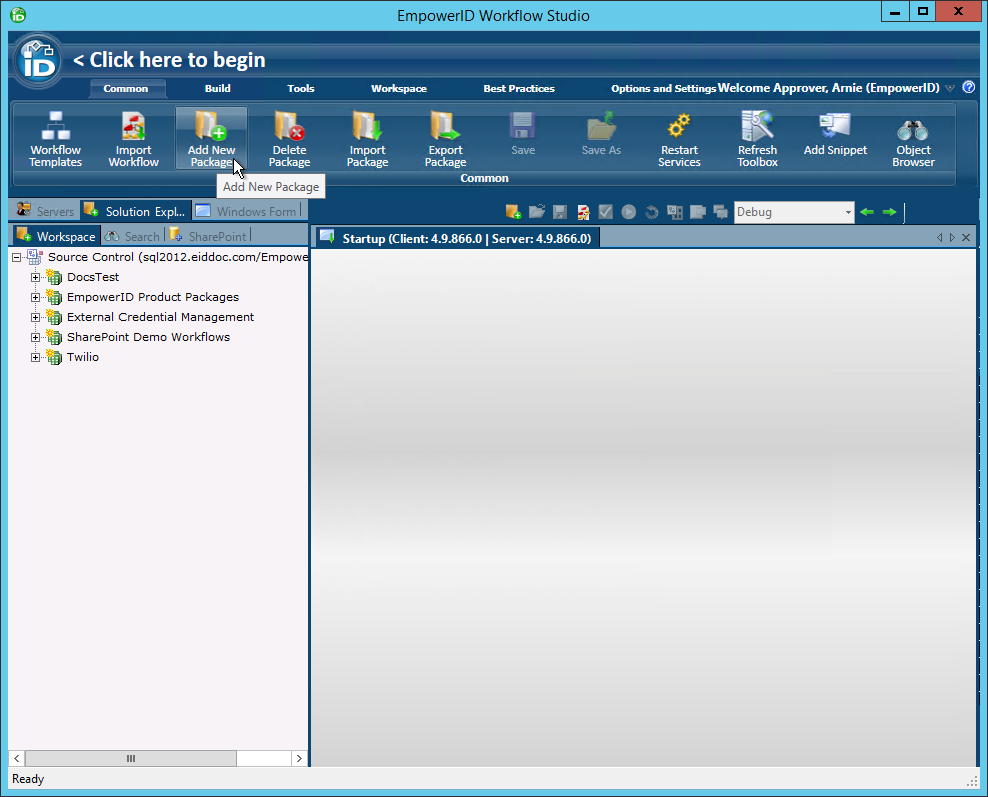
- Click Add New Package from the Common toolbox ribbon.
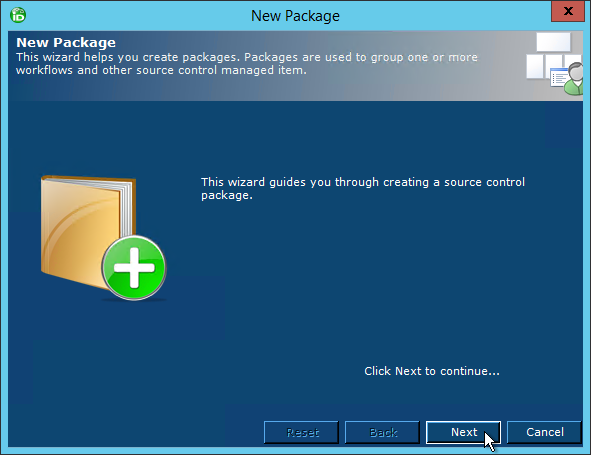
- In the New Package wizard that appears, click the Next button.
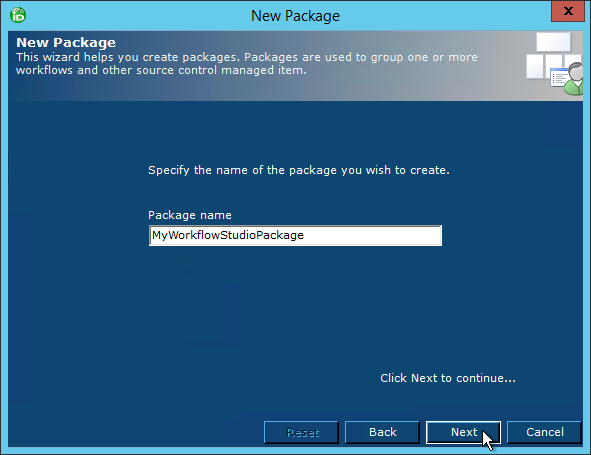
- Enter a name for the package in the Package name field and click Next to complete the wizard.
The Workflow Studio Source Control updates to show the new package in the Source Control tree.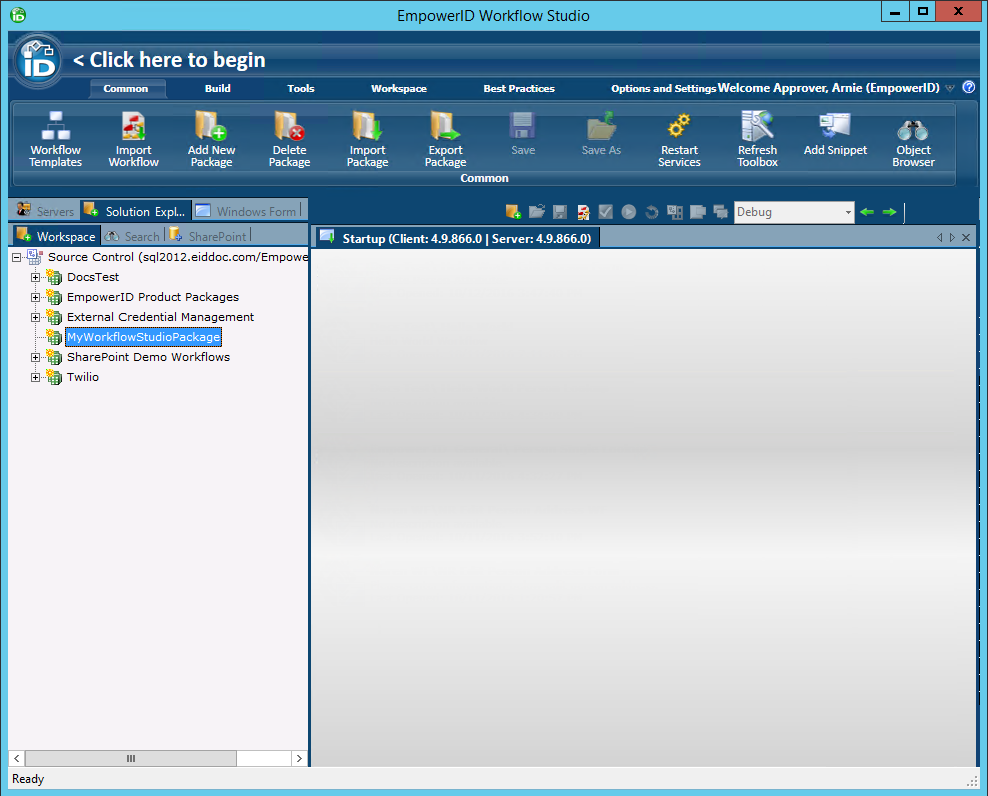
To create and publish the lookup
- From Workflow Studio, right-click on the package you just created and select Add New Item > User Interface > EmpowerID Lookup Control.
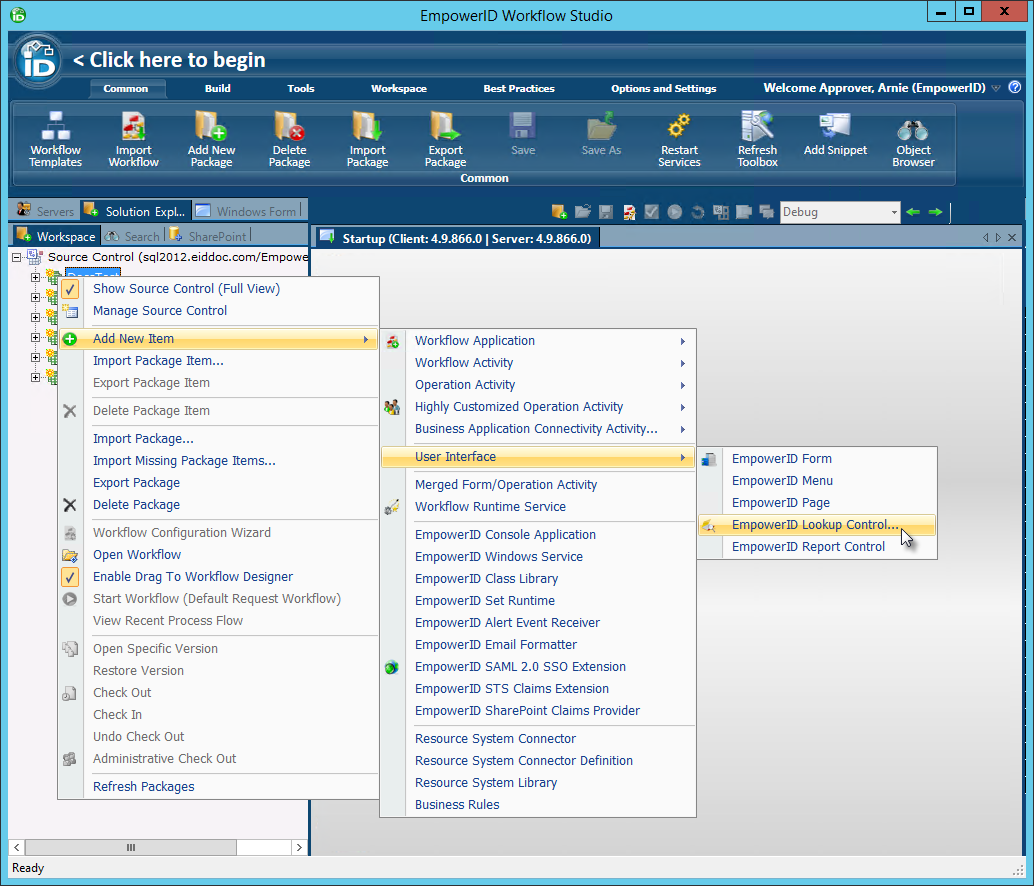
- In the Add New Lookup Control window that appears, type a name for the Lookup Control in the Name field, ensure the package is correct and then click OK.
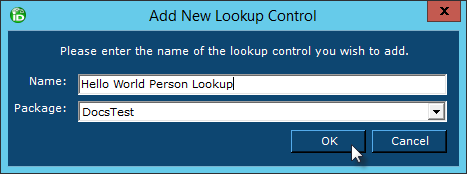
This opens the new Lookup Control in the Workflow Studio Designer.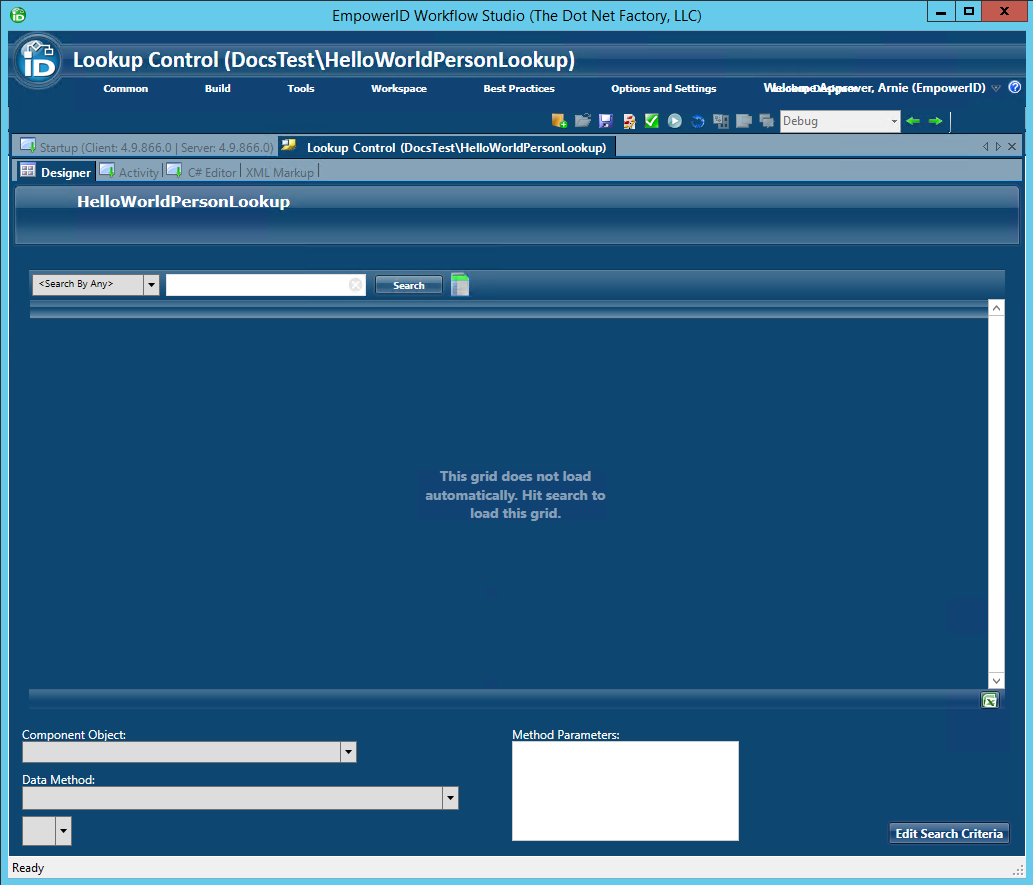
- From the Properties grid, set the Title property to Hello World Person Lookup and the Description property to Search for a Person.
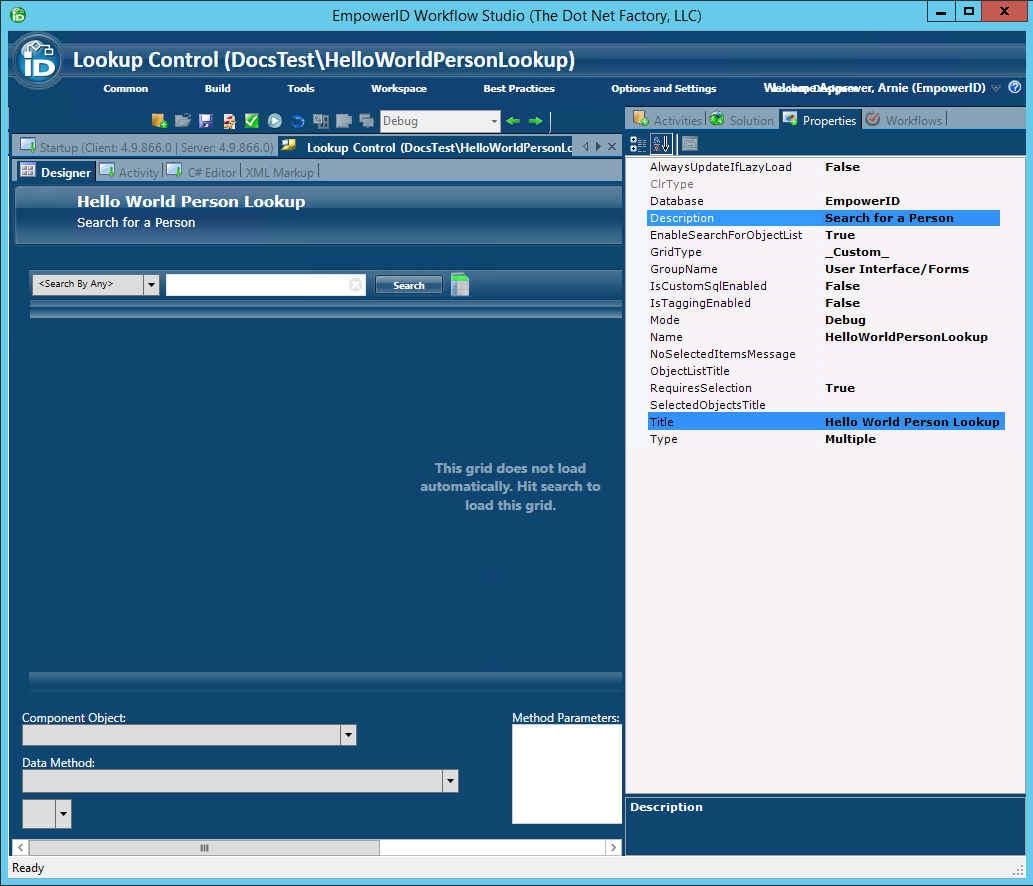
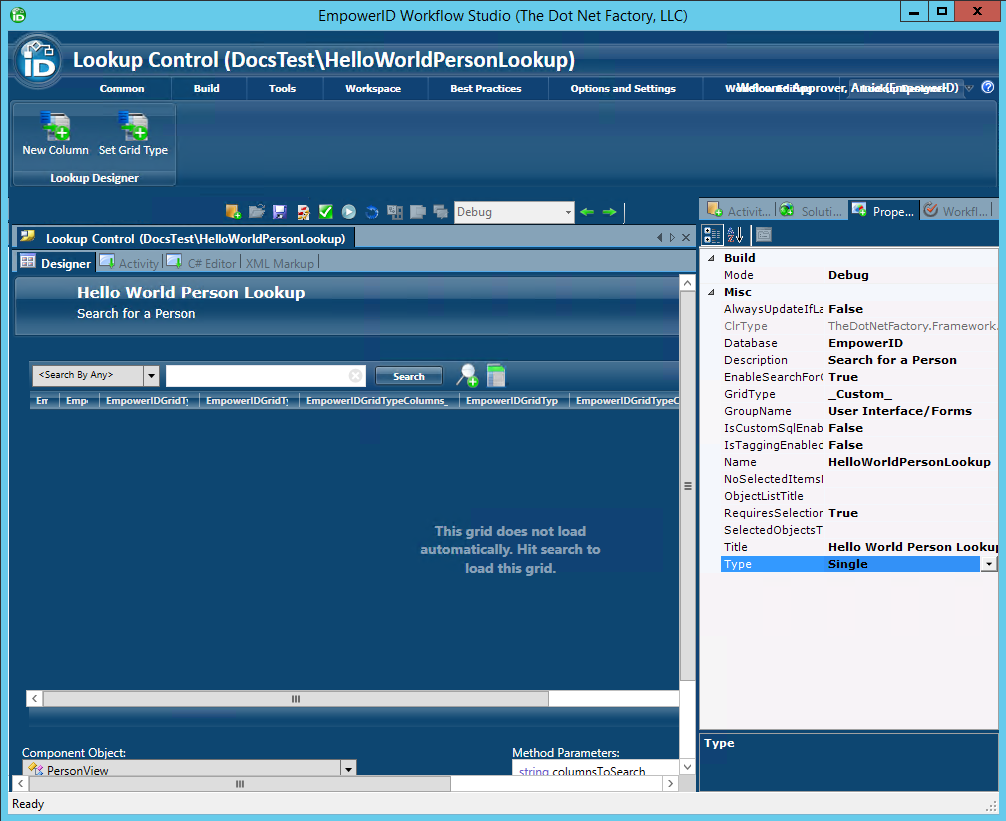
- From the Properties grid, set the Type property to Single. Setting the Type to Single allows users to select only one object.
Next, we need to bind the Lookup Control to a component object to allow us to add grid columns related to that component. - In the Lookup Control Data Pane located at the bottom of the designer, do the following to allow the Lookup Control to return a list of people.
- Click the Component Object drop-down list and select PersonView. The Component Object drop-down list contains a list of class definitions that relate to the objects EmpowerID protects, and the PersonView object provides a consolidated view of all the data fields associated with EmpowerID people.
- Click the Data Method drop-down list and select the GetAllSearch(string columnsToSearch, string textToSearch) method. This method returns all people contained in the EmpowerID Identity Warehouse to the Lookup Control.
The following image shows what the Lookup Control Data Pane looks like with the above selections made.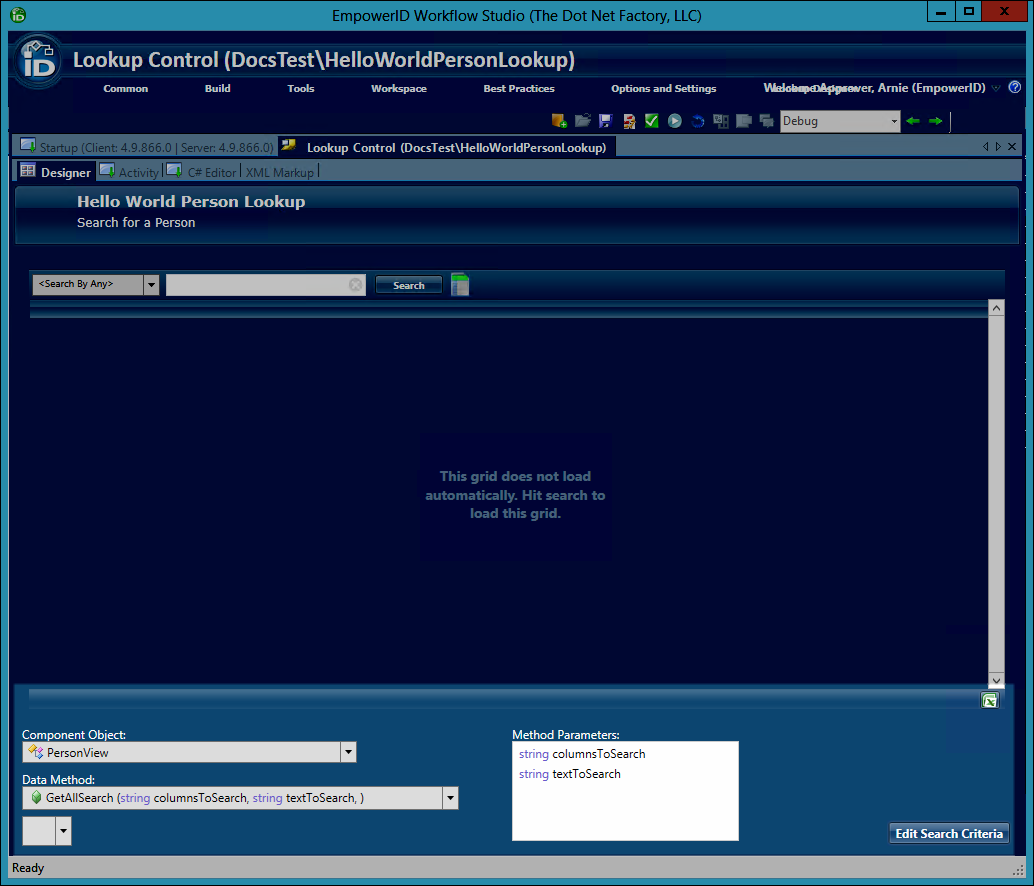
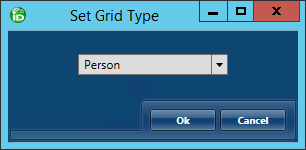
- Now that the component object for the Lookup Control has been set, click the Set Grid Type button in the Lookup Designer ribbon to set the grid type for the designer.
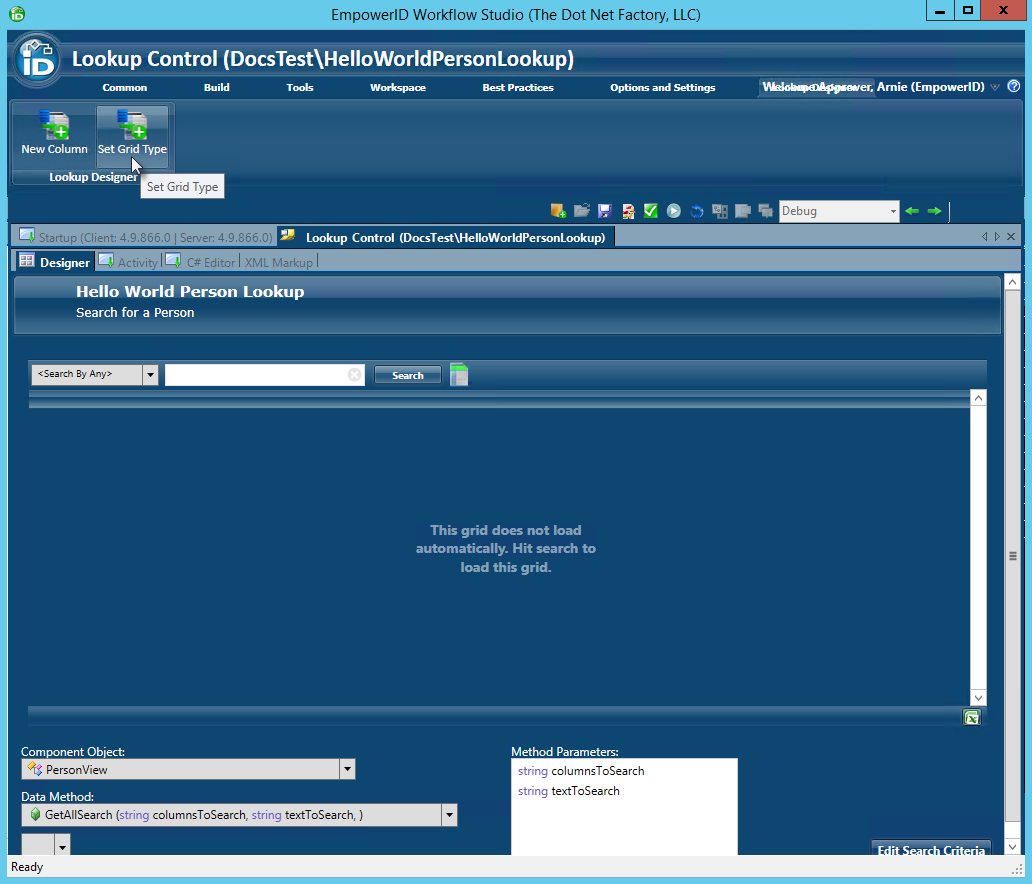
- In the Set Grid Type window that appears, select Person from the drop-down and click OK. Setting the grid type for Lookup Controls in this way automatically adds the columns associated with the component object you are binding to the Lookup Control. This allows you to provide a consistent look to your Lookups and makes it easier for localization as the default grid type columns are already localized.
- In the Confirm dialog that appears, click Yes to continue.
- Save your changes.
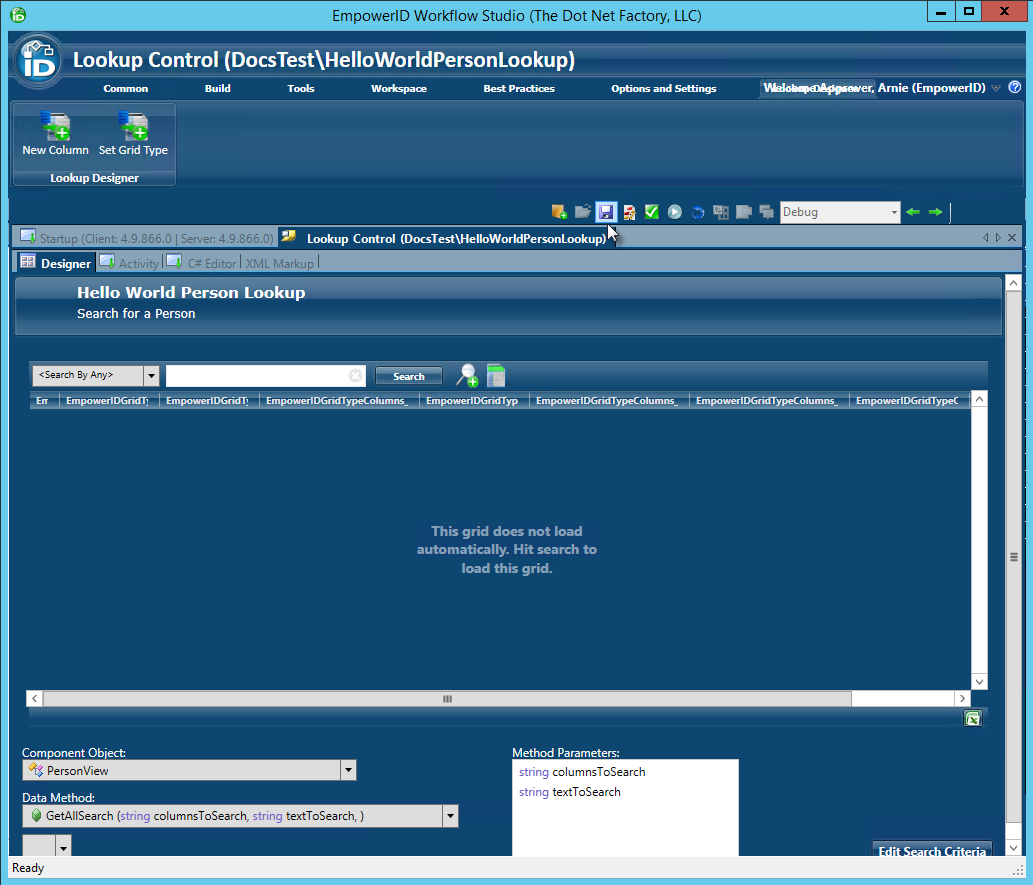
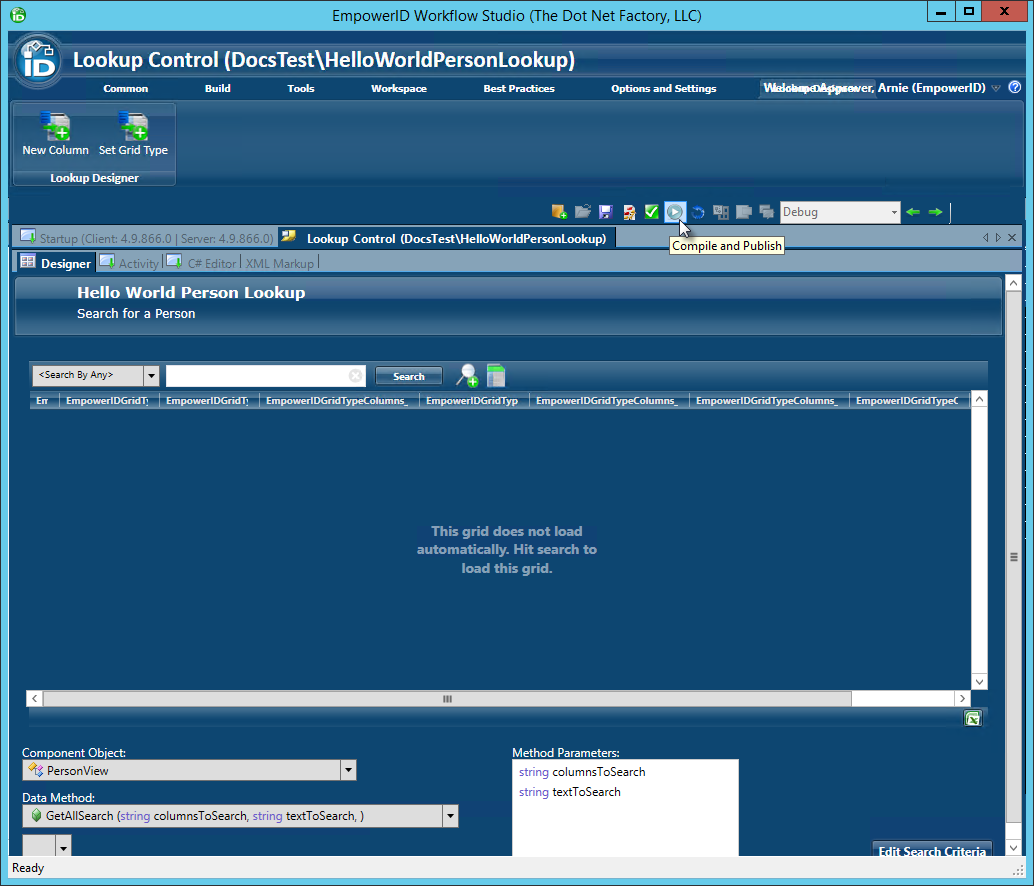
- Next, publish the Lookup by following the below steps. When you publish the Lookup, Workflow Studio converts it to an activity that can be placed within the workflow.
- From the toolbar located above the Workflow Studio Designer, click the Compile and Publish button.
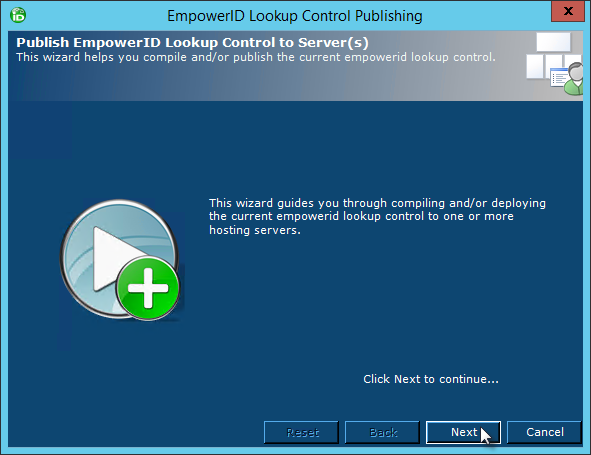
- In the Lookup Publishing wizard that appears, click the Next button.
- Select the server to which you want to publish the Lookup and click Next.

- Click Next again and wait for the wizard to compile the Lookup and publish it to the hosting server.
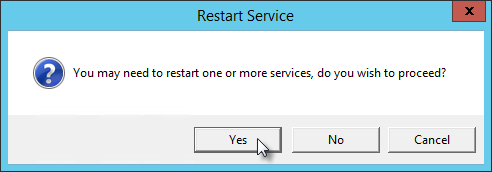
- Select Yes when prompted to restart one or more services.
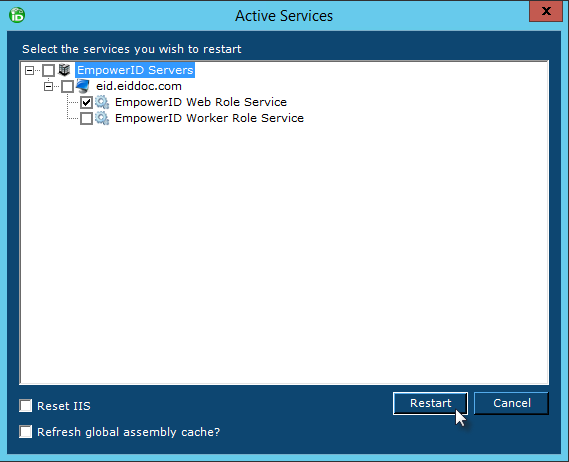
- In the Active Services window, select the Web Role Service on the hosting server and click the Restart button.
- Select Yes when prompted to restart Workflow Studio.
- Select Yes to save changes to any opened files.
- From the toolbar located above the Workflow Studio Designer, click the Compile and Publish button.
Now that the Lookup has been created and published, the next step is to create and publish the workflow form.
To create and publish the form
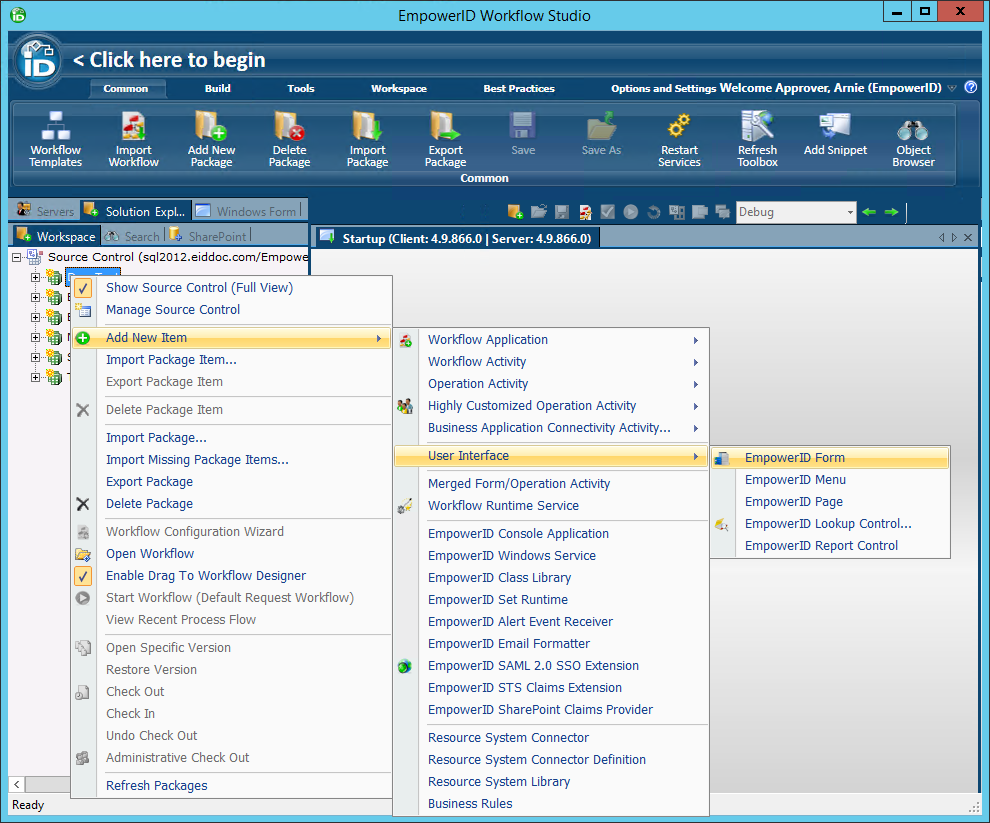
- From Workflow Studio, right-click on the package you created earlier and select Add New Item > User Interface > EmpowerID Form.
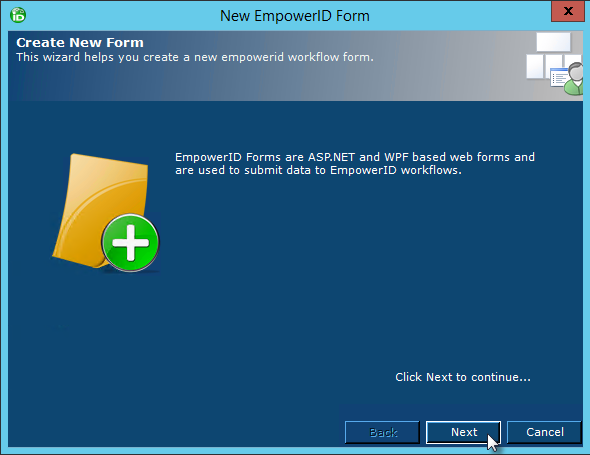
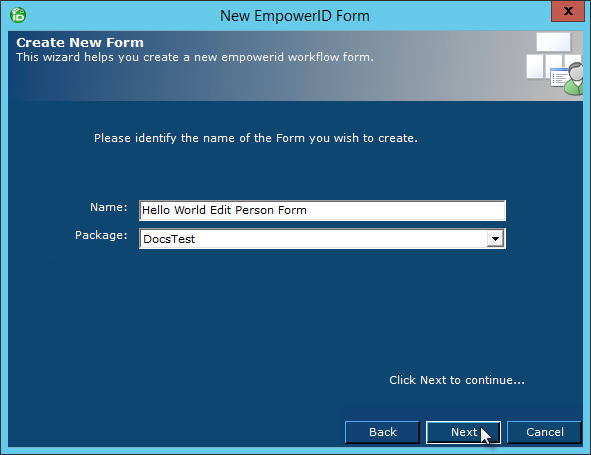
- In the Create New Form wizard that appears, click Next.
- Type a name for the form in the Name field, ensure the package is correct and then click OK.
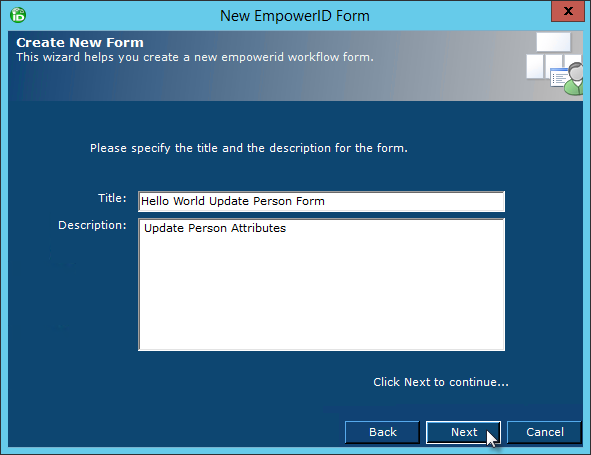
- Type a title and description for the form in the Title and Description fields, respectively and then click Next.
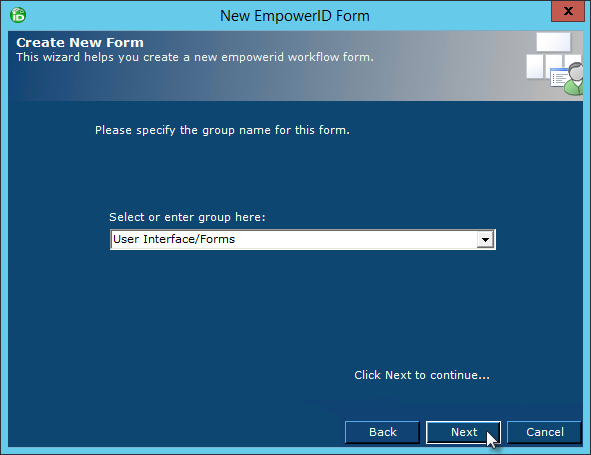
- Type User Interface/Forms in the Select or enter group here field and then click Next. Doing so instructs Workflow Studio to add the form to the User Interface > Forms folder within the package.
This opens the form with the default tab in the Workflow Studio Form Designer.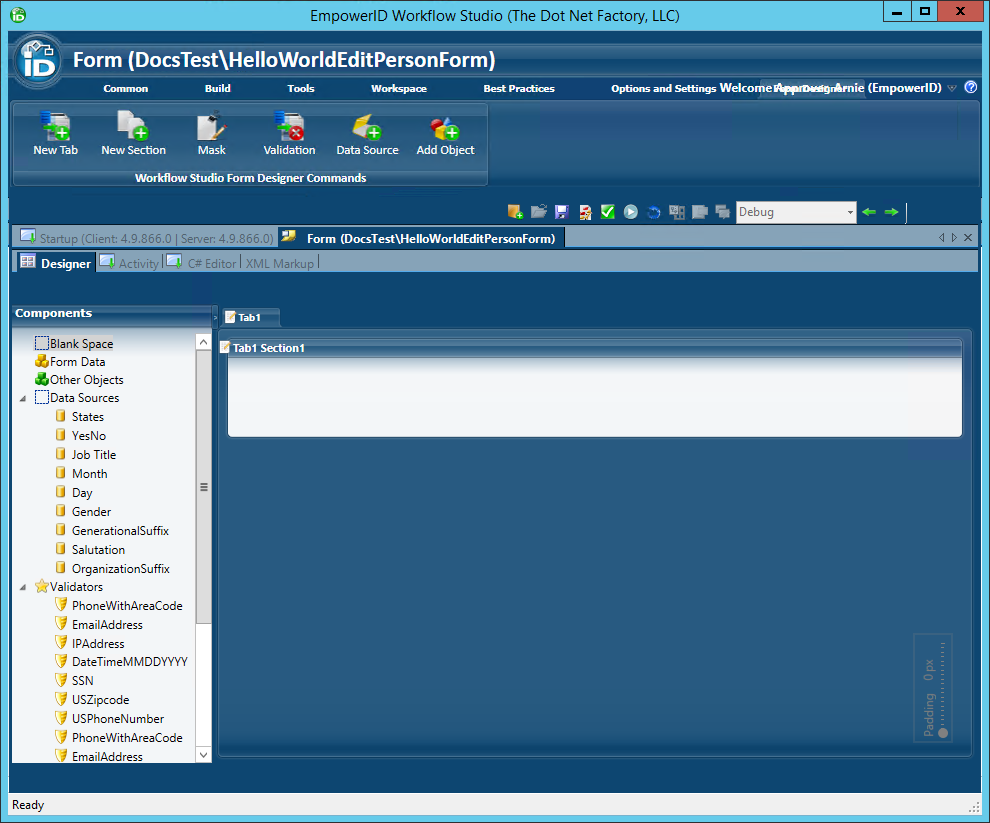
- Edit the caption in the form tab by double-clicking directly on the caption text.
- Change the caption from Tab1 to Person.
- Repeat the process for the form section text, changing it from Tab1 Section1 to Name Information.
The tab and section caption should look like those depicted in the below image.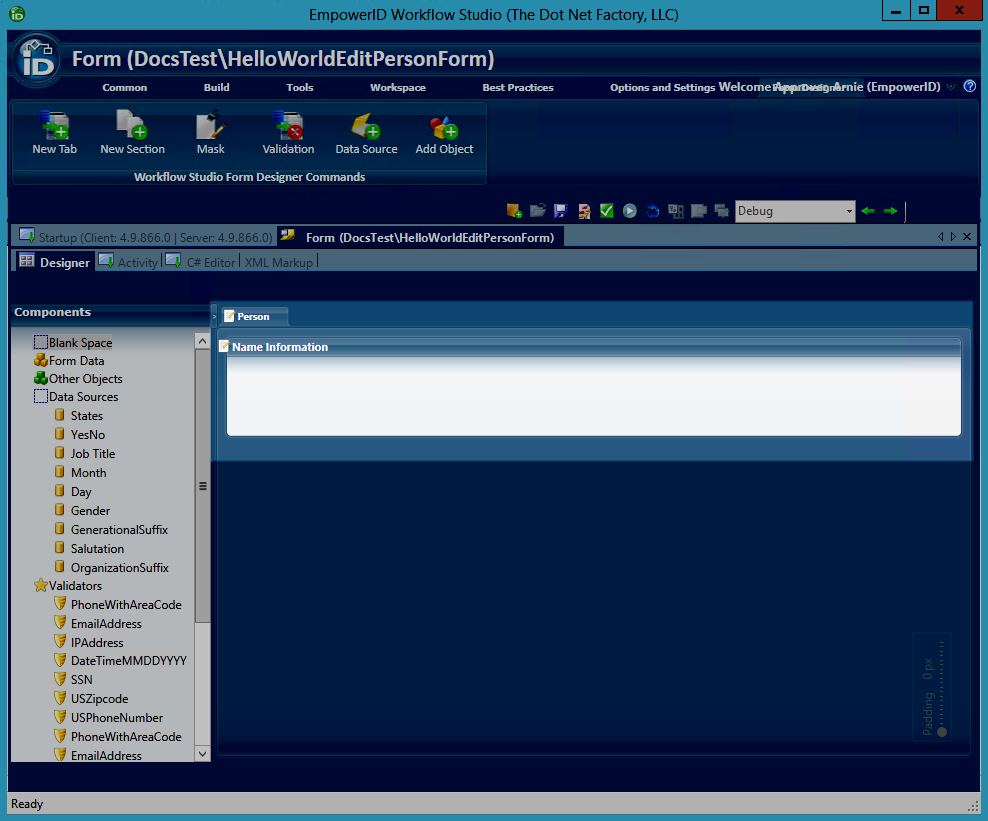
- When a user runs the Hello World workflow, we want the form to have certain fields populated with attribute data, such as the target person's name information. This is accomplished through adding Form Data components to the form. To do this, click the Add Object button in the Form Designer ribbon.
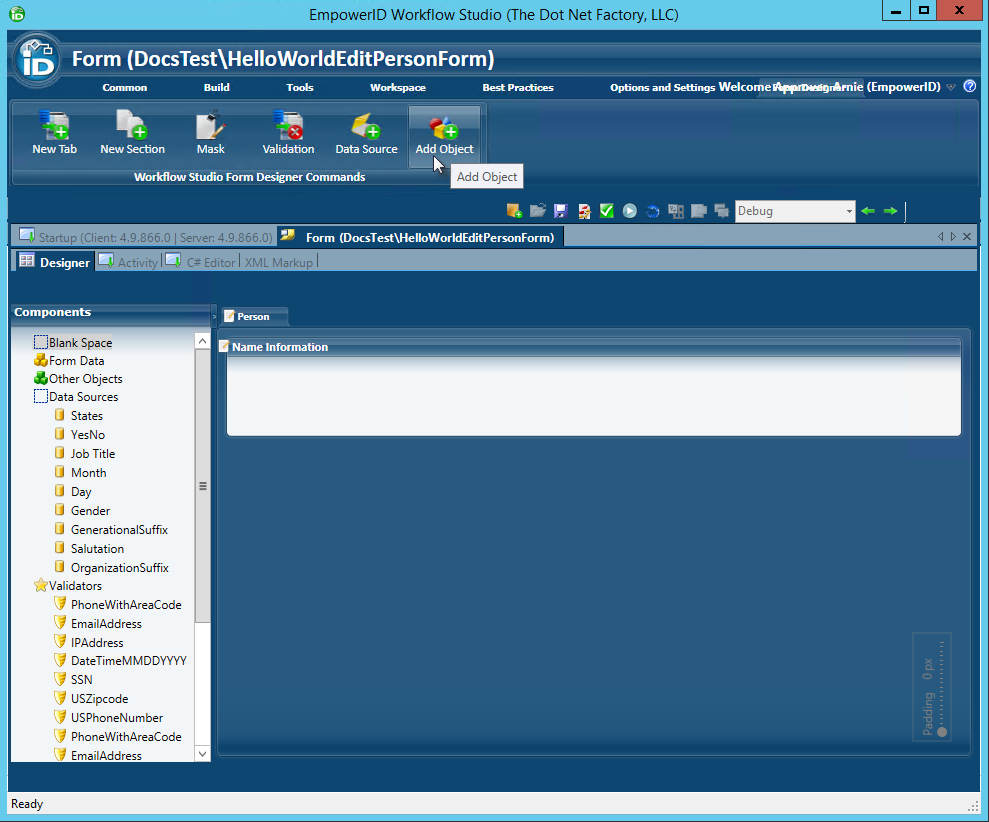
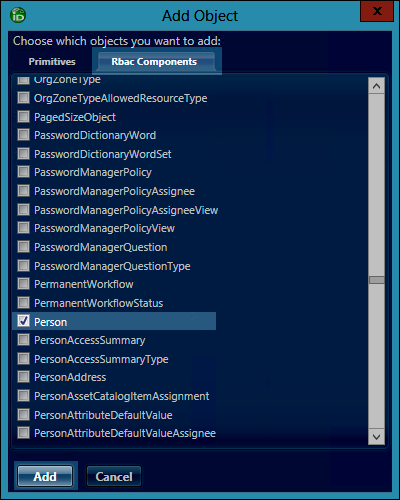
- In the Add Object window that appears, click the Rbac Components tab, select the Person component and then click the Add button.
This adds a component, named Person1, to the Components tree located to the left of the form. The Components tree contains bound objects and other types that can be used when designing forms. The Person1 component contains attributes and properties related to the EmpowerID people in your environment.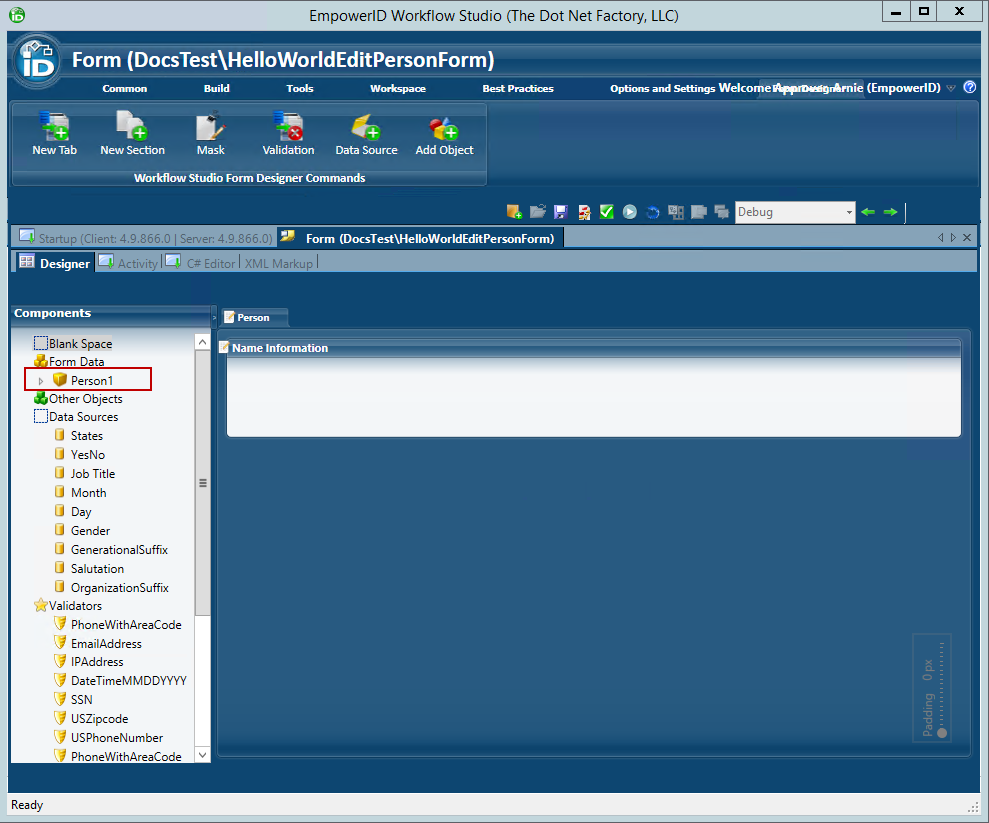
- Double-click the Person1 component text and change the name to TargetPerson.
- Expand the TargetPerson node to reveal the attributes available for the Person component.
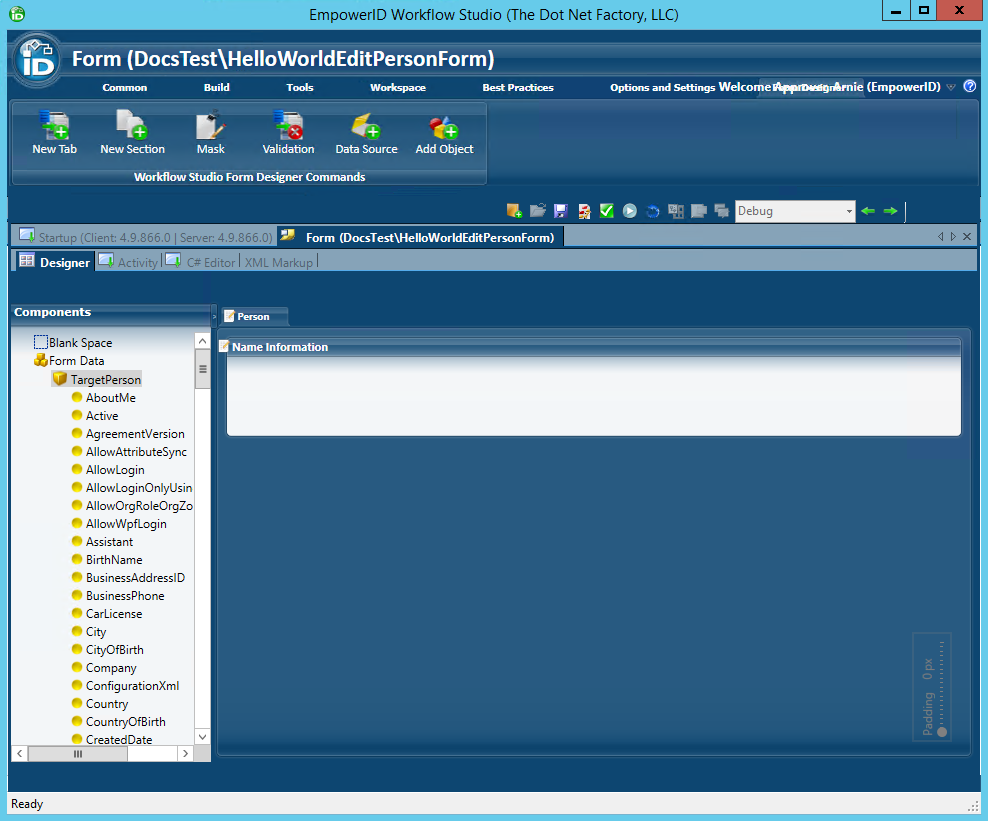
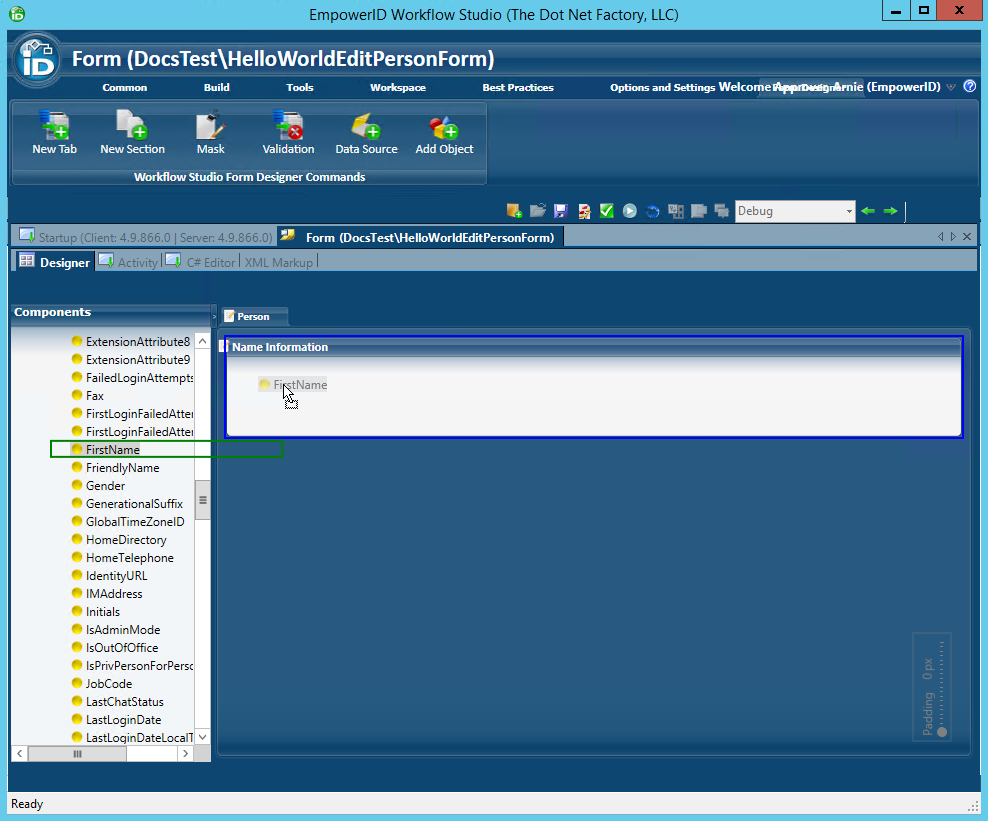
- From the TargetPerson node in the Components tree, scroll to the FirstName object and drag it onto the design surface of the form. When you are dragging the object, notice that FirstName becomes outlined by a green rectangle and the mouse cursor icon changes, indicating that you are performing a drag-and-drop operation. The blue rectangle indicates where you are dropping the FirstName object.
- From the TargetPerson node in the Components tree, drag the LastName attribute onto the form. You should both fields on the form.

- From the form, double-click directly on the field names and edit them to read First Name and Last Name, respectively.
- Add an new section to the form by clicking the New Section button in the Form Designer ribbon.

- Double-click on the section caption and edit it so that it reads Address Information
- From the TargetPerson node in the Components tree, drag the following components onto the Address Information section of the form:
- StreetAddress
- City
- State
- PostalCode
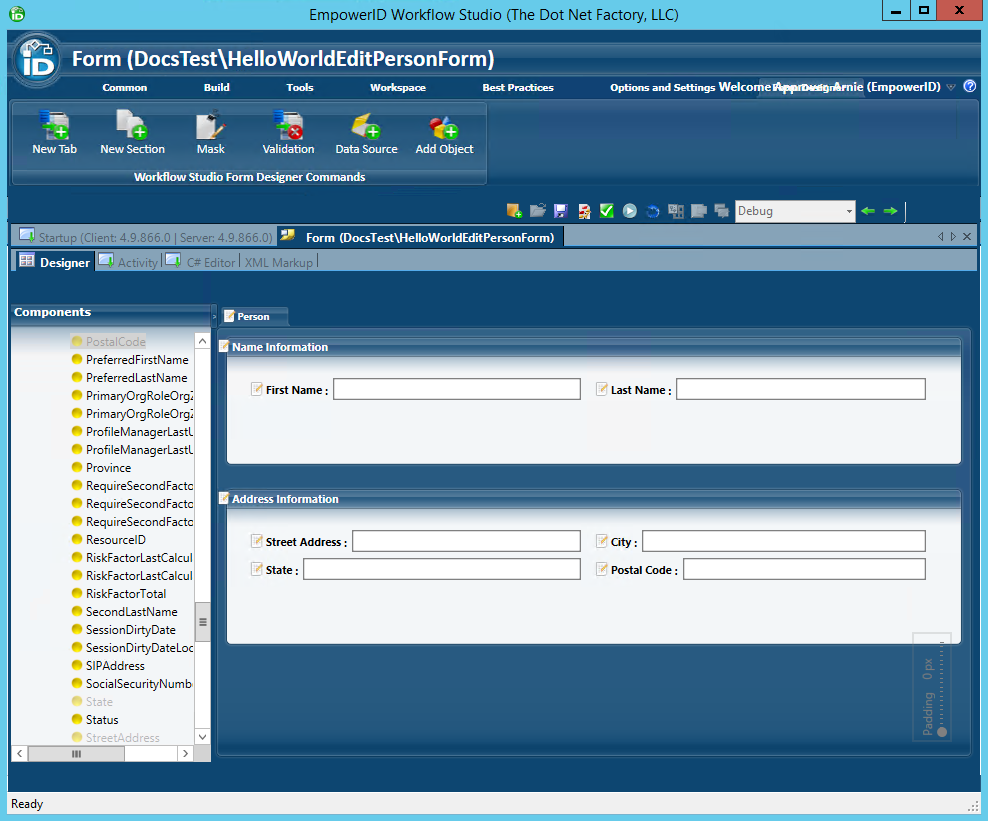
- Add spacing to the StreetAddress and PostalCode field names. Your form should look like the following image.
- Next, publish the form by following the below steps. When you publish the form, Workflow Studio converts it to an activity that can be placed within the workflow.
- From the Workflow Studio toolbar located above the Form Designer, click the Compile and Publish button.
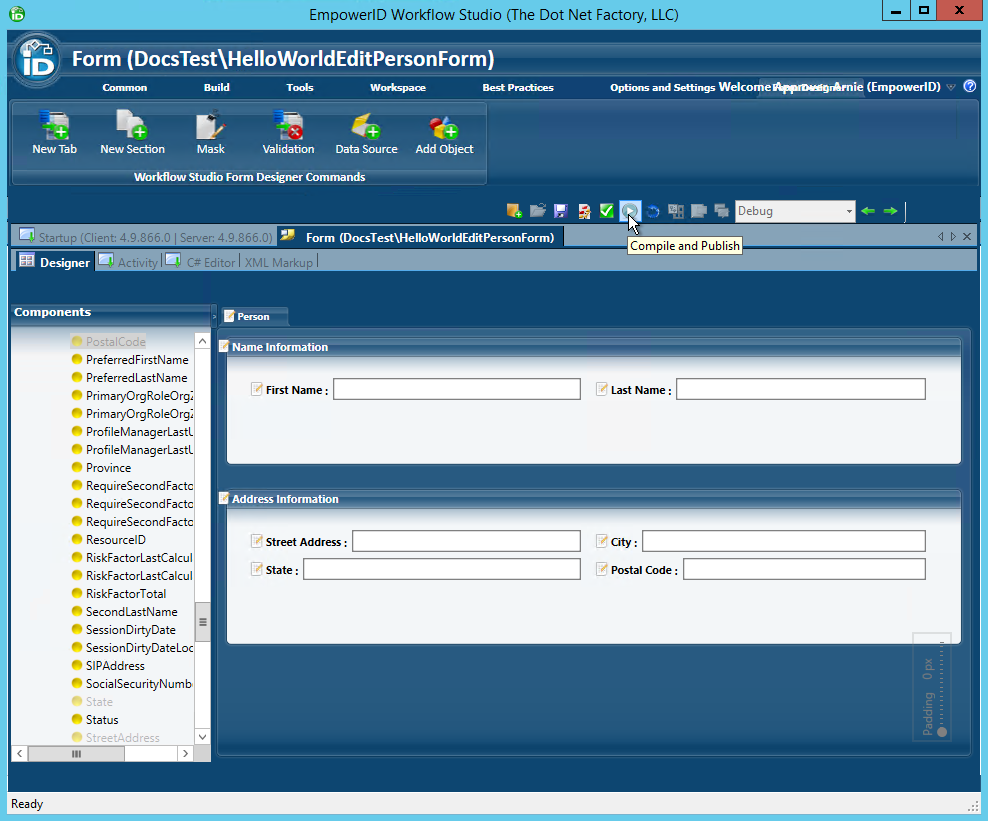
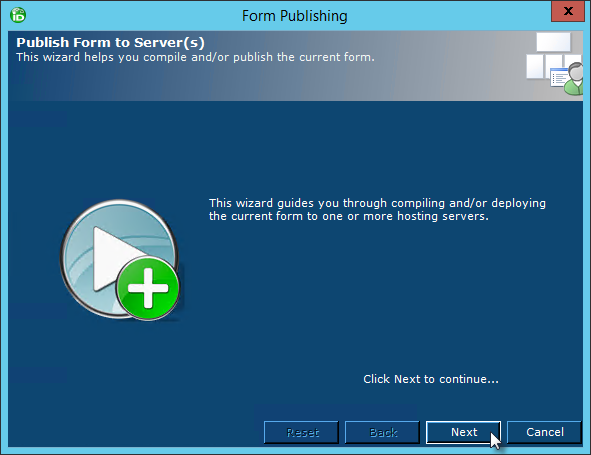
- In the Form Publishing wizard that appears, click the Next button.
- Select the server to which you want to publish the form and click Next.
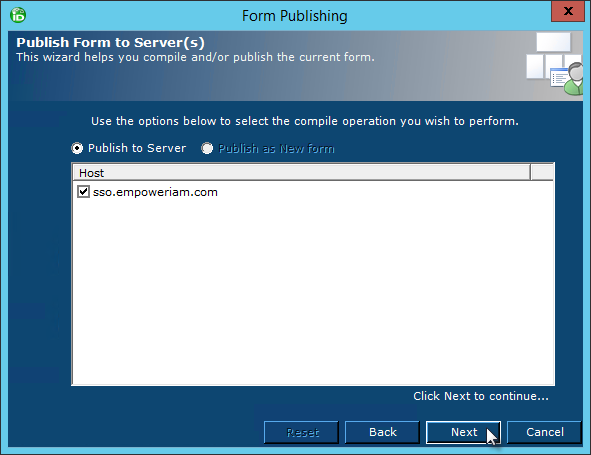
- Click Next again and wait for the wizard to compile the form and publish it to the hosting server.
- Select Yes when prompted to restart one or more services.

- In the Active Services window, select Web Role Service on the hosting server and click the Restart button.

- Select Yes when prompted to restart Workflow Studio.
- Select Yes to save changes to any opened files.
- From the Workflow Studio toolbar located above the Form Designer, click the Compile and Publish button.
Now that the Lookup and form have been created and published, we can begin building the workflow.
To build the workflow
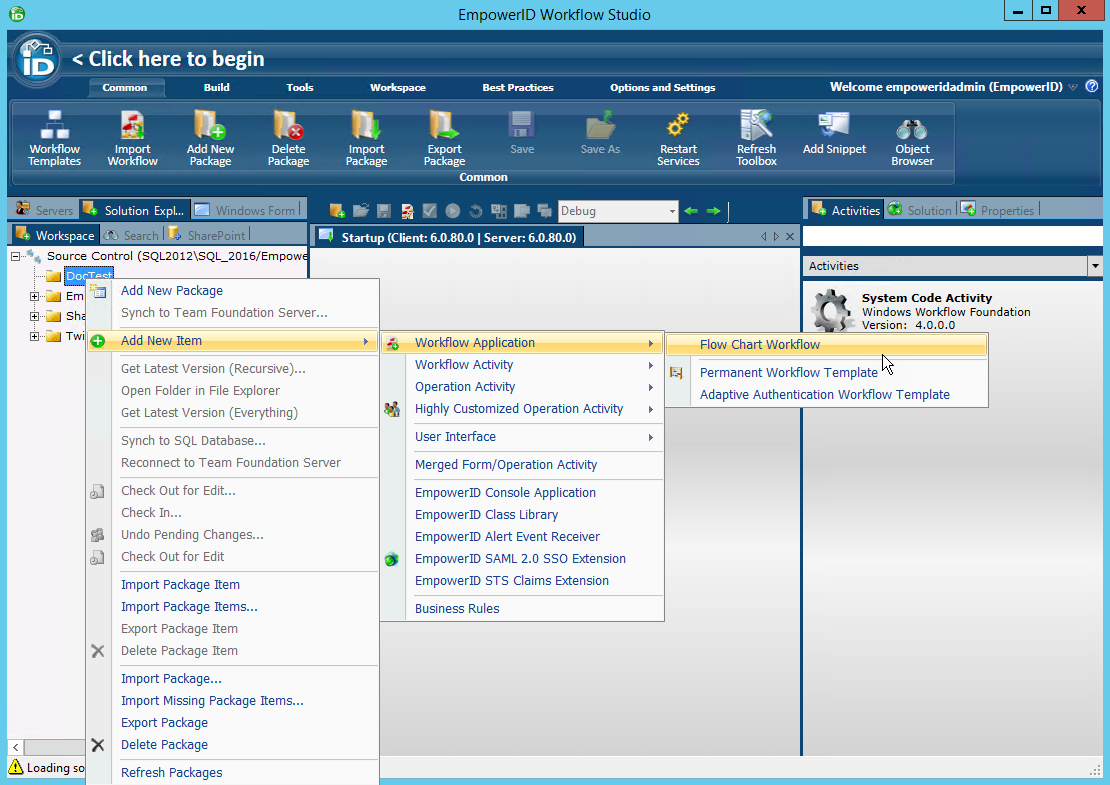
- From Workflow Studio, right-click on the package you created earlier and select Add New Item > Workflow Application > Workflow Application - Flow Chart.
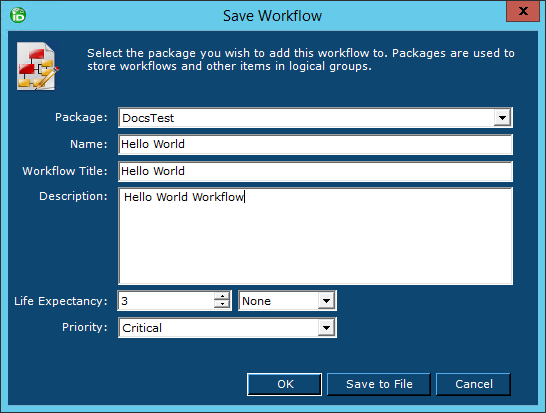
- In the Save Workflow window that appears, do the following:
- Ensure the correct package is selected in the Package field
- Type a name for the workflow in the Name field.
- Type a title for the workflow in the Title field.
- Enter any desired description text in the Description text box. The text entered here appears on the activity in the Activity Designer.
Select Life Expectancy and Priority values. These values respectively determine the visibility timeframe for the [workflow instance process flow|EID:Workflow Process Flow View] information and the order of precedence for the workflow to be executed in the event that multiple workflows run at the same moment.
For this topic, you can leave the Life Expectancy and Priority values at their defaults.
- Click OK.
Workflow Studio creates the workflow and opens it in the Workflow Studio Designer.
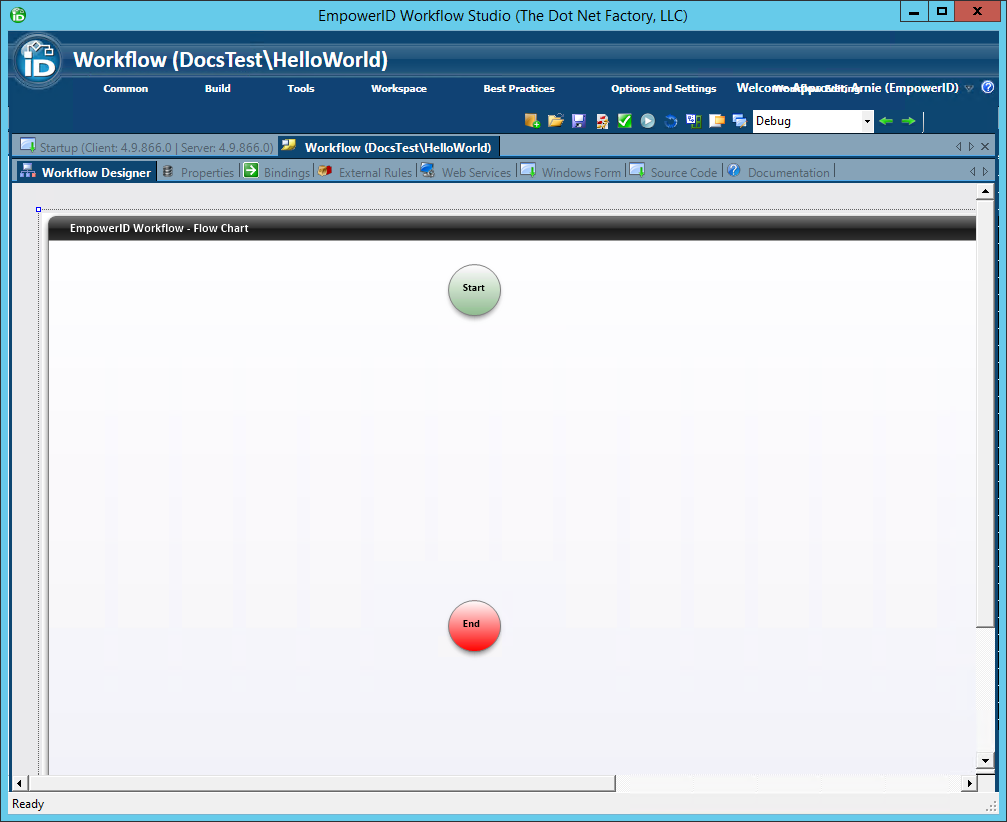
Now that the workflow is created, the next step is to add the Lookup activity we created earlier to it, placing the activity directly below the Start activity. In this way, when the workflow starts, the first thing users will see is the Person lookup.
- From the Source Control tree of Workflow Studio, expand the package you created for this workflow and locate the Person Lookup you created earlier. It should be located under User Interface > Lookup Controls.
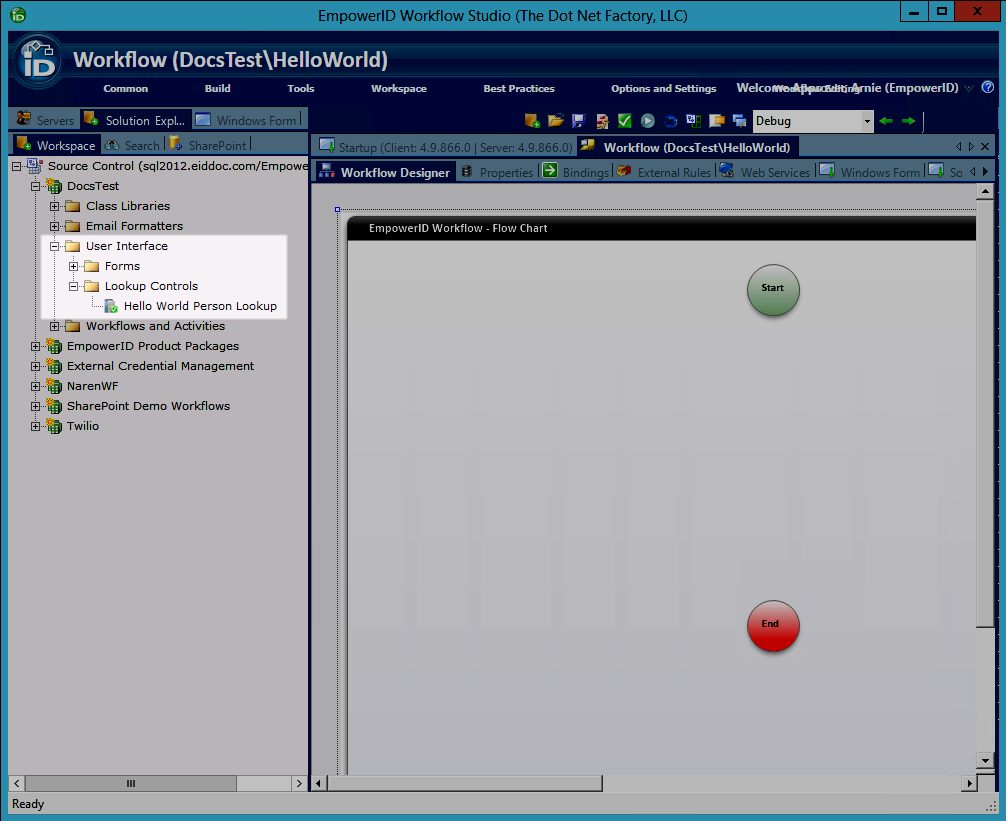
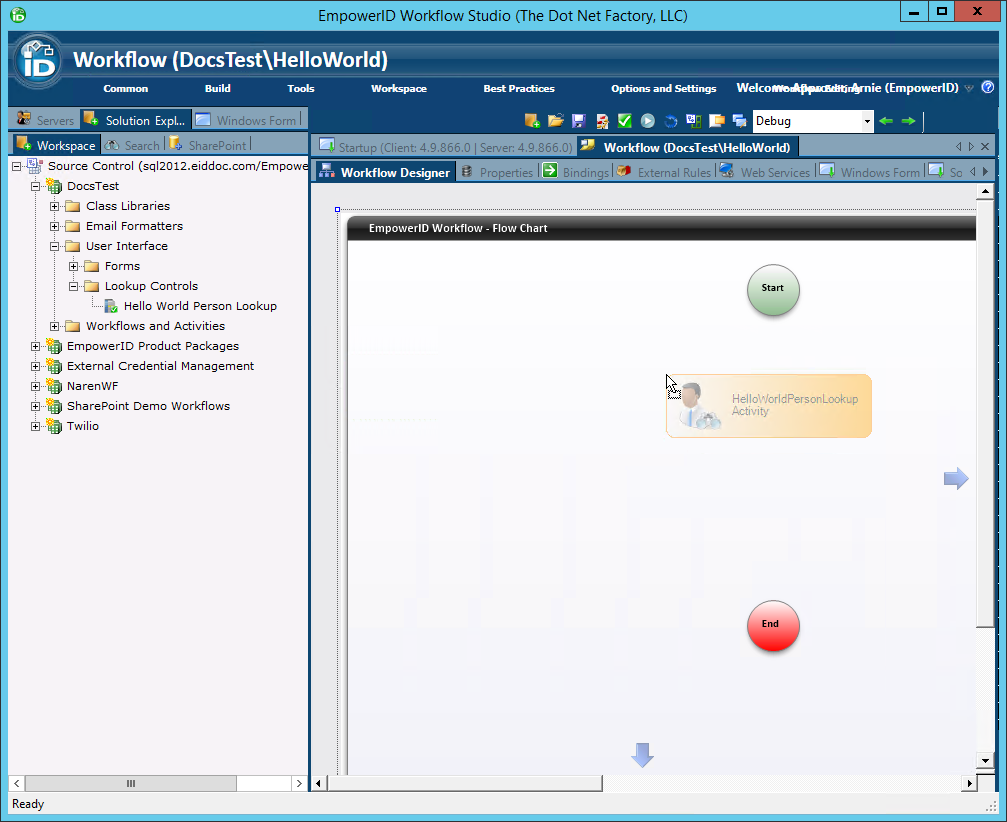
- Drag the Lookup Control onto the Workflow Designer, placing it below the Start activity.
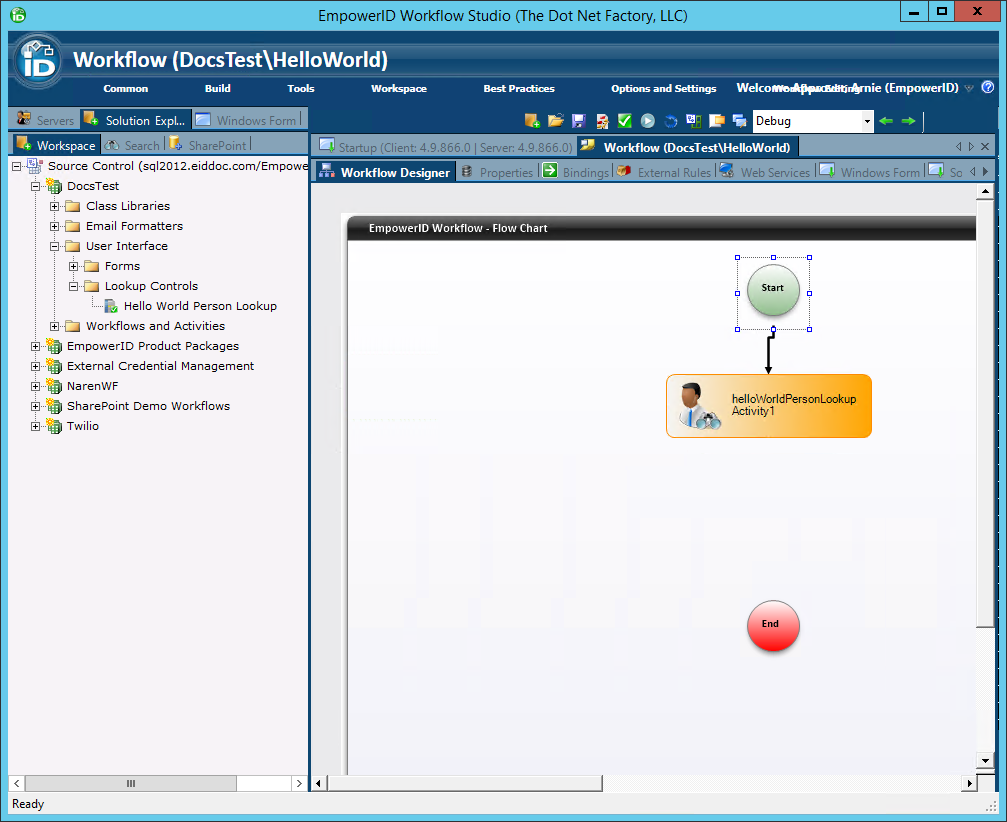
- Click the Start activity to activate its drawing points and then draw a line connecting the Start activity to the Lookup activity.
- From Solution Explorer, locate the Edit Person form you created earlier. It should be located under User Interface > Forms.
- Drag the form onto the Workflow Designer, placing it below the Lookup activity.
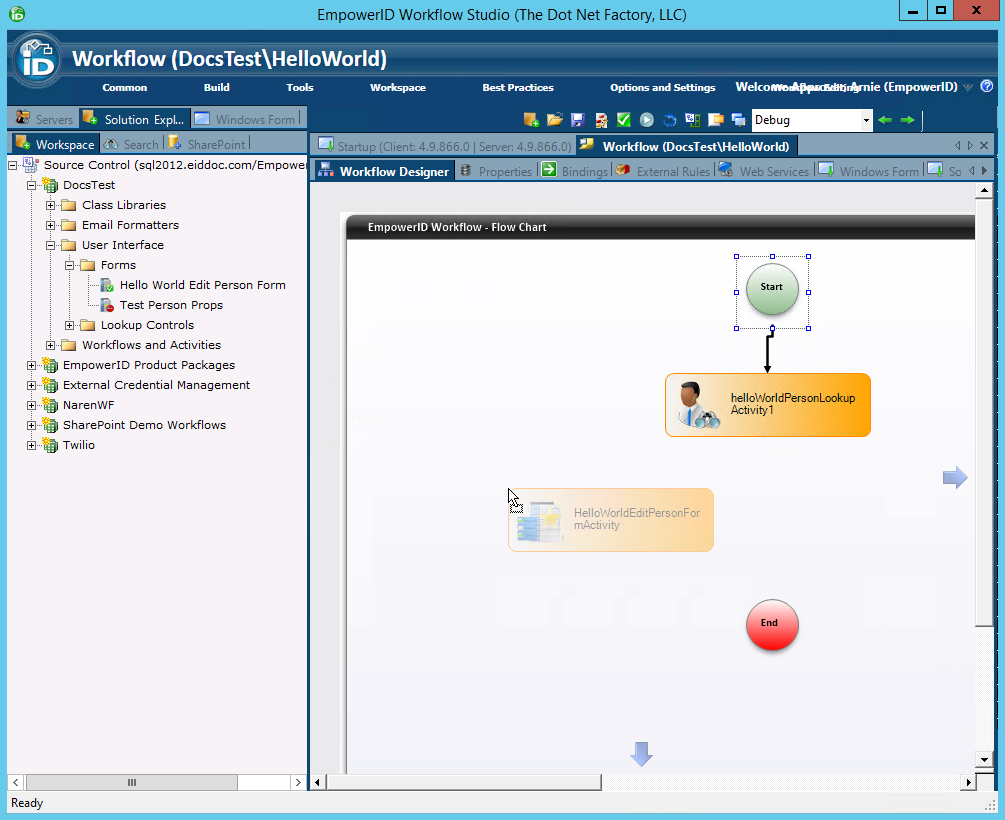
Click the Lookup activity to activate its drawing points and then draw a line connecting the Lookup activity to the form activity.
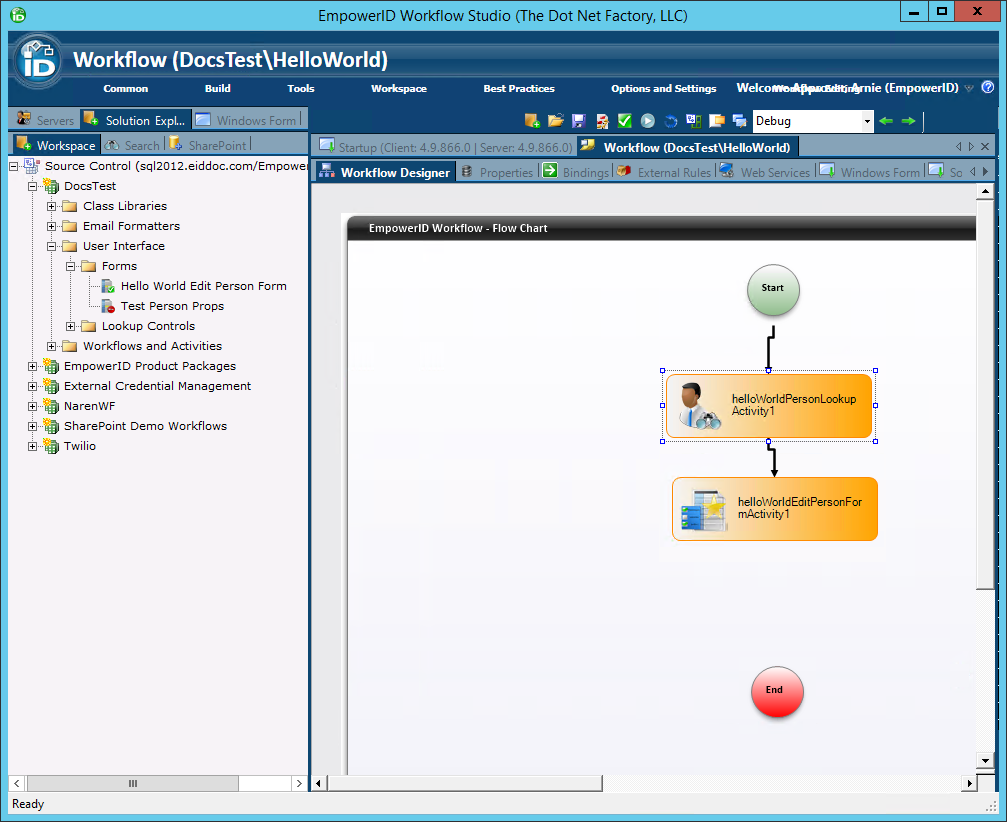
Now that we have added the Lookup and form activities to the workflow, the next step is to add an Operation activity to it. Operation activities are protected blocks of code based on the EmpowerID workflow authorization framework used to determine if the current user in a given workflow process can execute the code contained in that activity against the workflow's target obect. Each operation activity is derived from the OperationWorkflowBaseactivity, which exposes a number of methods and other members implemented by the deriving activities. Workflow Studio provides templates that allow for the quick creation of several different types of operation activities, depending on the number of resources involved in the workflow process. In this tutorial, our workflow allows the attributes of a single resource—an EmpowerID Person—to be edited. Thus, to keep unauthorized users from being able to edit those attributes, we need to add a Single Multi-Operation Activity to the workflow. While you can create your own Multi-Operation activities, for the purpose of this tutorial, we will use the stock Edit Person Multi-Operations Operation Activity that EmpowerID provides for protecting unauthorized changes against EmpowerID people.
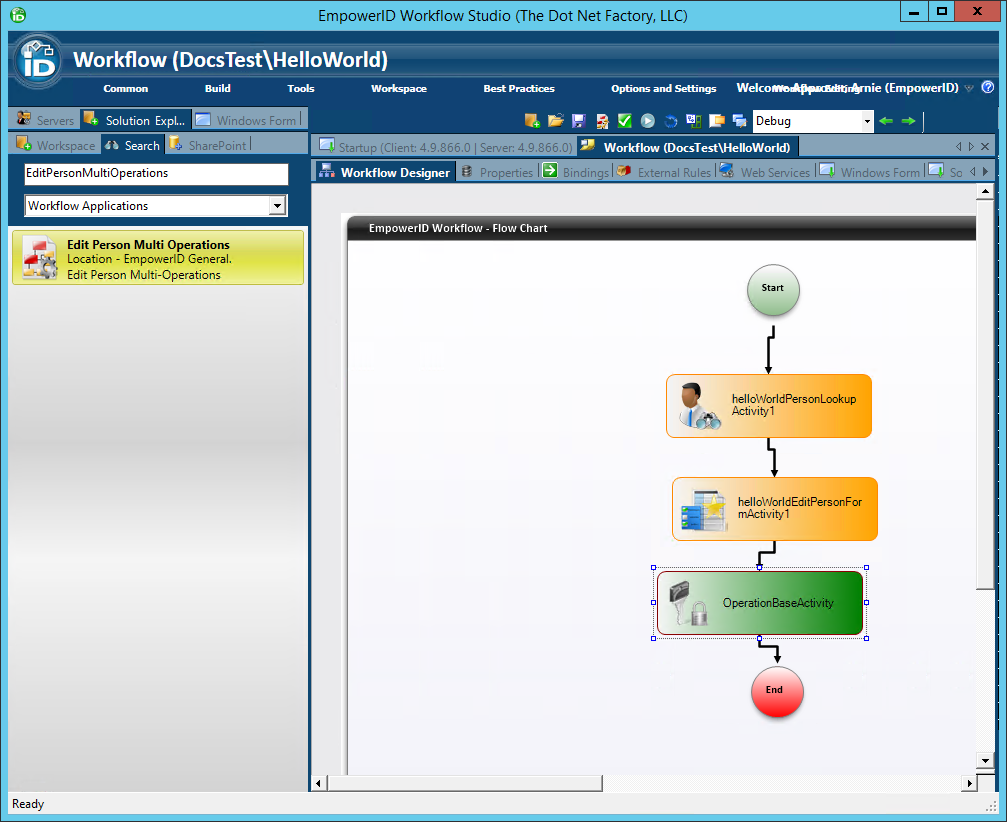
- From Solution Explorer, search for EditPersonMultiOperations.
Drag the Operation activity from Solution Explorer onto the Workflow Designer, placing it directly below the form activity.
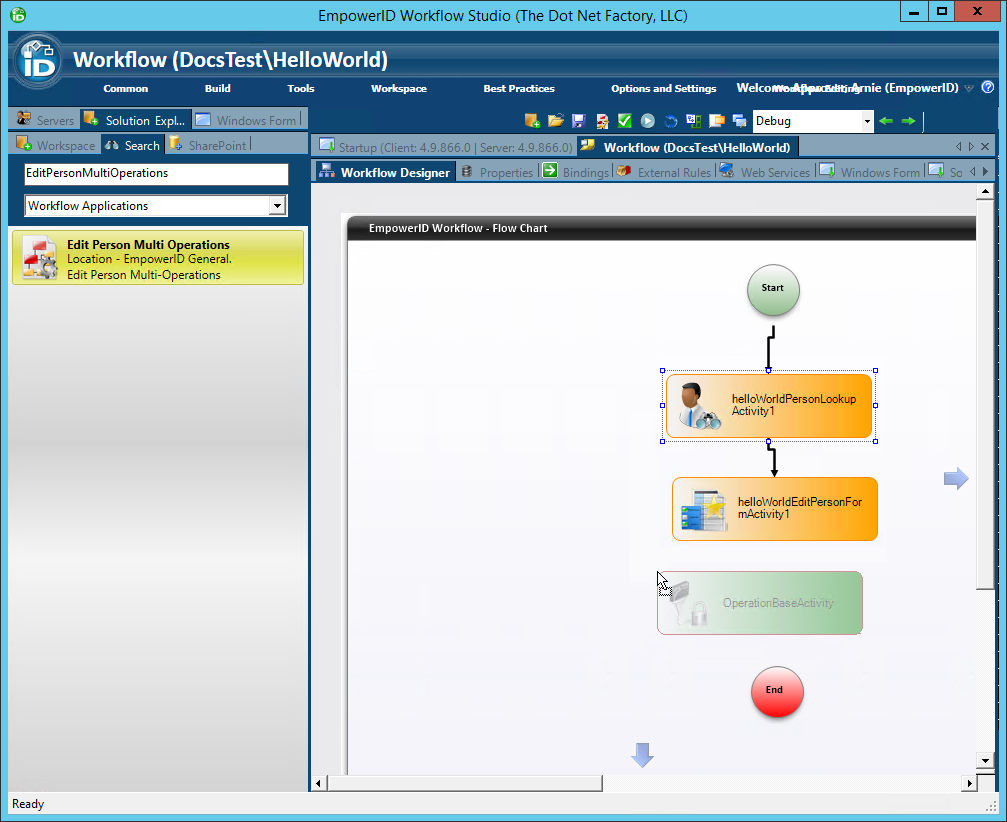
If you cannot find the EditPersonMutliOperations Operation activity, you are most likely not displaying all the source control items in your view of Workflow Studio. If this is the case, click the Workspace tab, right-click the Source Control node and then select Show Source Control (Full View).
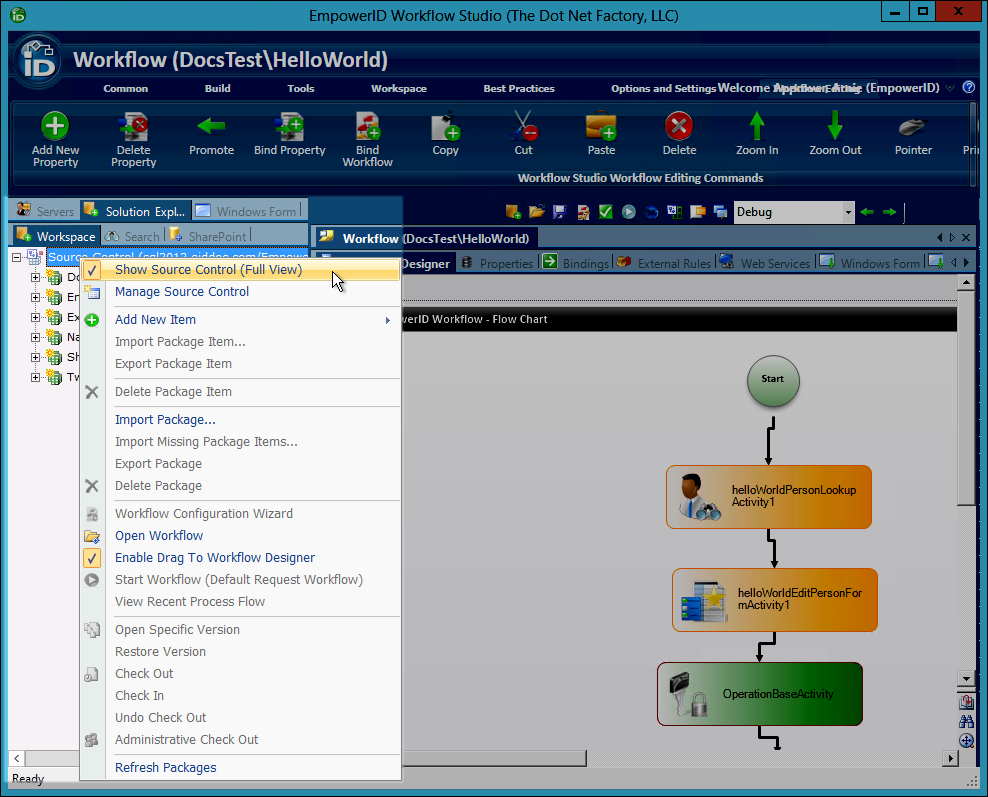
- Click the form activity to activate its drawing points and then draw a line connecting the activity to the Operation Base activity.
- Next, click the Operation Base activity to activate its drawing points and then draw a line from the activity to the End activity. This ensures that the workflow exits after the Operation activity executes.
- Next, to ensure that the Multi-Operation Activity executes the desired operation, we need to enable that operation for the workflow by doing the following:
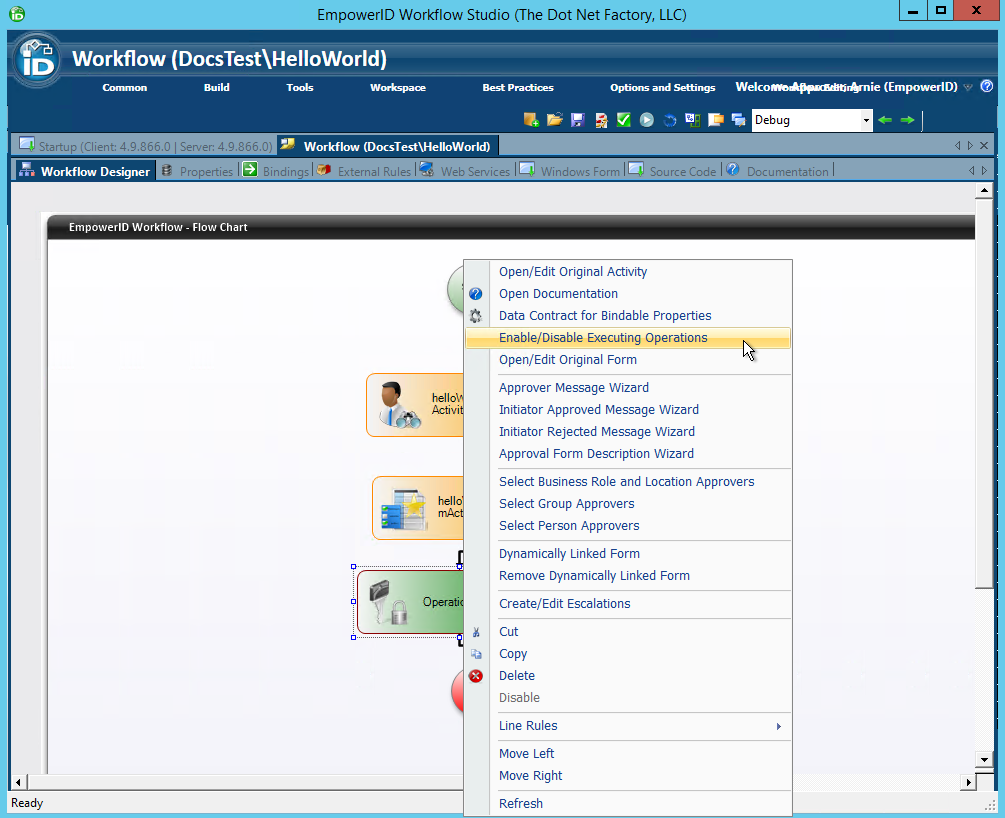
- Right-click on the Multi-Operation Activity and select Enable/Disable Executing Operations from the context menu.
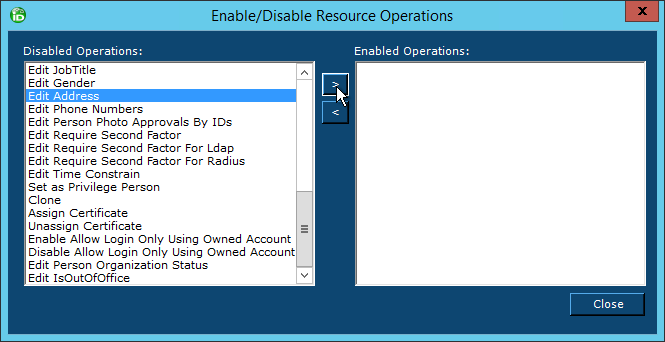
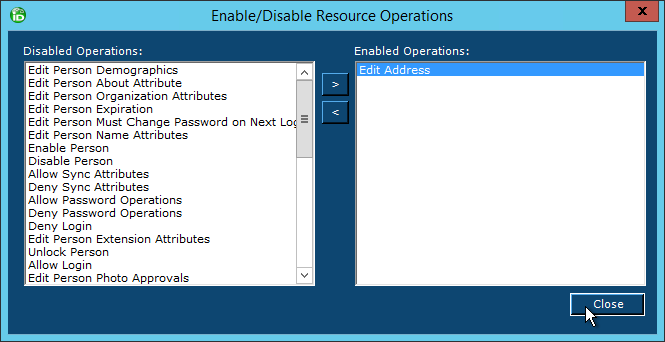
- In the Enable/Disable Resource Operations dialog that appears, select Edit Address from the Disabled Operations columns and move it to the Enabled Operations column by clicking the Right Arrow button.
- Click Close to close the Enable/Disable Resource Operations dialog.
- Right-click on the Multi-Operation Activity and select Enable/Disable Executing Operations from the context menu.
- Finally, to use the Multi-Operation Activity in the workflow, we need to add to the workflow project a reference to the OperationBaseActivity assembly by doing the following:
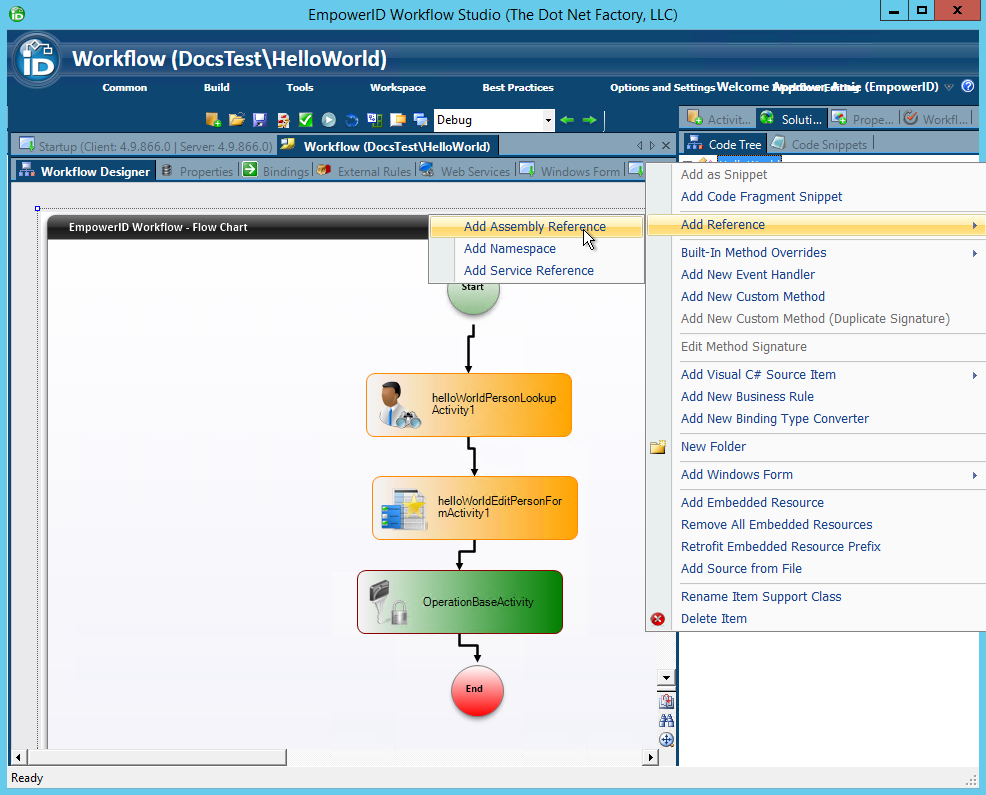
- From the Workflow Studio toolbox to the right of the Workflow Designer, click the Solution tab and in the Code Tree right-click the project name and select Add Reference > Add Assembly Reference from the context menu.
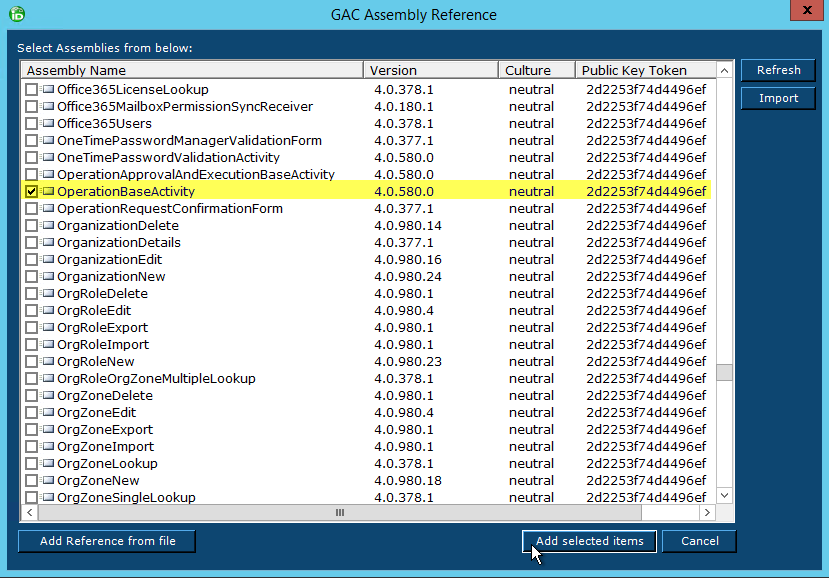
- In the GAC Assembly Reference window that appears, select the OperationBaseActivity assembly and then click the Add selected items button.
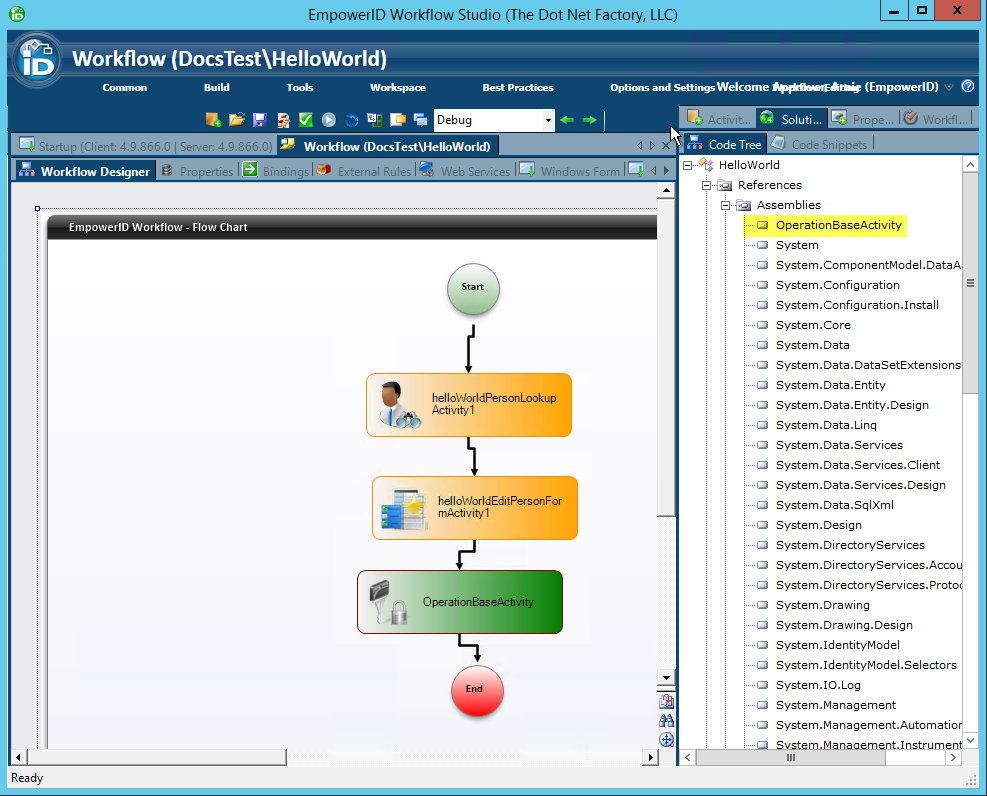
- From the Code Toolbox, expand the Reference > Assemblies nodes. You should see the OperationBaseActivity assembly.
- From the Workflow Studio toolbox to the right of the Workflow Designer, click the Solution tab and in the Code Tree right-click the project name and select Add Reference > Add Assembly Reference from the context menu.
Next, we need to bind some workflow and activity properties to each other to pass the right data values to the various components of our workflow.
To bind workflow properties
From the Workflow Designer, click the Bindings tab.
You should see two identical columns, each with a Workflow Properties node, as well as nodes for each of the activities in the workflow. These nodes provide access to the properties of the workflow and the activities of the workflow. These properties are categorized by type, such as Input and Output, allowing you easily pass the output of one activity to the input of another and so on.
For this tutorial, we want to pass the person selected in the lookup to the form, and from the form to the Operation activity. As mentioned earlier, this person is the target of the workflow.
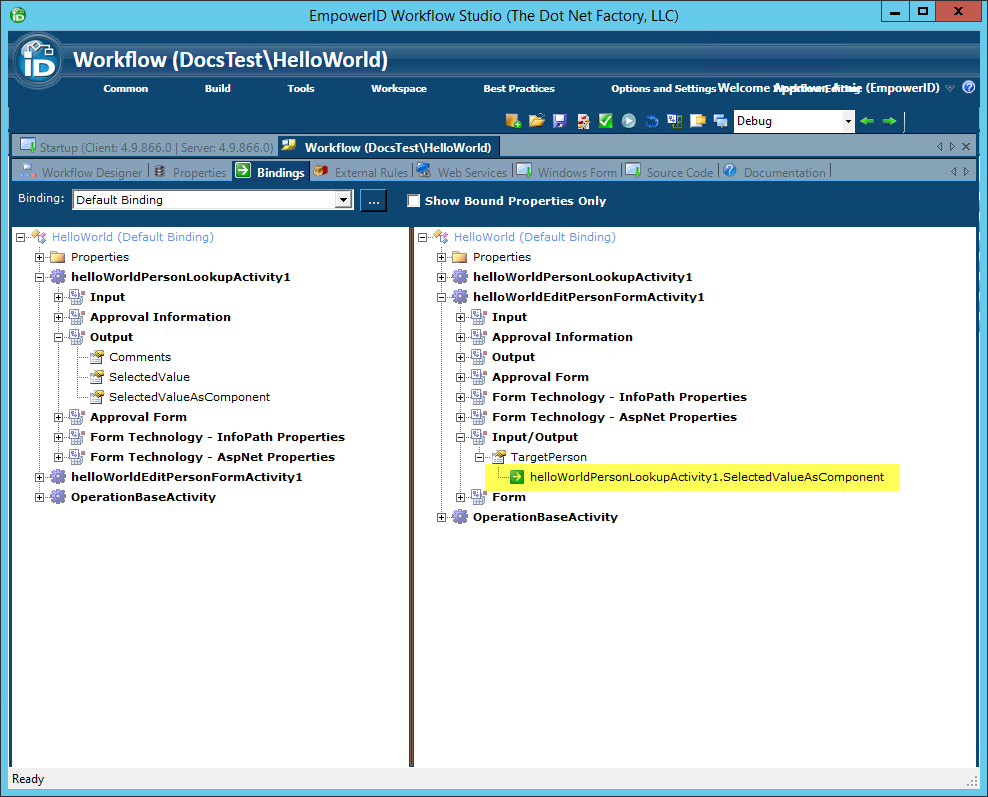
- In the left column of the Bindings tab, expand the Lookup activity and then expand the Output node for that activity. You should see three properties, Comments, SelectedValue and SelectedValueAsComponent. The property we are interested in is SelectedValueAsComponent. The property represents the EmpowerID Person selected in the lookup.
- In the right column of the Bindings tab, expand the Form activity and then expand the Input/Output node for that activity. You should see a TargetPerson property. As indicated by the type (Input/Output), the target person is passed to the form, where edits are made to the available attributes and then passed to the Multi-Operation activity.
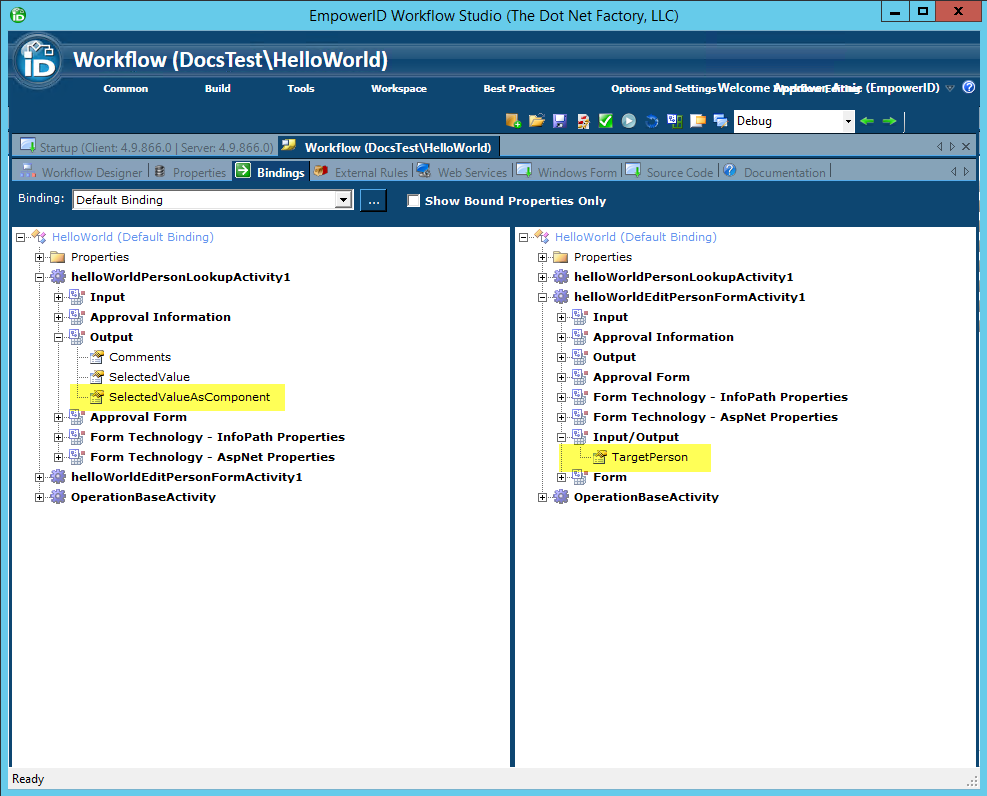
- From the left column of the Bindings tab, drag the SelectedValueAsComponent property onto the TargetPerson property. This binds the person selected in the lookup to the form.
- Collapse the nodes in both columns. This makes it easier to make the next binding.
- In the left column of the Bindings tab, expand the form activity and then expand the Input/Output node for that activity. You should see the TargetPerson property.
- In the right column of the Binding tab, expand the Multi-Operation activity (OperationBaseActivity) in our example, and then expand the Input node. You should see a number of properties prefixed with Form_. The property we are interested in is the Form_TargetPerson property.
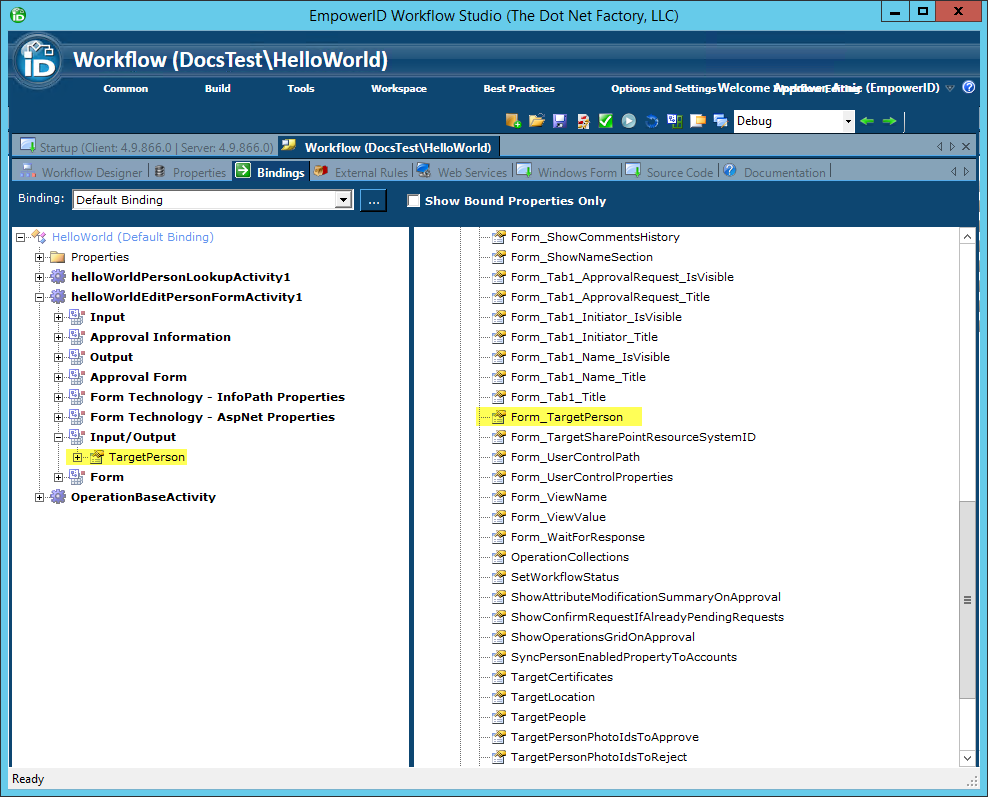
- From the left column of the Bindings tab, drag the form TargetPerson property onto the Multi-Operation activity Form_TargetPerson property.

Now that we have completed the bindings, we are ready to publish and test the workflow.
To publish and test the workflow
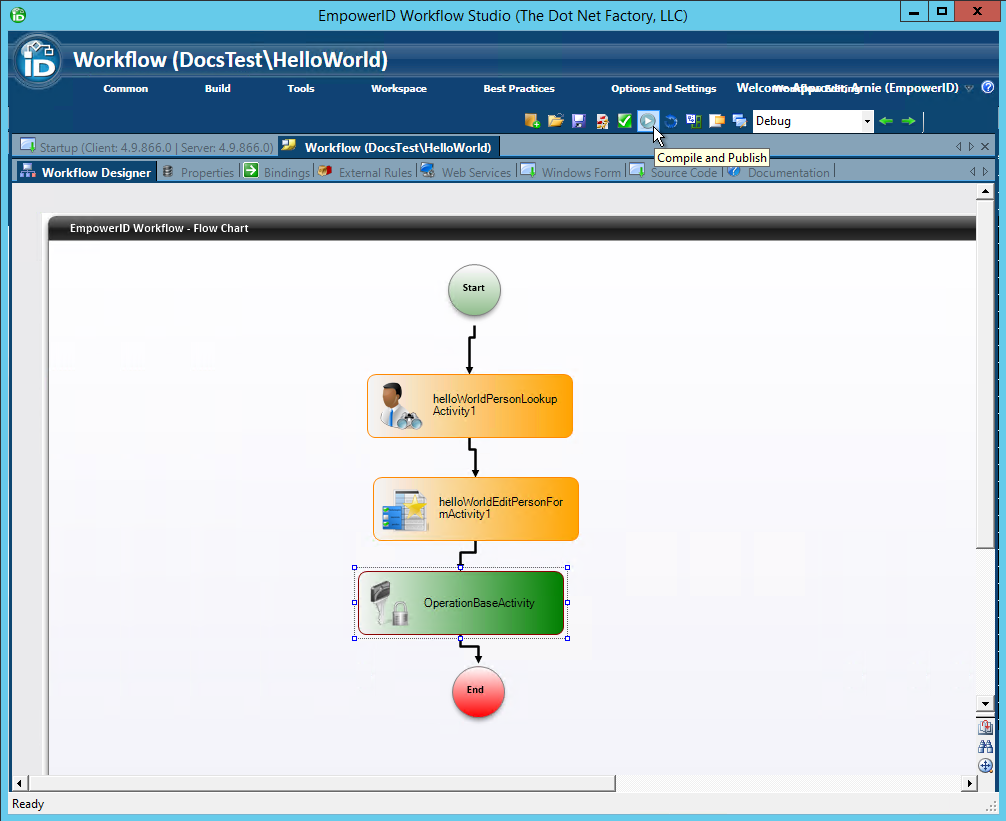
- From the Workflow Studio toolbar located above the Form Designer, click the Compile and Publish button.
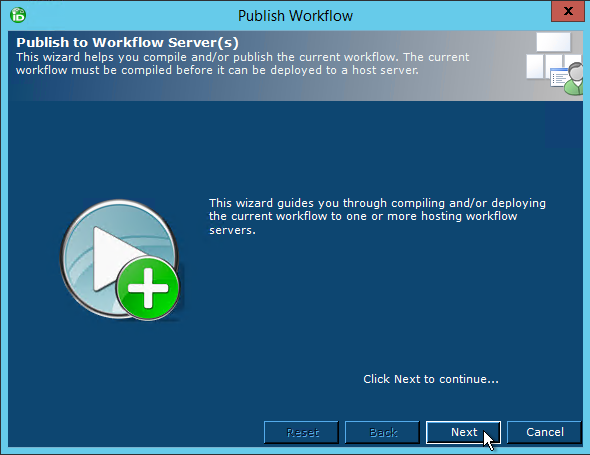
- In the Workflow Publishing wizard that appears, click the Next button.
- Select the appropriate workflow server(s) and click Next.
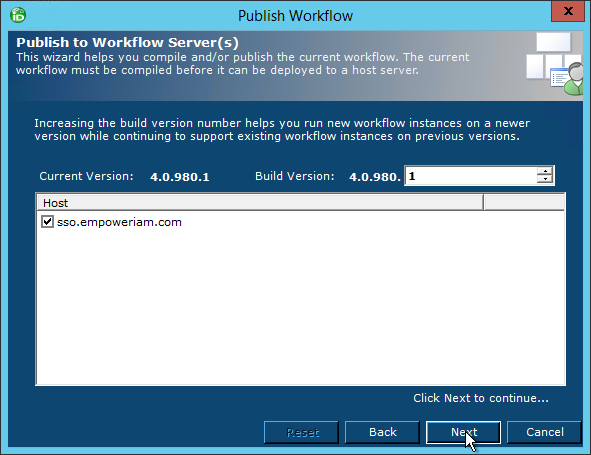
- Click Next again and wait for the wizard to compile the workflow.
- Select Yes when prompted about creating a new Request Workflow.
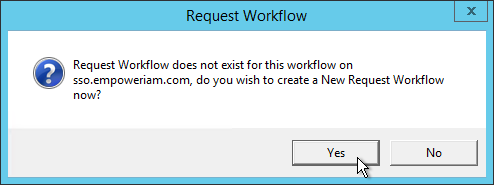
The Add Request Workflow window appears. This window allows you to set various properties for the Request Workflow, including the URL for accessing the workflow from the Web.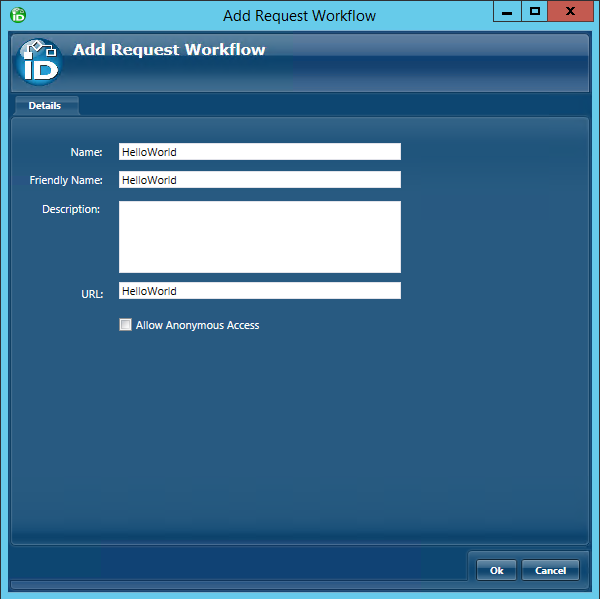
- Review the properties and when ready click OK.
- Select Yes when prompted to restart one or more services.

- In the Active Services window, select Web Role Service on the hosting server and click the Restart button.

- Right-click anywhere on the white space of the Workflow Designer and select Start Workflow from the context menu.
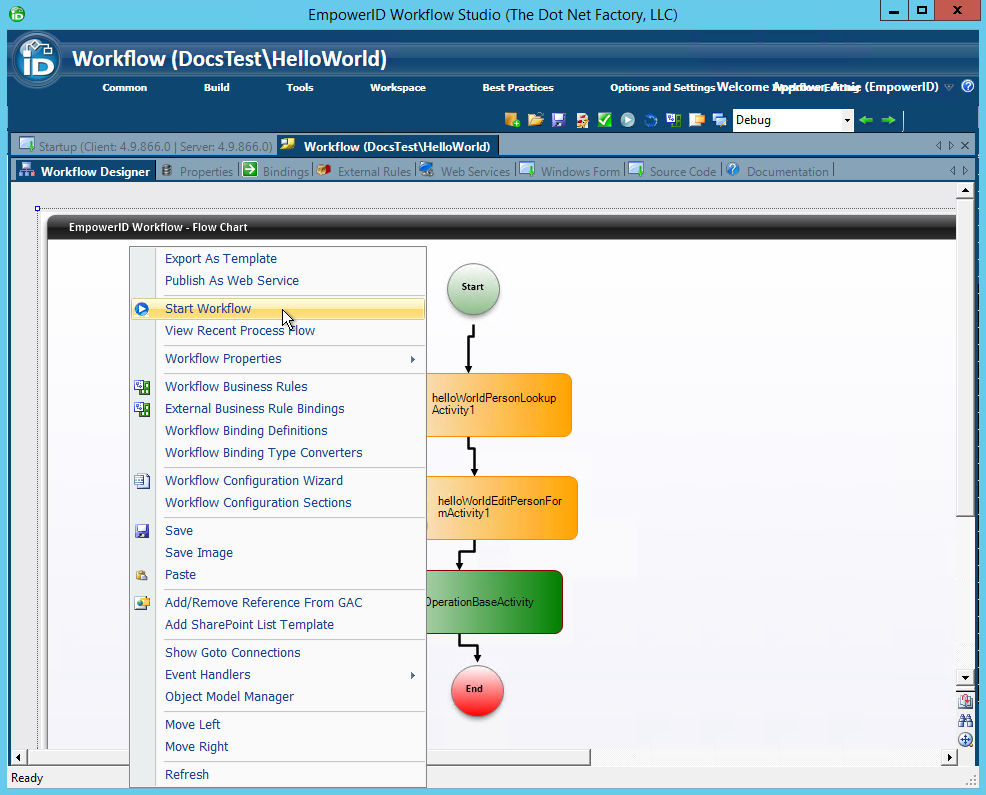
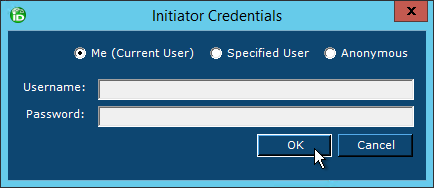
- In the Initiator Credentials window that appears, select Me (Current User) — if you have the appropriate access to run the workflow — or select Specified User and enter the credentials for an All Access user.
- Click OK when ready.
Once the workflow starts, you should see the Person Lookup you created earlier.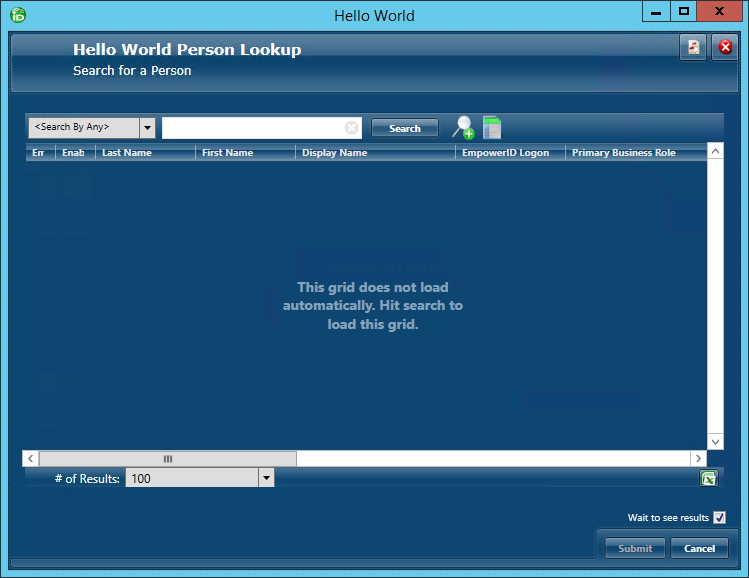
- Click Cancel to exit the workflow.
- Log in to the EmpowerID web application as an administrative user and navigate to the URL for the Request Workflow. The URL should be https://YourEmpowerIDWebServer.com/UI/#w/HelloWorld.
You should see the Person Lookup you created earlier.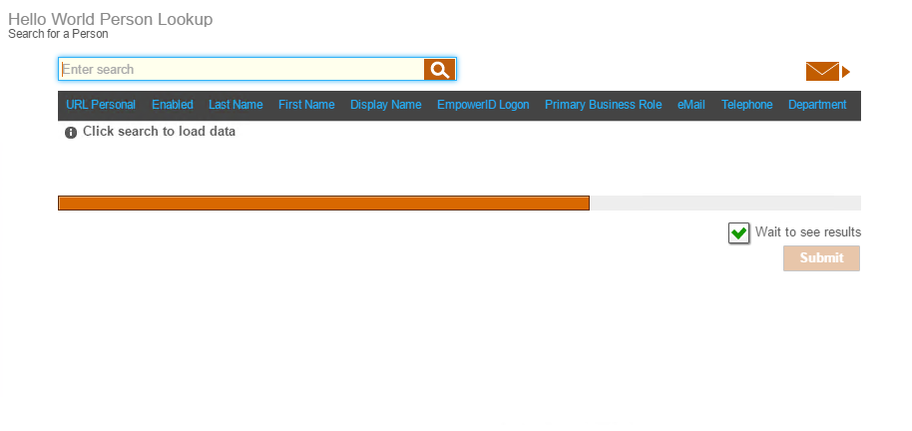
- Search for a person, click the record returned for that person and then click Submit.
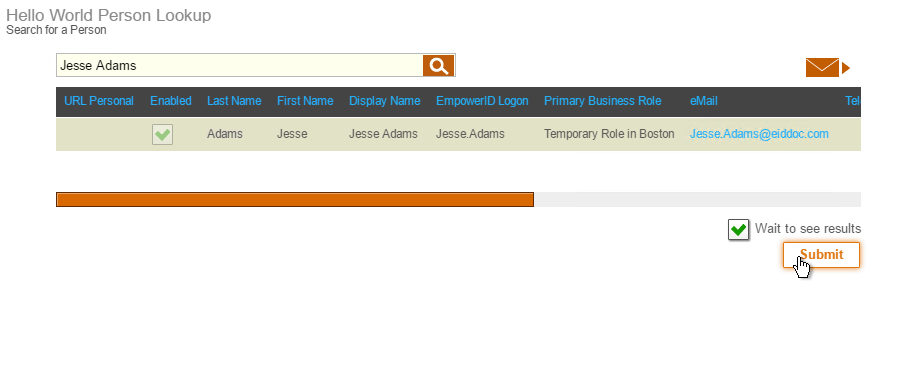
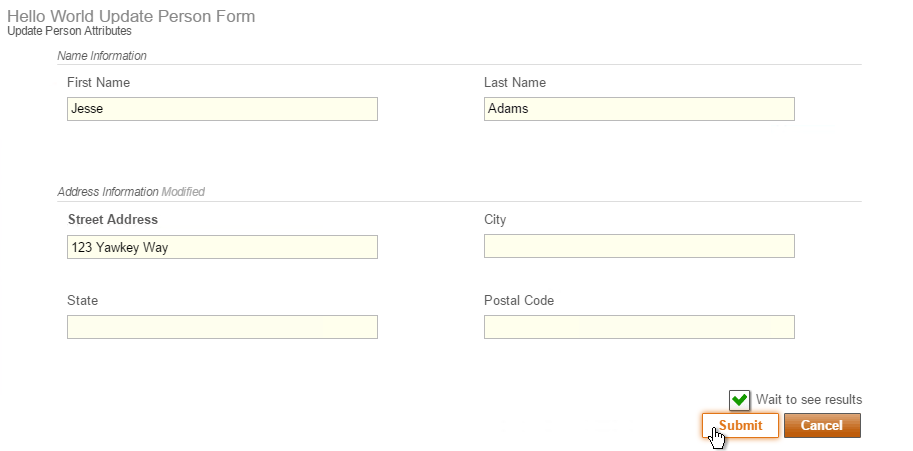
- In the Address Section of the Update Person Form that appears, type an address in the Street Address field and click Submit.
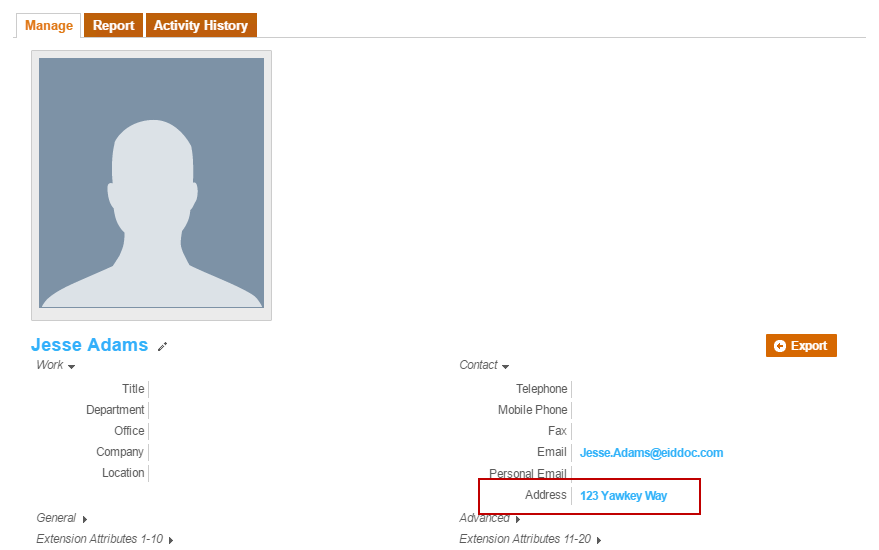
- Next, verify the change by searching for the person whose address you updated. You should see your change beside the Address label.
Troubleshooting
If you are unable to publish to your source control, you may have disabled the source control option the first time you opened Workflow Studio.
- To get another change to enable it, close Workflow Studio, and in File Explorer, navigate to this folder: C:\Source\EID\EmpowerID\bin
- Delete this file: DisableExternalSC.file
- Open Workflow Studio, and in the dialog that appears, set up your source control.