Creating and Publishing Forms
All workflow applications contain several layers of technology that work together to create a composite application. When human interaction with a workflow is necessary, then the workflow must have a layer that allows for user input, known as the "presentation layer." The presentation layer is that part of the workflow that users see and interact with when running a workflow.
In Workflow Studio, the main element of this presentation layer is the form, which can be of two types: User Input and User Decision.
User Input forms allow users to enter information and submit the data back to the workflow for use in later activities. User input forms are not "routed" meaning that they appear to any user currently running the workflow at that point in the process where the User Input form is placed.
In contrast, User Decision forms are used when a form needs to be routed to someone to fill out the information or make a decision. User Decision forms offer routing options and create a workflow task for any "approvers" for that form step in the workflow. User Decision forms also provide email notifications to the users that the form is being routed to an approver for a decision.
Forms provide components that allow users to enter information into a workflow and allow you as a workflow developer to capture data for use throughout the workflow. You design forms in the Form Designer and compile and publish those forms to the Workflow Server. Workflow Studio creates a special activity for compiled forms, known as a "Form activity." When a form is compiled into an activity, you can drop the resultant activity onto the design surface of a workflow, making its properties—known as "dependency properties"—available for use throughout the workflow.
In Workflow Studio, form components comprise two category types:
- Primitives — allow you to place simple objects such as booleans, datetime controls, and string-based objects (i.e., fields, labels, etc.) on a form
- RBAC components — allow you to place the properties of any type of component or view (e.g. First and Last names of a Person) on a form
This topic demonstrates how to create forms in Workflow studio by creating both a User Input and a User Decision form, adding multiple component types to each. Specifically, we will create a simple User Input form that could be used in a "Leave Request" workflow and then use that form to create a related User Decision form that could be used to approve or deny the leave request.
To create a User Input form
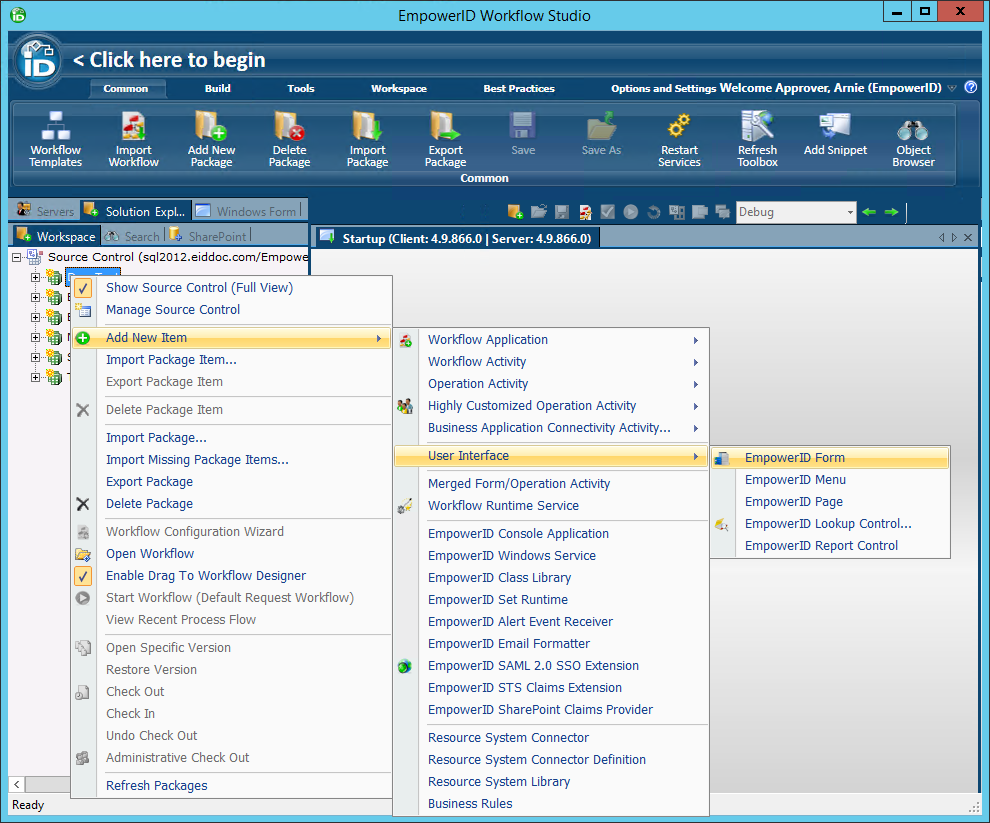
- In the Workspace tree of Solution Explorer, right-click the Package node in which you want to create the form and select Add New Item > User Interface > EmpowerID Form from the context menu.
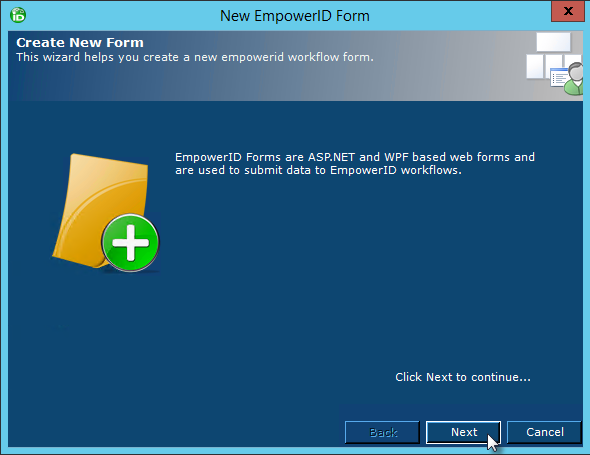
- In the New EmpowerID Form wizard that appears, click Next.
- Enter a name for the form in the Name field and click Next.
- Enter a title and description for the form in the Title and Description fields and click Next.
- Enter Forms in the Select or enter group here field and click Next to finish the wizard.
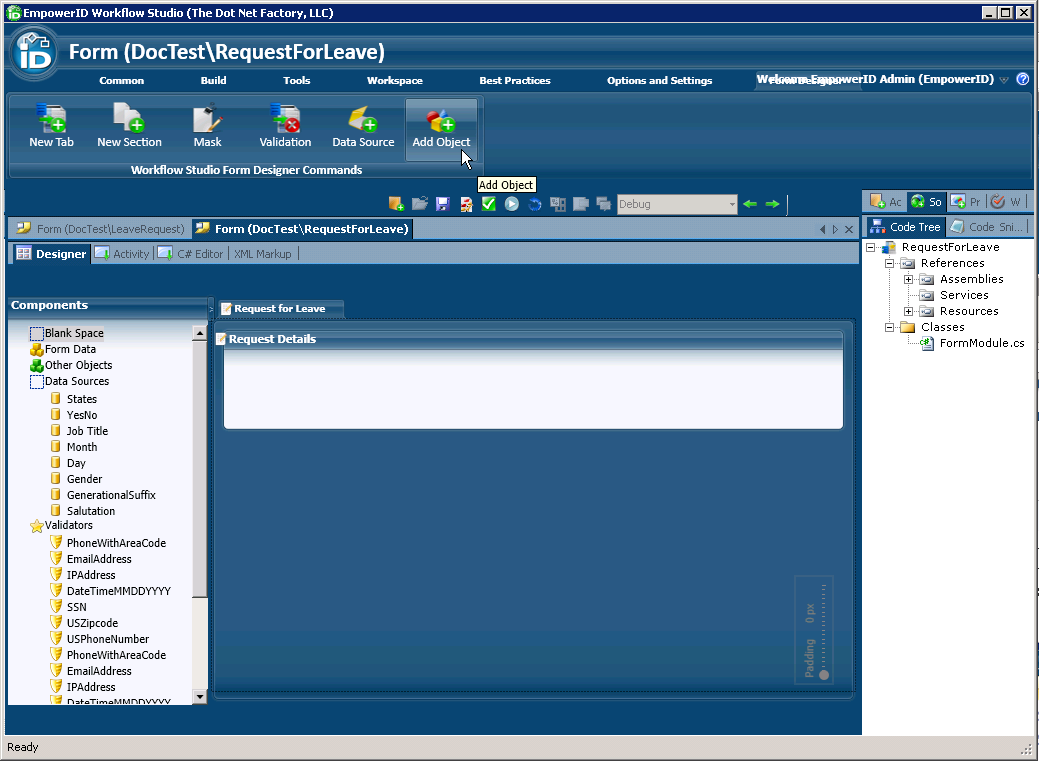
- Edit the caption in the default form tab by double-clicking directly on the caption text. Change the caption from Tab1 to Request for Leave.
Next, add primitive controls to the form to allow users to enter information relevant to the workflow for which the form is being created. - From the Workflow Studio Form Designer Command ribbon, click the Add Object button.
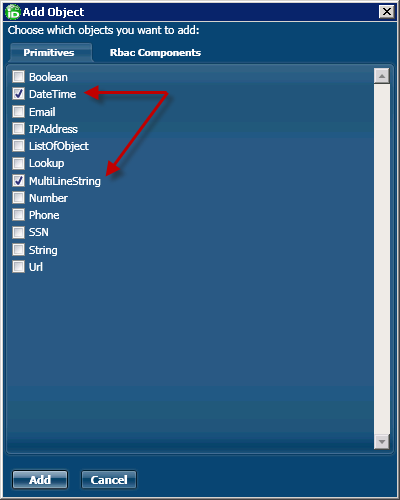
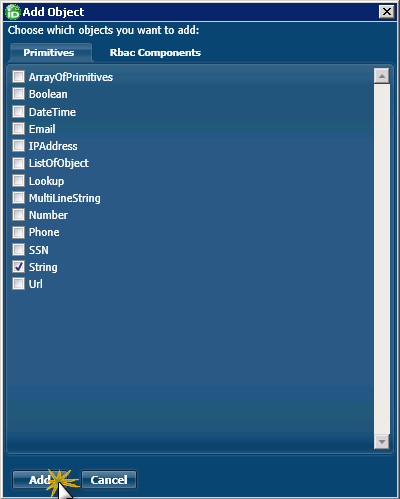
- In the Add Object window that appears, select the DateTime and MultiLineString objects from the Primitives tab and then click the Add button. The DateTime object uses a Calendar template, allowing users to select a date from a calendar interface. The MultiLineString control allows users to enter multiple lines of text.
- Open the Add Object window again and add a second DateTime object to the form's Components tree.
In the form's Components tree under the Other Objects node, DateTime1, DateTime2, and MultiLineString1 appear. - To help you identity the purpose for each primitive object you just added to the form's Component tree, double-click each object name to put the label in Edit mode and change the names of each to something meaningful. For example, change:
- DateTime1 to StartDate
- MultiLineString1 to ReasonForLeave
- DateTime2 to EndDate
- Add the components to the form by dragging them from the Components tree onto the form in the Form Designer.
- Right-click the text control and then click Edit to open the Field Configuration window. Select the Is Double ColumnSpan option and click OK.
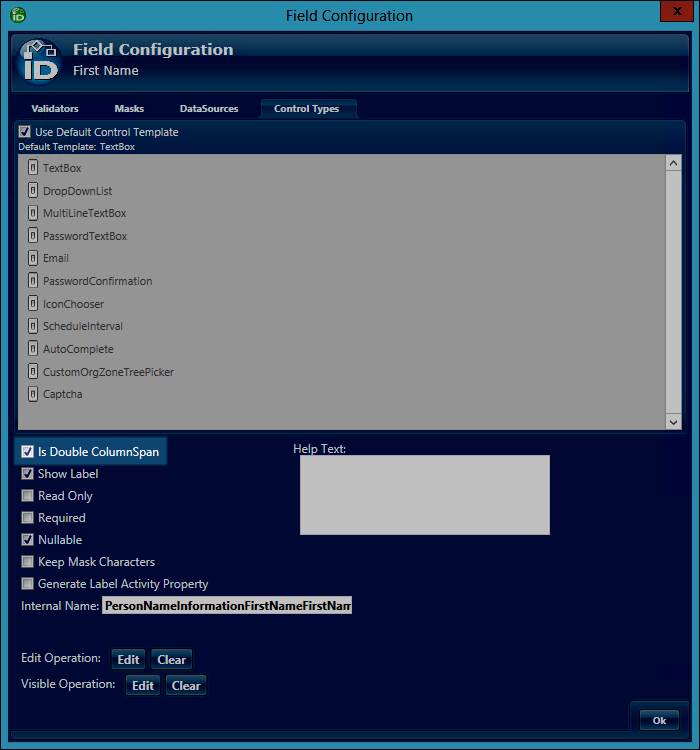
This allows the field to spread across the form, as shown by the below image.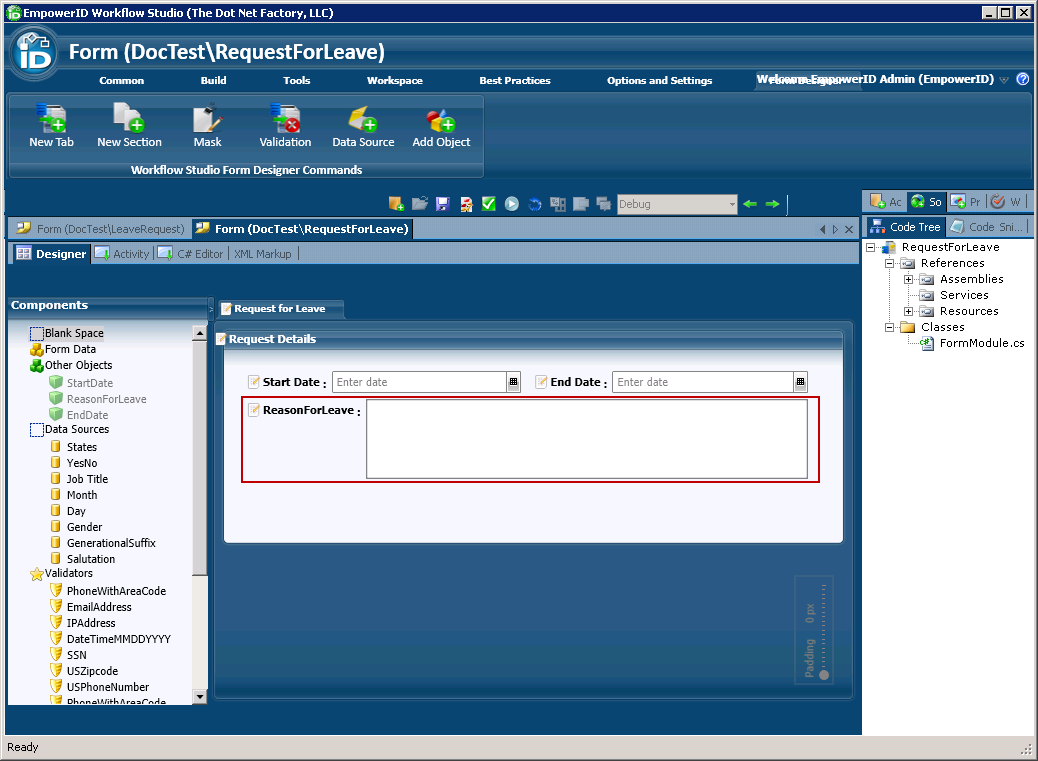
Next, add a new section with a Captcha control to the form. Captcha controls can be added to any form to provide added security by ensuring that that the user interacting with the form is an actual person and not a computer program or bot. The Captcha control is added to the form first as a string control and then edited to select Captcha as the type of string control to use.
To add a new section with a Captcha control
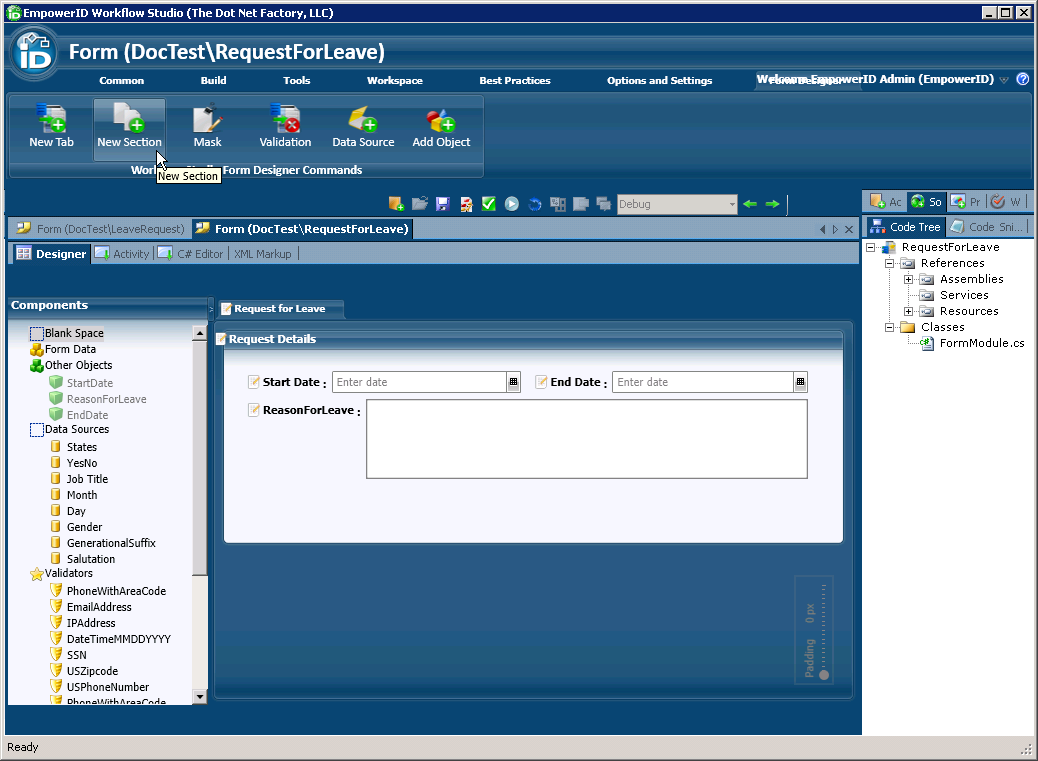
- From the Workflow Studio Form Designer Command ribbon, click the New Section button.
- Double-click the default caption text and change it to something meaningful, such as Enter the text displayed in the below image.
- From the Workflow Studio Designer Command ribbon, click Add Object, select String, then click the Add button.
- In the Components tree, change the name of the object from String1 to Captcha.
- Drag the Captcha control from the Components tree onto the new section and then right-click on it select Edit.
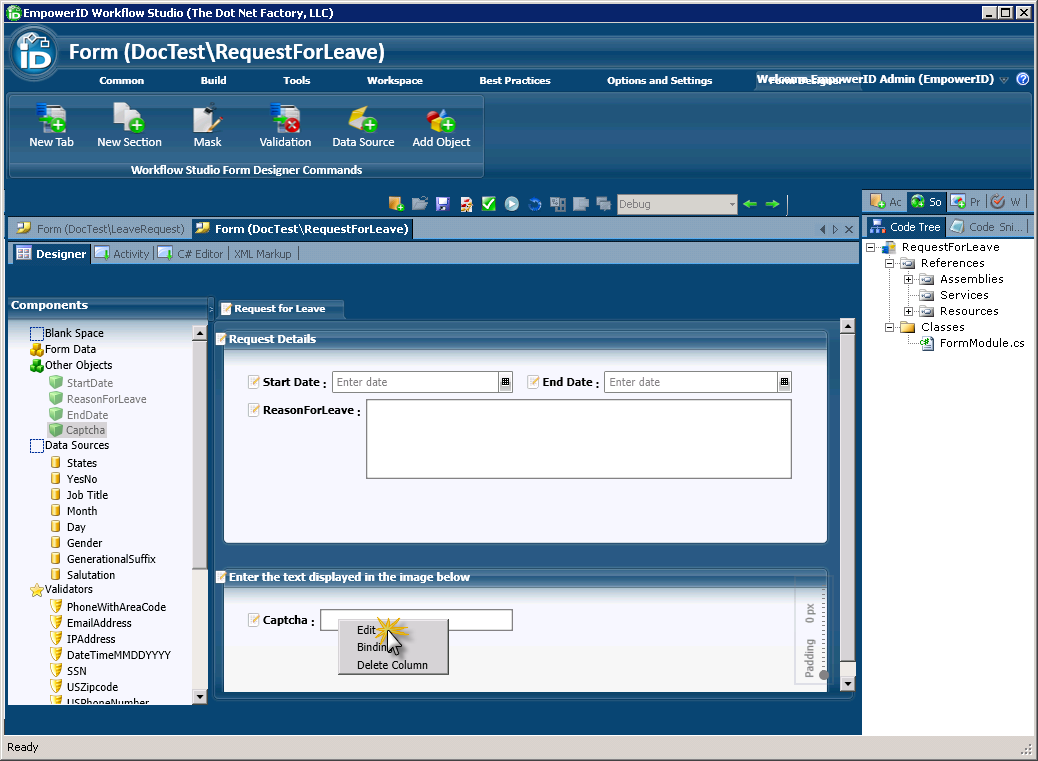
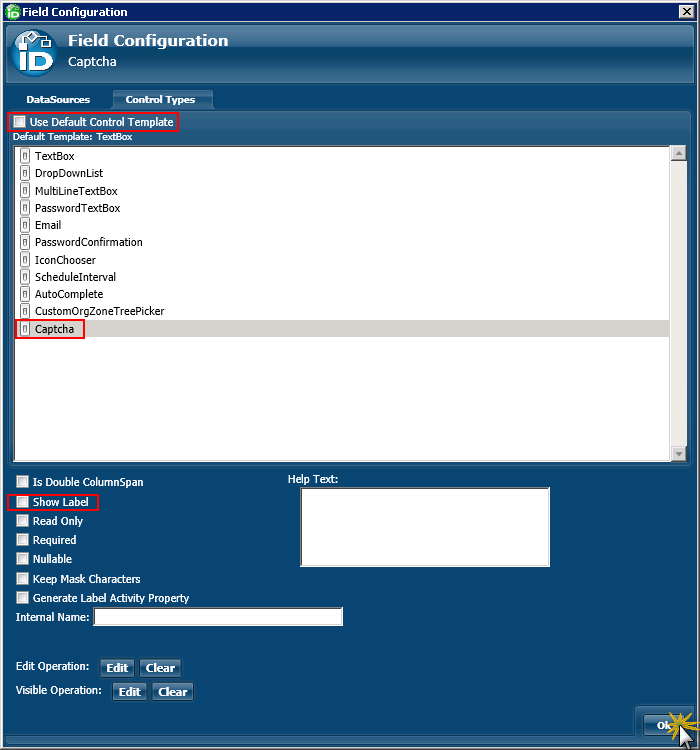
- In the Field Configuration dialog, deselect Use Default Control Template in the Control Types tab and click Captcha. Deselect the Show Label property and click OK.
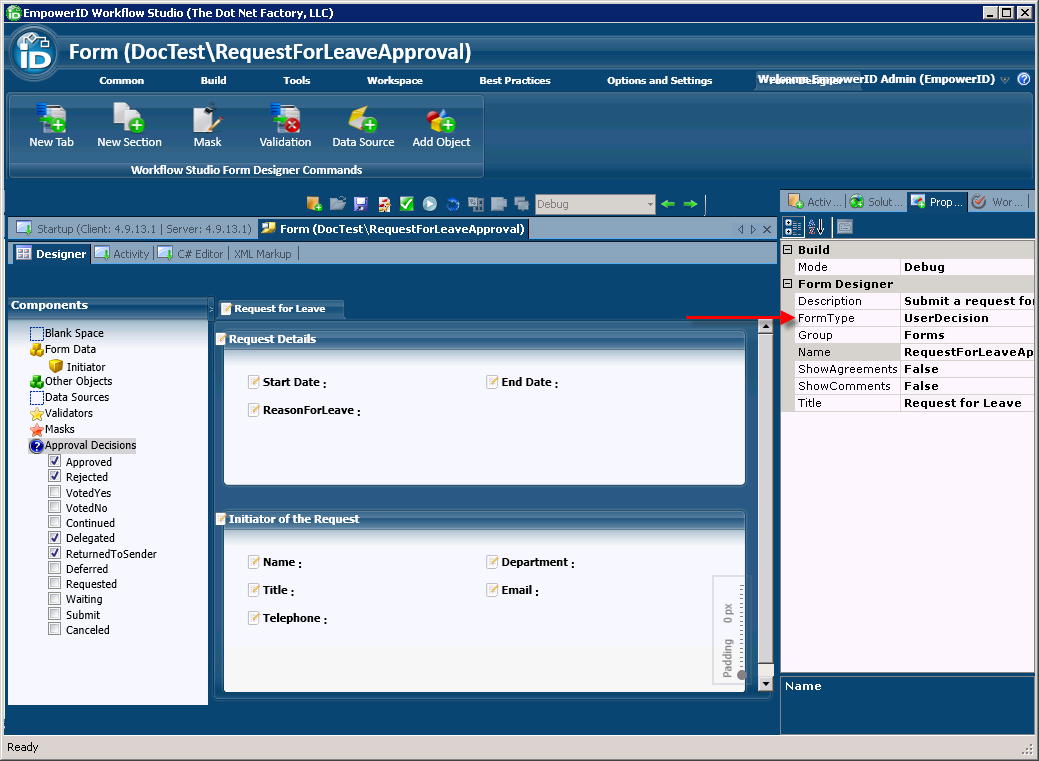
- From the Components tree, expand the Approval Decisions node and select Submit and Canceled. This adds buttons to the form that allow the request initiator to submit or cancel the request.

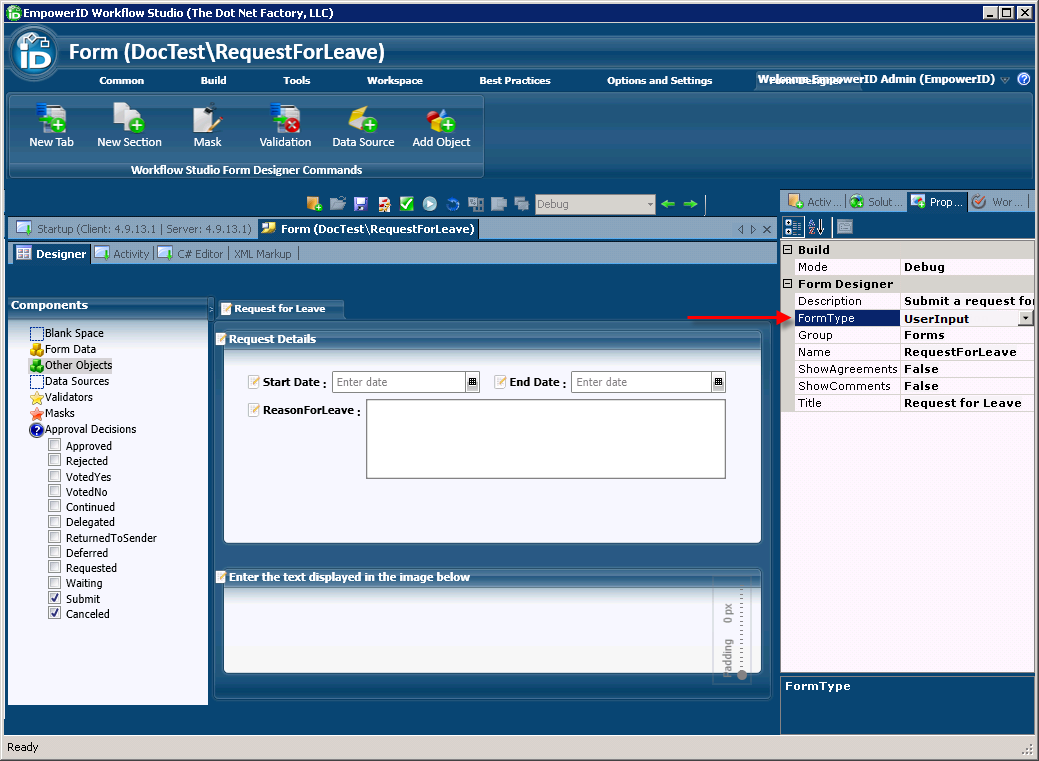
- Set the FormType property for the form in the Properties grid to UserInput.
Once you have completed adding controls to the form, you can publish the form by clicking the Compile and Publish button located above the Form Designer and following the Form Publishing wizard. When you publish the form, Workflow Studio converts it to an activity that can be placed within the workflow.
To create a User Decision form
In the following example, we use the example User Input form shown above to create an Approval or User Decision form that can be linked to it in a workflow.
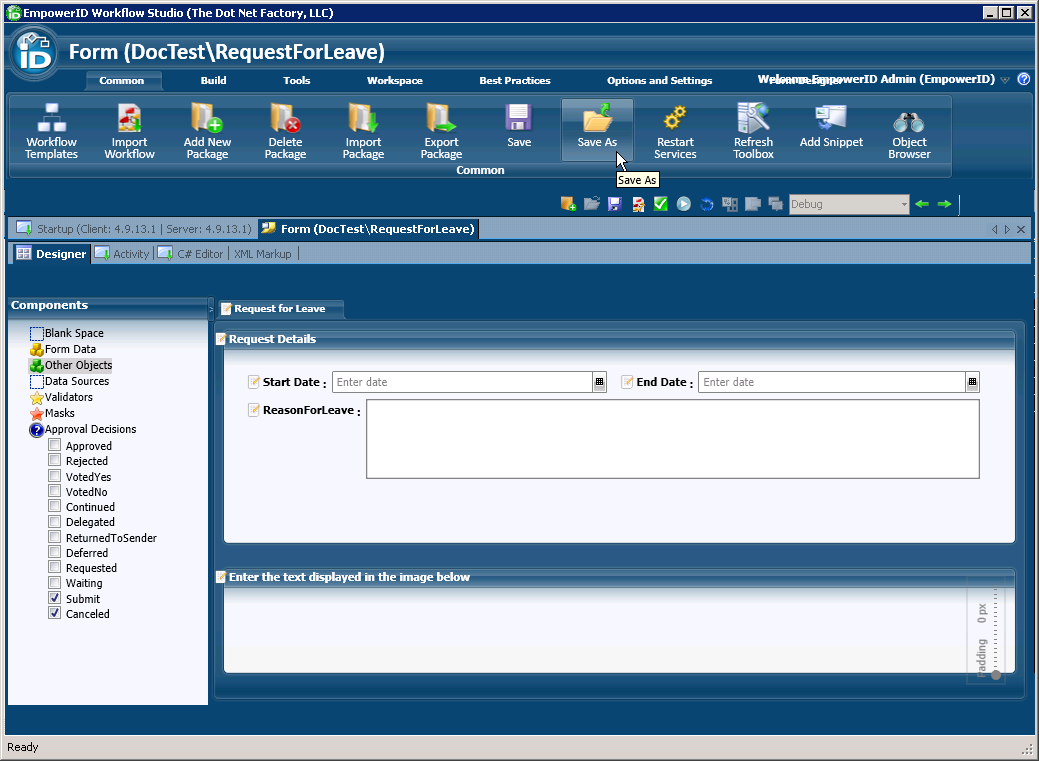
- Open the User Input form you created above, click the Common tab in the Workflow Studio ribbon and then click the Save As button.
- In the Save As dialog that appears, name the form appropriately, saving in the package of your choice.
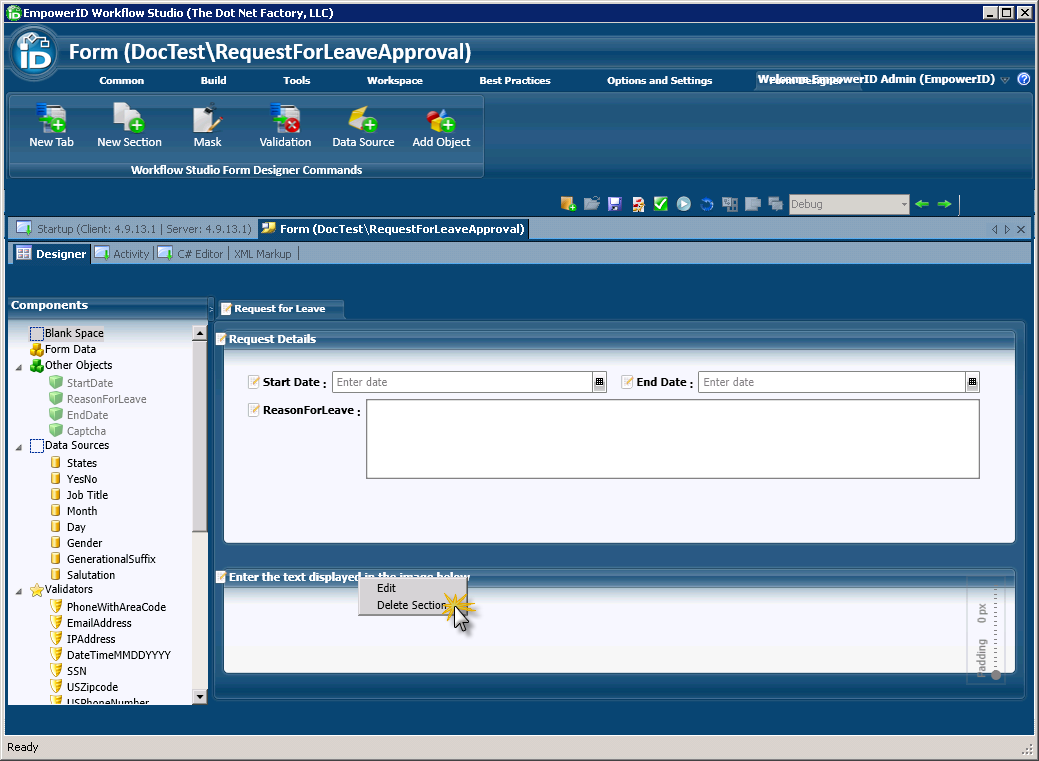
- Right-click the Enter the text displayed in the image below section and click Delete Section.
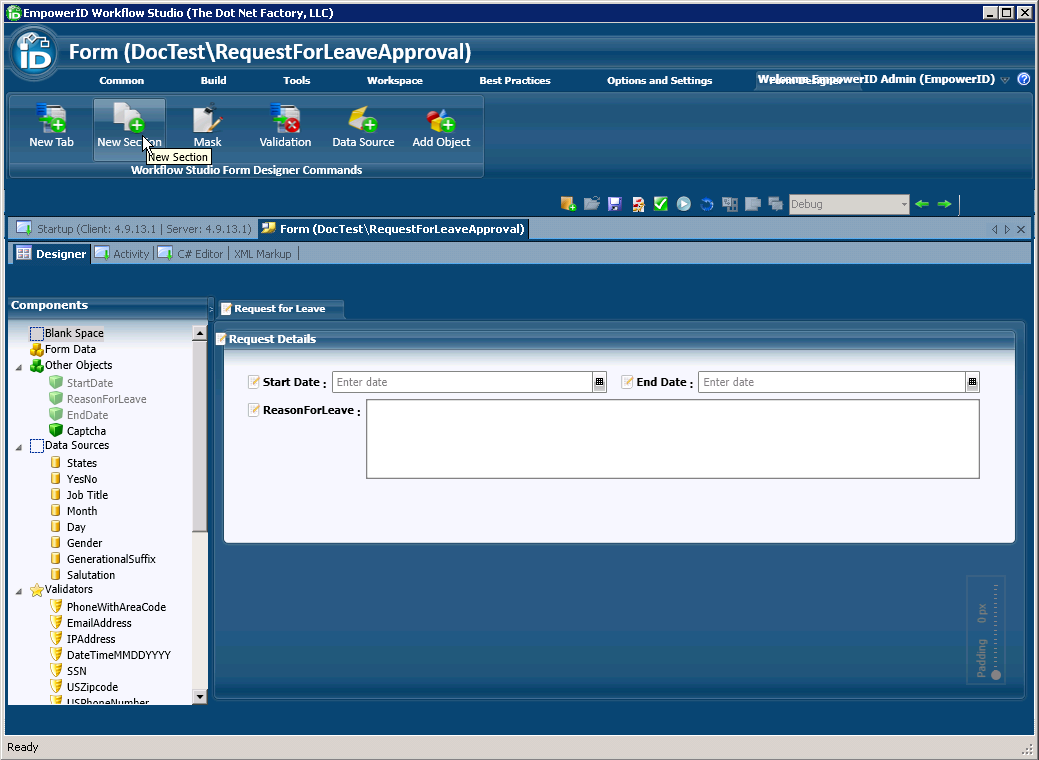
Next, we need to add a new section to the form that can be used for binding the properties of the person initiating the request. - To add the new section, click the New Section button in the Workflow Studio Form Designer Commands ribbon.
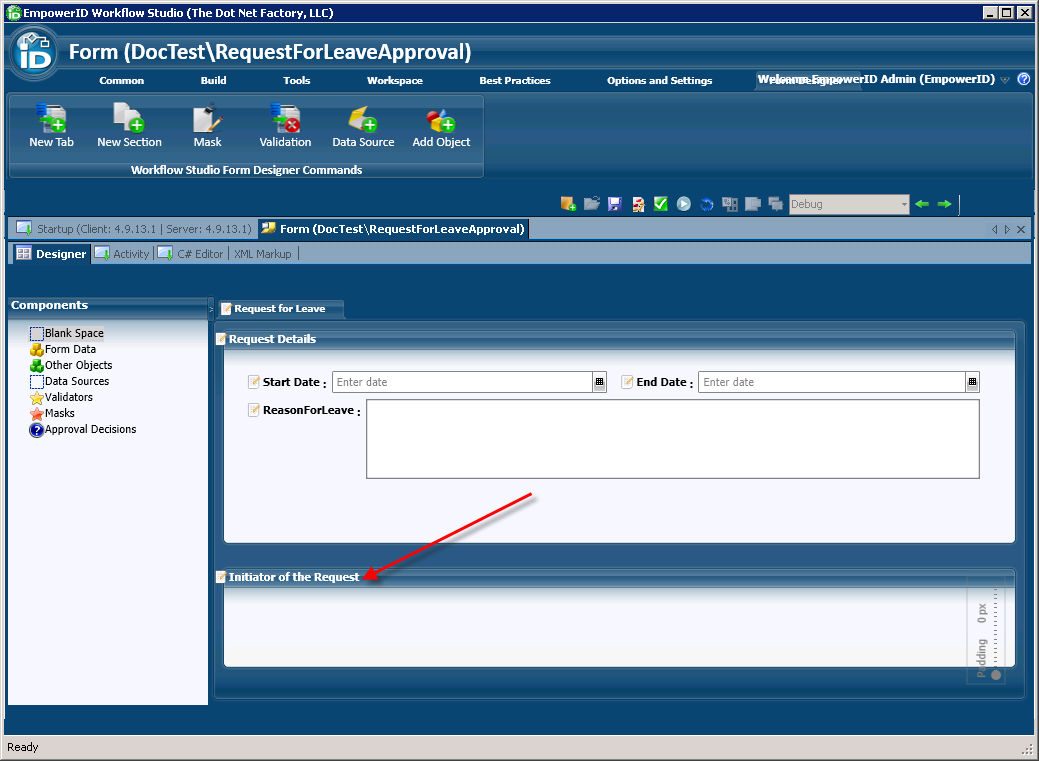
- Change the name of the section to Initiator of the Request.
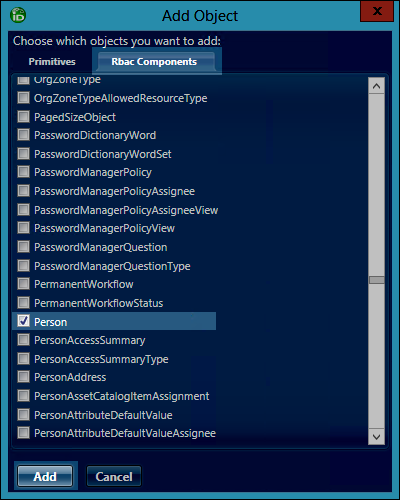
- From the Workflow Studio Form Designer Command ribbon, click the Add Object button.
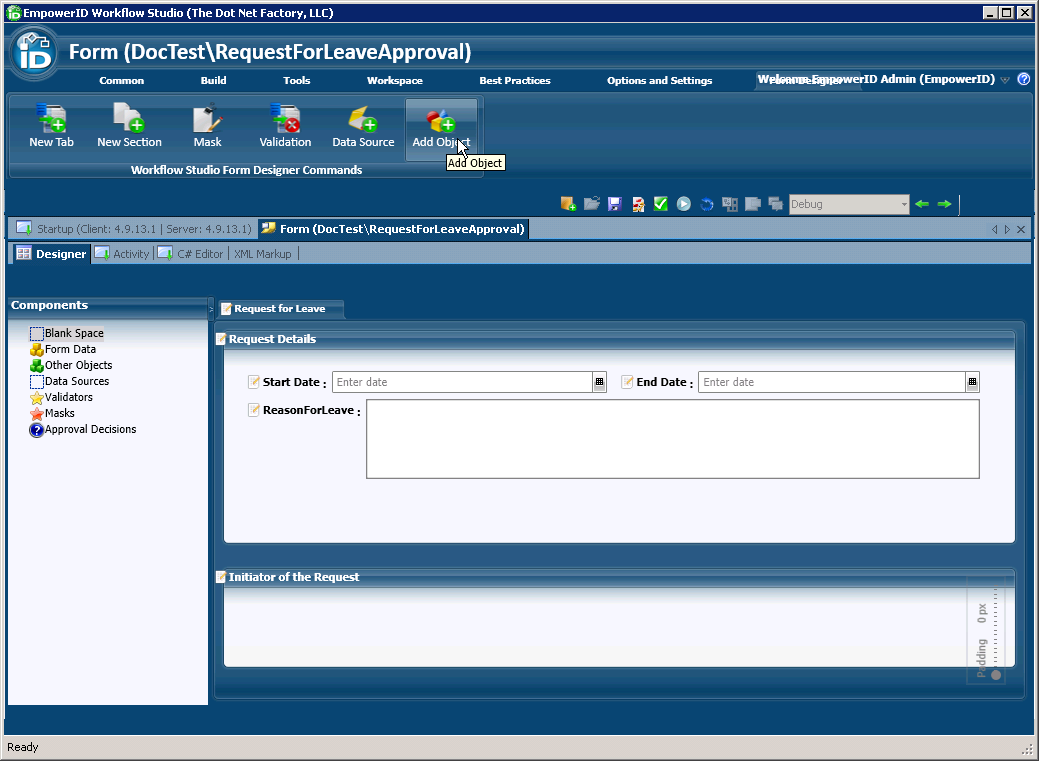
- In the Add Object window that appears, click the Rbac Components tab, scroll to and select Person, and then click Add. This allows you to drag any attributes of an EmpowerID Person onto a form as a dependency property.
This adds a component, named Person1, to the Components tree located to the left of the form. The Person1 component contains the attributes or properties of the EmpowerID Person component.
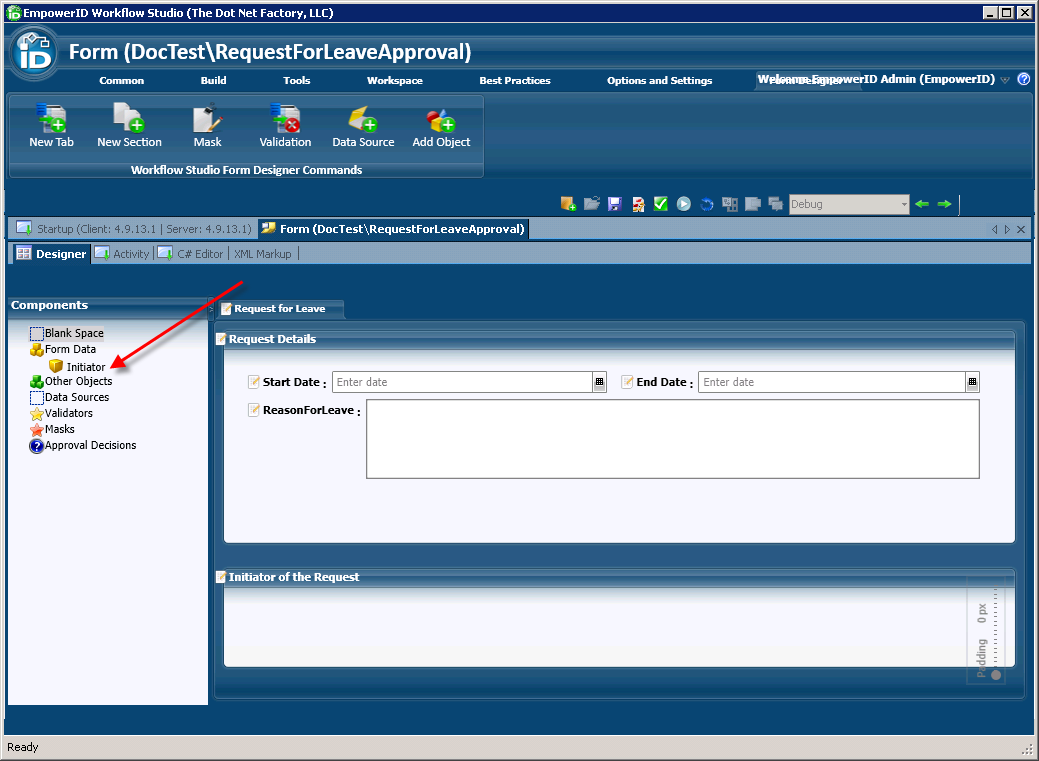
- Double-click directly on the Person1 text to place it in Edit mode and change the name of the object to Initiator. This represents the person initiating the leave request.
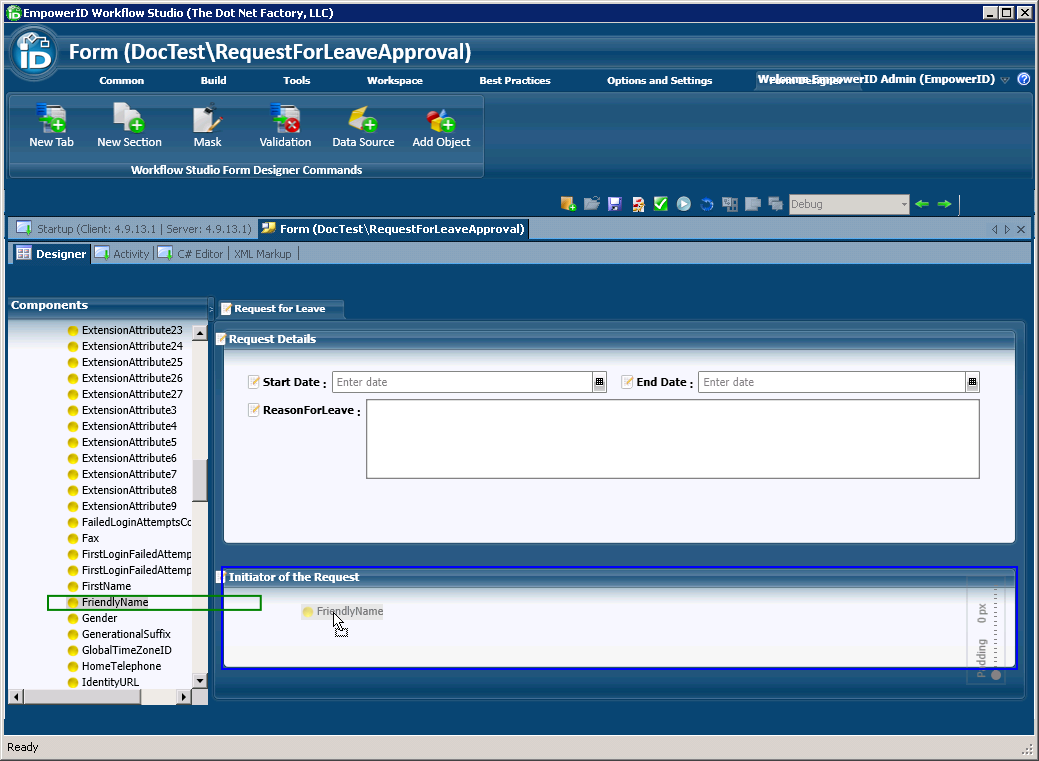
- Expand the Initiator object node, locate the FriendlyName attribute and drag it onto the Initiator section of the form.
- Edit the FriendlyName label, changing the text from FriendlyName to Name.
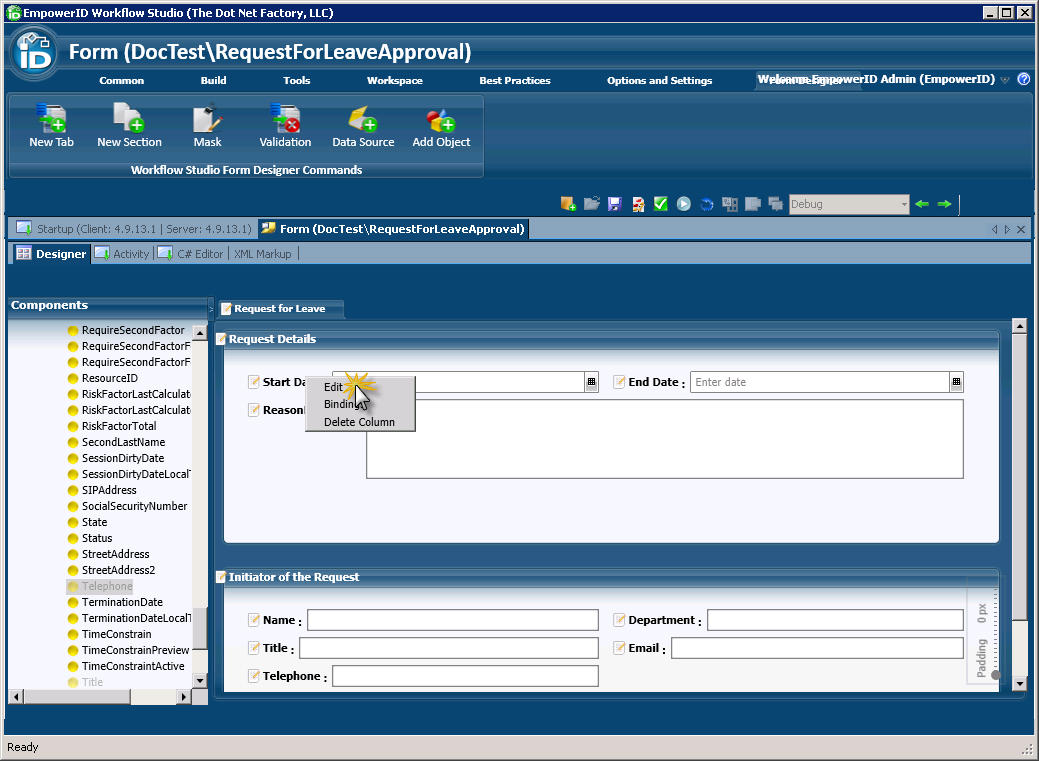
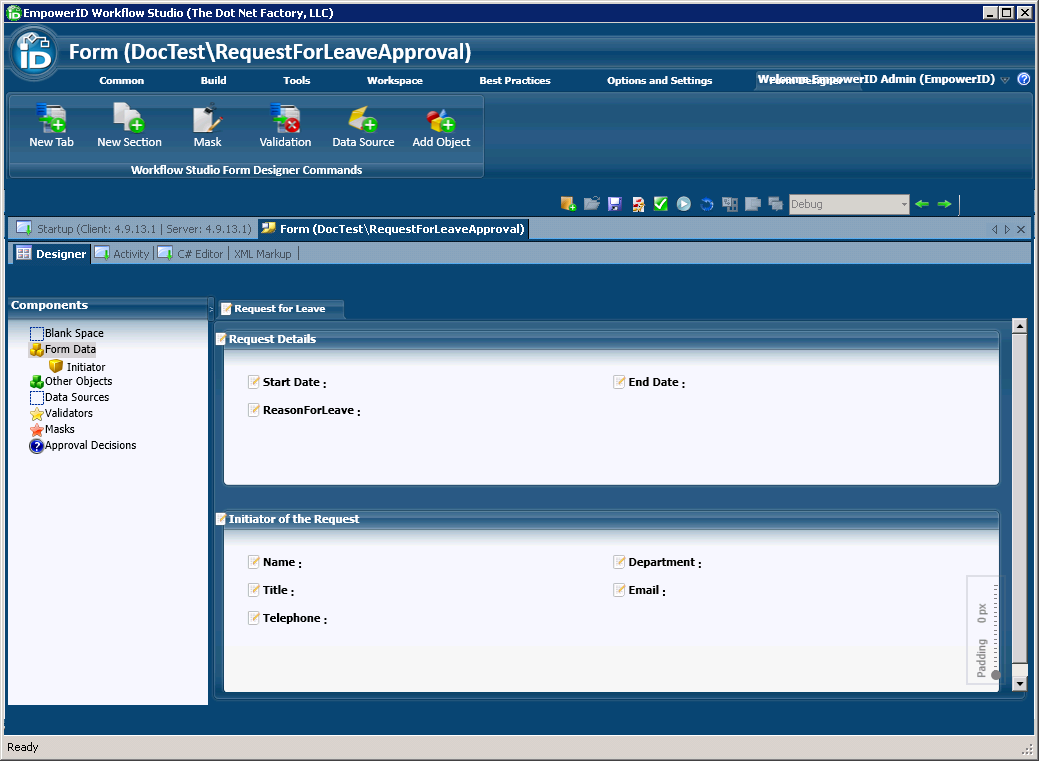
- From the Initiator object node, locate and drag the Department, Title, Email, and Telephone attributes onto the form, arranging them so that they look like the below image.

Now we want to make all of the fields on the approval form read-only as we don't want the approver to have the ability to alter the original request data. In this scenario, the fields in the Request Details section of the form will receive their values from the information entered in the Request Details section of the Leave Request form by the request initiator, while the fields in the Initiator of the Request section will receive their values from the binding that occurs between the request intiator and the initiator component we just added to the form. - Right-click the Start Date field and select Edit from the context menu.
- In the Field Configuration window that appears, select Read Only from the lower pane and then click OK to close the window.

- Repeat the above two steps for the rest of the objects in both sections of the form. Once completed, you should see only the object labels, as shown by the below image.
- From the Components tree, expand the Approval Decisions node and do the following to add buttons to the form that allow the approver to make a decision about the request.
- Select Approved
- Select Rejected
- Select Delegated
- Select ReturnedToSender
- Deselect Submit
- Deselect Canceled
- Save your changes and publish the form to make it available to workflows as a From activity.
To publish forms
- Open the form you want to publish.
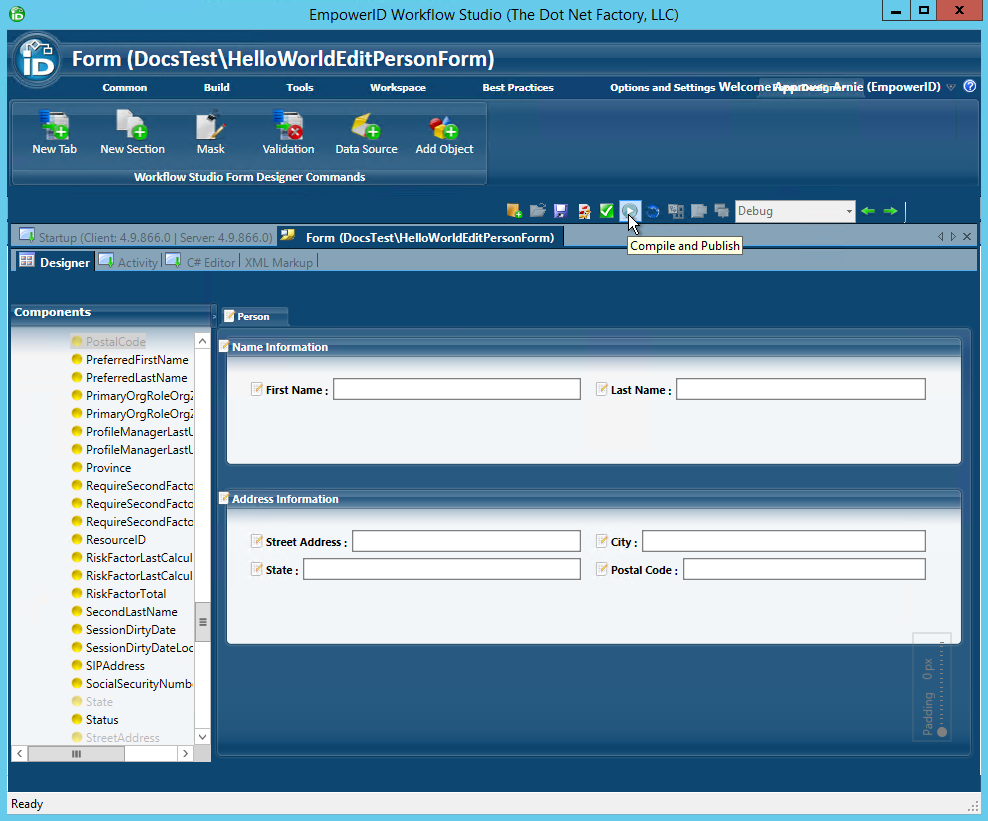
- From the Workflow Studio toolbar located above the Form Designer, click the Compile and Publish button.
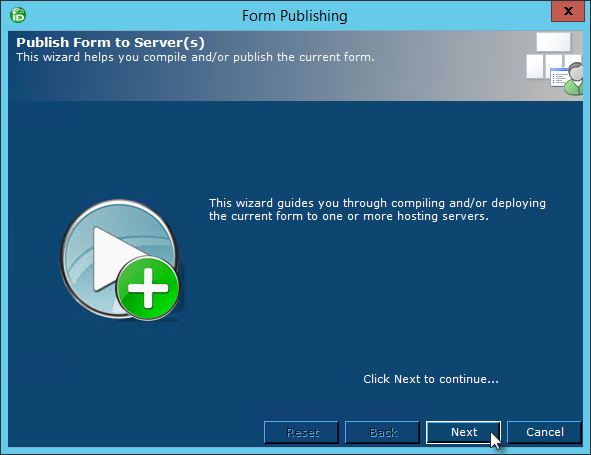
- In the Form Publishing wizard that appears, click the Next button.
- Select the server to which you want to publish the form and click Next.
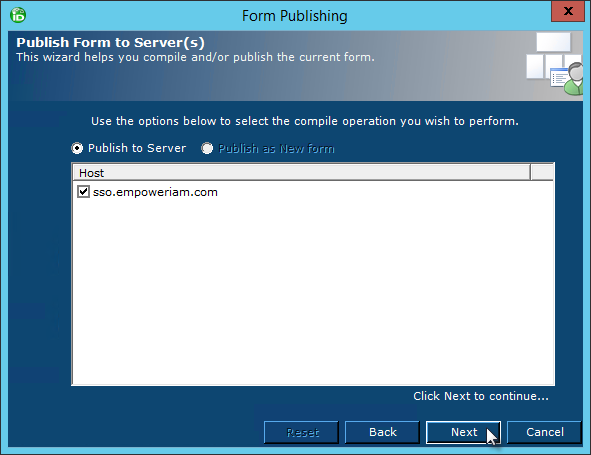
- Click Next again and wait for the wizard to compile the form and publish it to the hosting server.
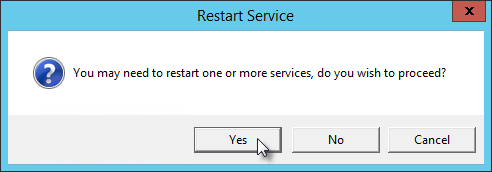
- Select Yes when prompted to restart one or more services.
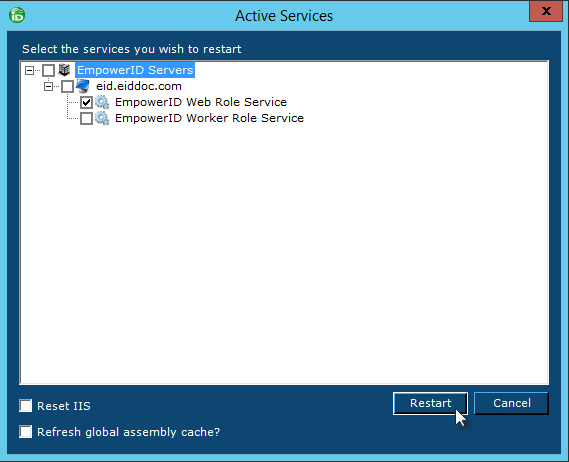
- In the Active Services window, select Web Role Service on the hosting server and click the Restart button.
- Click Yes when prompted to restart Workflow Studio.
- Click Yes to save changes to any opened files.