Creating Operation Workflows
This tutorial demonstrates how to create a workflow that executes an Operation against an EmpowerID resource. To demonstrate how to develop this type of workflow, we will build a workflow with an Operation activity that allows delegated users to edit one or more attributes against a selected person.
To create the Operation workflow, we will do the following:
- Create a new EmpowerID workflow
- Create a multi-operation activity
- Add an operation to the multi-operation activity
- Compile and publish the multi-operation activity
- Add additional activities to the workflow
- Draw lines to connect the workflow activities
- Bind data in the workflow and enable the multi-operation operation
- Add a reference for the ExecuteResourceBulkOperationsActivity assembly
- Publish the workflow
You can show or hide the Workflow Studio toolbox and Source Control panels as needed by clicking on the respective Show/Hide Panel buttons in the Workflow Studio toolbar. This allows you to increase the design surface of any Workflow Studio designer without increasing the amount of screen real estate consumed.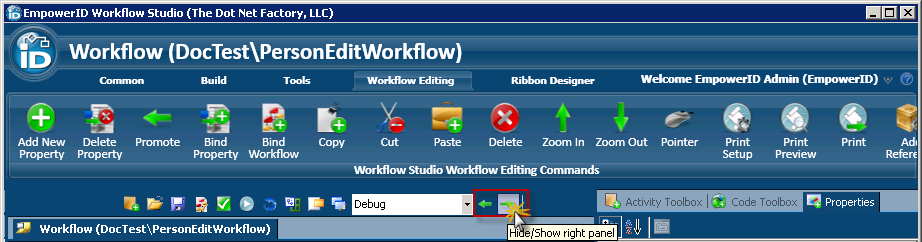
To create a new workflow
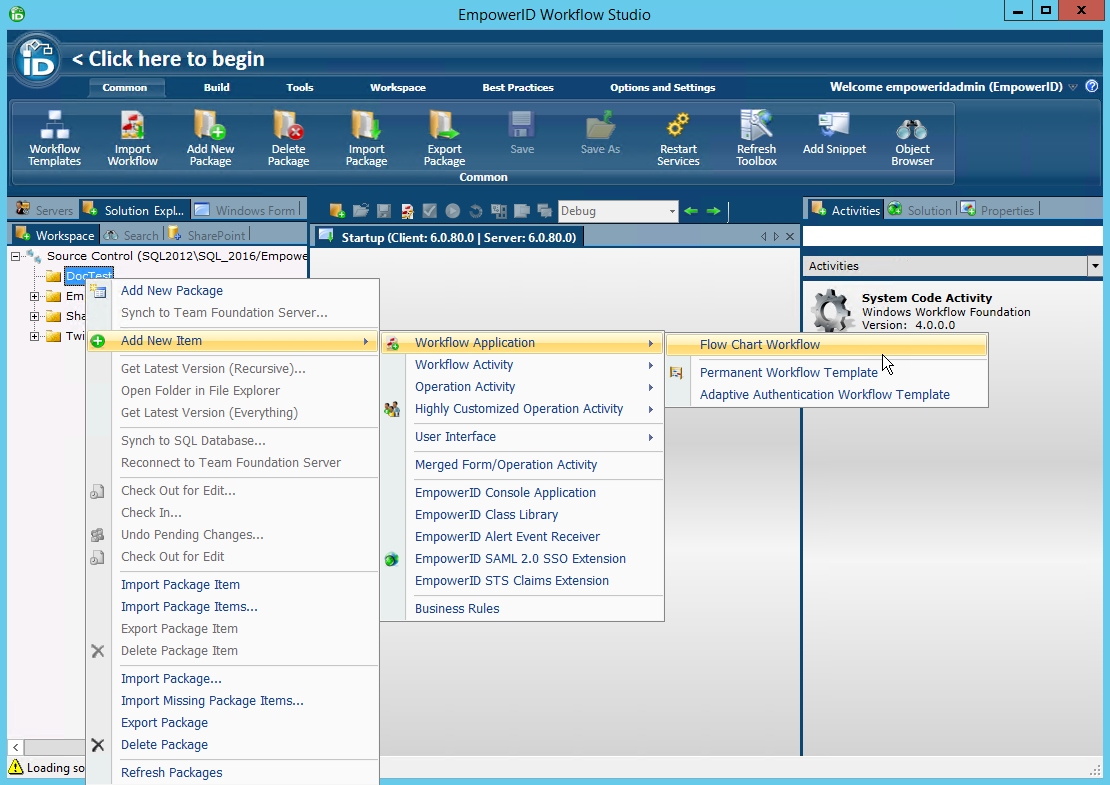
- In Workflow Studio, create a new Flow Chart workflow application by clicking on the EmpowerID icon and selecting Workflow Application > Workflow Application - Flow Chart from the application menu.
- In the Save Workflow window that appears, do the following:
- Select an appropriate package
- Enter PersonEditWorkflow into the Name and Workflow Title fields.
- Enter any desired description text in the Description field. The text entered here appears on the activity in the Activity Designer.
- Select Life Expectancy and Priority values. These values respectively determine the visibility timeframe for the [workflow instance process flow|EID:Workflow Process Flow View] information and the order of precedence for the workflow to be executed in the event that multiple workflows are run at the same moment.
- Click OK.
The image below shows what the screen looks like with the above selections made: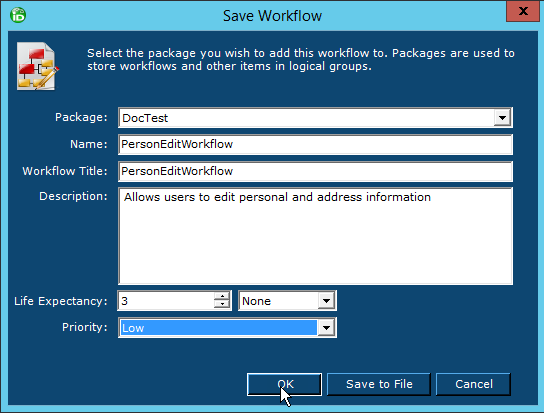
Workflow Studio places the Person Edit Workflow underneath the Workflows and Activities > Workflow Applications node in the selected package of the Source Control tree and opens the workflow in the Workflow Designer.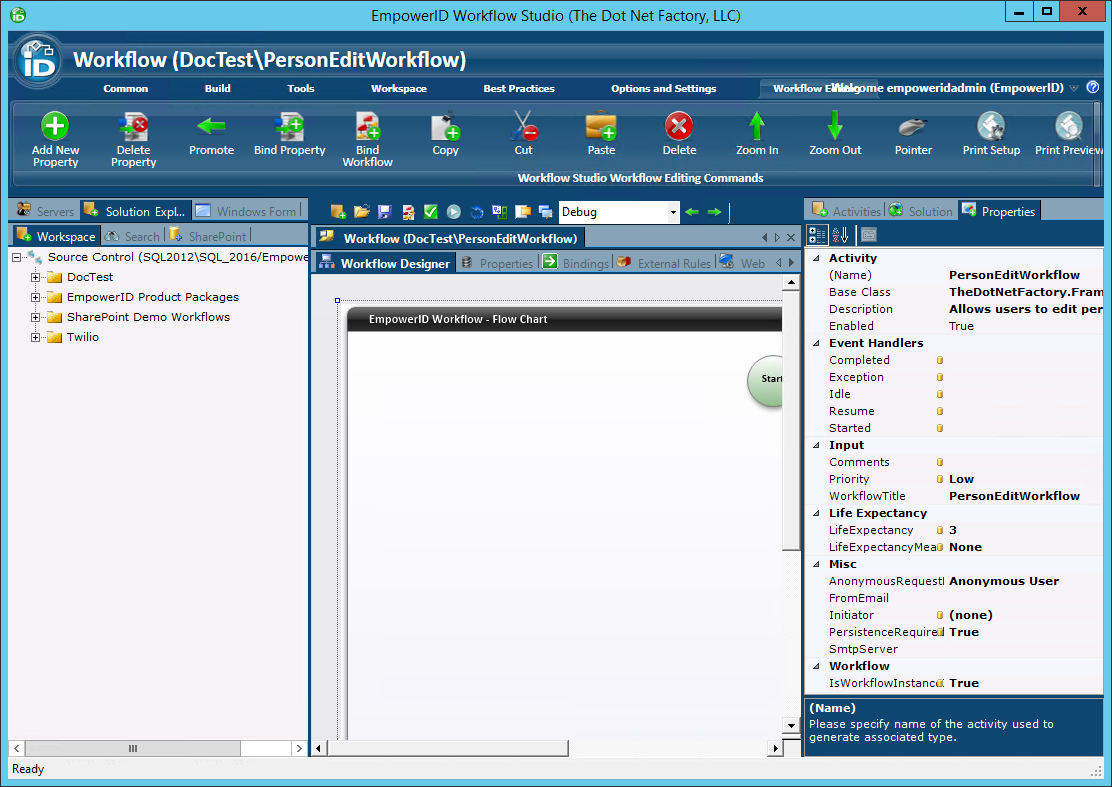
Now that we have our workflow, we need to add activities to provide operational functionality. These activities are the Get or Select Target Person activity, the PersonEditFormActivity activity created when we published the PersonEditForm form, and a new activity based on the ExecuteResourceBulkOperationCodeActivity. This type of activity provides the means by which we can define multiple operations that can be performed against a single resource type, such as the Person objects being edited in the workflow. Before we add the other activities to the workflow, let's go ahead and create the multi-operation activity.
To create the Multi-Operation Activity
- From the Application menu, select Operation Activity (Highly customized) > Single Multi-Operation Resource Activity.
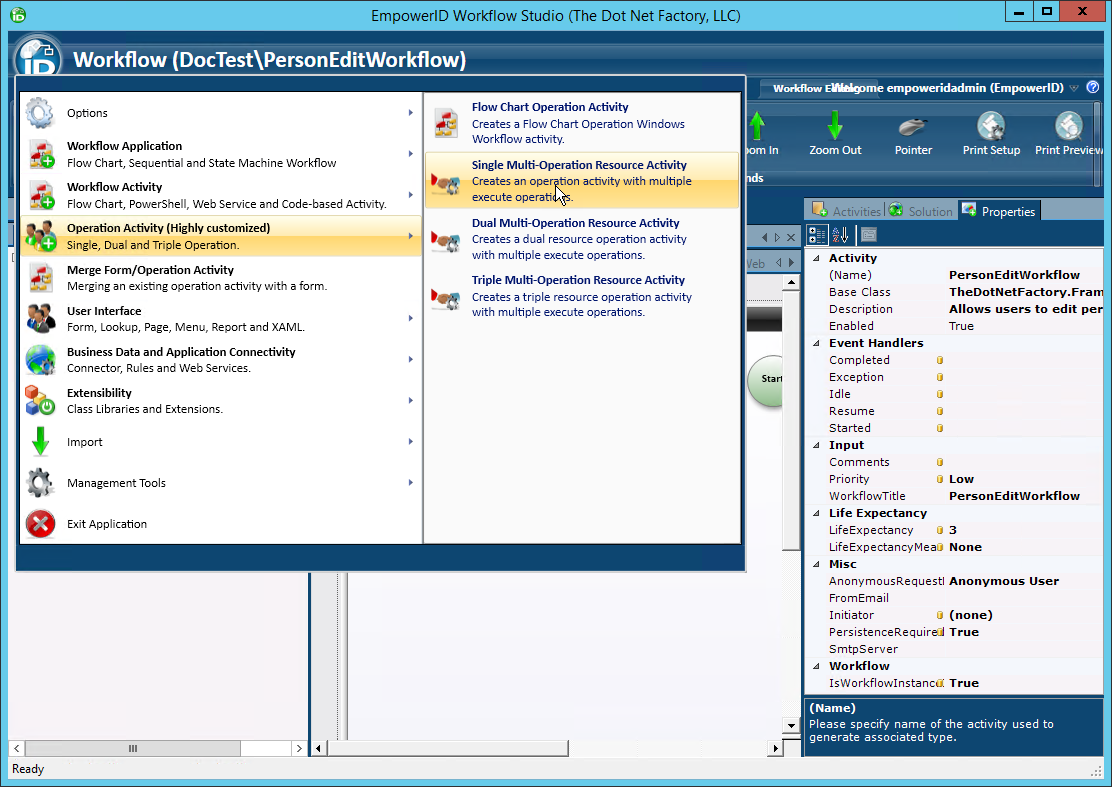 At
At - In the EmpowerID Operation Activity wizard that appears, click Next and then do the following.
- Select Person from the Resource Type drop-down.
- Select Operations/Person Operations from the Category drop-down.
- Enter any desired descriptive text in the Description field.
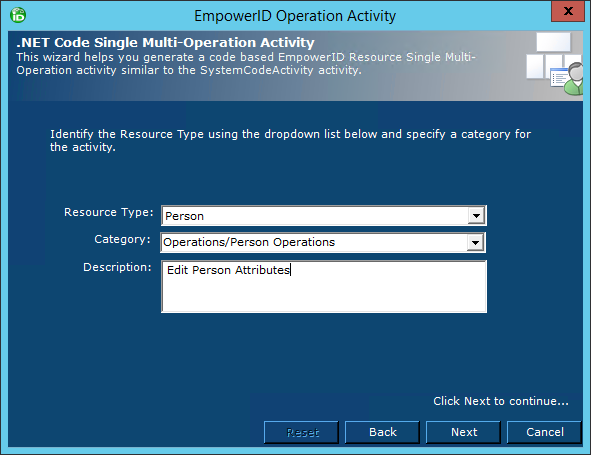
- Click Next.
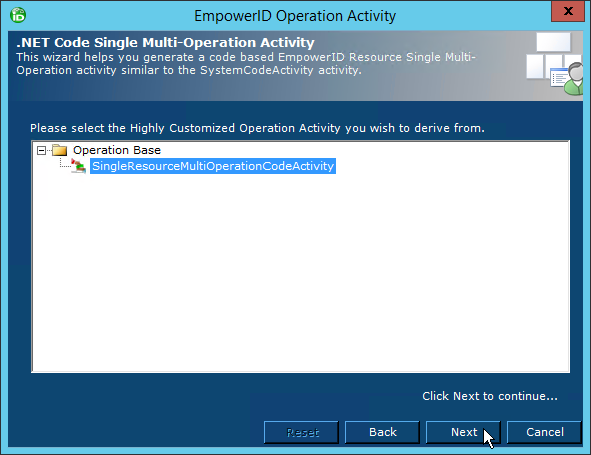
- Under Operation Base, click SingleResourceMultiOperationCodeActivity and then click Next.
- Click Next to continue.
- From the wizard, locate the activity under User Interface > Forms for the PersonEditForm created in the Creating a Personal Edit Form topic and click Next.
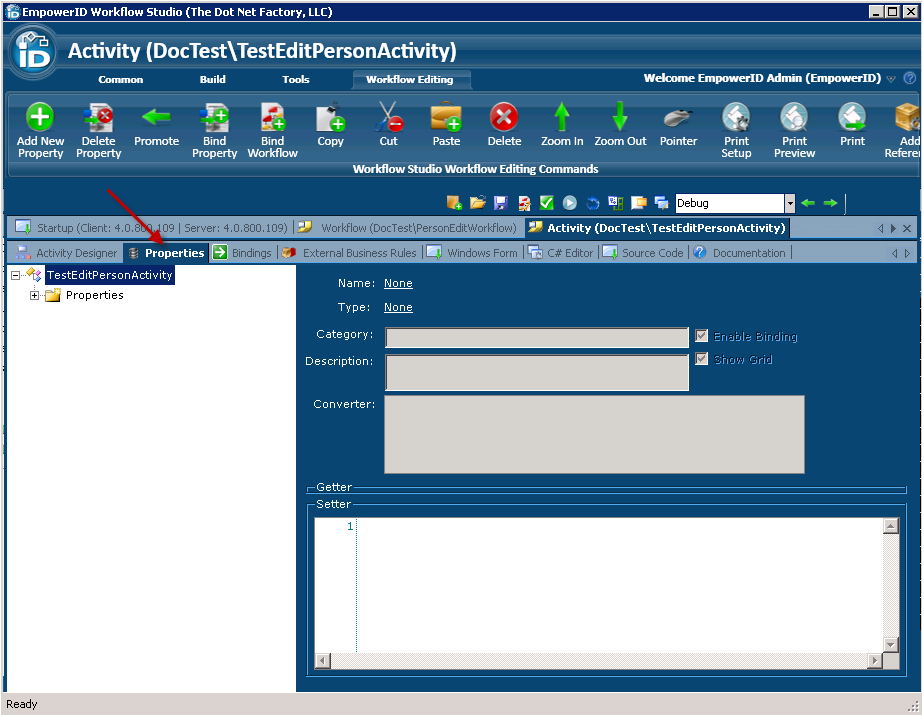
- In the Save Workflow dialog, enter TestEditPersonActivity into the Name field and then click OK.
- This adds the activity to Source Control under the Workflows and Activities > Workflow Activities node of the test package you created earlier.
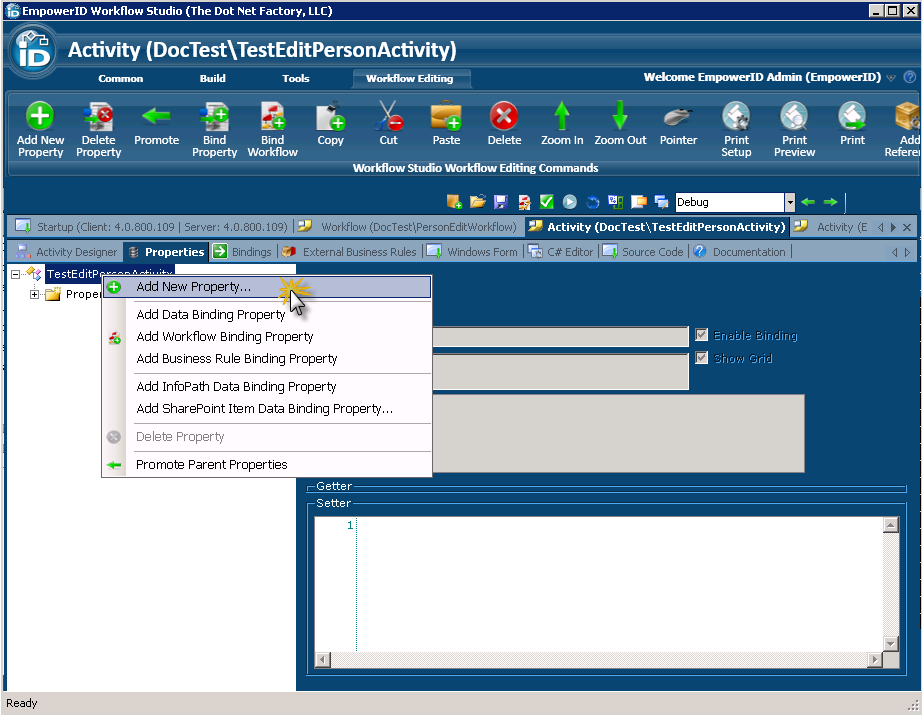
- Click the Properties tab to the right of the Activity Designer tab. This will allow us to add a new property to the activity that can be set to the person selected in the workflow form.
- From the Properties tree, right-click the activity name and select Add New Property from the context menu.
- In the Add New Property window that appears, do the following:
- Enter TargetPerson in the Name field.
- Enter E.TList in the Type field.
- Enter Input in the Category field.
The image below shows the Add New Property window looks like with the above entries made.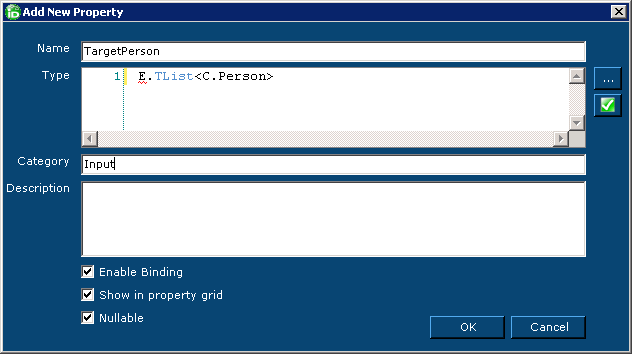
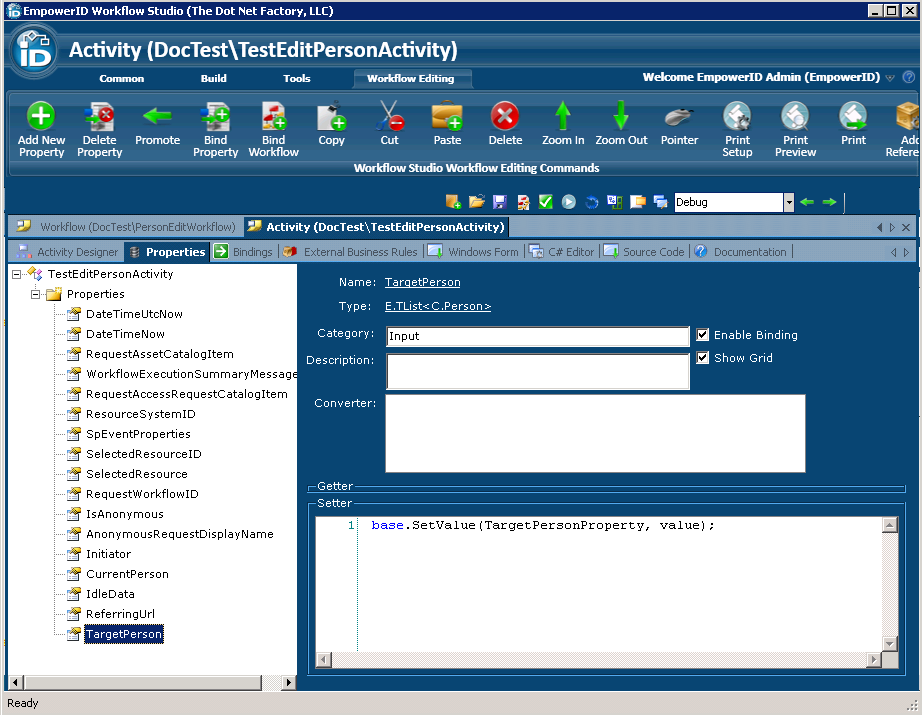
- Click OK to add the property to the activity and close the Add New Property window.
- Expand the Properties node in the Properties tree. You should now see TargetPerson as an activity property. This property corresponds to the person whose attributes are to be edited.
Return to the Activity Designer by clicking on the Activity Designer. Next, we need to add code to theExecutemethod of the activity to handle any null references for theTargetResourceIDandTargetResourceproperties to that of the values passed to the workflow form. You can get to the code view of the activity's Execute method by right-clicking on the activity in Activity Designer and selectingEdit Execute.
//Handle null
if ((TargetPerson == null || TargetPerson.Count == 0) && (Form_TargetPersonProperty == null))
    throw new Exception("Target Person is null");

if (TargetPerson == null)
    {
        TargetPerson = new E.TList<C.Person>();
        TargetPerson.Add(C.Person.GetByPersonID(Form_TargetPerson.PersonID));
    }

if (Form_TargetPerson == null)
    Form_TargetPerson = TargetPerson.First();

//Set the TargetResourceID and TargetResource to the values passed to the workflow form
    TargetResourceID = Form_TargetPerson.ResourceID;
    TargetResource = Form_TargetPerson.ResourceIDSource;
Next, add an operation to the activity that executes when a person's name attributes are edited by a user with the access to do so.
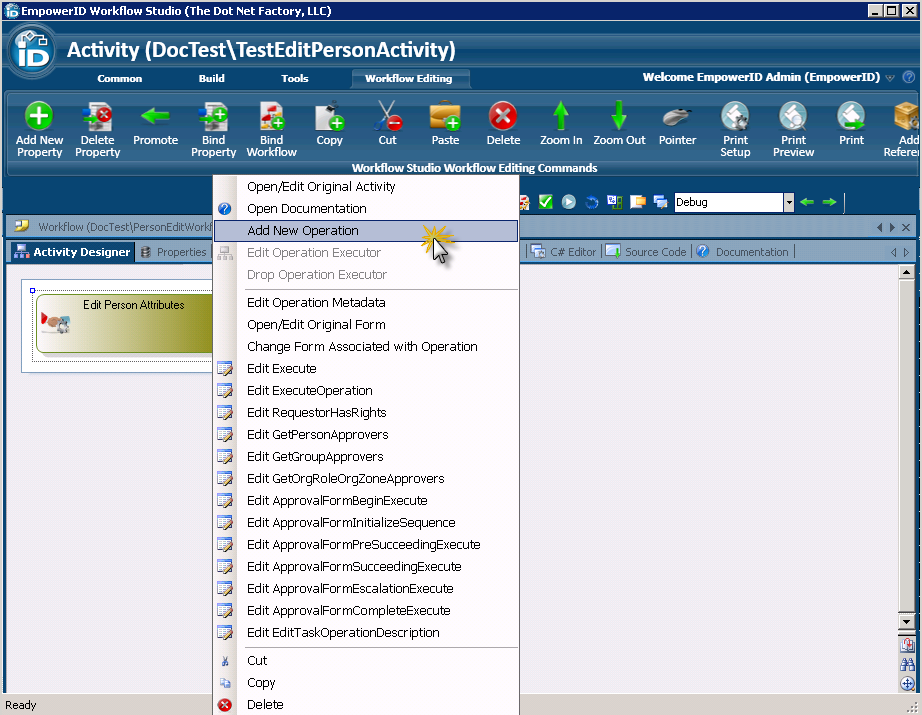
To add an operation to the multi-operation activity
- From the Activity Designer, right-click the Edit Person Attributes activity and select Add New Operation from the context menu.
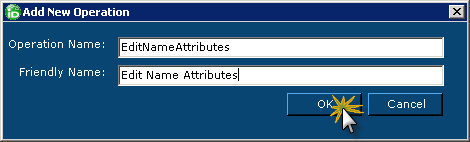
- In the Add New Operation window that appears, enter EditNameAttributes in the Operation Name field and Edit Name Attributes in the Friendly Name field and then OK to close the window.
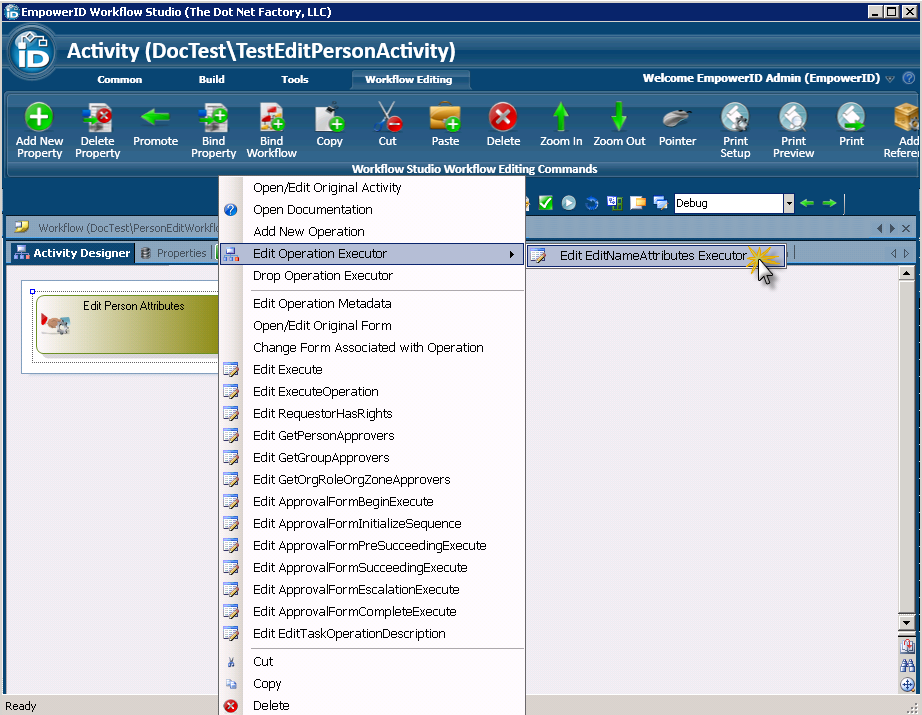
- Right-click the Edit Person Attributes activity again and select Edit Operation Executor > Edit EditNameAttributes Executor from the context menu. This allow us to define what occurs when the operation is executed against the Person object.
Enter the following code in the C# Editor to set the FirstName, LastName, and MiddleName attributes to that entered into the workflow form by the user.
C.Person person = CurrentWorkflow.TargetResource.Person;
person.FirstName = CurrentWorkflow.Form_TargetPerson.FirstName;
person.LastName = CurrentWorkflow.Form_TargetPerson.LastName;
person.MiddleName = CurrentWorkflow.Form_TargetPerson.MiddleName;
Next, enter the following code to create an instance of the OperationExecutionSummary to return the results of the operation to the workflow user.
OperationExecutionSummary opExecutionSummary = (OperationExecutionSummary) Parameters[person.ResourceID.ToString()];
opExecutionSummary.OperationExecuted = person.Update();
CurrentWorkflow.OperationExecuted = CurrentWorkflow.OperationExecuted || opExecutionSummary.OperationExecuted;
Parameters[person.ResourceID.ToString()] = opExecutionSummary;
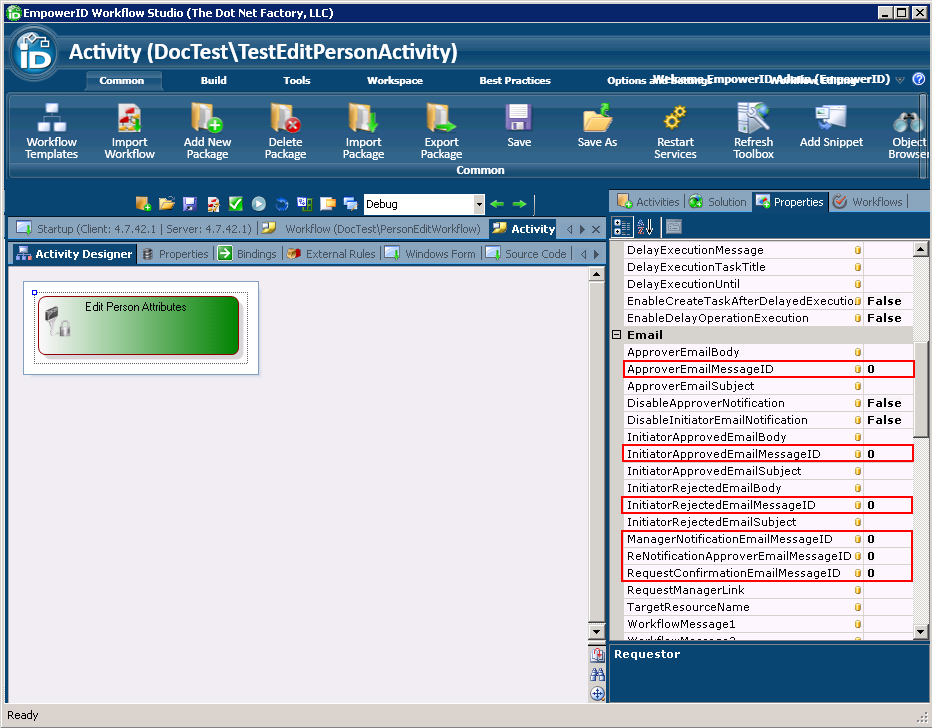
Return to the Activity Designer and from the Properties grid, scroll to the Email category for the activity and verify that the EmailMessageID property for each of the Operation emails is set to 0. This tells the system to use the default emails for the Operation type.
By default, existing Operations associated with email notifications, such as those contained in the MultiOperation activities for Person objects, send email notifications for their type of Operation without your needing to create a new email every time you add an activity with those Operations to a workflow. This ensures emails are sent as required without needing to create a new email for every implementation of the operation in your environment. However, you do not need to use the default emails and can select another email from template or develop your own.
- Save your changes.
Next, compile and publish the activity to make it available for use in workflows.
To compile and publish the multi-operation activity
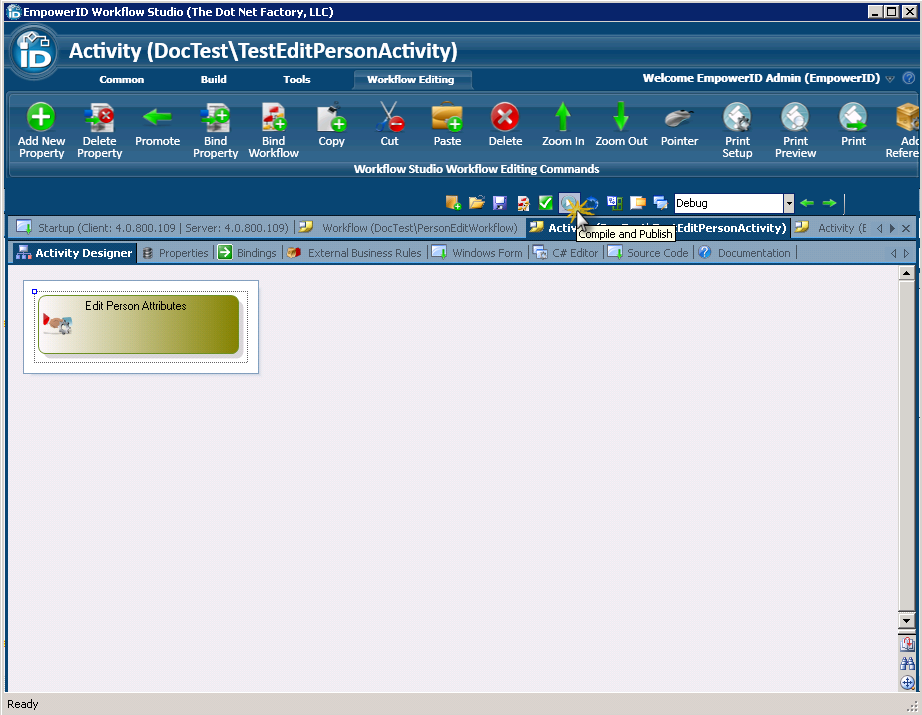
- Click the Compile and Publish button in the Workflow Studio toolbar located above the Activity Designer.
- In the Publish Workflow wizard that appears, click the Next button.
- Select the host server and click Next.
- Click Next again to begin compiling the workflow. Upon a successful compilation, Workflow Studio publishes the activity.
- Select Yes when prompted to restart one or more services.
- In the Active Services window that appears, make sure the EmpowerID Web Role Service is selected and click Restart.
- Click No when prompted to restart Workflow Studio.
The next step is to add the activities to the workflow.
To add the activities to the workflow
- From the Workflow Studio toolbox, click the Activity Toolbox tab and search for the Get or Select Target Person activity by entering GetOrSelectTargetPerson in the Activity Search field. If you are unable to find the activity in the Activity Toolbox, click Workflow Activities in the Workspace Ribbon, find the activity under "Common" and add it to the Toolbox. The Get or Select Target Person activity allows users to search for and select the specific person for whom they wish to update name and address information. By selecting this activity, there is no need to create a new Lookup control for the workflow.
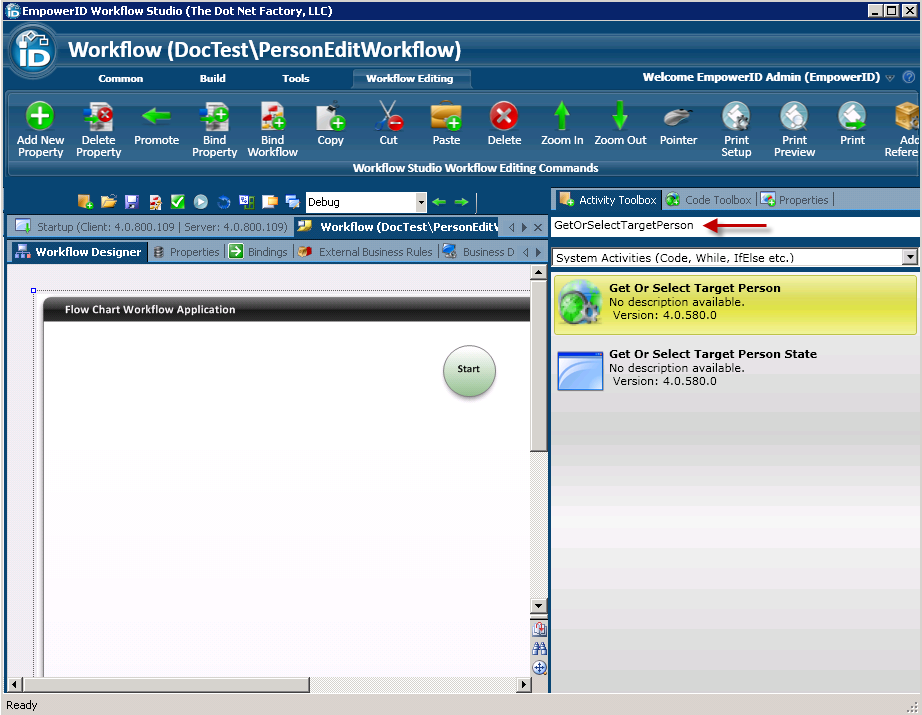
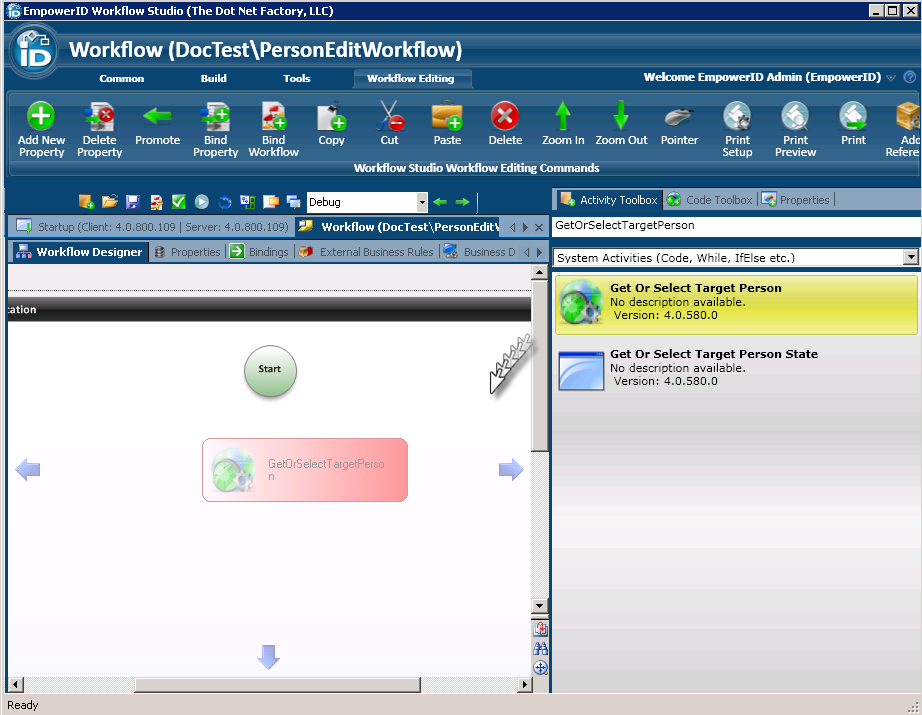
- Drag the Get Or Select Target Person activity from the Activity Toolbox and drop it directly below the Start activity on the Workflow Designer.
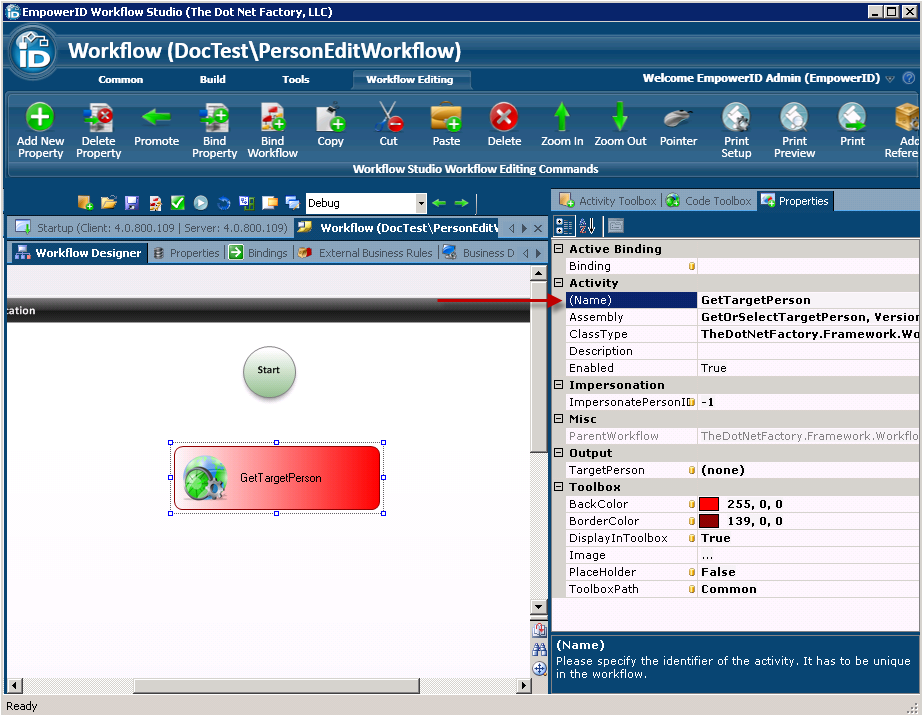
- From the Properties grid, change the activity name from getOrSelectTargetPerson to GetTargetPerson.
- From the Activity Toolbox, search for the PersonEditFormActivity activity by entering PersonEditForm into the Activity Search field. Workflow Studio created this activity for the PersonEditForm form when you compiled and published it.
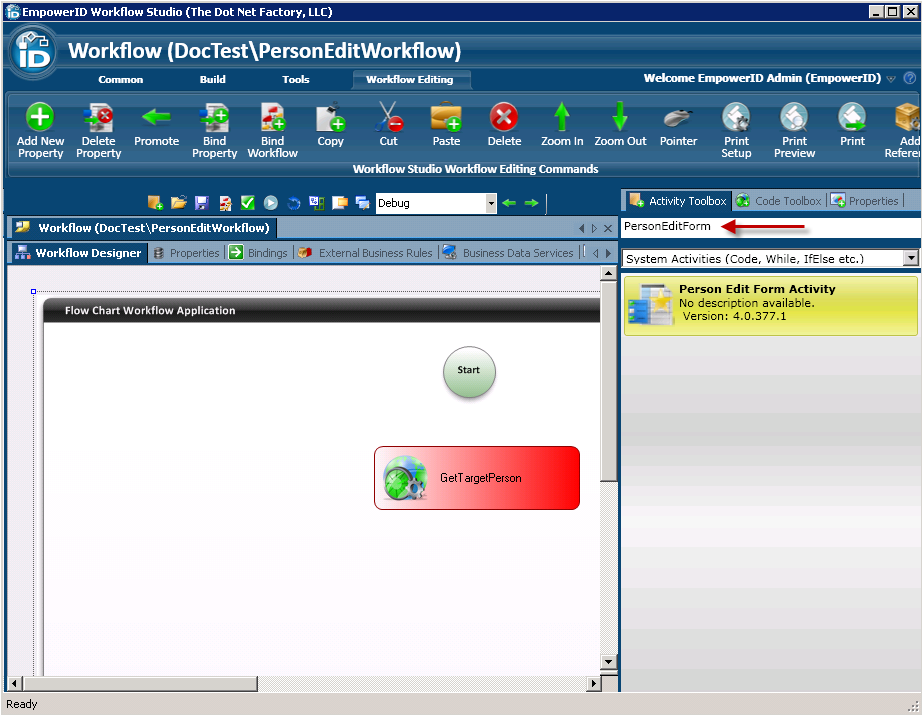
- Drag the Person Edit Form Activity activity from the Activity Toolbox and drop it onto the Workflow Designer directly below the GetTargetPerson activity.

- From the Properties grid, change the activity name from personEditFormActivity1 to PersonEditForm.
- From the Activity Toolbox, search for the Operation activity you just compiled and published.
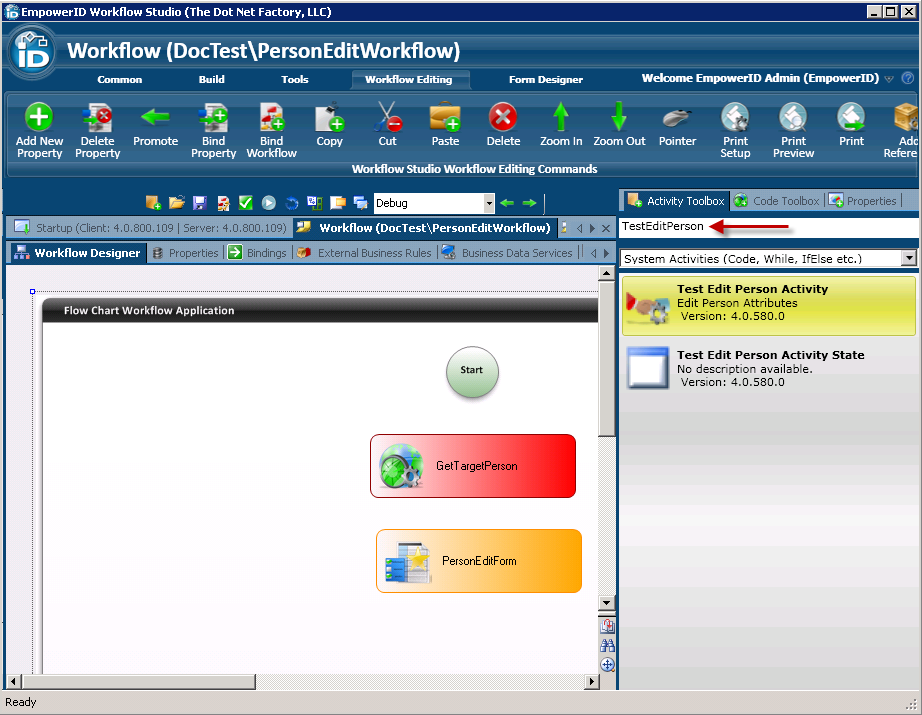
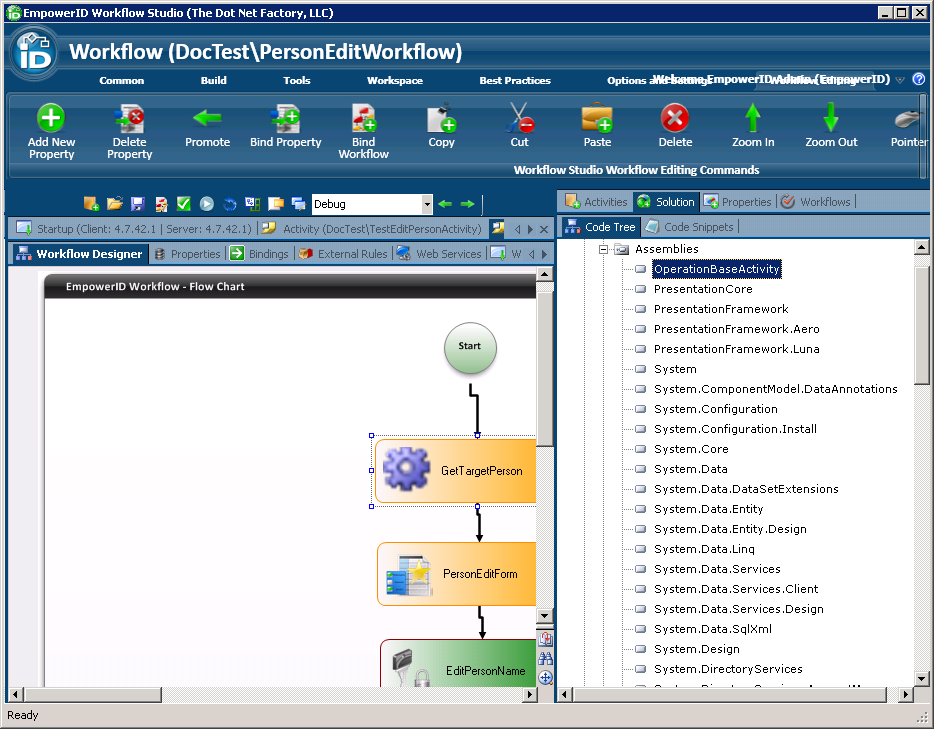
- Drag the TestEditPerson activity from the Activity Toolbox onto the Workflow Designer. Notice that the name of the activity is OperationBaseActivity. This is because the activity was derived from the OperationBaseActivity activity when it was created.
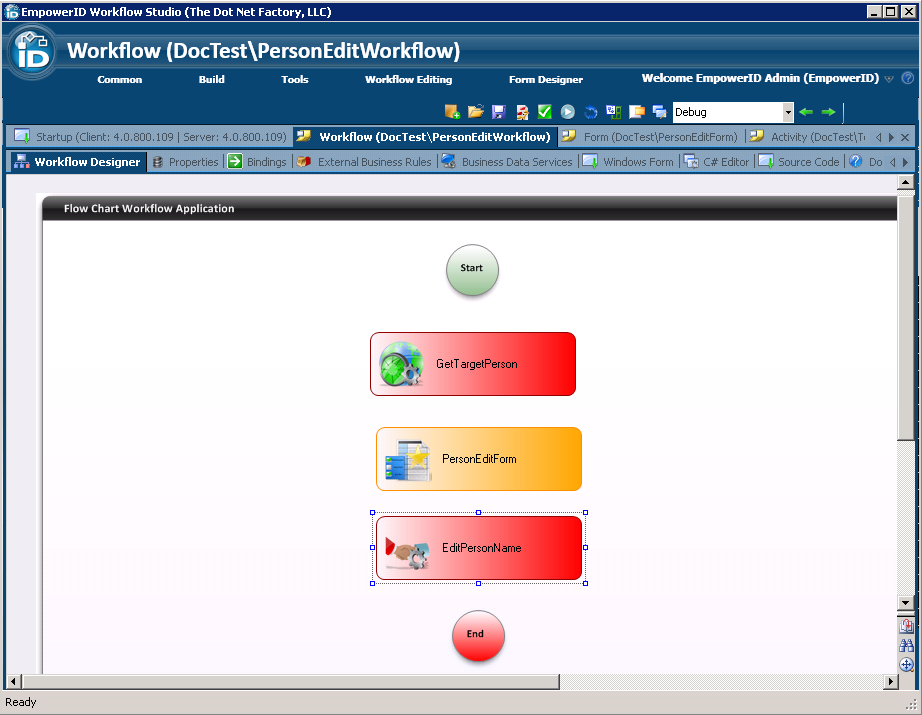
- Change the name of the activity to EditPersonRequest. The activities in the Workflow Designer should now look similar the below image.
The next step is to draw lines connecting the activities to each other. This allows the workflow logic to flow from start to finish.
To connect the activities to each other
Workflow lines direct workflow logic by connecting workflow activities to each other. In a flow chart workflow, the entry point is always the Start activity and the exit point is always the End activity. The Flow Chart Workflow Designer enables you to author workflows that execute business processes in non-sequential order; however, for this tutorial we will simply draw our lines to connect the activities in sequential, top-down order.
- Hover your mouse over the Start activity to reveal its drawing points.
- Draw a line connecting the Start activity to the GetTargetPerson activity.
- Draw a line connecting the GetTargetPerson activity to the PersonEditForm activity.
- Draw a line connecting the PersonEditForm activity to the EditPersonRequest activity.
- Draw a line connecting the the EditPersonRequest activity to the End activity.
Your workflow lines should look similar to the following image: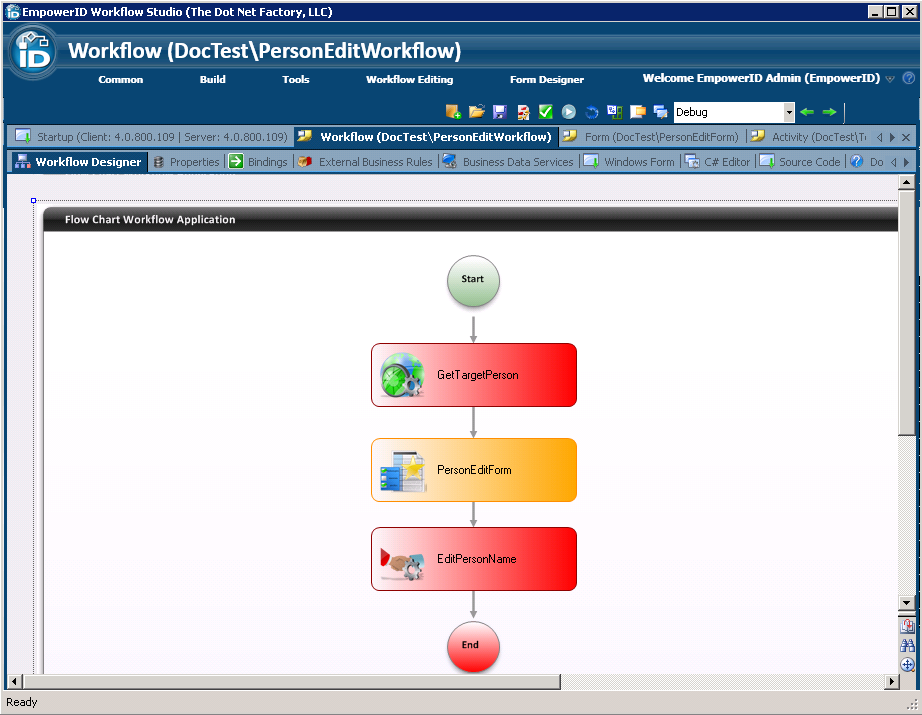
The next steps are to bind some workflow and activity properties to each other in order to pass the right data values to the various components of the workflow, as well as to enable the EditNameAttributes operation created earlier.
To bind workflow data and enable the EditNameAttributes operation
- Click the Bindings tab located above the Workflow Designer.
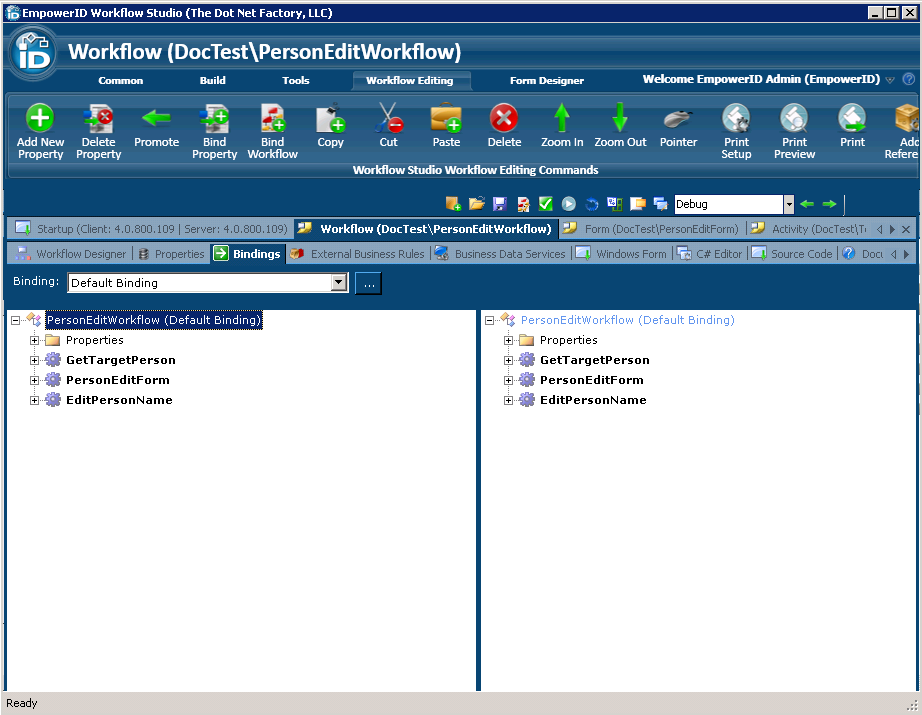
- In the left tree, expand the Workflow Properties > BaseProperties node and in the right tree, expand the EditPersonName activity node.
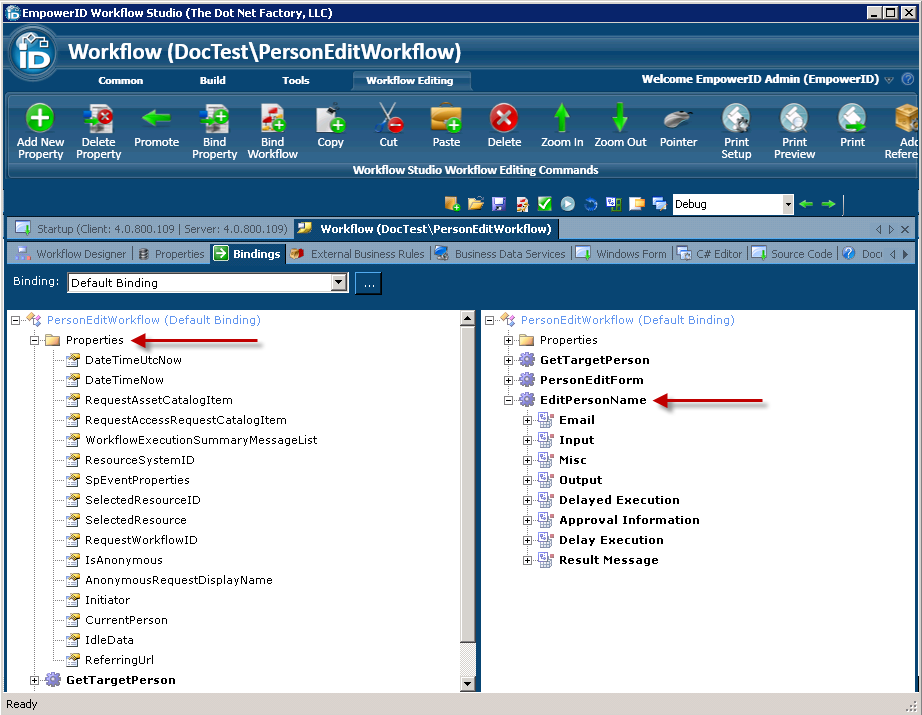
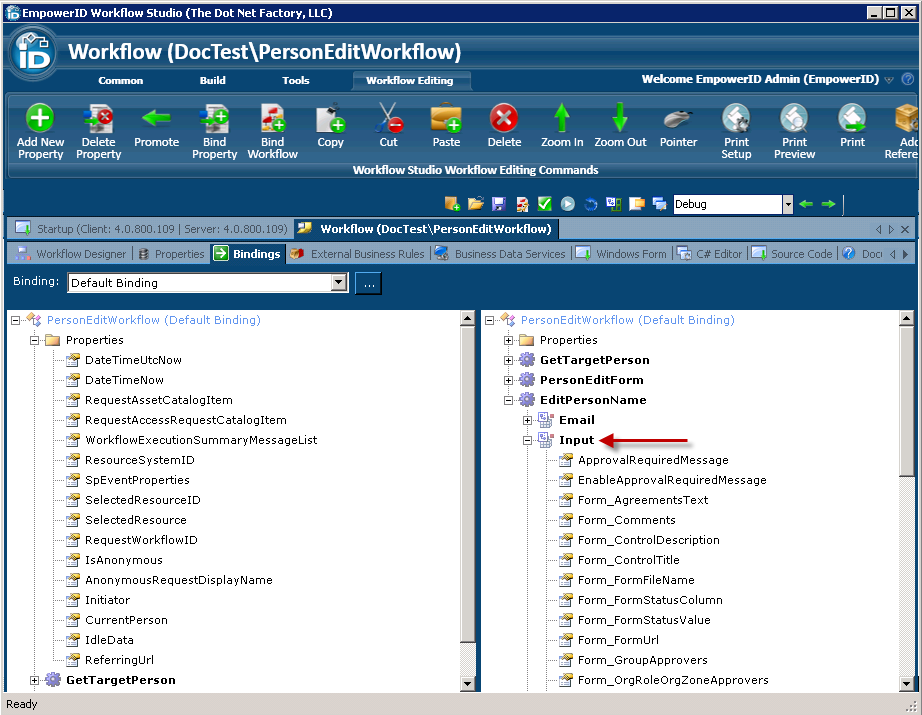
- Expand the Input node underneath the EditPersonName activity node.
- From the Workflow Properties node, drag the SelectedResource property onto the TargetResource property node.
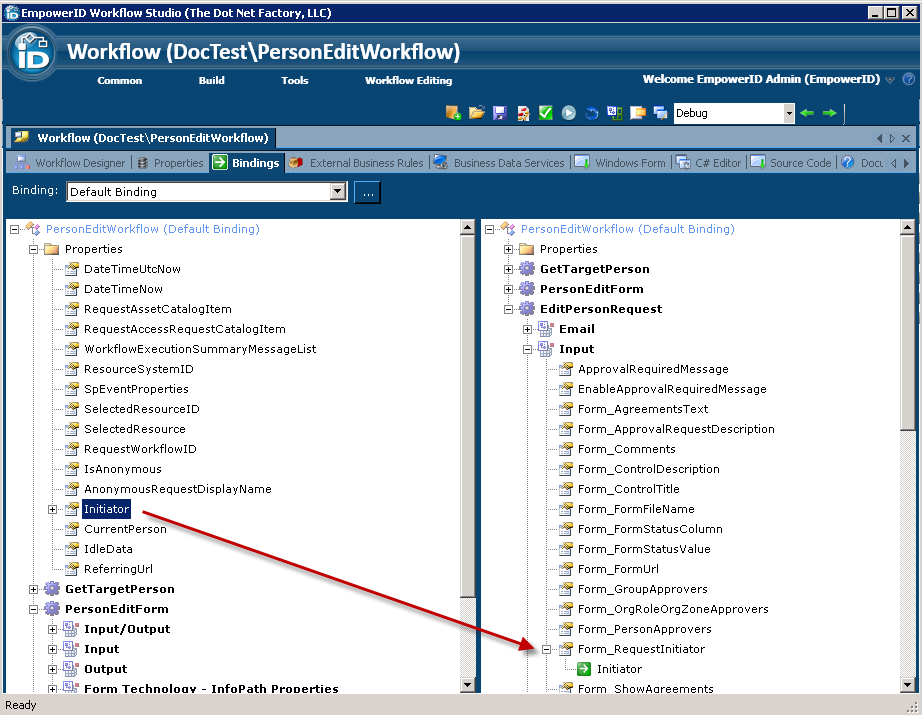
- Drag the Initiator property of the workflow from the Workflow Properties tree and drop it onto the Form_RequestInitiator property under the Input node of the EditPersonName activity in the right tree. This binds the initiator of the workflow to the EditPersonName activity.
Drag the SelectedResource property onto the TargetResource node of the right tree. This binds the Person object as the resource type targeted for attribute edits.

Bindings are bi-directional in Workflow Studio, so you can create the same binding by dragging the properties from right to left.
- Drag the Initiator property of the workflow from the Workflow Properties tree and drop it onto the Form_RequestInitiator property under the Input node of the EditPersonName activity in the right tree. This binds the initiator of the workflow to the EditPersonName activity.
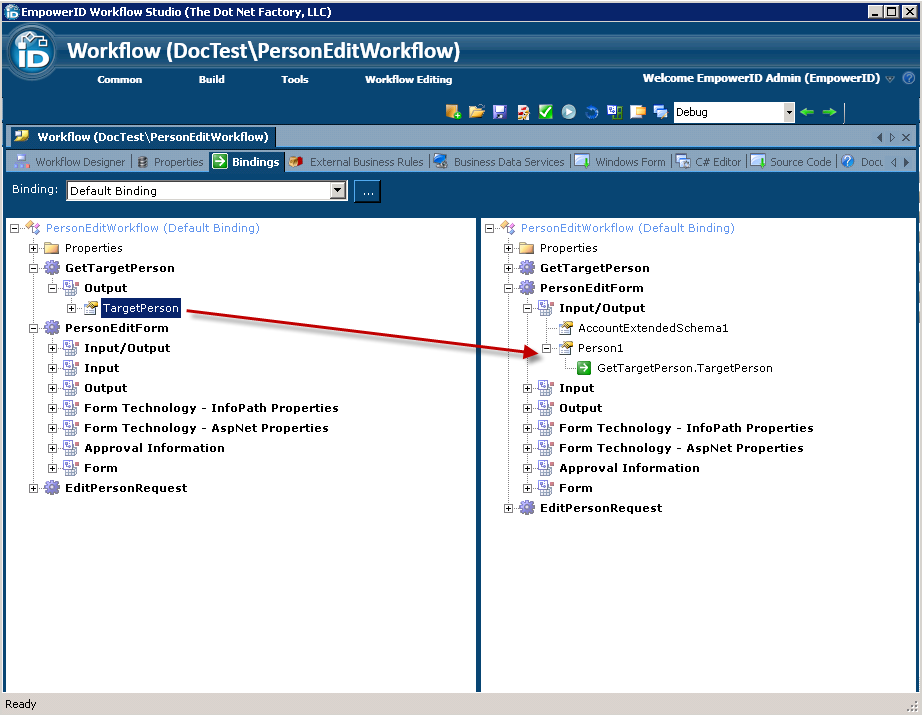
- In the left tree, expand the GetTargetPerson > Output nodes and in the right tree, expand the PersonEditForm > Input/Output nodes.
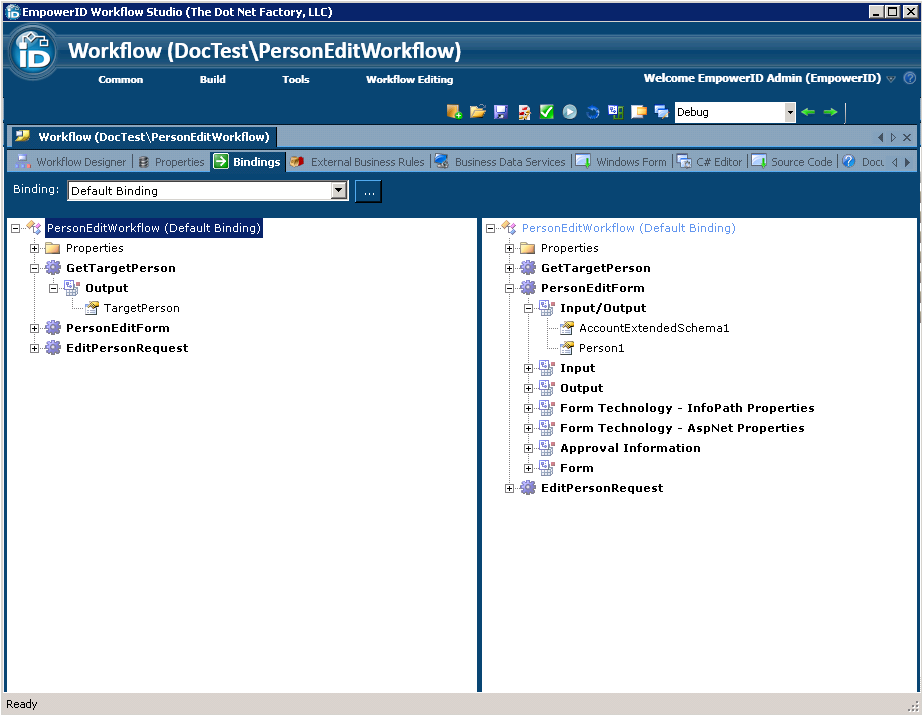
- Drag the GetTargetPerson.TargetPerson property from the left tree onto the PersonEditForm.Input/Output.TargetPerson property in the right tree. This binds the Person object selected by the user as the input and output object that will be edited in the Person Edit Form form.
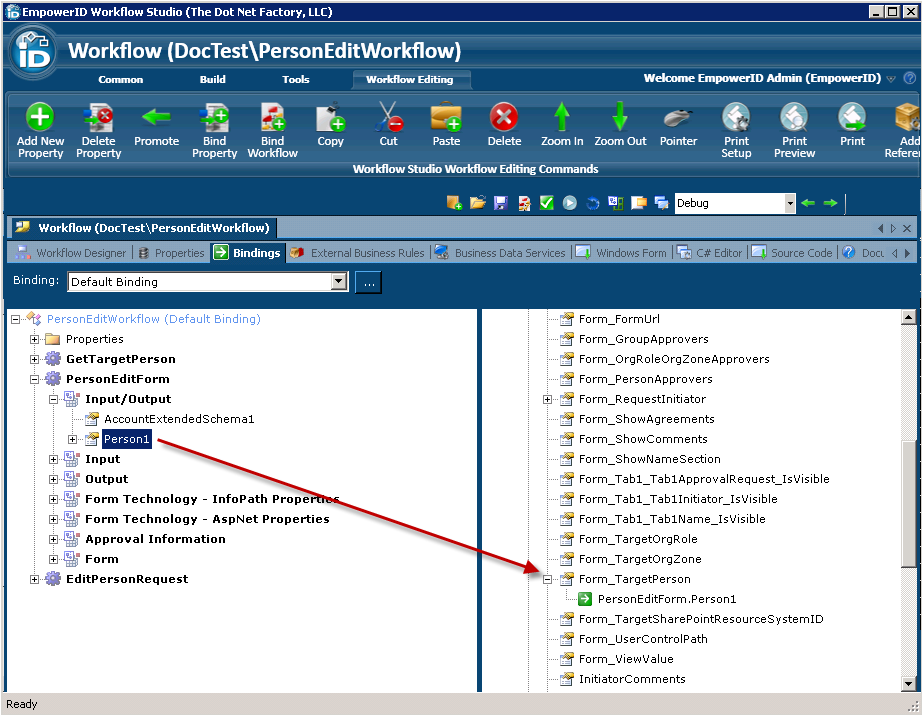
- In the left tree, expand the PersonEditForm.Input/Output node and drag the TargetPerson node onto the Input.Form_TargetPerson node of the EditPersonName activity in the right tree. This binds the specific person selected by the user as the resource item being edited by the workflow actor.
- Save your changes and return to the Workflow Designer.
- Right-click on EditPersonName (TestPersonEditActivity) and select Enable/Disable Executing Operations from the context menu.
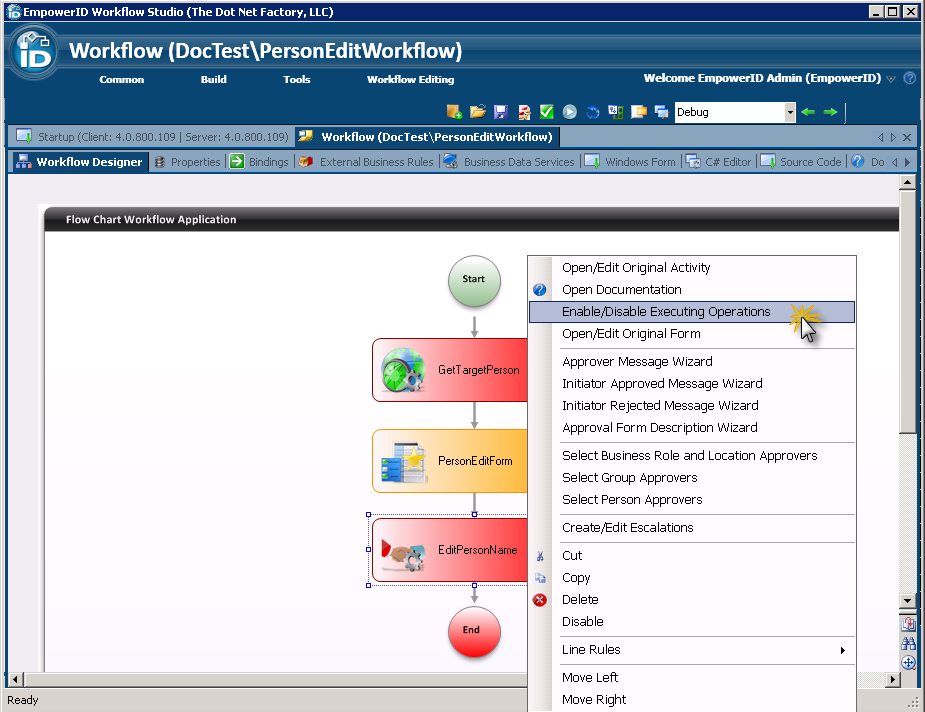
This opens the Enable/Disable Resource Operations window, which contains all resource operations for the activity (set to disabled by default). This activity only has one resource operation, EditNameAttributes.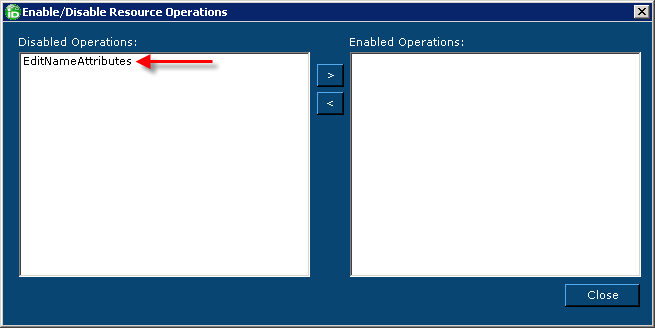
- From the Disabled Operations pane, click the EditNameAttributes operation to select it and then click the right arrow (>) to move the operation to the Enabled Operations pane.
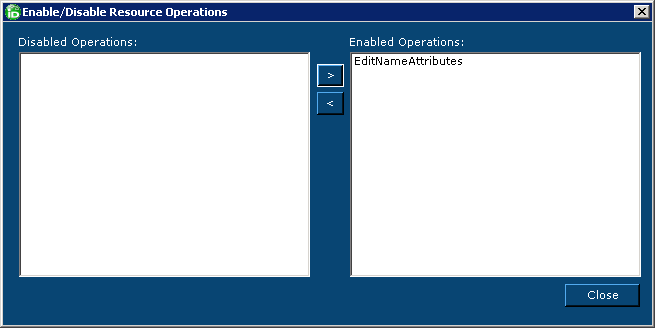
- Click Close to close the Enable/Disable Resource Operations window.
The next step is to add a reference to add a reference to the OperationBaseActivity assembly to the workflow project.
To add a reference for the OperationBaseActivity assembly
- From the Workflow Studio toolbox to the right of the Workflow Designer, click the Solution tab and in the Code Tree sub-tab, right-click on the project name and select Add Reference > Add Assembly Reference from the context menu.
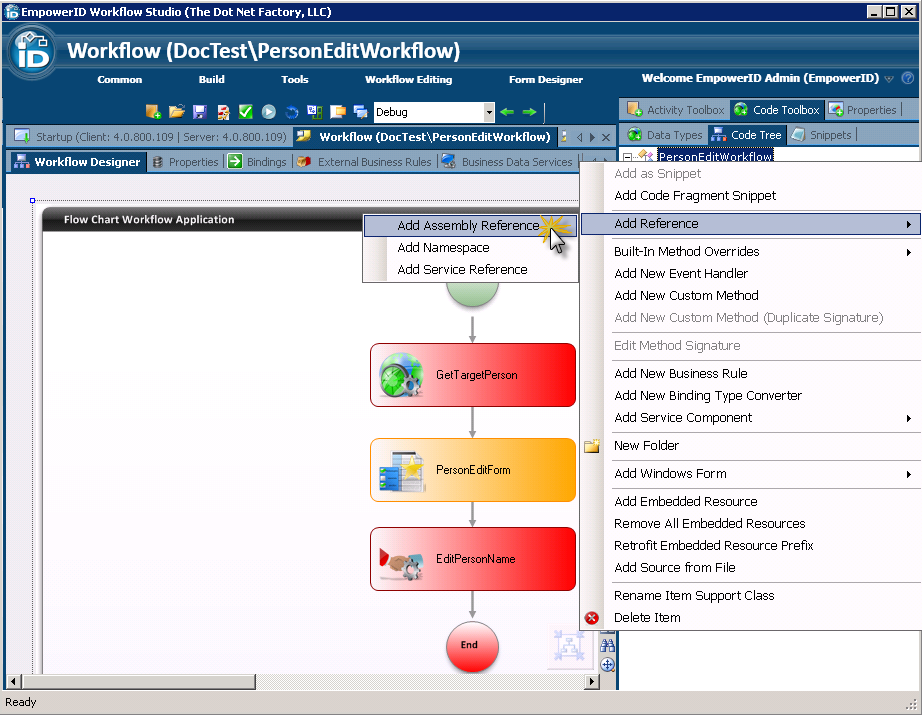
- In the GAC Assembly Reference window that appears, select the OperationBaseActivity assembly and then click the Add selected items button. This reference is needed when using any type of Multi-Operations activity.
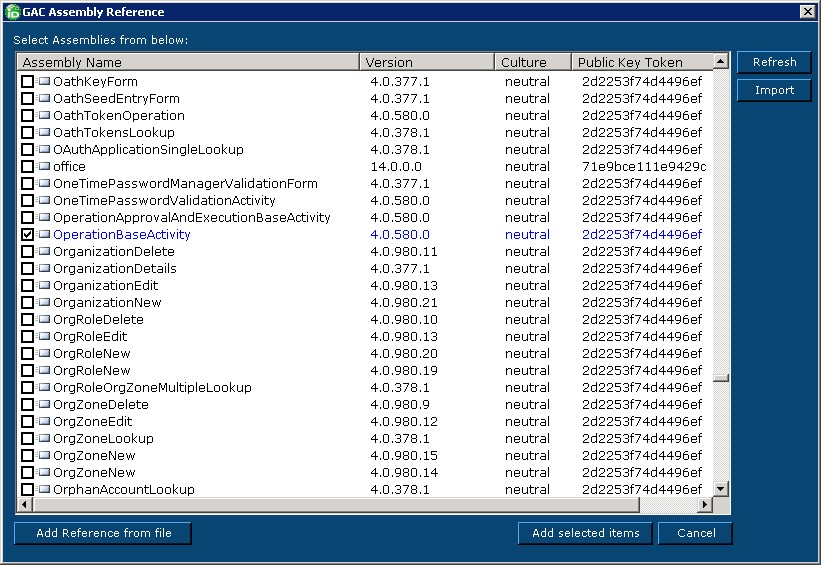
- From the Code Toolbox, expand the Reference > Assemblies nodes. You should see the OperationBaseActivity assembly.
The next step is to publish the workflow.
To publish the workflow
- Click the Compile and Publish button in the Workflow Studio toolbar.
- In the Publish Workflow wizard that appears, click the Next button.
- Select the host server and click Next.
- Click Next again to begin compiling the workflow. Upon a successful compilation, Workflow Studio publishes the workflow.
- After the workflow has been compiled and published, you will be prompted to create a new Request Workflow for the workflow. For each workflow used in EmpowerID there must exist at least one request workflow resource. These are what is used to secure workflows developed in Workflow Studio. Go ahead and click Yes.
- In the Add Request Workflow window that appears, review the information and click OK. Of note in this window is the URL field and the Allow Anonymous Access option. Workflow Studio appends the value placed in the URL field to the default address for EmpowerID in your environment, while selecting Allow Anonymous Access allows users to access the workflow without logging in to the environment. For the purpose of this tutorial, leave Allow Anonymous Access deselected.
- Select Yes when prompted to restart one or more services.
- In the Active Services window that appears, make sure the EmpowerID Web Role service is selected and click Restart.