Creating Permanent Workflows
A permanent workflow is a workflow that, based on business needs or requirements, needs to run constantly or run automatically on a consistent schedule. For example, you may wish to create a workflow that runs once a day and sends an e-mail alert to a manager if any of their direct reports had not logged into the system in a certain number of days. In EmpowerID, a permanent workflow can only be run on one EmpowerID server and only one instance of the permanent workflow can run at a time.
Workflow Studio provides a permanent workflow template that makes it easy to create a custom permanent workflow. Once the permanent workflow is published to the EmpowerID server, configuring the job and schedule for the permanent workflow can be achieved with just a few steps in the EmpowerID Web interface. You can set the amount of idle time needed between runs and allow the permanent workflow to loop as needed for your business environment.
This topic demonstrates how to create a permanent workflow by creating one that runs once a day, disabling any user accounts for which the password has not changed in the past 90 days.
To create the permanent workflow
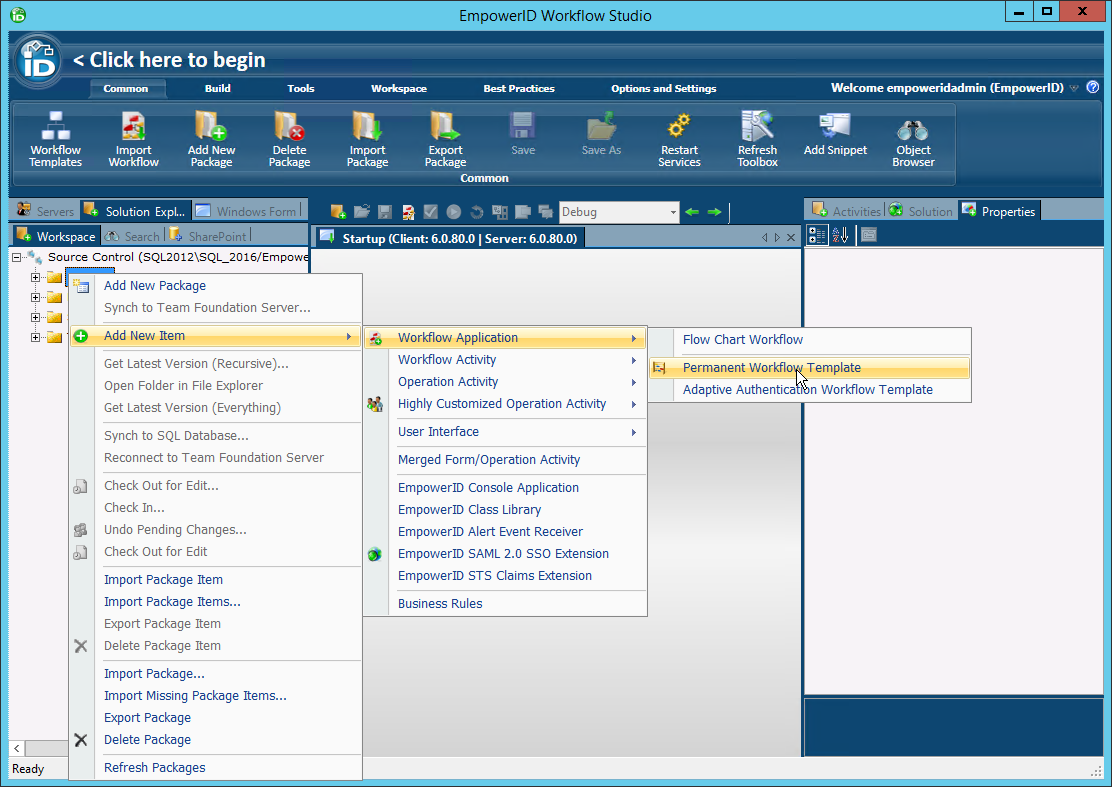
- From the Workflow Studio, right-click on the Package node in which you want to create the workflow and select Add New Item > Workflow Application > Permanent Workflow Template from the context menu.
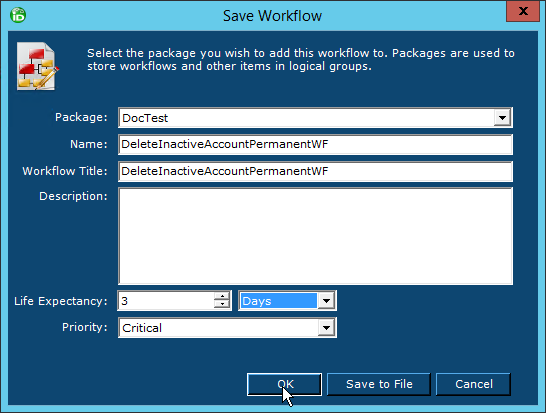
- In theSave Workflowdialog that appears, specify aNameandDescriptionfor the permanent workflow.
- Set the Life Expectancy to 3 Days and click OK.
- Double-click the DoWork activity.
This opens the ExecuteCode event so that code can be added for the permanent workflow.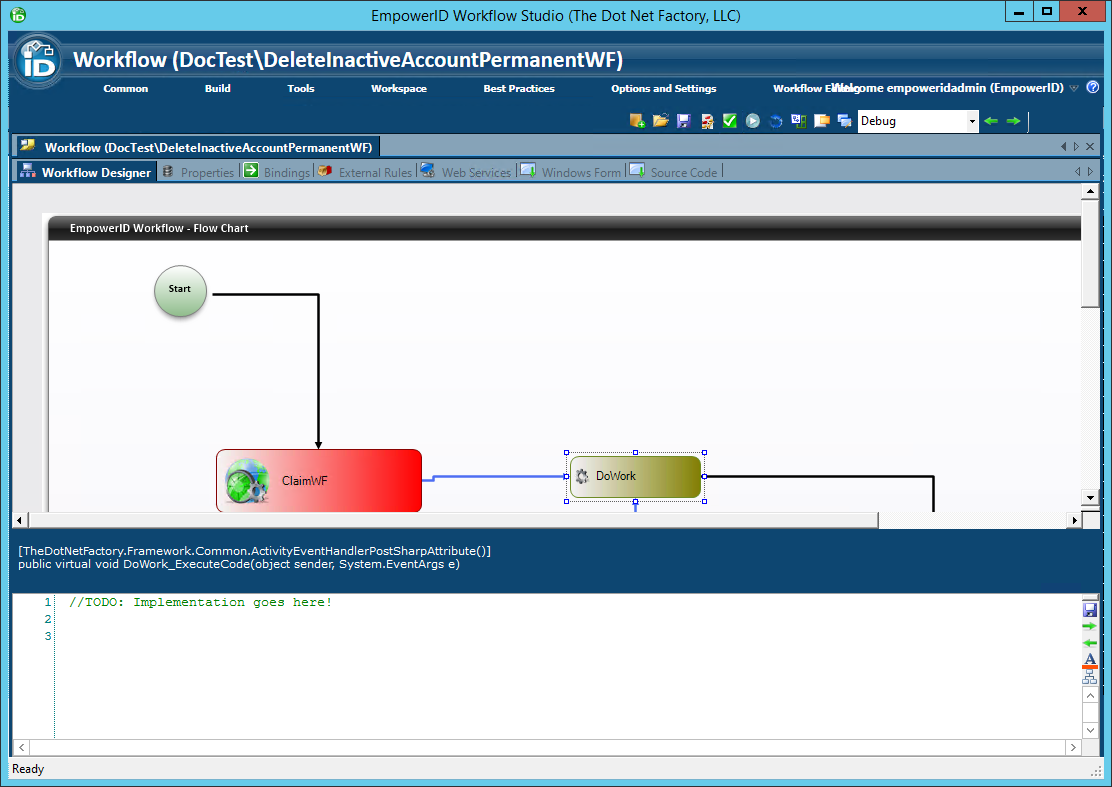
In the DoWork_ExecuteCode event, you can either call a SQL stored procedure you created (which is more efficient) or you can write the code to do the work you need done in the permanent workflow.
In this example, we add code to disable an account if the account password has not been changed in 90 days or more.// create a variable for the total number of Accounts int totalCount; E.TList<Account> accounts = Account.GetAll(0, int.MaxValue, out totalCount); // check each account foreach (Account ac in accounts) { if (ac.Deleted && (ac.PasswordLastChanged == null || ac.PasswordLastChanged.Value.AddDays(90) < DateTime.UtcNow)) { ac.Disable(); } }- Save the workflow and then publish it by following the below steps.
To publish the permanent workflow
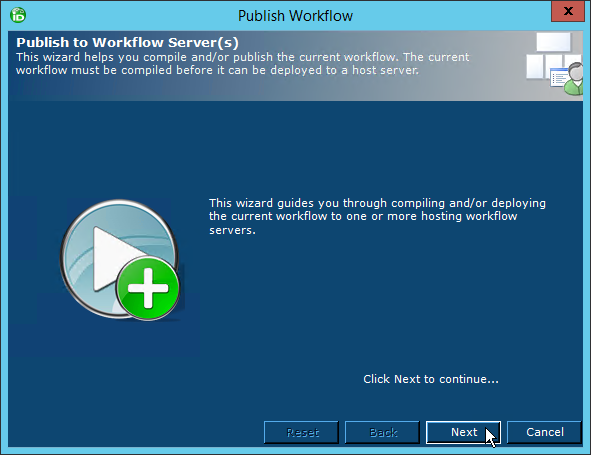
- With the Permanent Workflow open in the Workflow Studio Designer, click the Compile and Publish button located on the toolbar just above the Document Space.
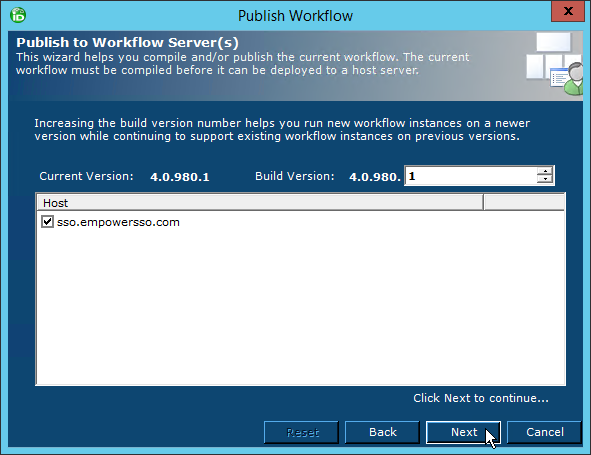
- In the Publish Workflow wizard that appears, click the Next button.
- Select the server to which you want to publish the workflow and click Next.
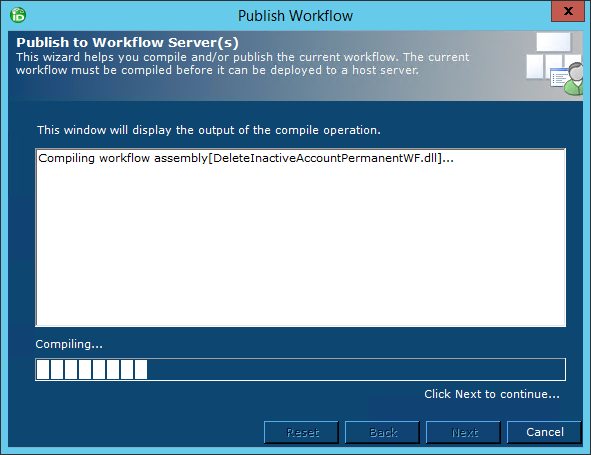
- Wait for the wizard to compile the workflow and generate the Workflow activity assembly.
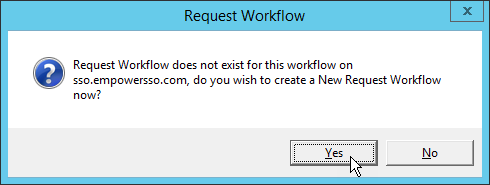
- In the Request Workflow dialog that appears, click Yes to create a new request workflow.
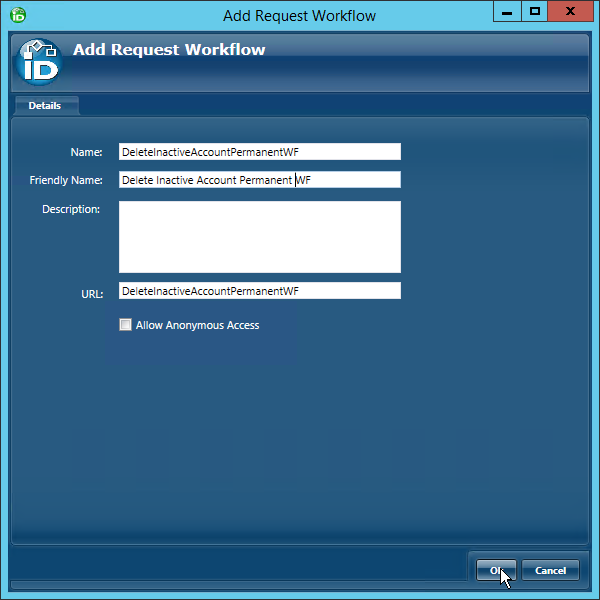
- In the Add Request Workflow dialog, make sure the Name and Friendly Name for the Request Workflow are accurate, add a Description as needed, and then click OK to continue.
- When prompted to restart one or more services, click No.
Next, configure the permanent workflow by following the below steps.
To configure the permanent workflow
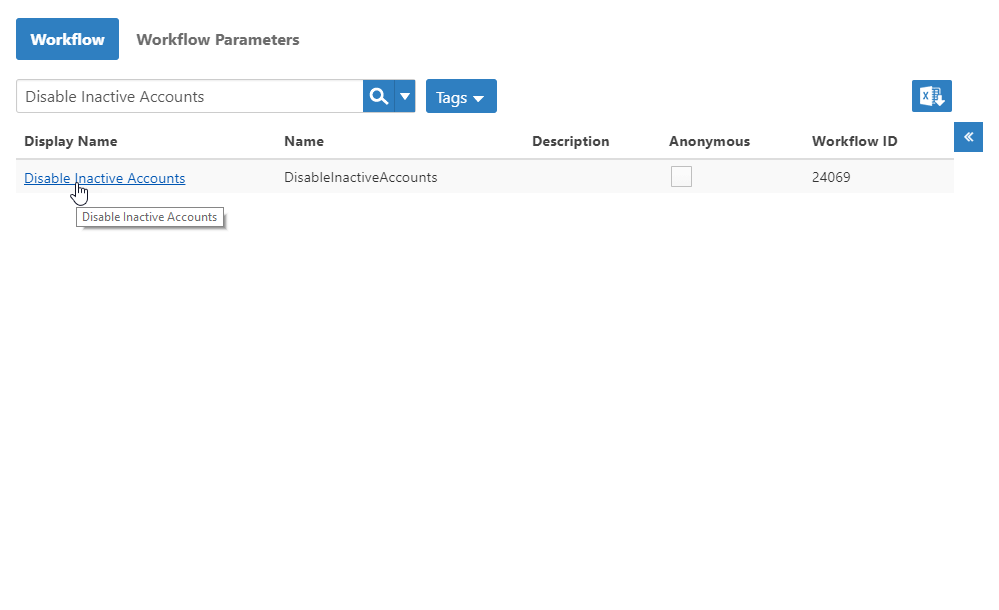
- From the Navigation Sidebar of the EmpowerID Web interface, expand Resources and click Workflows.
- On the Workflows page, search for the request workflow you just published and then click the Display Name link for it.
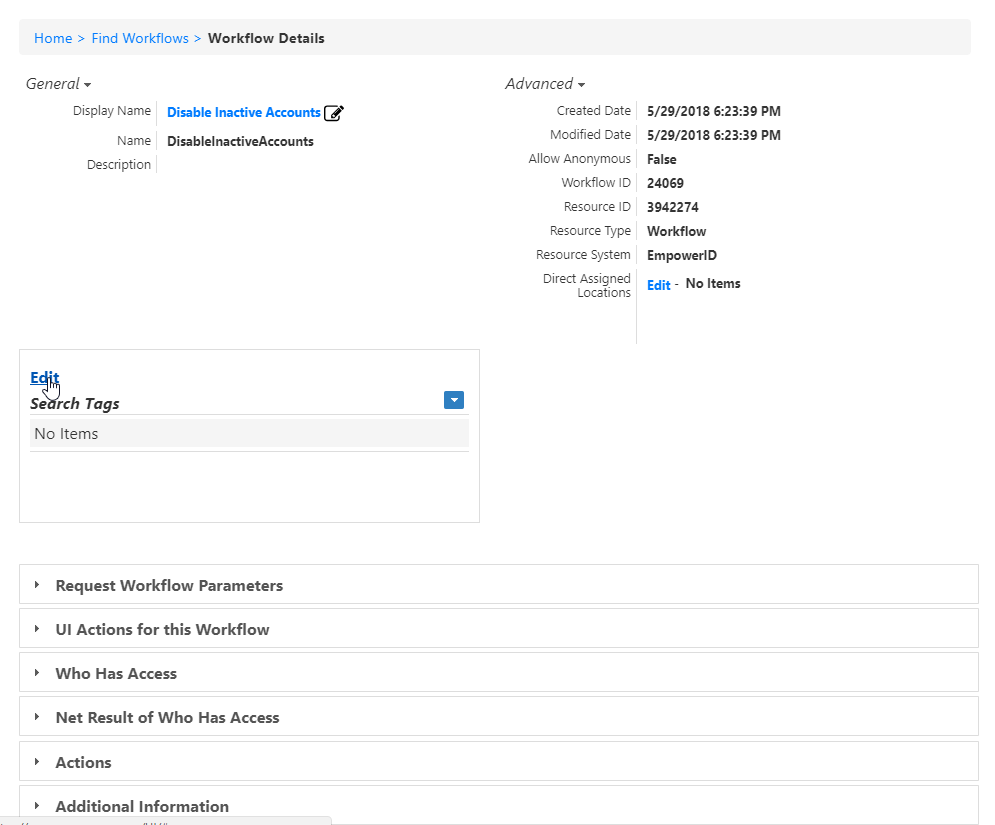
- On the Workflow Details page that appears, click the Edit link in the Search Tags pane.
Enter PermanentWorkflow in the Search Tags field, press ENTER and then click Save.
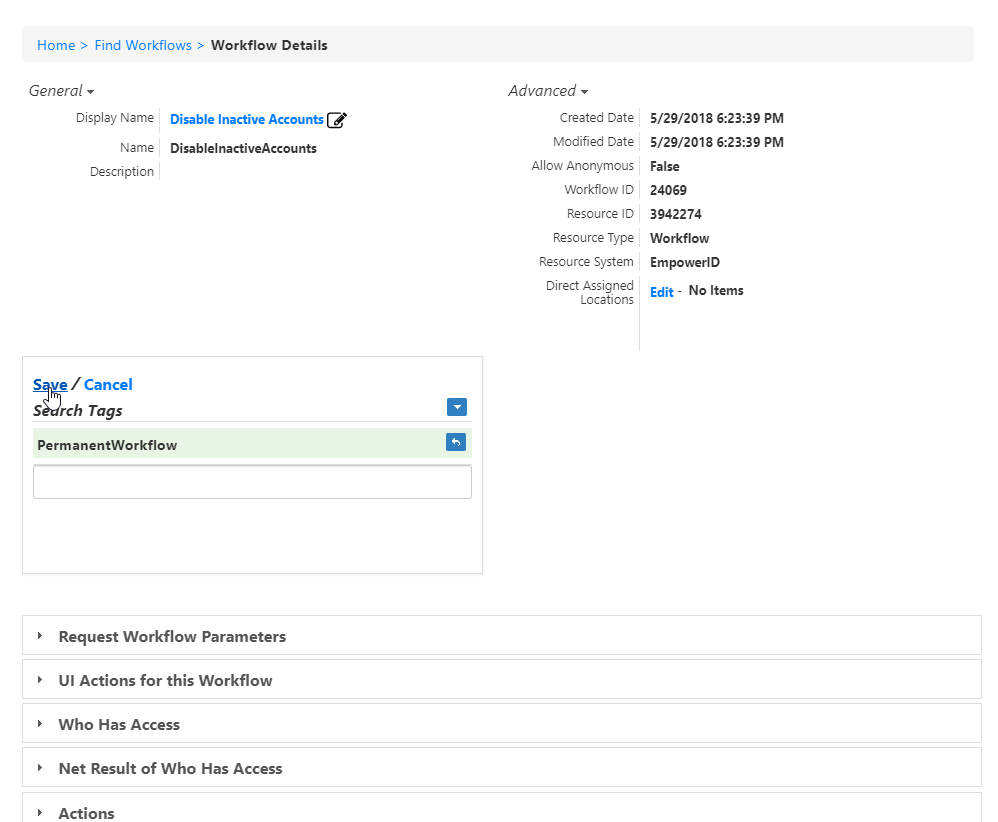
To allow the request workflow to be bound to a Permanent Workflow the workflow must be tagged with the PermanentWorkflow tag. The drop-down that allows you to select a request workflow for a permanent workflow lists only those request workflows with this tag.
- From the Navigation Sidebar, expand Admin > EmpowerID Servers and Settings and click Permanent Workflows.
- On the Permanent Workflows page, click the Add New
 button.
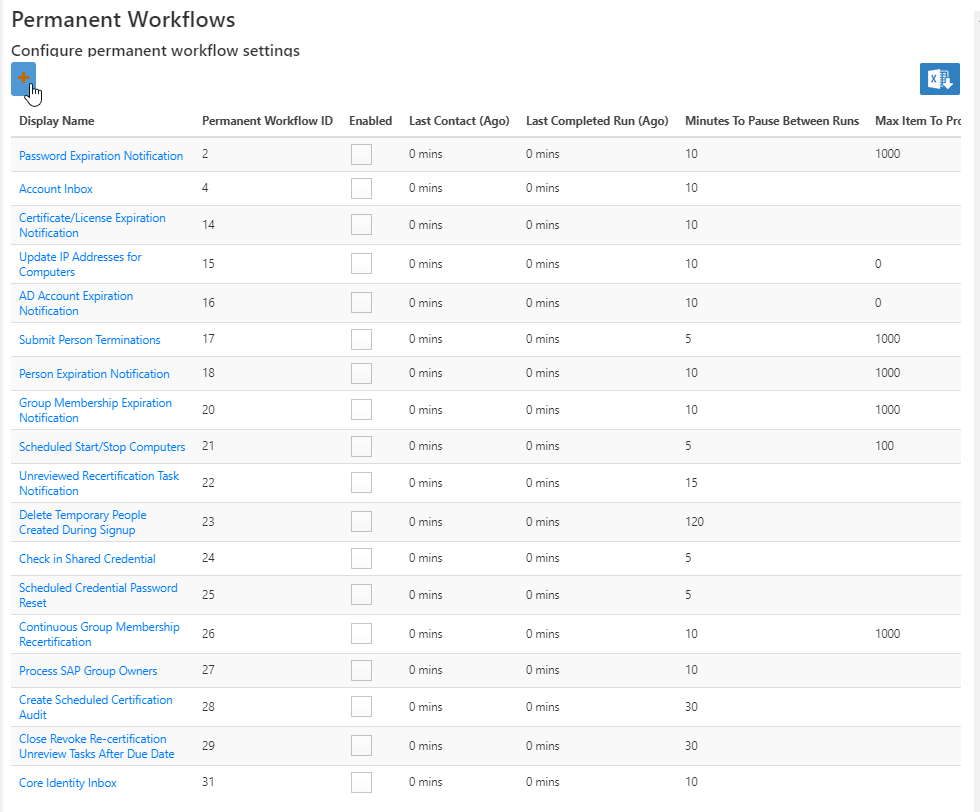
- Enter a name and display name in the Name and Display Name fields, respectively.
- Check Enabled to enable the workflow.
- Set Max Items To Process In Loop to specify the number of items to retrieve with each loop. If the code for your workflows retrieves all records in one loop, this particular setting will be ignored.
- Set Minutes To Pause Between Completed Runs to the appropriate number as necessary. This is the amount of idle time needed between each run of the permanent workflow. To run the workflow once per day, set this value to 1440.
- In the Request Workflow drop-down, select your the request workflow you created in Workflow Studio. If you do not see the workflow in the drop-down, make sure it is tagged with the PermanentWorkflow tag.
The Permanent Workflow Details screen should look similar to the below image.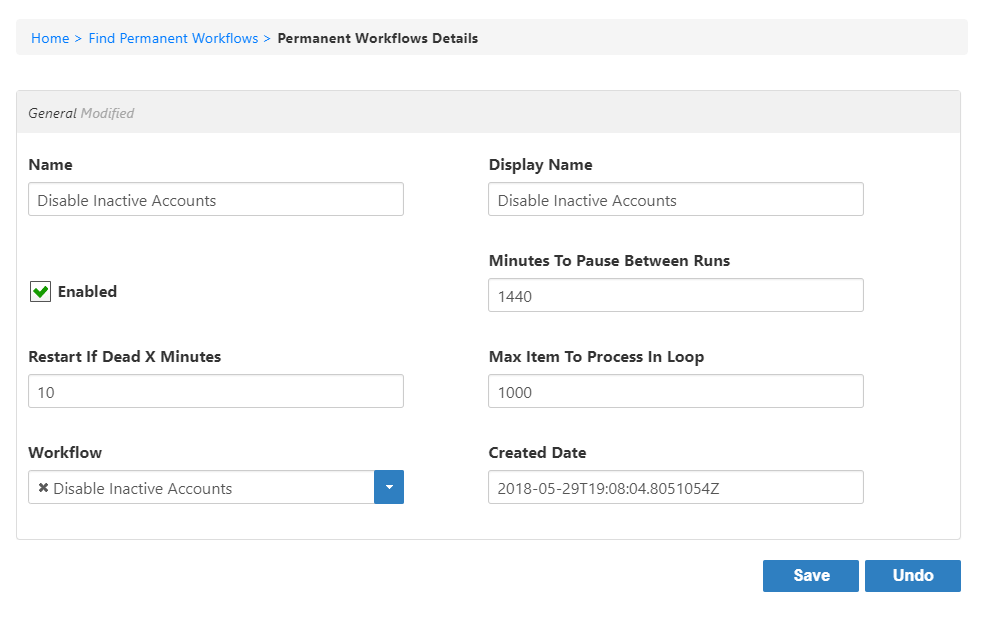
- Click Save.