Using Privileged Application Launcher
Privileged Application Launcher (PAL) is an application that your administrator can install on your desktop to allow you to submit requests to check out vaulted credentials for a specified number of minutes by authenticating against EmpowerID. This topic demonstrates how to use PAL to request access to Sql Server Management Studio (SSMS).
PAL is limited to Windows security. This means that the machine where PAL is installed must be a member of an inventoried domain and the vaulted credentials must be domain credentials that can be used for Windows impersonation.
To use the Privileged Application Launcher
Once PAL is installed on your desktop, it is available to you via the context-sensitive menu.
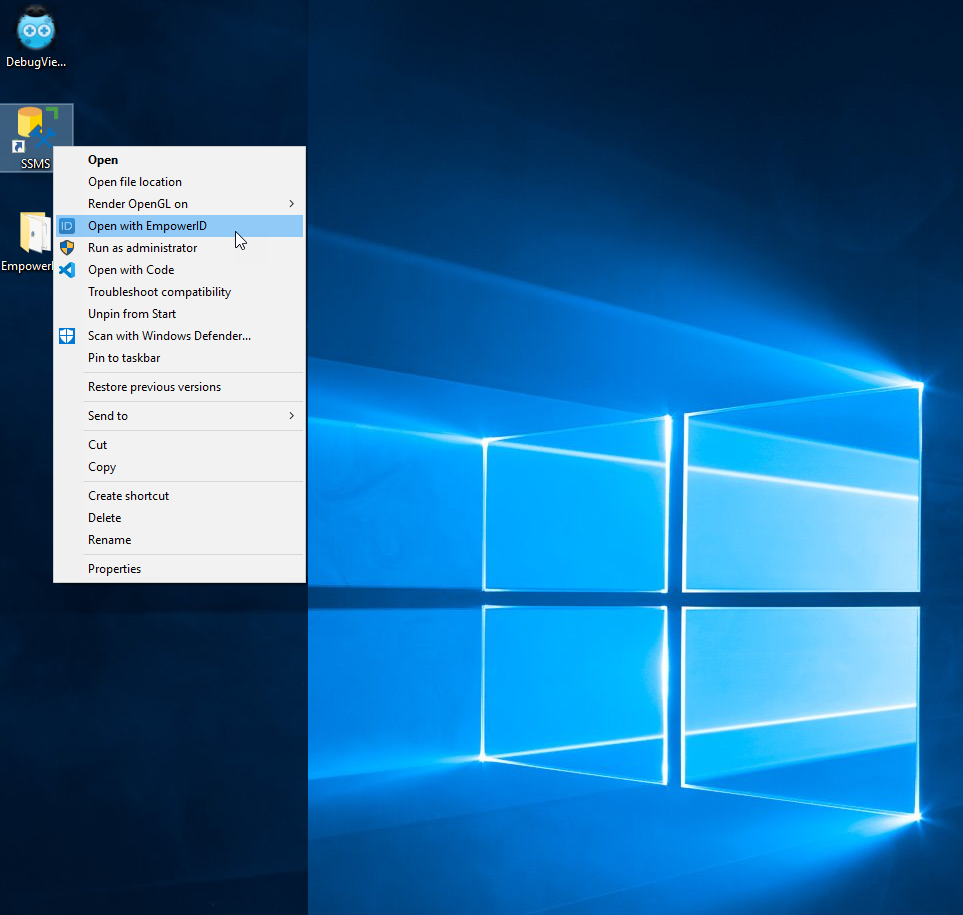
- Navigate to the application that you want to launch with PAL. In our example, we want to open SSMS, which has a shortcut on our desktop.
- Right-click the shortcut and select Open with EmpowerID from the context menu.
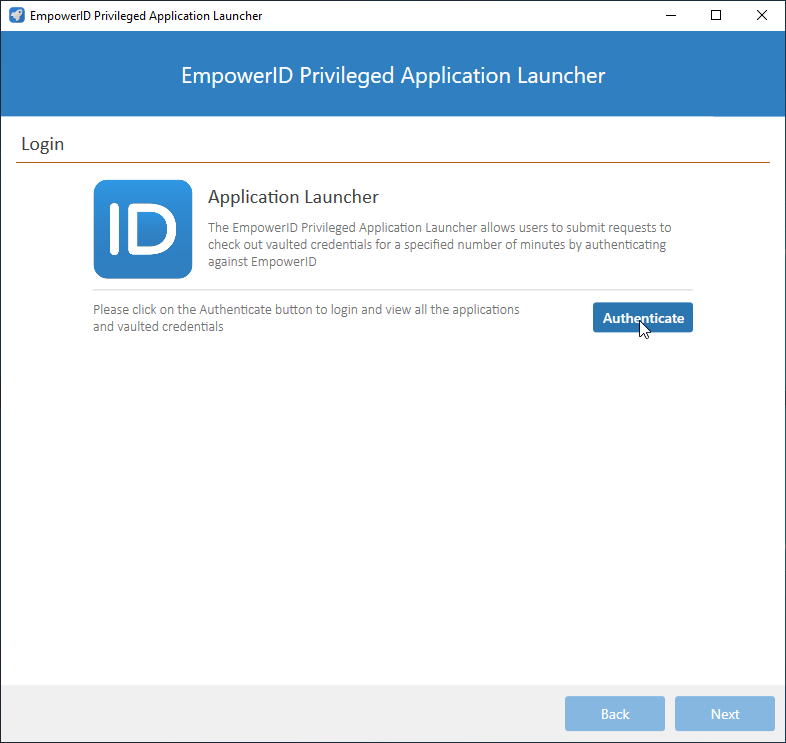
- In the EmpowerID Privileged Application Launcher window that appears, click the Authenticate button.
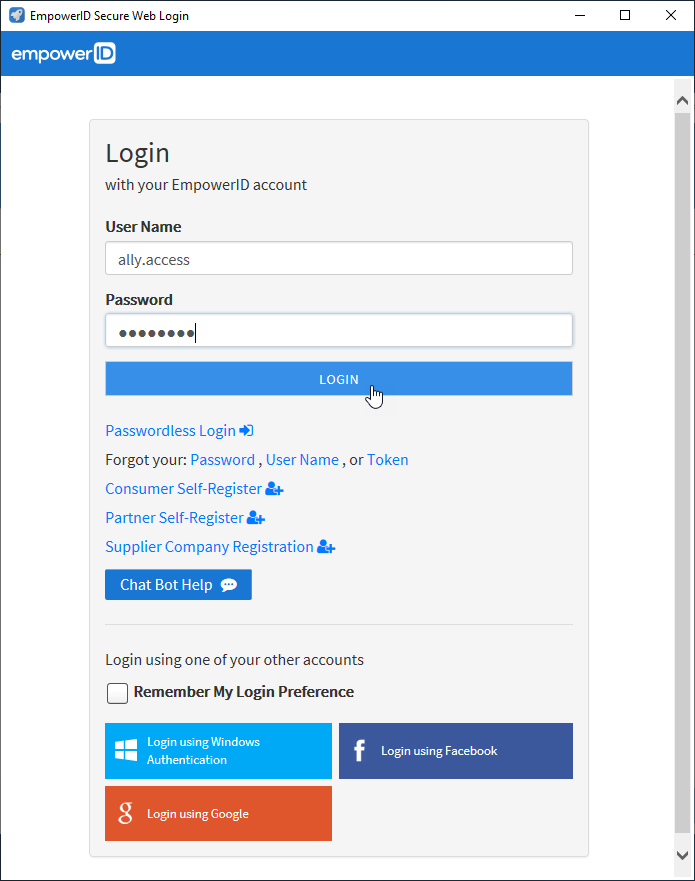
- Authenticate using one of your Login preferences. In our example, we are authenticating using our EmpowerID Person credentials.
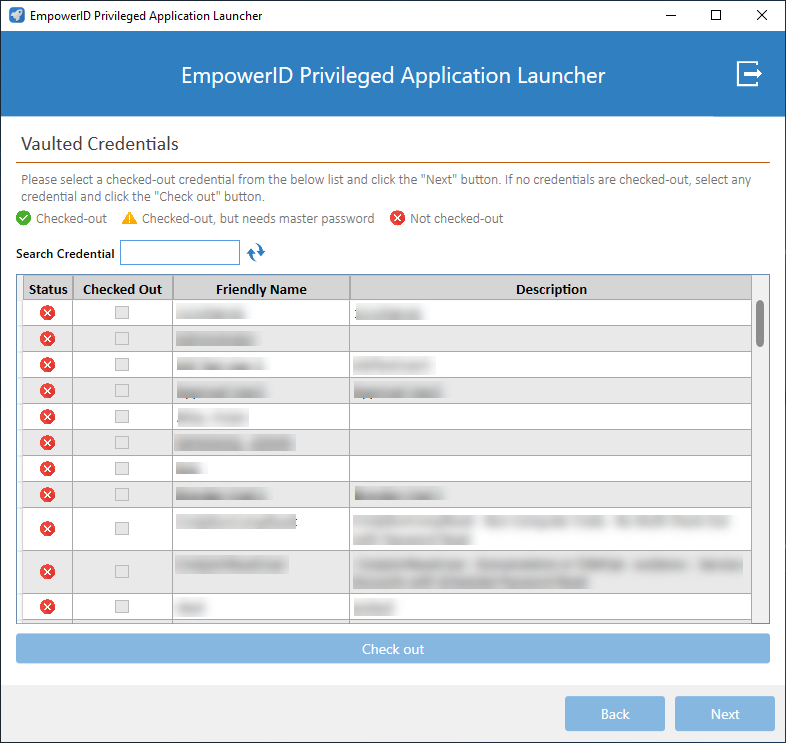
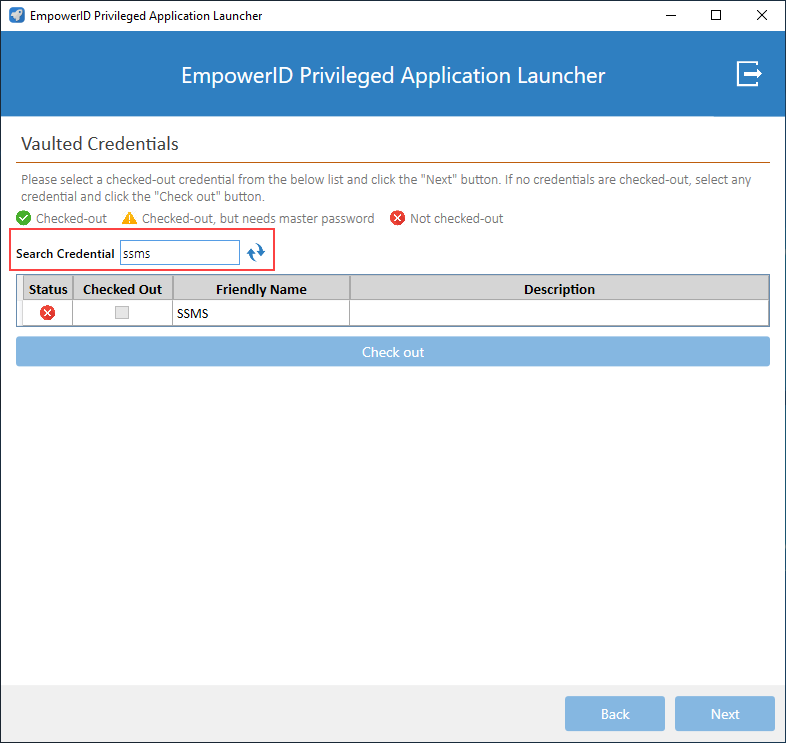
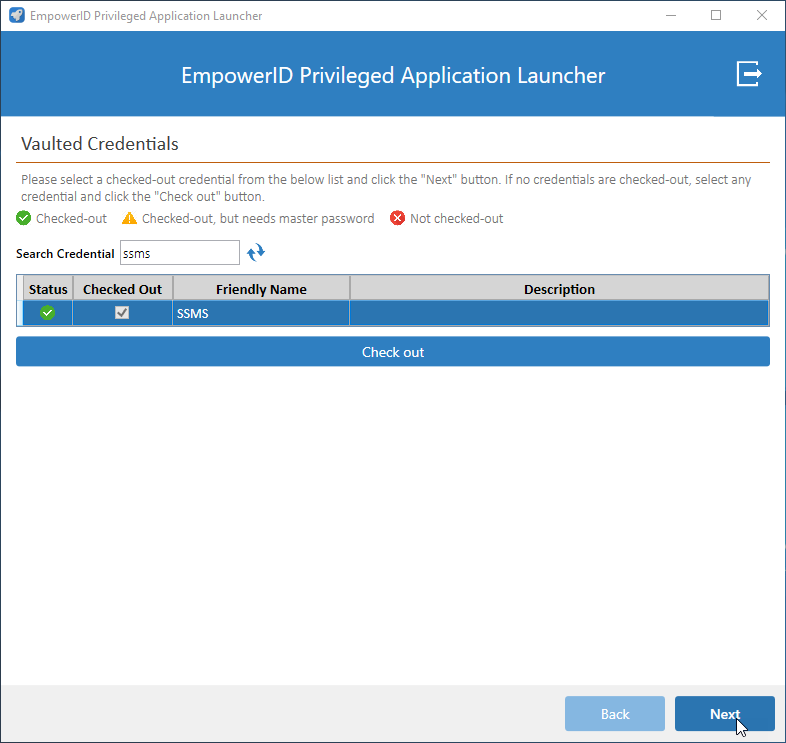
Upon successful authentication, you should see all Vaulted Credentials for which your person has access. If you do not see any credentials, then you do not have the appropriate PAM Management Roles. - Search for the credential you want to use.
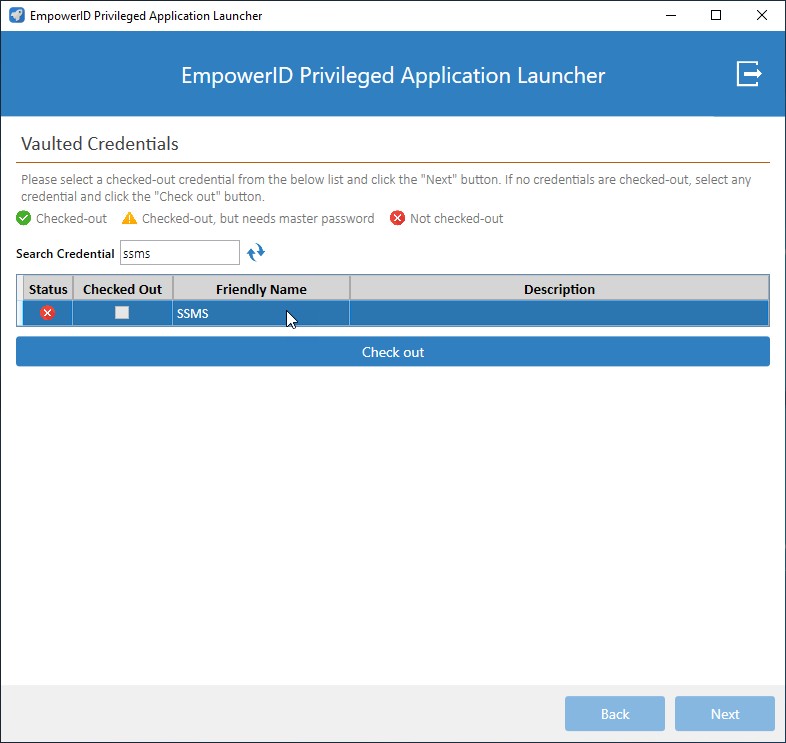
- Click the credential to enable the Check out button.
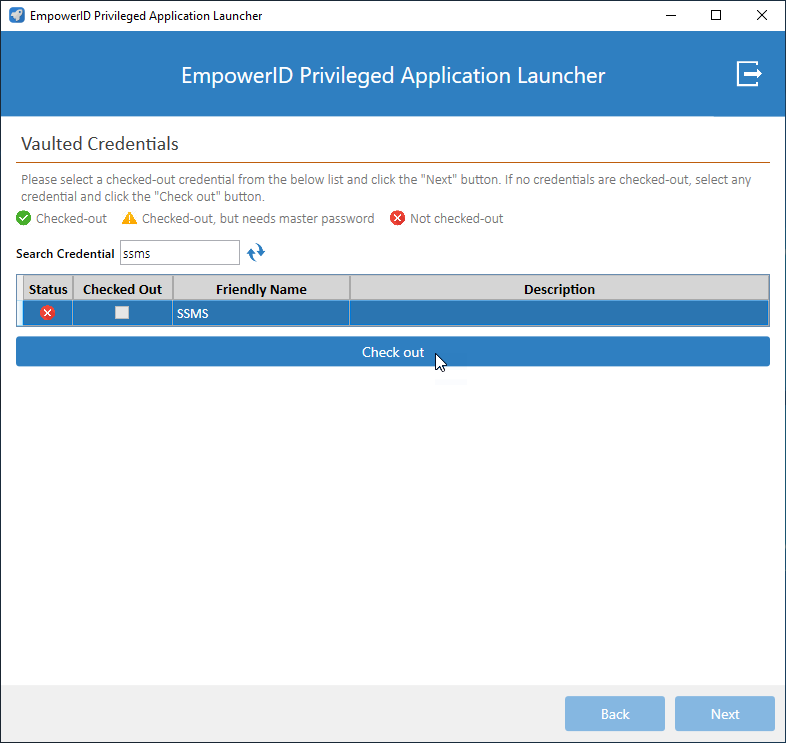
- Click Check out.
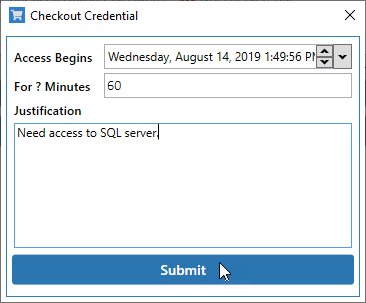
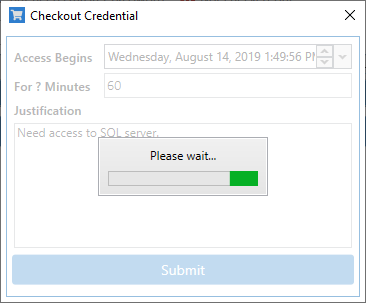
- In the checkout Credential window that appears, do the following:
- In the Access Begins field, click the drop-down arrows to select the date and time you want to begin your access to the credentials. The default start is the date and time you clicked the Checkout button.
- In the For ? Minutes field, enter the desired amount of time in minutes for which you wish to have access to the credentials. The default is 60 minutes.
- In the Justification field, enter the reason why you want the access.
- Click Submit.
- Wait for the results of your request to process.
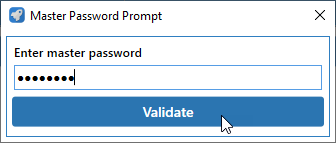
Enter your master password and click Validate.
If your request requires approval, you must wait for approval before continuing. Once approved you can follow the below steps.
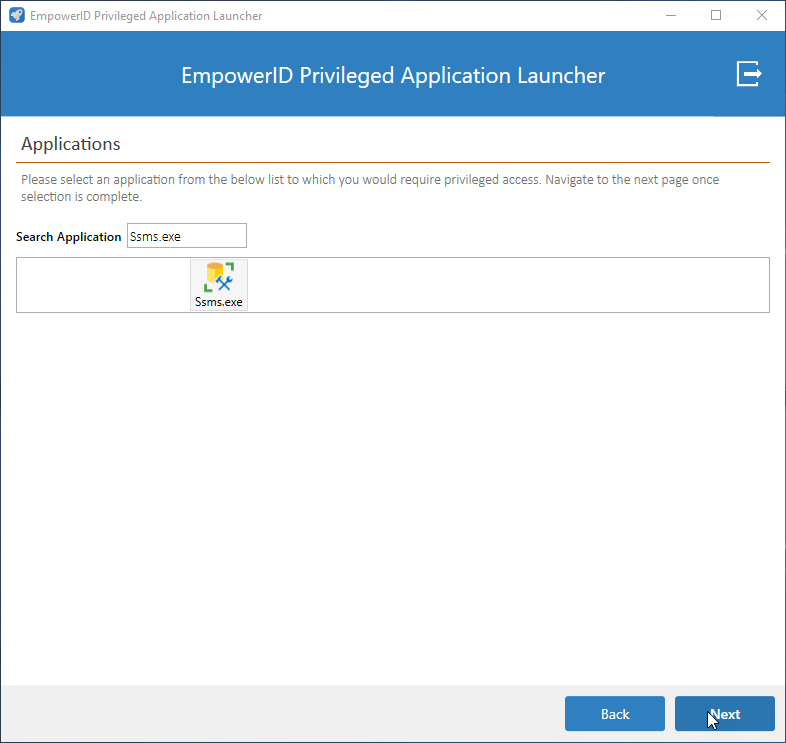
- Click Next.
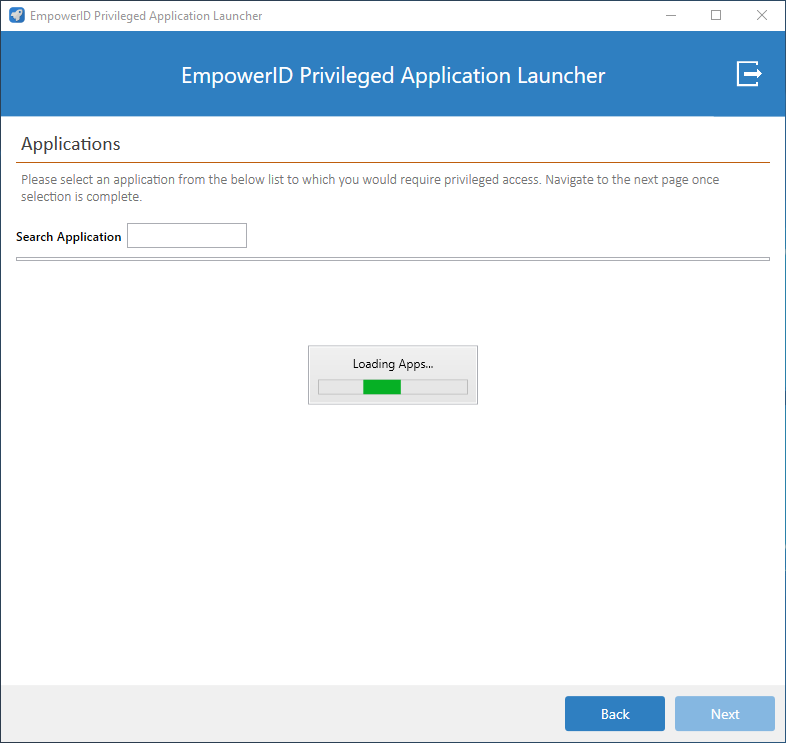
- Wait for PAL to load the selected application.
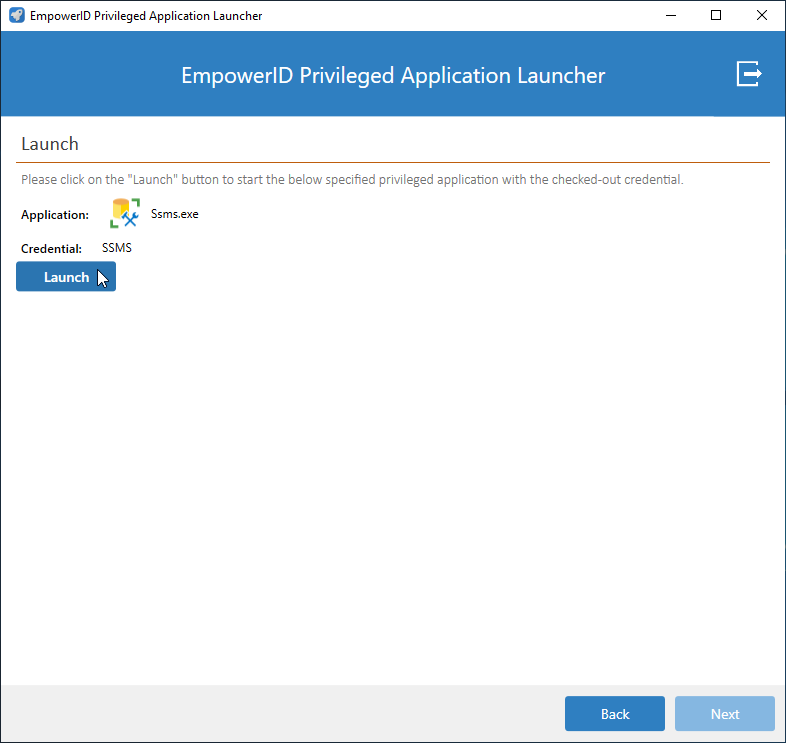
- Click Next.
- Click Launch.
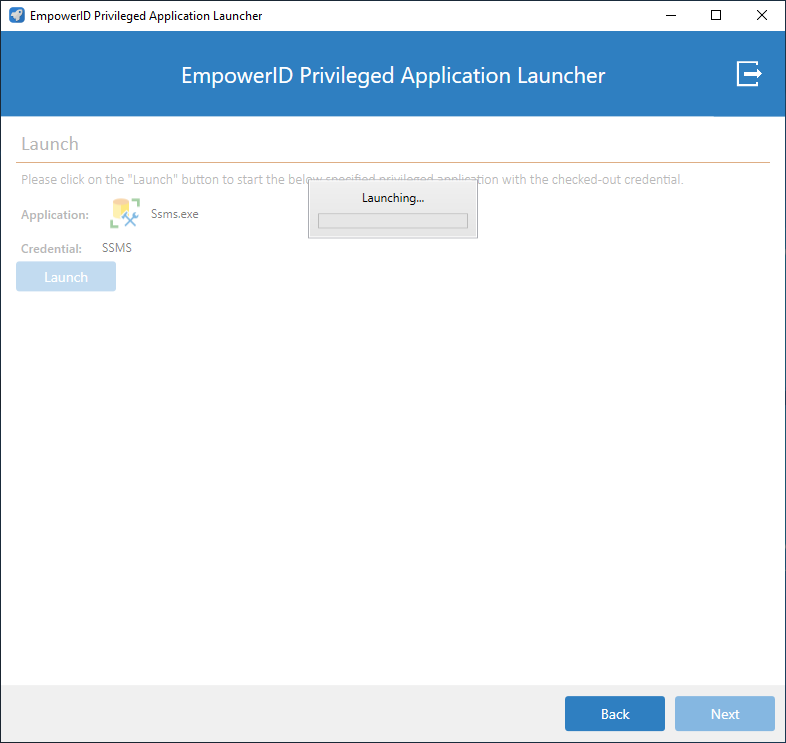
- Wait for PAL to process the request.
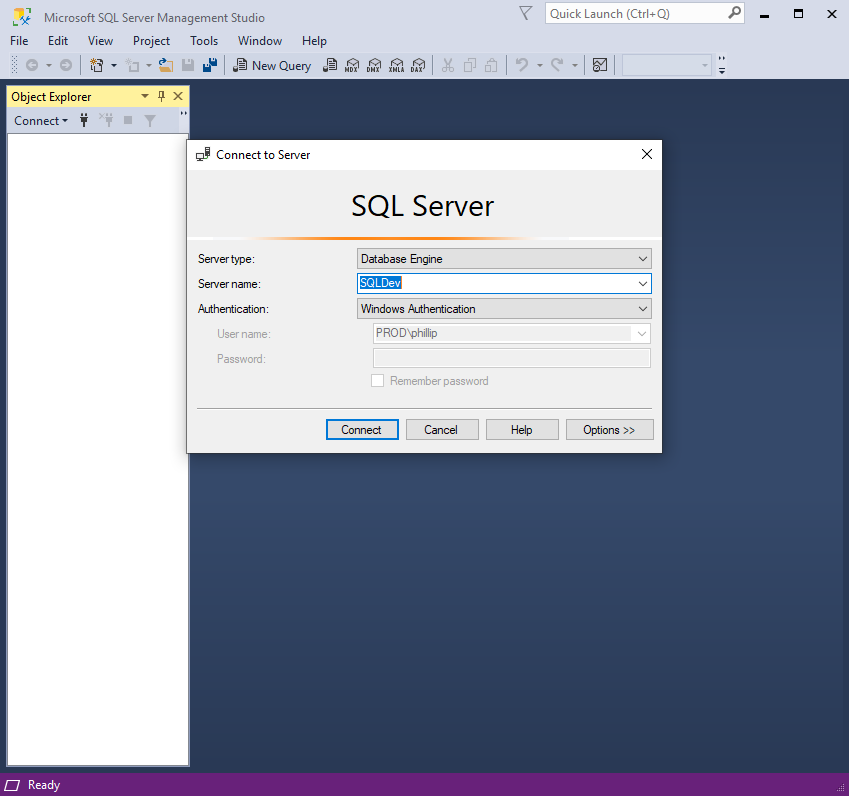
The application opens using the vaulted credentials.
