...
| Info | ||
|---|---|---|
| ||
EmpowerID must be connected to an external directory with groups, such as Active Directory. |
To map groups to Business Roles and Locations
- From the Navigation Sidebar of the EmpowerID Web interface, expand Identities and click Business Roles.
- From the Business Roles and Locations tab of the Business Roles and Locations management page, search for the Business Role and Location for which you want to create a group mapping.
- From the tree-views, click the nodes for the Business Role and the Location to select them.
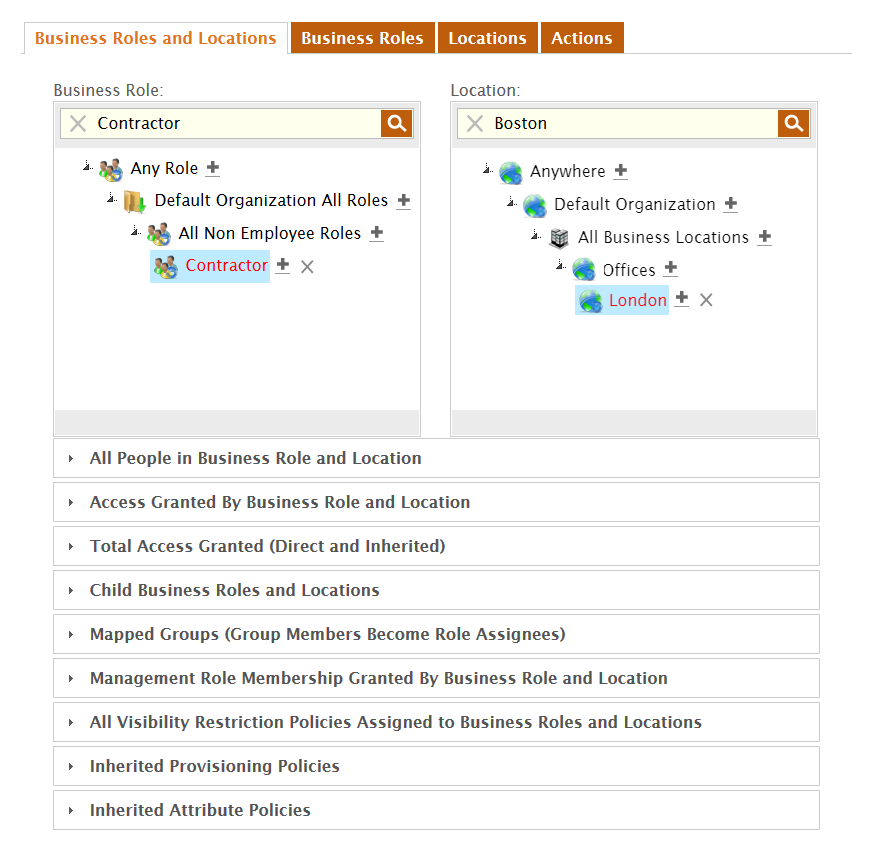
- Expand the Mapped Groups (Group Members Become Role Assignees) accordion.
- Type the name of the group you want to map to the Business Role and Location and then click the tile for that group.
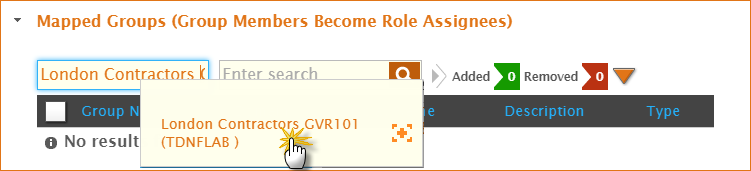
- Repeat step 5 for each group you want to map to the Business Role and Location.
When you have finished adding groups, click Submit.

Tip Before submitting the assignment, you can review the groups being mapped to the Business Role and Location by clicking the Added flag. If you want to remove the mapping, click the X to the right of that group. You can also submit the assignment from here by clicking the Submit button.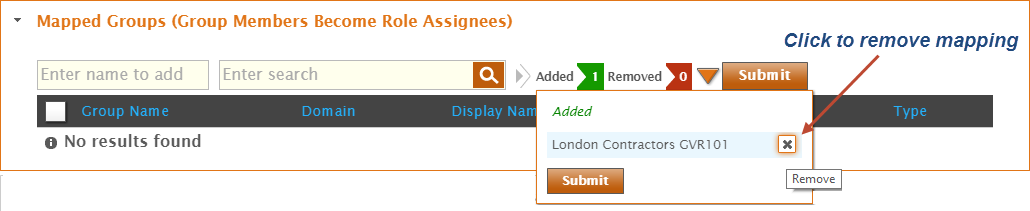
- Click OK to close the Operation Execution Summary.
The newly mapped group shows in the Mapped Groups (Group Members Become Role Assignees) grid.

| style | margin-top: 25px |
|---|---|
| class | relatedContent |
| title | Related Content |
|---|
Assigning People to Business Roles and Locations
Creating Business Roles and Location Combinations
Mapping EmpowerID Locations to External Locations
Deleting Locations