| Insert excerpt | ||||||
|---|---|---|---|---|---|---|
|
The EmpowerID UltiPro connector allows organizations to bring the user data in their UltiPro system to EmpowerID, where it can be managed and synchronized with data in any connected back-end user directories. This topic demonstrates how to create the connector in EmpowerID.
| Info | |||||||||||||||||||||||||||||||||||||||||||||||||||||||||||||||||||||||||||||||||||||||||
|---|---|---|---|---|---|---|---|---|---|---|---|---|---|---|---|---|---|---|---|---|---|---|---|---|---|---|---|---|---|---|---|---|---|---|---|---|---|---|---|---|---|---|---|---|---|---|---|---|---|---|---|---|---|---|---|---|---|---|---|---|---|---|---|---|---|---|---|---|---|---|---|---|---|---|---|---|---|---|---|---|---|---|---|---|---|---|---|---|---|
| |||||||||||||||||||||||||||||||||||||||||||||||||||||||||||||||||||||||||||||||||||||||||
In order to connect EmpowerID to UltiPro, you must have an UltiPro account that is configured to interface with external systems. This means that you must have the following information (provided by UltiPro):
These values are used to authenticate EmpowerID to UltiPro. In addition, you must create a report as a Web service that specifies the fields you want to expose and then provide EmpowerID with the path to that service. Additionally, you will need to create a report and expose it as a service. The report needs to have the below fields. Fields designated as required indicate that a value must be provided.
|
| Insert excerpt | ||||||
|---|---|---|---|---|---|---|
|
To connect EmpowerID to Ultipro
- Log in to the EmpowerID Management Console as an administrator.
- Click the application icon and select Configuration Manager from the menu.
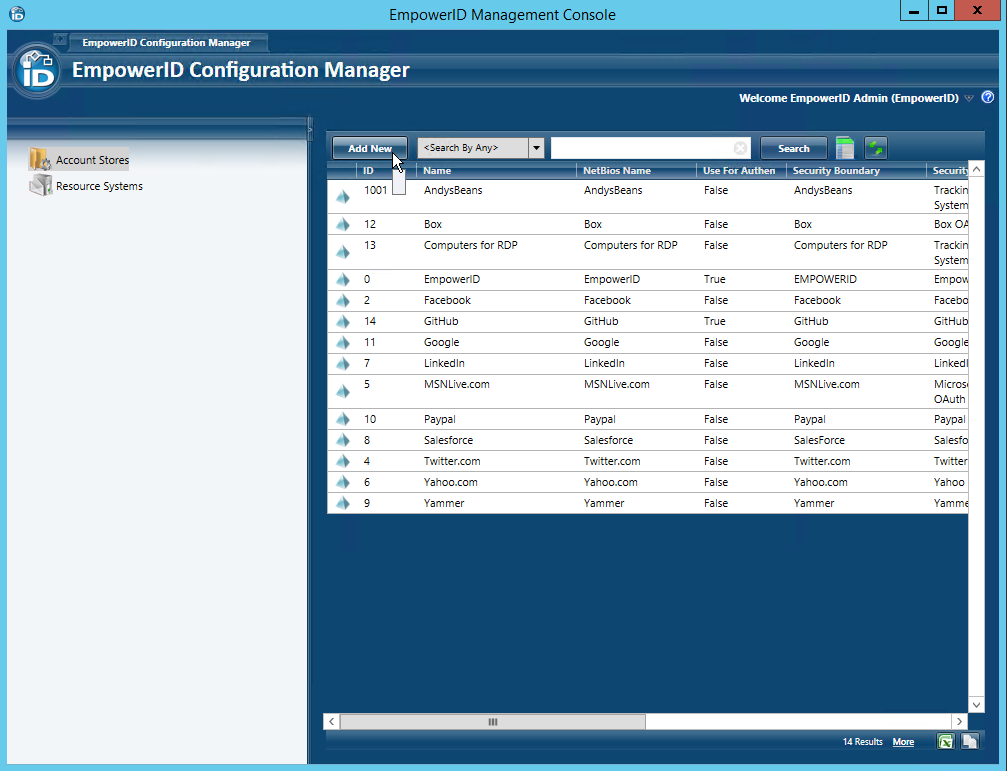
- In Configuration Manager, select the Account Stores node and then click the Add New button above the grid.
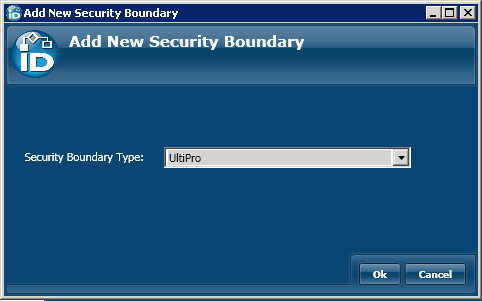
- In the Add New Security Boundary window that opens, select the UltiPro Security Boundary type from the drop-down list and then click OK.
- In the Account Store Details window that appears, do the following:
- Type a name for the connector in the Name field.
- Type the Client Access Key in the Client Key field.
- Type the User Access Key in the User Key field.
- Type the path to the report in the ReportPath field.
- Click Save.
- Enter your UltiPro credentials in the UltiPro Credentials window and then click OK to close the window.
- Click the Resource Systems node and locate the UltiPro resource system that EmpowerID created for the account store.
- Double-click the record or right-click it and select Edit from the context menu.
This opens the Account Store Details for the Ultipro account store. The use of this screen is discussed in the next section.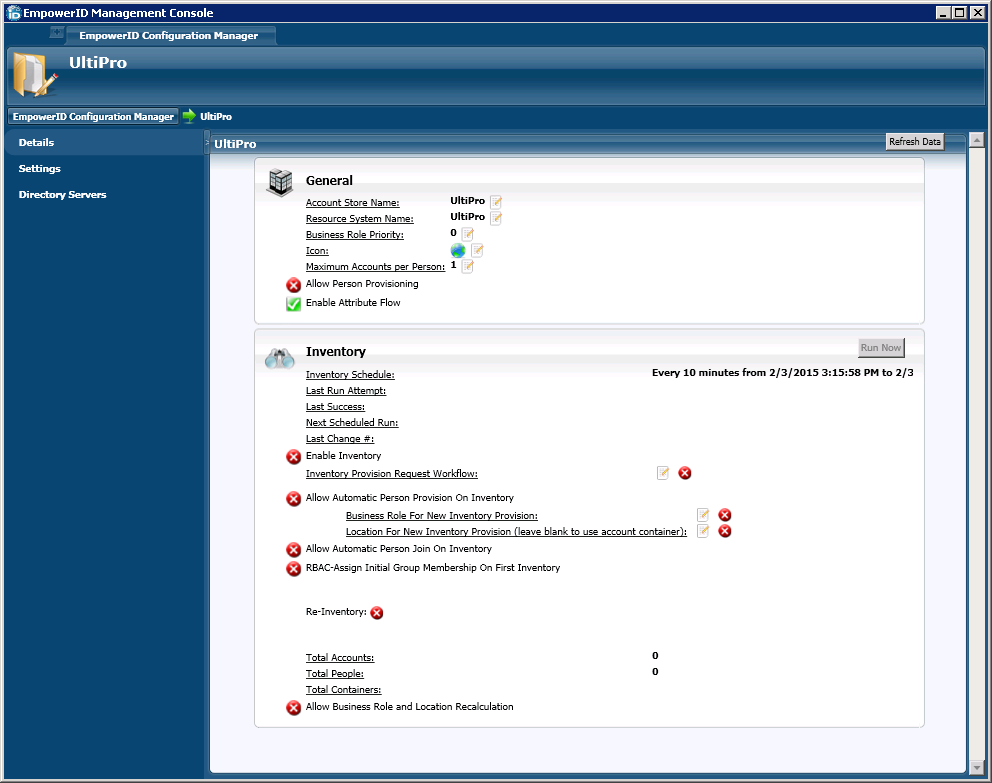
To configure EmpowerID settings for the account store
The Account Store Details screen contains two main panes—a General pane and an Inventory pane—each with settings for configuring a different aspect of the Ultipro account store you just created. To view reference information about a particular pane, expand the drop-down for that pane.
- From the General pane of the Account Store Details screen, do the following:
- Optionally, click the Edit
 button to the right of Business Role Priority and specify the priority for the account store when determining the Business Role of the people.
 - Click the Edit button to the right of Maximum Accounts Per Person and specify the maximum number of accounts from the domain that a Person can have linked to them. Setting this prevents the possibility of a runaway error caused by a wrongly configured Join rule.
- Toggle Allow Person Provisioning to reflect your policy for the account store (red sphere for disable and green checkbox for enable). If enabled, EmpowerID provisions a Person object for each user discovered in the account store.
- Toggle Enable Attribute Flow to reflect your policy for the account store (red sphere for disable and green checkbox for enable). When enabled, changes occurring to user attributes in the account store will occur in EmpowerID and vice-versa depending on how you have set up your attribute flow rules. The default flow for most user attributes for active directory is bi-directional. You can change these as needed.
- Optionally, click the Edit
- From the Inventory pane of the Account Store Details screen, do the following:
| Insert excerpt | ||||||
|---|---|---|---|---|---|---|
|
| Div | ||||||||||||||||||||||
|---|---|---|---|---|---|---|---|---|---|---|---|---|---|---|---|---|---|---|---|---|---|---|
| ||||||||||||||||||||||
|