Versions Compared
compared with
Key
- This line was added.
- This line was removed.
- Formatting was changed.
...
...
...
...
...
...
Home / Identity Administration / User Accounts and Groups / Office 365 / Current: Creating Licensed Office 365 Users
This topic demonstrates how to create licensed Office 365 users in EmpowerID
...
...
.
Info | ||
---|---|---|
| ||
You must have a licensed corporate Office 365 account and |
...
...
To create a licensed Office 365 User in EmpowerID
...
- In the Navigation Sidebar of the EmpowerID Web interface,
...
- expand Pages and
...
- click Office 365 Manager.
...
- On the Office 365 Manager page, click the Mailbox tab and then click the Create Mailbox
...
- Page Action Link.
- From the General tab of the Create Mailbox form that appears, do the following:
- Select User from the Mailbox Type drop-down.
...
- Enter name values for the user in the First Name, Last Name, Display Name and Logon Name fields
...
- .
...
- Select Is Office 365 Mailbox
...
- to have the form
...
- display drop-downs populated with your Office 365 tenant information.
- Select your Office 365
...
- Tenant the drop-down.
- Select the appropriate Office 365 Subscription.
- Type an email alias for the user in the Email Alias field.
- Type a password for the user in the Password and Confirm Password fields.
Image Added - 
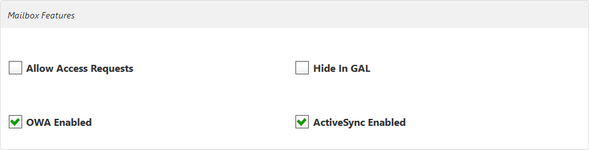
Under Mailbox Features, select the desired features.
Image Added
- Click Save.
...
To verify the new licensed user in Office 365
- From your Web browser log in to your corporate Office 365 account as an administrator.
- From the Office 365 admin center, click users and groups and then select Unlicensed users from the Select a view drop-down.
- Search for the user you just created in EmpowerID. You should see that user in the view.
...
Administrative Procedures:
...
Div | ||||||||||||||||||||||||
---|---|---|---|---|---|---|---|---|---|---|---|---|---|---|---|---|---|---|---|---|---|---|---|---|
| ||||||||||||||||||||||||
|