To avoid having accounts with no responsible party, run the Accounts without a Responsible Party report. You can assign responsibility using the Responsible Party property on the Account Details page for each account, or bulk assign them from the Computers ViewMany page.
| Info |
|---|
By default, the type of responsible party is set to Person, but you can edit the EmpowerID System Settings to change it to any actor type. See Changing the Responsible Party Type for more information. |
To find accounts without a responsible party
- In the Navigation Sidebar, expand System Logs and select Reports.
- Scroll down and click the Accounts without a Responsible Party tile.

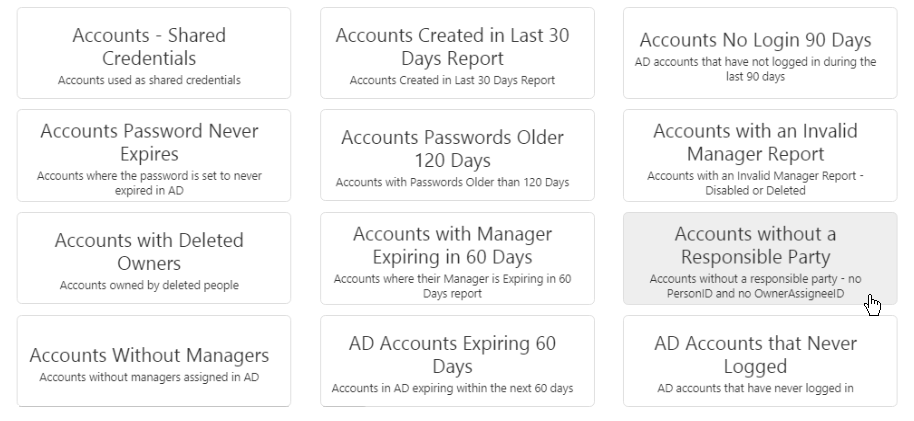
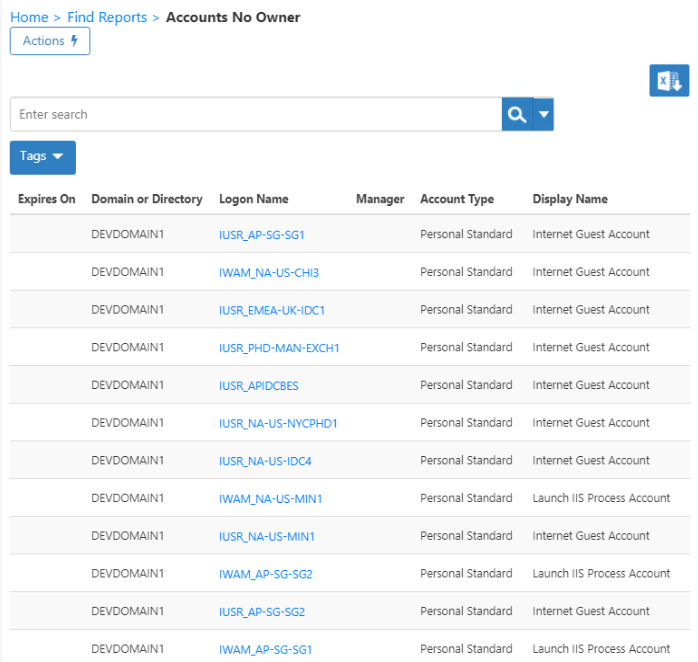
- A grid populates with information about all accounts in the EmpowerID system that do not have an ownera responsible party.

To assign a person responsibility for an account
In the Navigation Sidebar, expand Identities and select User Accounts.
- Click the Logon Name for the account that you want to assign.
- On the Account Details page that appears, under Account Information, click in the Responsible Person field and start typing a name to search, and then click the tile for that person to select it.

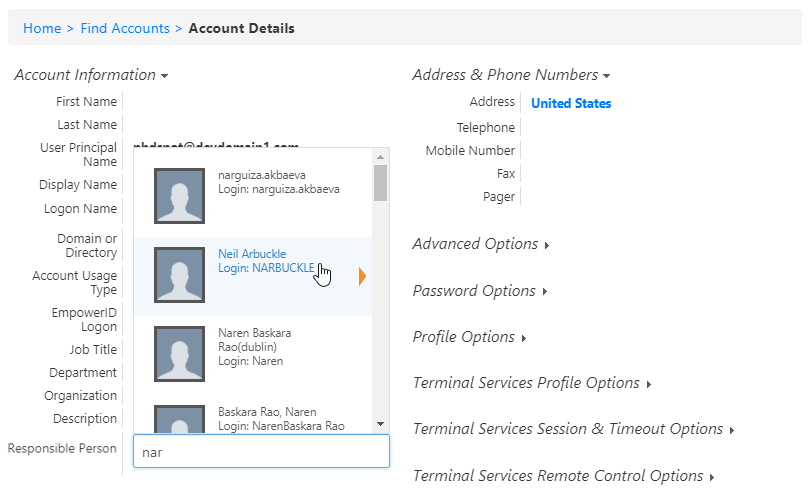
- The account updates automatically when you select the tile, and an Update Complete message informs you when it is finished.

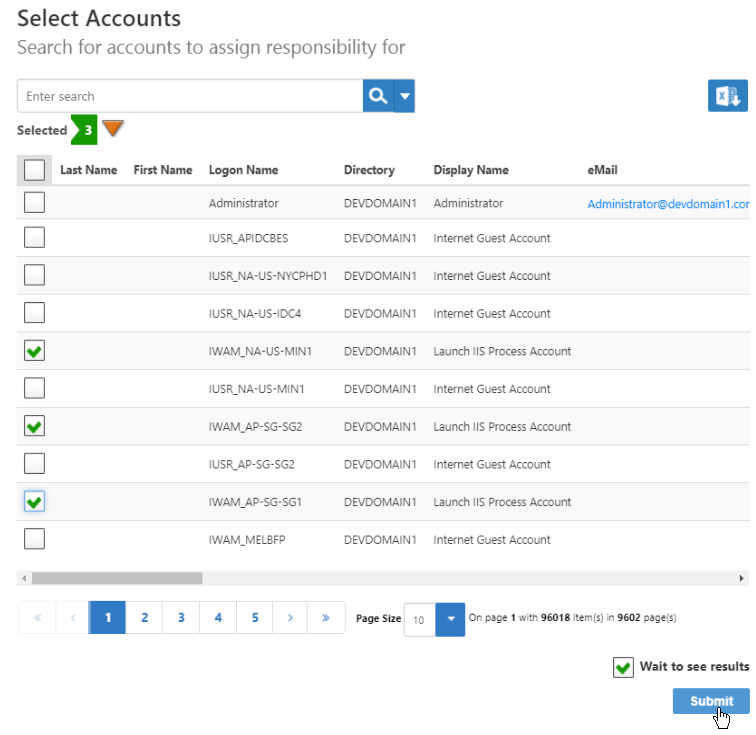
To bulk assign a responsible party for a number of accounts
- In the Navigation Sidebar, expand Identities and select User Accounts.
- On the Actions tab, click Assign
- Responsibility for Accounts.

- On the Select Accounts page that appears, select accounts to assign to a responsible party and click Submit.
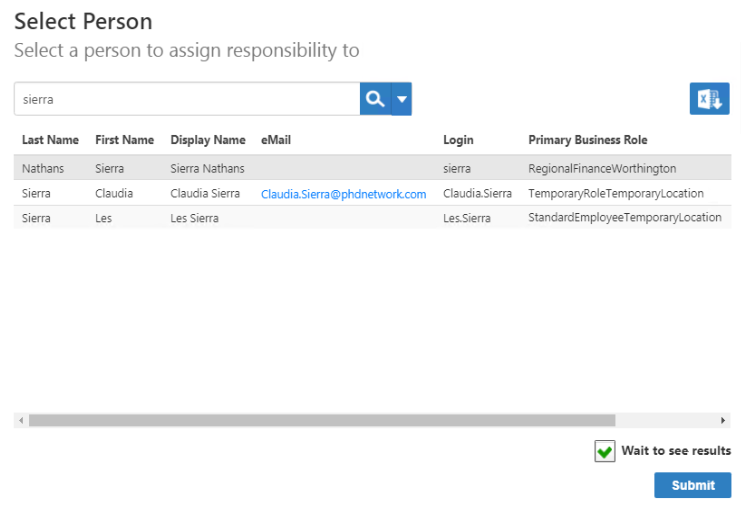
- In the Select Person
- page that appears, select the person
- you want to assign as the responsible party for the selected accounts and click Submit.
- A Starting workflow message appears, and when the workflow finishes, a Request Complete message appears.

| Div | ||||||||||||||||||||||
|---|---|---|---|---|---|---|---|---|---|---|---|---|---|---|---|---|---|---|---|---|---|---|
| ||||||||||||||||||||||
|