EmpowerID allows you to dynamically assign users to groups using role-based delegations. Assignees can be any EmpowerID Actor type, such as Business Role and Location combinations, Management Roles, Query-Based Collections and other groups. This topic demonstrates this by creating a dynamic group membership for anyone assigned to a specific Business Role and Location. In this way, any person who belongs to the Business Role and Location will is automatically be added to the group as a member.
This topic demonstrates how to create a dynamic group membership and is divided into the following activities:
- Creating a dynamic group membership
- Verifying the group membership in EmpowerID
- Verifying the group membership in Active Directory
| Info | ||||
|---|---|---|---|---|
| ||||
In order to create a dynamic group membership as described by this topic, the following prerequisites must be met:
|
To create dynamic group memberships
- From the Navigation Sidebar of the EmpowerID Web interface, navigate to the Delegations page by expandingIn the navigation sidebar, expand Identities and clickingclick Manage Delegations.
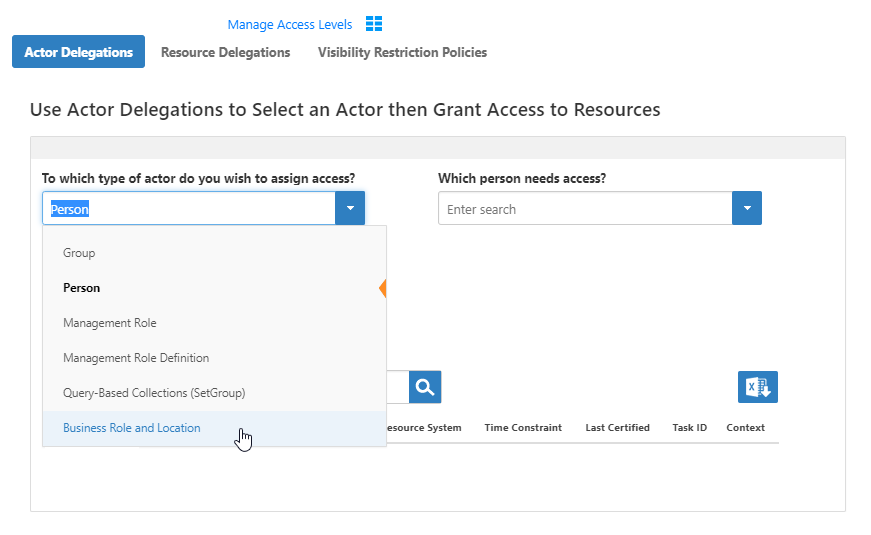
- From the Delegations page, click the On the Actor Delegations tab (selected by default). From this tab, you can manage the access to resources of any EmpowerID Actor.Select the appropriate actor type from the To which type of actor do you wish to assign access? drop-downfrom the drop-down list, select an actor type. In our example, we are selecting select Business Role and Location.

Search for and select a Business Role business role from the Business Role tree and then search for and select a Location from location from the Location tree. In our example, we are selecting select the Contractor Business Role and the All Business Locations LocationRegional Finance business role and the Ohio location. In this way, any person who is a contractorin regional finance in or below the All Business Locations location will be Ohio location is dynamically added to the target group as a member.
Info Please note that the people must in the Business Role and Location must have user accounts linked to their Person in order to be added to the group.

Select Direct from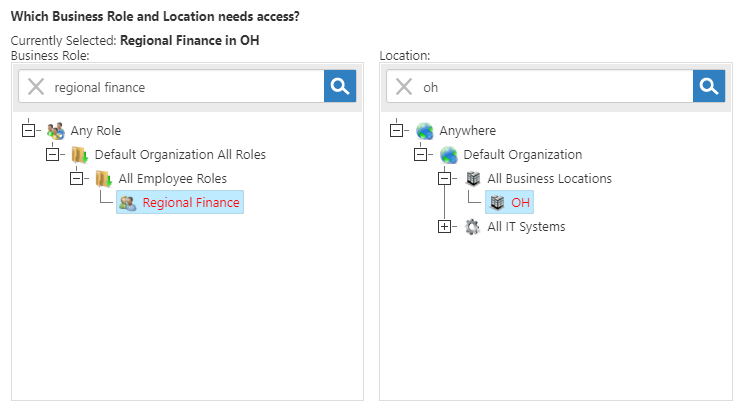
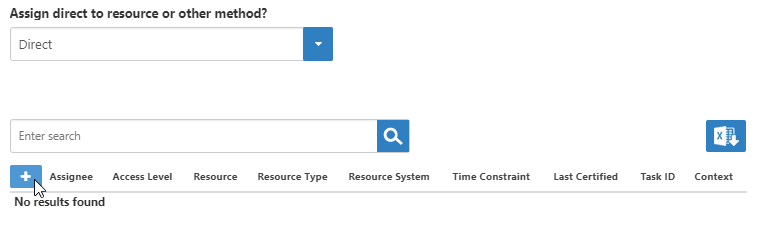
- In the Assignment Type drop-down, leave the default value of Direct.
- From On the Assignments grid, click the Add Assignments (+) button.

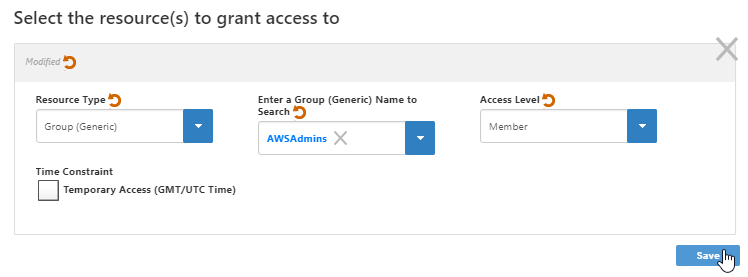
- In the Grant Access dialog that appears, do the following:
- SelectSet the Resource Type to Group (Security) from the Resource Type drop-down.Type the name of the specific group for which you are creating the dynamic membership in theGeneric).
- In the Enter a Group (SecurityGeneric) Name to Search field, type the name of the group for which to create dynamic membership and then click the tile for that group. In our example, we are selecting select the Contractors AWSAdmins group.
- Select the Member from the Set the Access Level drop-downto Member.
- Optionally, tick select Time Constrained if you want to add a time constraint to the Access Level assignment . Time constraints limit the effectiveness of so the assignment to is only effective during the specified times. In our example, we are not adding a time constrainttime period or on specified days.
- Click AddSave to add the policy to your shopping cart.

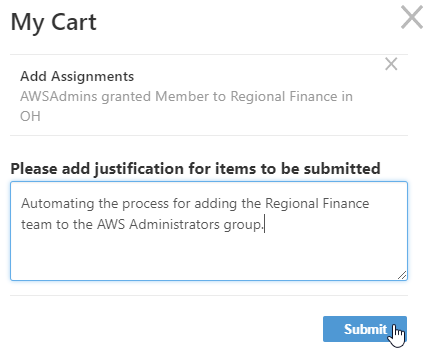
- Click the Shopping Cart icon, type a reason for the assignment and then click Submit.

To verify the group membership in EmpowerID
- From In the Navigation Sidebar, navigate to theGroup page by expanding navigation sidebar, expand Identities and clickingclick Groups.
- Search for the Group for which you created the dynamic membership and then click thethe Logon NameName link for that group.
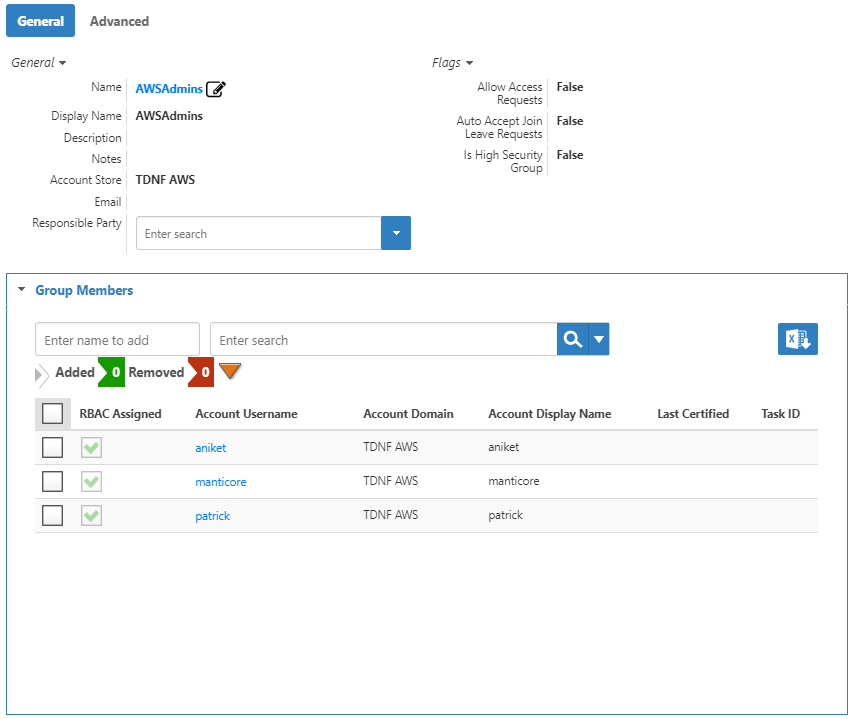
From the group's View One page, expand Expand the Group Members accordion . You should to see the user accounts have been added to the group.
Tip If you have an email account that is registered with EmpowerID, you can email the contents of this grid to your email account by clicking on the Email icon.

To verify the group membership in Active Directory
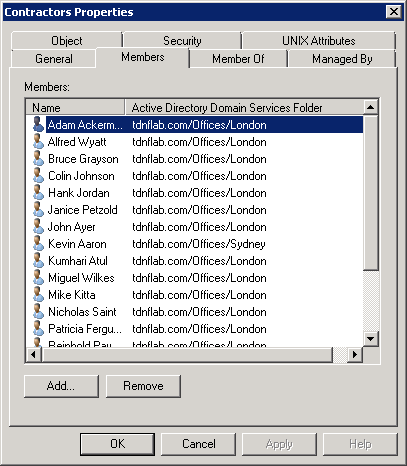
- Open Active Directory Users and Computers and search for the group you targeted for dynamic group membership.
- Open the Properties window for the group and click the Members tab . You should to see that the appropriate user accounts have been added to the group as members.
| Info | ||||||||||
|---|---|---|---|---|---|---|---|---|---|---|
| ||||||||||
|
...