In EmpowerID, an audit is a logically named user-defined , logically named object for identifying or grouping recertification tasks and running the Recertification policies that generate those tasksthem. When After you create an audit, you can add one or more Recertification policies to it to define what you want to audit. Then when the audit runs, it compiles those Recertification policies, creating the appropriate recertification tasks.
| Info |
|---|
In this topic, we demonstrate how to create an audit, and then how to immediately add a Recertification policy to it. However, you do not need to add a Recertification policy to the audit right away. You can wait until you are ready to clearly define what should be audited. If this is your situation, and you want to add Recertification policies to the audit at a later point, see Adding Recertification Policies to Audits. |
To create and configure an audit
...
creates a recertification task for each item in the policy.
To create an audit
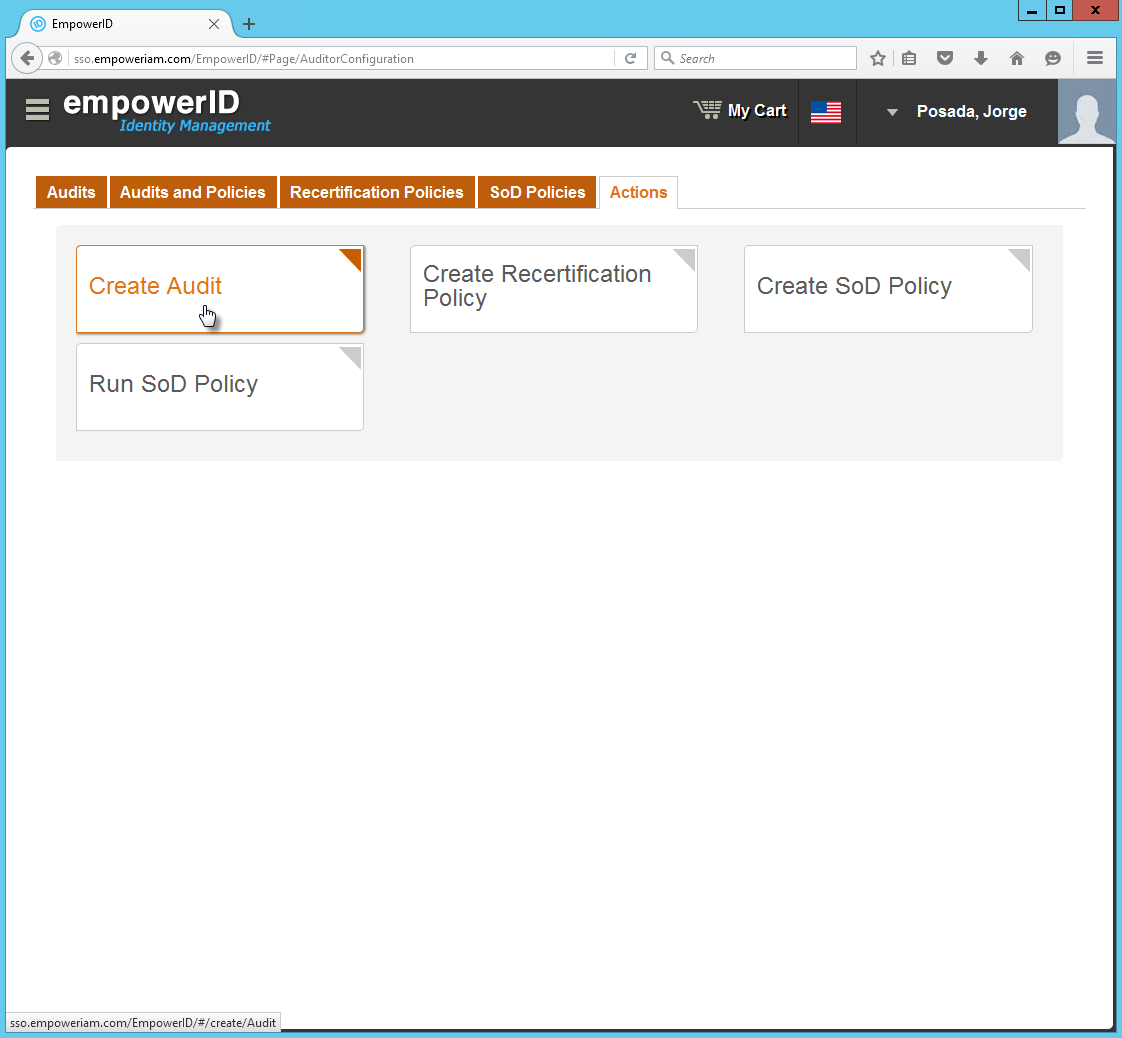
On the navbar, expand Compliance Management and click Audit Configuration.
From the Audit Configuration page, click the
Actions
tab and then click
Create Audit.

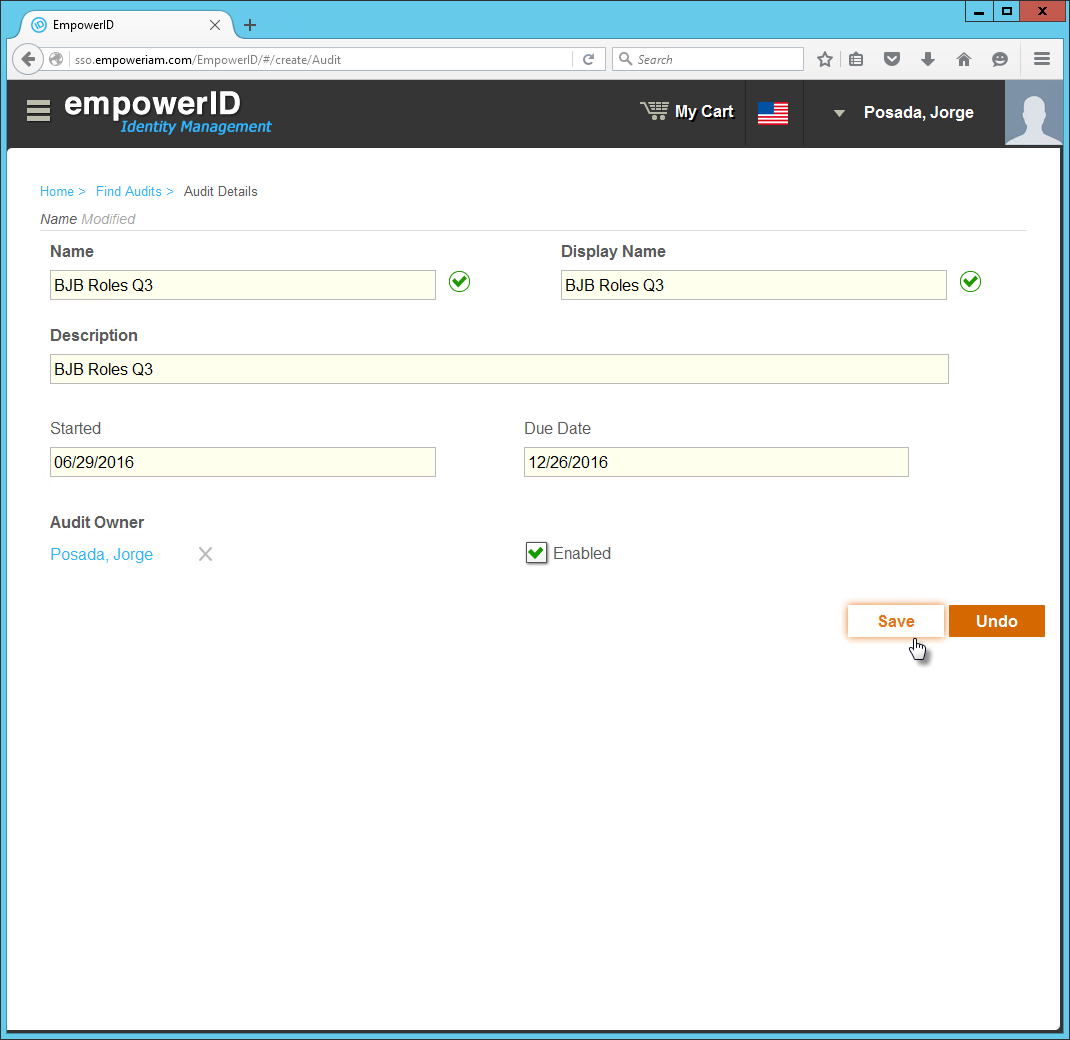
In the
Audit Details
form that appears,
type an appropriateenter a name, display name and description
forof the
auditAudit in
thethe Name,
Display Name
andand Description
fieldsfields, respectively.
- Select the date you want the audit to start from the Started field. The start date must either be the present date or a future date. If you select a past date, the audit will not compile.
Under Creation Location, click Select a Location and then search for and select the desired location.
Started — Select the date you want the audit to
end from the Due Date field. The due date must either be the present date or a future date. If you select a past date, the audit will not compile.In the Audit Owner field, type the name of thestart.
Due Date — Select the date the audit is due.
Audit Owner — Search for and select the person who is to be the
auditowner
and then click the tile for that person. When creating audits, it is important to assign an owner to those audits. In EmpowerID, the audit owner is the auditor. Auditors are the only people who can compile their audits.- Select Enabled. This allows the audit to compile any Recertification polices belonging to it.
- Click Save.
After EmpowerID creates the audit, you will see a Recertification Policy grid appear on the Audit Details page. This grid allows you to add and remove Recertification Policies to and from the audit. In order for the audit to create recertification tasks, it needs to have at least on Recertification policy. This is demonstrated in the below section, as well as treated separately in the Adding Recertification Policies to Audits topic.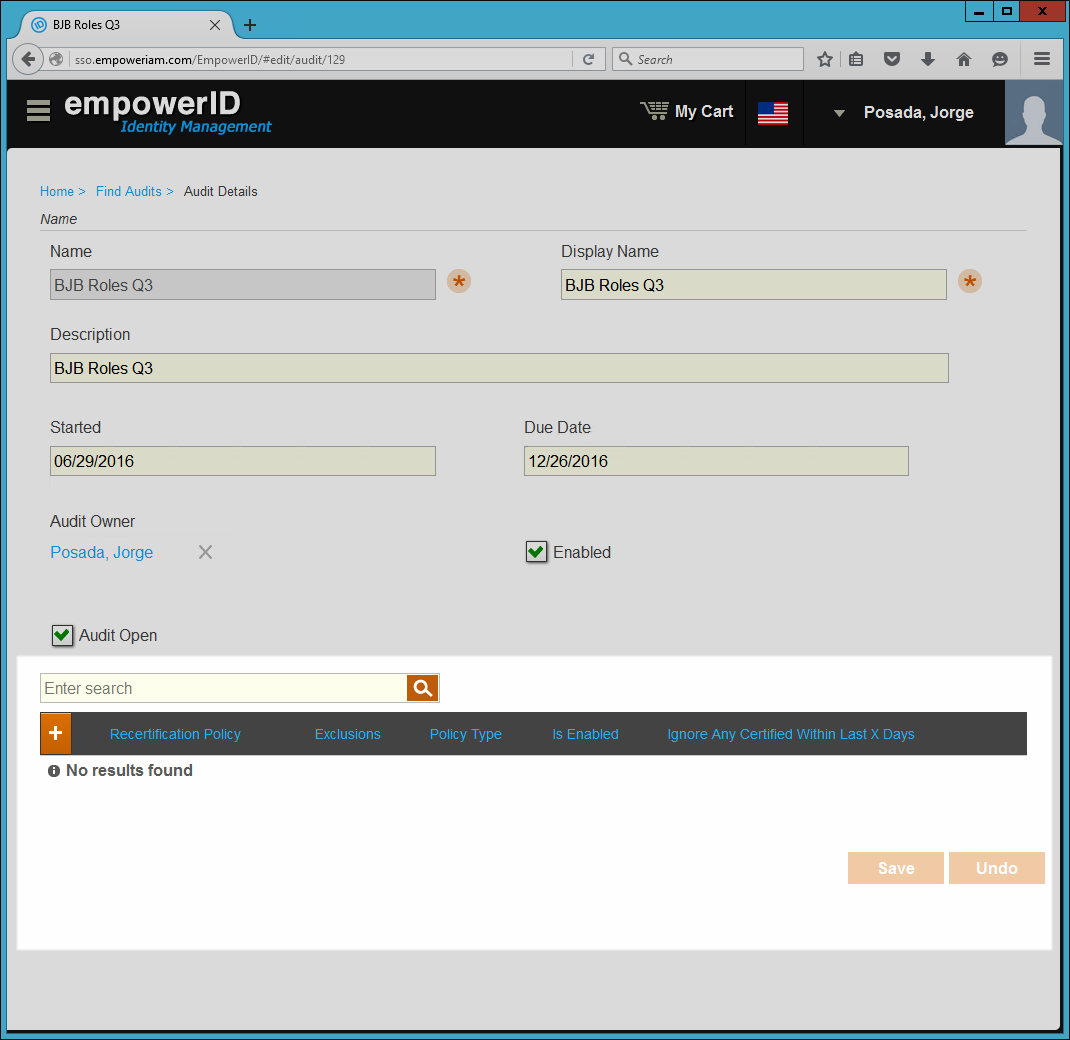
of the audit.
Select Enabled to enable the audit.
Optionally, enable or disable any of these settings:
Is Template — Select this option to use this audit as a template for quickly creating other audits.
Skip Quality Check For Group Membership — Select this option to allow a managers decision's regarding their direct reports membership in specific groups go directly to fulfillment instead of being sent for approval.
Skip Quality Check For Business Role — Select this option to allow a manager's decisions regarding the Business Role assignments of their direct reports to go directly to fulfillment instead of being sent for approval.
Skip Quality Check For Management Role — Select this option to allow a manager's decisions regarding the Management Role assignments of their direct reports to go directly to fulfillment instead of being sent for approval.
Notify Participant On Audit Creation — Select this option to have EmpowerID send participants a notification as soon as you create the audit.
All Participant Notification Email Template — Click in this field and press Enter to see a list of available templates to use for the email notification.
Enable Notification — Select this option to have EmpowerID send participants reminder email notifications.
Open Task Notification Email Template — Click in this field and press Enter to see a list of available templates to use for the email notification.
Notify Open Task Participant After Audit Start In Days — Enter the number of days after the audit start date to send a reminder to any participants with open tasks.
Notification Frequency In Days — Enter the number of days to wait to send further reminders to any participants who still have open tasks.
Enable Escalation — Select this option to have EmpowerID send an email notification to the managers of participants who still have open tasks.
Open Task Escalation Email Template — Click in this field and press Enter to see a list of available templates to use for the email notification.
Escalate Open Task Participant Before Audit End In Days — Enter the number of days prior to the audit end date to send the escalation email.
Escalation Frequency In Days — Enter the number of days to wait before sending further escalation reminders.
Enable Automatic Revocation After Due Date — This setting is only valid for the Person Direct Entitlement policy type.
Click Save.
| Insert excerpt | ||||||
|---|---|---|---|---|---|---|
|