Adding rights to Access Levels grants EmpowerID users assigned the Access Level native permissions within operating systems and applications for those resources where such permissions is applicable (e.g., Exchange mailboxes, Windows Shared Folders, etc.).
To add rights to an Access Level Definition
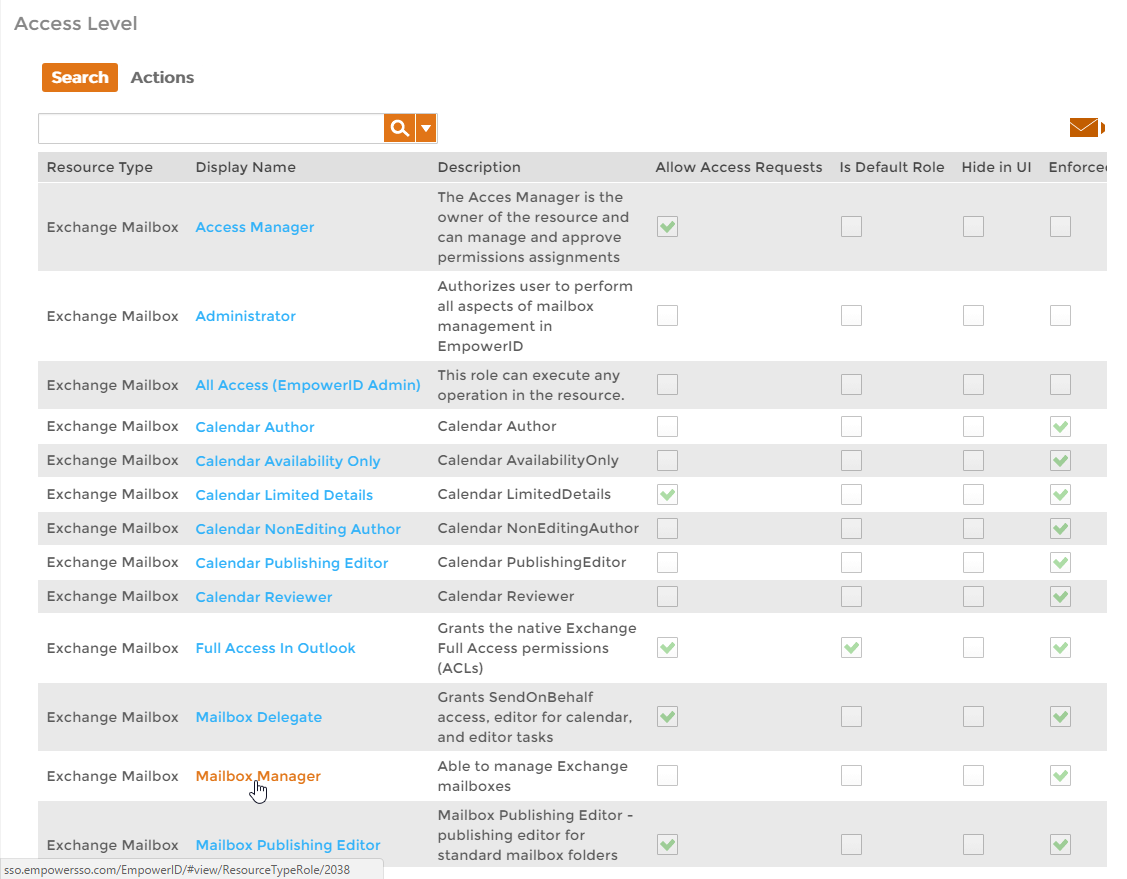
- In the Navigation Sidebar of the EmpowerID Web interface, expand Admin, then RBAC, and click Access Levels.
- From the Search tab of the Access Level management page, search for the Access Level to which you want to add Rights and then click the link for that Access Level.
This directs you to the View page for the Access Level Definition. View pages allow you to view and manage the resources to which they pertain.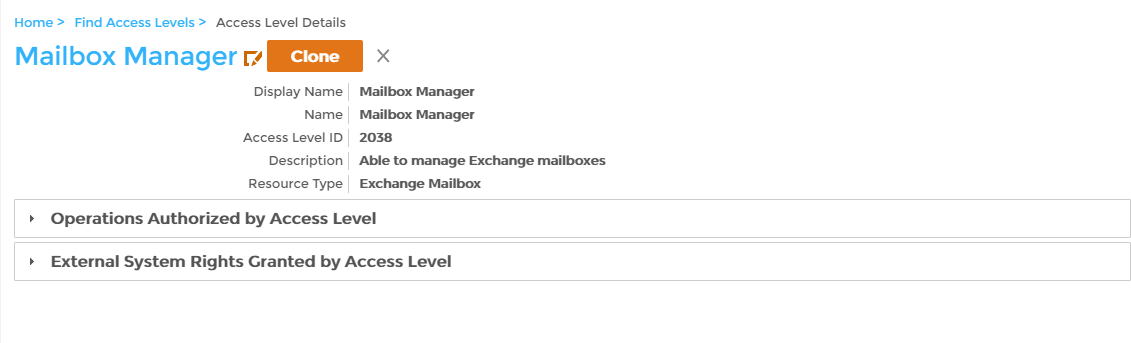
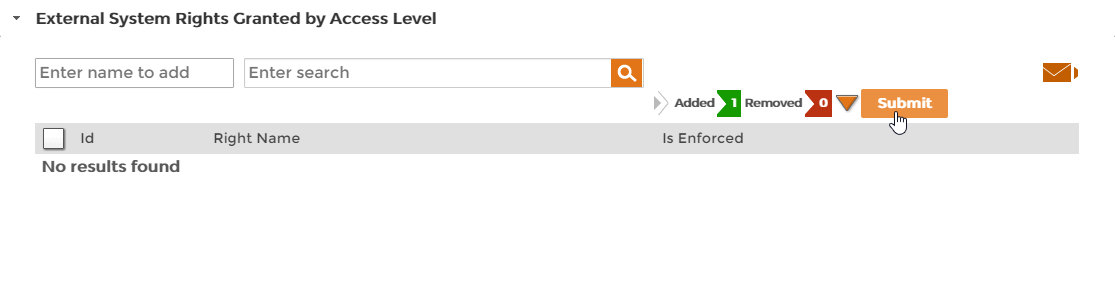
- On the View page, expand the External System Rights Granted by Access Level accordion.
- In the expanded External System Rights Granted by Access Level accordion, type the name of the native system right you want to add to the Access Level in the Enter name to add field and then click the tile for that right.
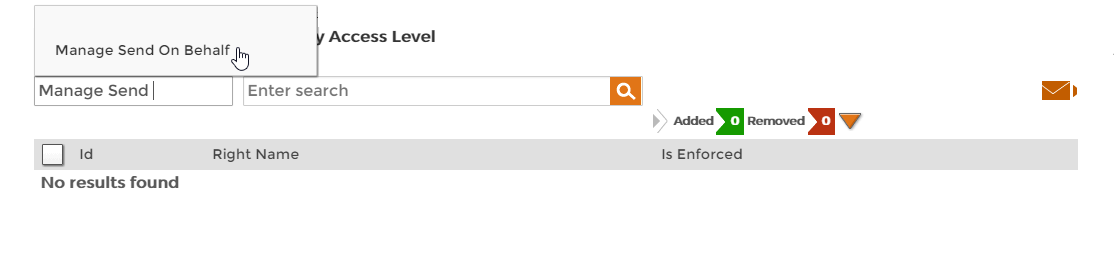
- Repeat, adding as many operations to the Access Level as you need.
- When you have finished adding rights, click Submit.