If you need access to resources you currently do not have, you can submit an access request for those resources from the IT Shop. As long as you have the ability to shop in the IT Shop and your organization has made the resource requestable. If you have the ability to shop in the IT Shop, but do not see the specific resource you want, most likely your organization has not made that resource requestable.
Once you find the resource for which you are looking and submit your request, EmpowerID sends the request to the Tasks and Requests Center for the appropriate people to either approve or reject. As the requesting person, EmpowerID places the request in your personal Request Center, where you can view the status of the request and see who has the ability to approve it.
To request access to resources
From the Navigation Sidebar, expand IT Shop and click Find Resources.
If you do not see a node for the IT Shop in the Navigation Sidebar, this means you have not been given access to the IT Shop and cannot request access to new resources.
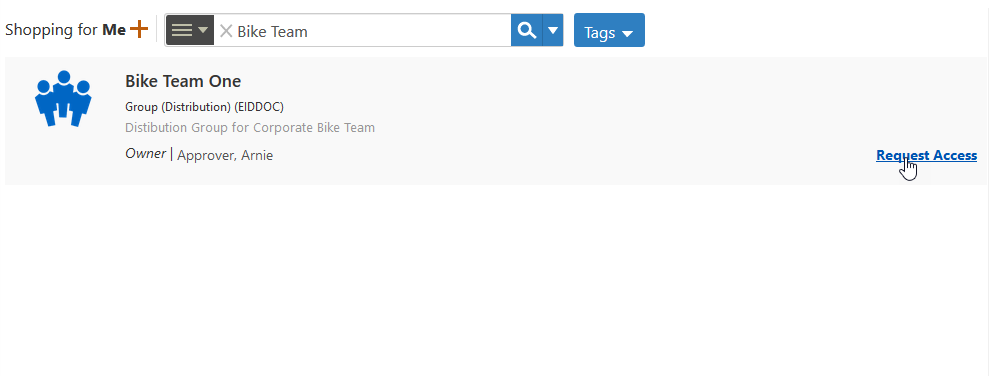
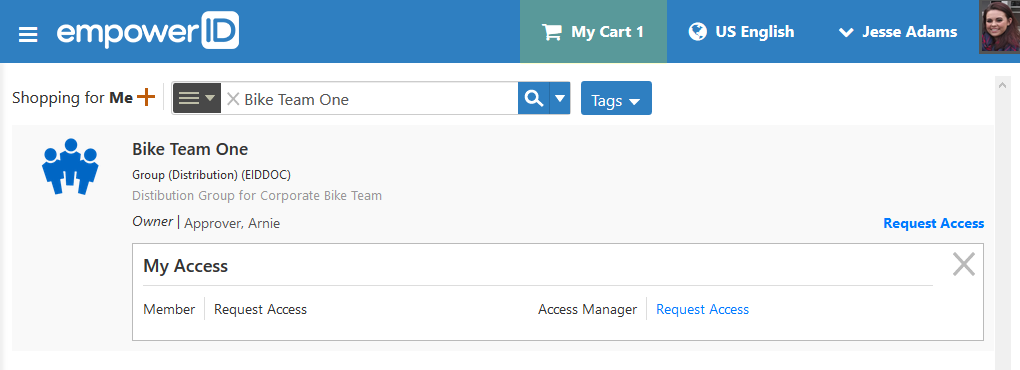
- In the IT Shop, search for the resource you are requesting and then click the Request Access link for that resource.
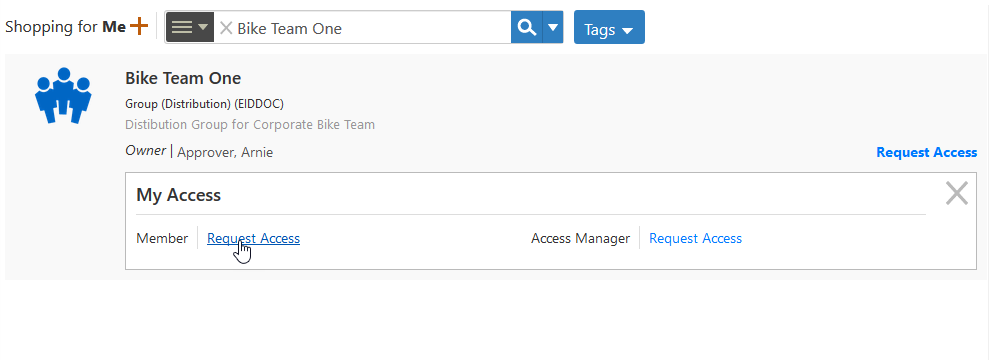
- Click the link beside the type of access you are requesting.
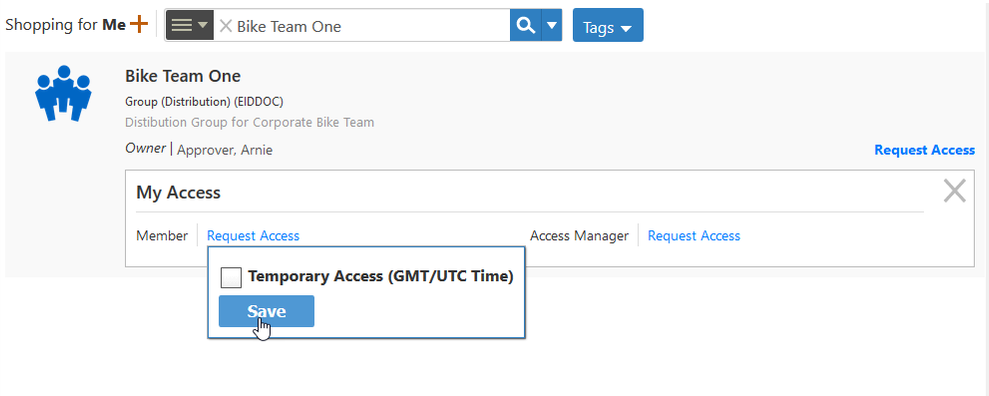
Click Save.
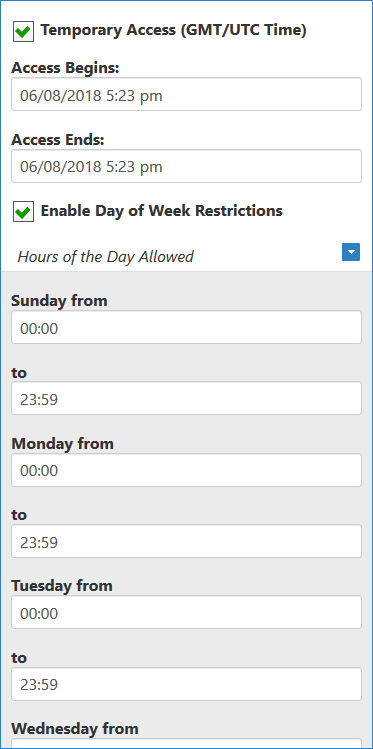
The Temporary Access option allows you to put date and time constraints on the access request. In this way, if you are a manager who is shopping for others, you can choose to limit the access assignment for that person when permanent access is not necessary.
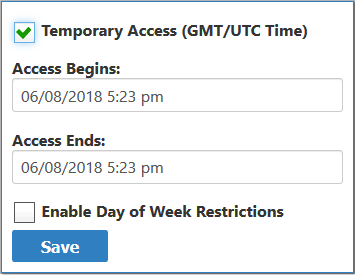
When this option is selected, you set the date and time ranges by clicking in the Access Begins and Access Ends fields and picking the appropriate values from the Calendar.
Additionally, you can restrict the access to certain days and hours of the week by clicking Enable Day of Week Restrictions > Hours of the Day Allowed and setting the restrictions in the from and to fields for each day.
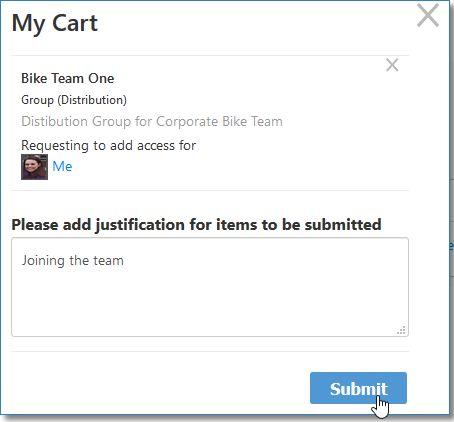
This adds the request to the shopping cart.- Click the shopping cart, type a reason for the request in the cart dialog and then click Submit.
EmpowerID sends the request for approval. You can view the status of your request in the Request Center. For more information, see Viewing the Status of Your Access Requests.
