When you create a credential for a managed computer (a computer that EmpowerID inventories), you can link that credential to one or more computers. Once a computer credential is linked to a computer, users can request access to it using those credentials. All access occurs through RDP or SSH sessions via EmpowerID's Privileged Session Manager.
When a request for a computer credential is approved, users check out the credentials to initiate RDP (Windows) or SSH (Linux) sessions. Once their tasks on the computer are complete, they check in the credentials to end the session.
When the Default Access Duration in Minutes setting on the credential's policy is reached, EmpowerID automatically checks in the credentials and terminates the session. For more time, the user must request access again.
For information on linking one set of computer credentials to all computers in a managed domain, see Linking Credentials to Domains.
To link credentials to managed computers
- From the navigation sidebar of the EmpowerID Web interface, expand Resources and click Computers.
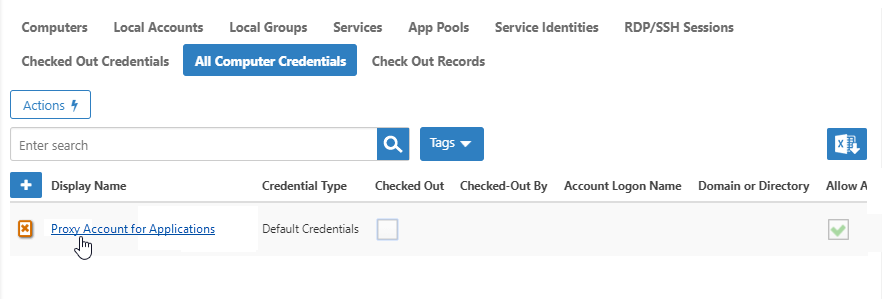
- From the Computer find page, click the All Computer Credentials tab and search for the computer credential you want to link to a computer.
- Click the Display Name link.
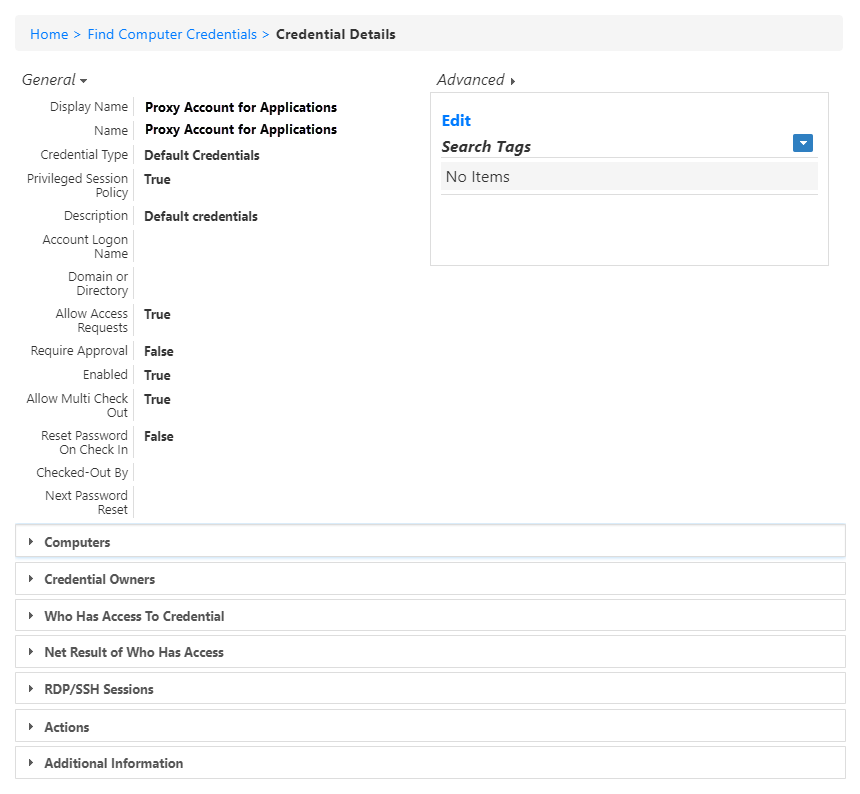
- This directs you to the View One page for the credential. View One pages let you view information about a resource in EmpowerID and manage it as needed.
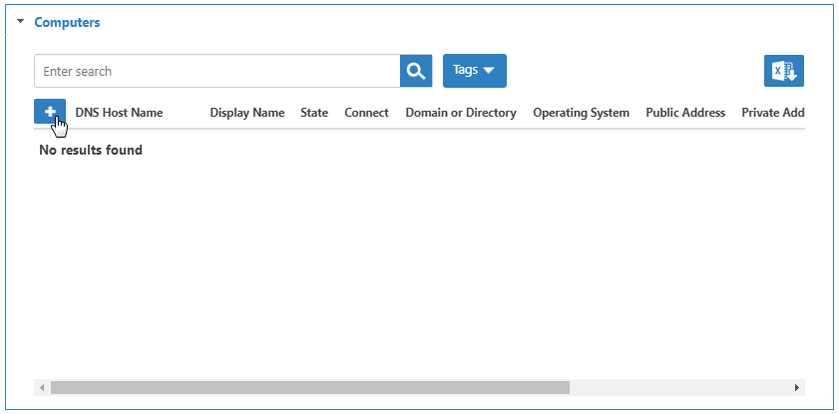
- From the View One page, expand the Computers accordion and in the grid, click the Add Computer button.
- In the dialog that appears, type the name of the computer in the Computer field and then click the tile for the computer to select it.
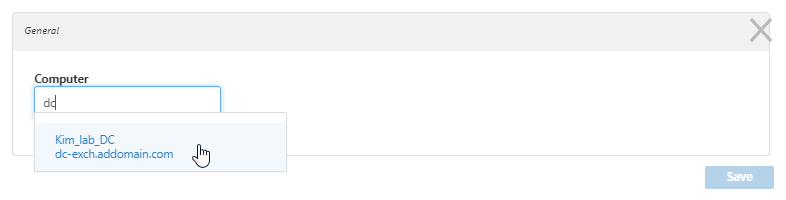
- Click Save to save your selection and close the dialog.