You can use system settings to control many aspects of EmpowerID behavior.
To change values for any of the settings
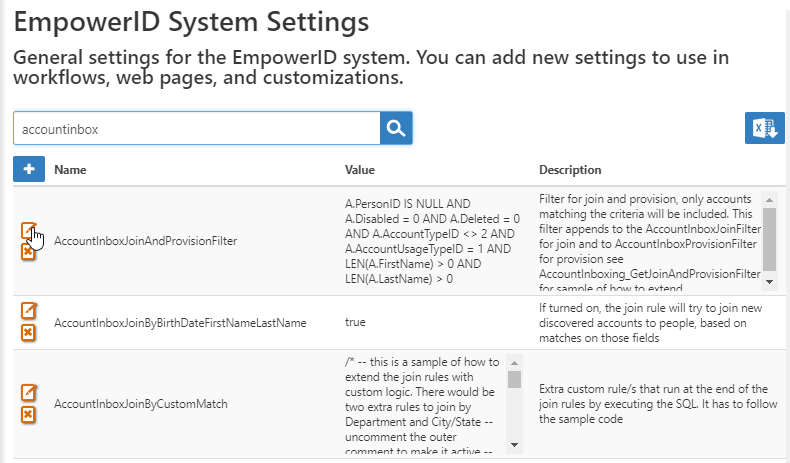
- In the navigation sidebar, expand Admin, then EmpowerID Servers and Settings, and select EmpowerID System Settings.
- On the EmpowerID System Settings page that appears, search for the setting that you want to change and click the Edit icon to its left.
In the dialog that appears, you can edit the Value and Description fields, and select whether to Encrypt Data for the setting value.
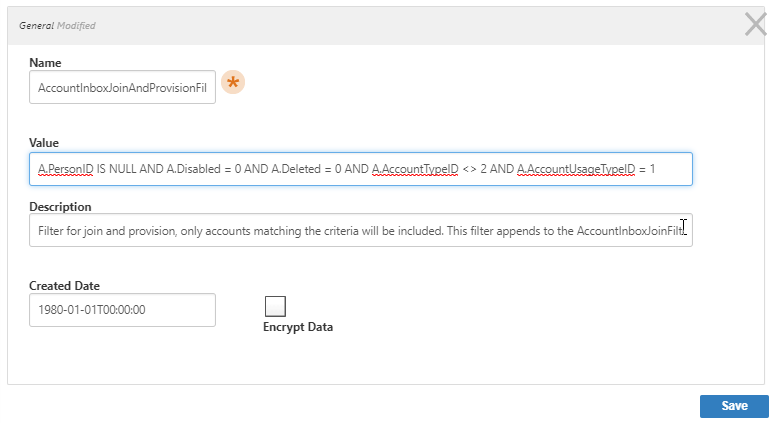
Do NOT change the Name field for a setting. The name connects the setting value to the option within EmpowerID code, so changing it breaks the connection.
- After making changes, click Save.
To add or delete a setting
- To delete a setting, click the Delete button to the left of the setting.
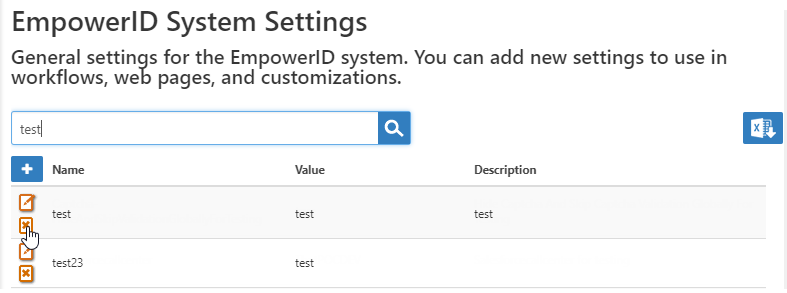
- To add a setting, click the Add icon above the grid.

- In the dialog that appears, provide the following values:
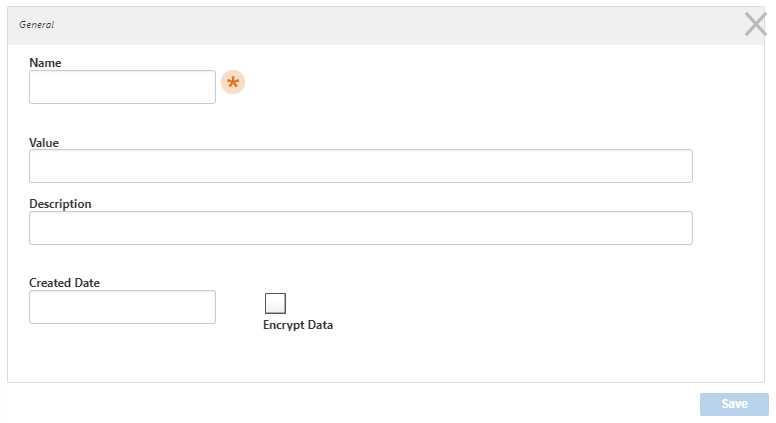
- Name — Enter a name for the setting. This value cannot have spaces, and must correspond to the name of the setting in code.
- Value — Enter a value to pass into the setting.
- Description — Enter a description that gives administrators information about what kind of value to enter and what it accomplishes.
- Created Date — Optionally enter a date to display to anyone editing the setting. If left blank, this value is provided automatically.
- Encrypt Data — Select this option to encrypt the Value text to protect sensitive data.
- Click Save.
In this article