The EmpowerID Cloud Gateway enables your EmpowerID Cloud tenant to inventory and manage your on-premise systems without requiring ports to be opened on your firewall. The Cloud Gateway is a lightweight client that can be installed on a Windows desktop or server machine in your on-premise network. The Cloud Gateway client then makes a secure and encrypted outbound HTTPS connection to an EmpowerID queue in Azure as a bridge for communication between the EmpowerID Cloud servers and your on-premise network. You can install multiple Cloud Gateways on-premise for fault tolerance and increased performance.
To install the EmpowerID Cloud Gateway
- On the remote machine, double-click the EmpowerIDCloudGateway.msi installer file to run it.
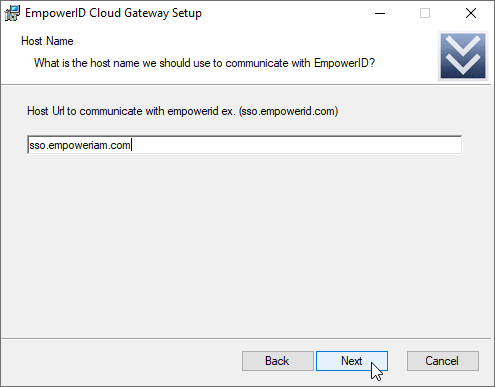
- In the EmpowerID Cloud Gateway Setup wizard that appears, enter the Host URL to connect with and click Next.
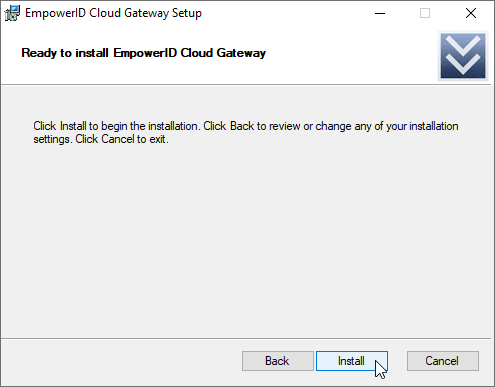
On the Ready to install page, click the Install button.
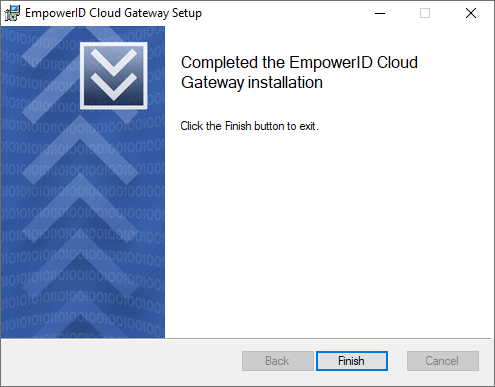
- When the agent finishes installing, click the Finish button to close the wizard.
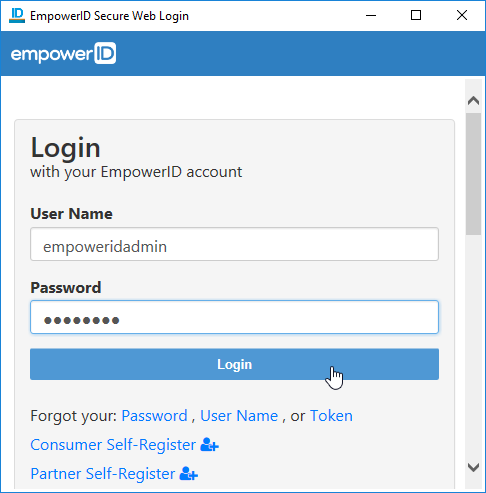
- An EmpowerID Secure Web Login dialog appears, where you can log into EmpowerID.
To configure the Cloud Gateway
- Enter your credentials to log into your EmpowerID account. On the success message box that appears, click OK.
- The EmpowerID Remote Agent Setup dialog appears automatically, or you can open it from this folder:
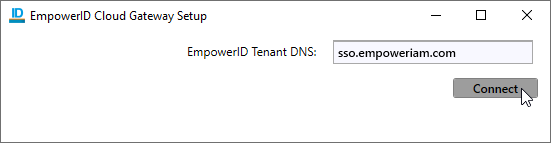
C:\Program Files\TheDotNetFactory\Remote Agent\RemoteAgentConfigurator.exe - If you are not connected, you can click Connect, or you can change the EmpowerID Tenant DNS and click Connect.
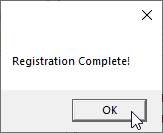
- A dialog appears to let you know that registration is complete.
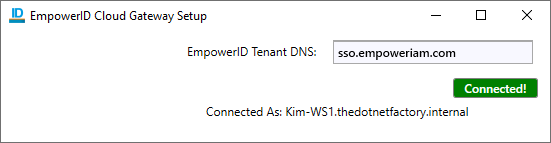
- The EmpowerID Cloud Gateway Setup dialog displays the DNS of the server that you are accessing remotely, a Connected! message, and the name of the remote machine from which you are connecting.
- The Cloud Gateway adds the following values to your registry under
HKEY_LOCAL_MACHINE > SOFTWARE > TheDotNetFactory > EmpowerID > RemoteAgent- ApiKey
- ApiPath
- ClientID
- ServerGUID
- Thumbprint
To verify that the Cloud Gateway is working
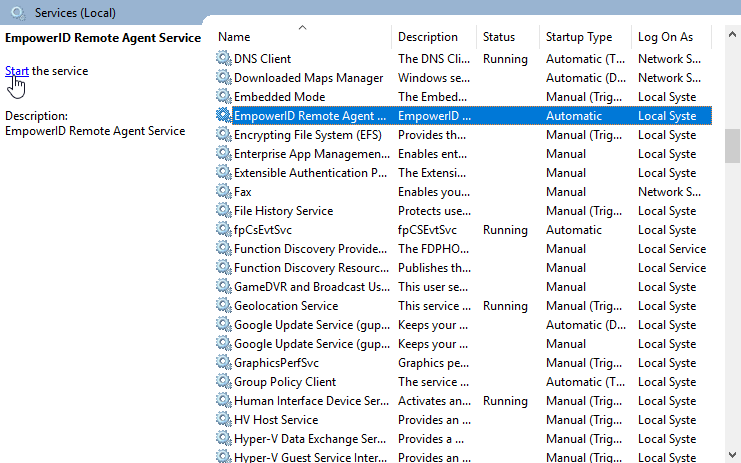
- Open Services on the cloud gateway machine.
- Locate the EmpowerID Remote Agent Service and start the service.
- On the EmpowerID Server that you are connected to, run the following workflow in your browser (replacing sso.empowersso.com with your server's FQDN) to ping the cloud gateway:
https://sso.empowersso.com/ui#w/pingempoweridserverviaremoteagent - In the list of agents that appears, select your Cloud Gateway and click Submit.
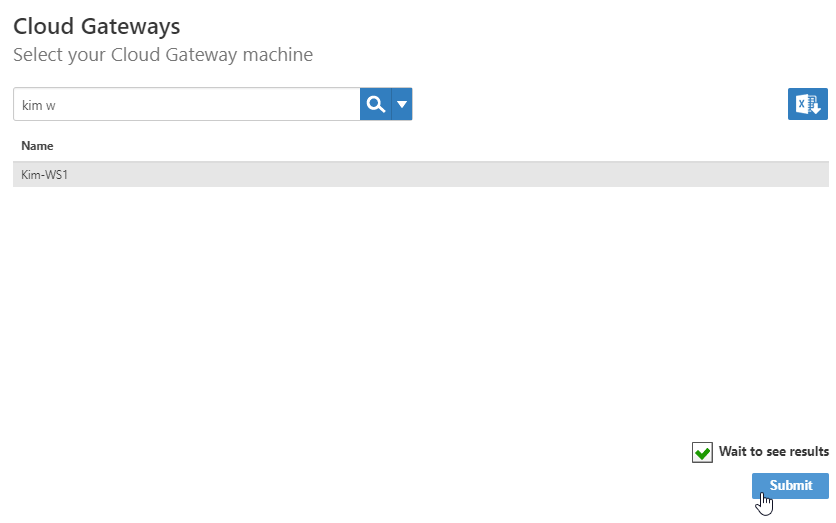
- When it completes, this message appears: "The server was pinged."
In this article