EmpowerID includes a Connectivity Tester tool that you can use to test a local Windows server for network connectivity, DCOM connectivity, WMI connectivity and the appropriate level of access for a selected proxy account before adding an Account Store connection for that server. The tool allows you to perform basic ping connectivity testing, DCOM firewall and proxy account access testing, and WMI firewall and proxy account access testing.
To use the Connectivity Tester
- In File Explorer, navigate to the EmpowerID programs folder on the machine hosting your EmpowerID Server. In a default installation, this folder is located in the following directory: C:\Program Files\TheDotNetFactory\EmpowerID\Programs
- Locate the EmpowerID.Troubleshooter.exe file, and double-click to open it.
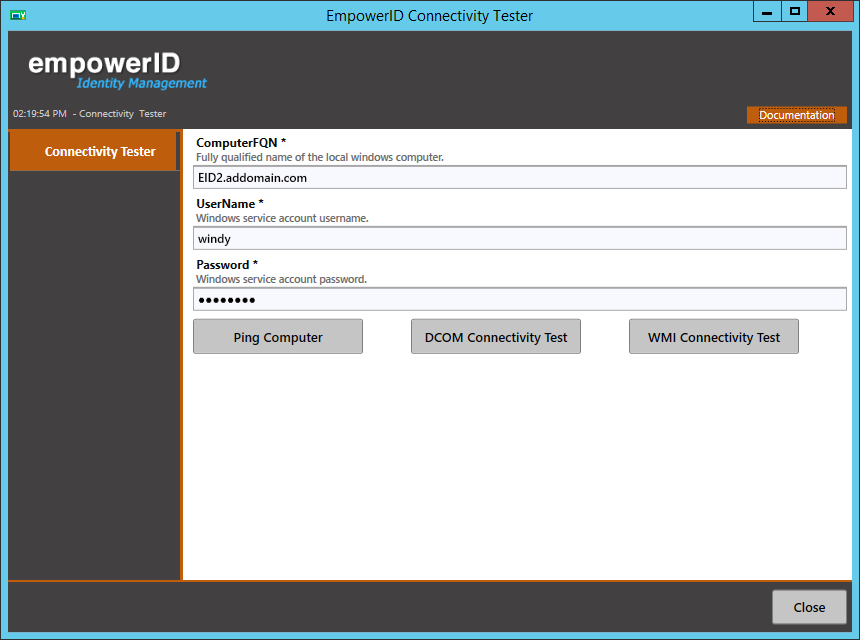
- In the ComputerFQN of the EmpowerID Connectivity Tester window that appears, enter the fully qualified name of the computer you are planning to add as a Local Windows Server Account Store.
- In the UserName field, enter the user name of the proxy account you intend to use for this account store.
- In the Password field, enter the vaulted password of the proxy account you intend to use for this account store.
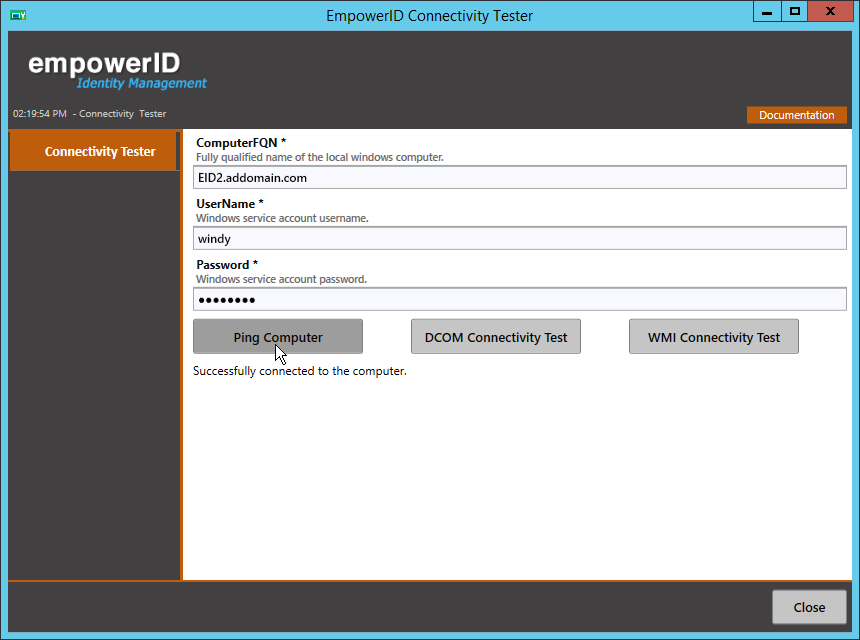
- Click the Ping Computer button to verify that you are successfully connected to the computer.
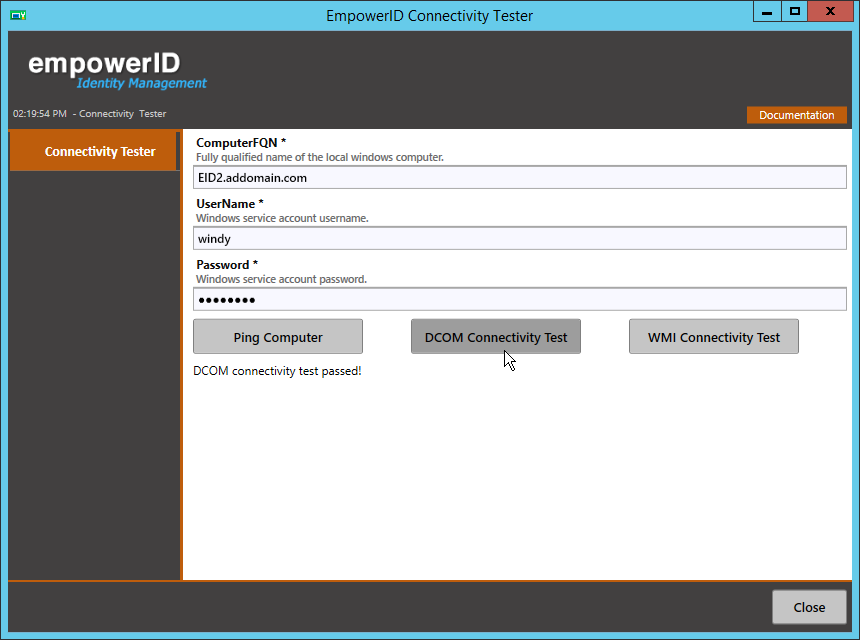
- Click the DCOM Connectivity Test button to verify DCOM connectivity.
- Click the WMI Connectivity Test button to verify WMI connectivity.