Before connecting EmpowerID to an external directory, please review the Getting Started with Directory Systems topic. The topic walks you through the prerequisites you need to complete before connecting to an external directory for the first time. These prerequisites include: Configuring the appropriate server roles for your EmpowerID servers Reviewing the Join and Provision Rules for your environment Reviewing the Join and Provision Filters for your environment If you have already connected EmpowerID to another external directory, you can skip the above prerequisites. EmpowerID provides connectors for a wide range of user directories and resource systems. As an administrator, you can use these connectors to quickly connect EmpowerID to your organization's identity-aware systems and applications. When you do so, you create an account store for that application in the EmpowerID Identity Warehouse and use that account store to configure how you want EmpowerID to manage the identity information in that system.
This topic demonstrates how to add an LDAP Directory domain to the EmpowerID Identity Warehouse as a managed Account Store. EmpowerID provides connectors out of the box for the following LDAP directories. The process for connecting to each is the same.
IBM — IBM Tivoli Directory Server
NOVELL — Novell eDirectory
OpenDS — Open Directory Service (OpenDS)
OpenLDAP — Open LDAP
ORACLE — Oracle Internet Directory
Radiant Logic — Radiant Logic
SUN — Oracle Directory Server Enterprise Edition (SUN)
To connect EmpowerID to LDAP, the Proxy User or connection account must be an admin user account that has read access to the partition that holds the objects in the directory.
To create an LDAP account store in EmpowerID
On the navbar, expand Admin > Applications and Directories and then click Account Stores and Systems.
On the Account Stores page, click Create Account Store.
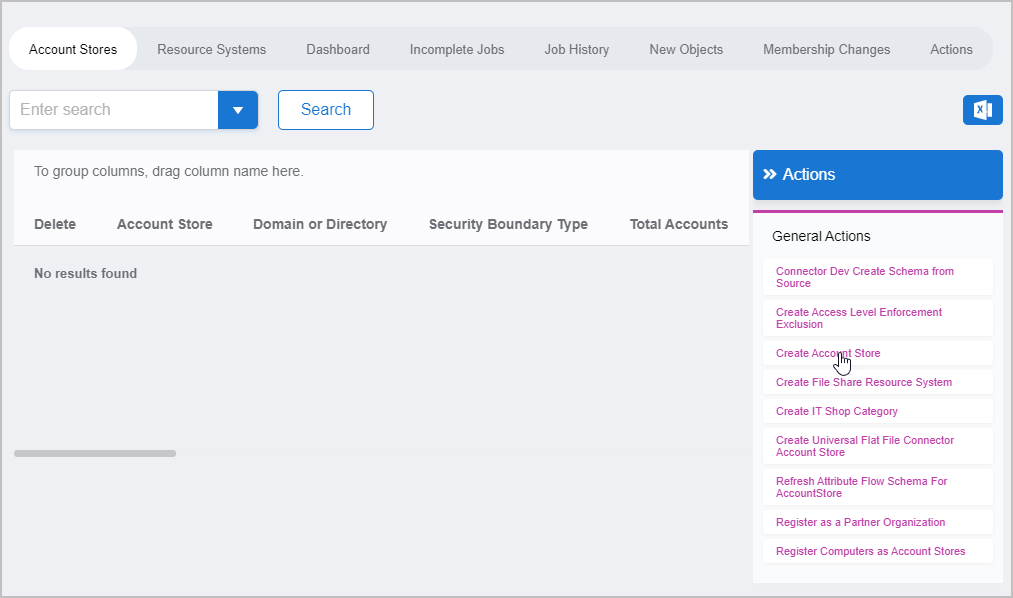
Search for Open LDAP and then click the record for Open LDAP to select that System type.
Click Submit.
This opens the LDAP Settings form, which is where you enter settings to connect EmpowerID to your LDAP directory.

Enter the following information in the LDAP Settings form:
Name — Enter a name for the account store.
Display Name — Enter the name for the account store that appears in the user interfaces of EmpowerID.
LDAP server: (Add Port Number if other than 389): — Enter the name of the server on which the directory is installed and include the port number if it is other than 389.
e.g. dc-exch:636Partition Suffix — Enter the partition suffix for the directory.
e.g. dc=eiddoc,dc=comProxy User — Enter the admin user account that has read access to the partition that holds the objects in the directory.
Password — Enter the password for the proxy account.
Is Remote (Required Cloud Gateway) — This setting appears for account stores with local directories, such as Active Directory, LDAP, SAP, etc. When enabled, this tells EmpowerID to use the Cloud Gateway Connection for that account store. The Cloud Gateway Connection must be installed on an on-premise machine. For installation information, please see Installing the EmpowerID Cloud Gateway Client.
Click Submit.
EmpowerID creates the account store and the associated resource system. The next step is to configure the attribute flow between the account store and EmpowerID.
EmpowerID supports the configuration of attribute synchronization rules for flowing attribute changes between directories and the EmpowerID Identity Warehouse. Attribute Flow rules are visually configured and are always relative to the relationship between an attribute in a directory and the corresponding attribute in the EmpowerID Identity Warehouse. Attribute Flow rules define the specific fields and attributes that are synchronized between the EmpowerID Identity Warehouse person objects and the external user accounts to which they are linked. Additionally, Attribute Flow rules can be weighted by account store. For example, if you have connected EmpowerID to an HR system as well as Active Directory, and you want any changes made to an attribute in the HR system to take priority over changes made in Active Directory or EmpowerID (while allowing changes to be made in any system), you would give a higher score for each CRUD operation originating from the HR account store and correspondingly lower scores for the Active Directory account store. The following flow rules are available: No Sync ( Red Circle) — When this option is selected, no information flows between EmpowerID and the native system. Bidirectional Flow (Bidirectional Green Arrow) — When this option is selected, changes made within EmpowerID update the native system and vice-versa. For most attributes, this is the default setting. Account Store Changes Only (Left Pointing Arrow) — When this option is selected, changes can only be made in the native system and are then passed to EmpowerID. EmpowerID Changes Only (Right Pointing Arrow) — When this option is selected, changes can only be made in EmpowerID and are then passed to the native system. The following CRUD operations are available: Create — This operation is used to create an attribute value for an existing attribute when the value of that attribute is null. Update — This operation is used to update the value of an attribute. Delete — This operation is used to delete the value of an attribute. From the Account Stores tab of the Account Stores and Systems page, search for the account store you just created and click the Account Store link for it. Click the Attribute Flow Rules tab to view the current rules for the account store. Please note that the attributes available depend on the account store. To change the flow for an attribute, click the Attribute Flow drop-down located between the Person Attribute column and the External Directory Attribute column, and select the desired flow direction from the context menu. To change the score for any of the available CRUD operations (Create, Update and Delete), enter the new score in the appropriate field. By default, scores are weighted evenly, which means that a change to an attribute originating in one connected external directory has the same authority as a change to an attribute occurring in another connected external directory. EmpowerID only considers scores for attribute CRUD operations when multiple account stores with the same user records are connected to EmpowerID, such as would be the case if an HR System and this account store were being inventoried by EmpowerID.
Now that the attribute flow has been set, the next steps include configuring the account store and enabling EmpowerID to inventory it.
To configure account store settings
On the Account Store and Resource System page, click the Account Store tab and then click the pencil icon to put the account store in edit mode.
Edit the account store as needed and then click Save to save your changes.
Next, enable the Account Inbox permanent workflow to allow the Account Inbox to provision or join the user accounts in the LDAP system to EmpowerID Persons as demonstrated below.
EmpowerID recommends using the Account Inbox for provisioning and joining.
|
|
On the navbar, expand System Logs > Policy Inbox Logs and click Account Inbox. Dashboard — This tab provides a quick summary of account inbox activity. Not Processed — This tab displays a grid view of all inventoried user accounts not yet used to provision a new EmpowerID Person or joined to an existing Person. Any accounts that fail to meet the Join and Provision rules are displayed here as well. Failed — This tab displays a grid view of any account joining or provisioning failures. Ignored — This tab displays a grid view of all accounts ignored by the account inbox. Accounts are ignored if they do not qualify as user accounts. Joined — This tab displays a grid view of all accounts joined to an EmpowerID Person. Joins occur based on the Join rules applied to the account store. Processed — This tab displays a grid view of all accounts that have been used to either provision a new EmpowerID Person or joined to an existing EmpowerID Person. Provisioned — This tab displays a grid view of all accounts that have been used to provision an EmpowerID Person. Provisioning occurs based on the Provision rules applied to the account store. Orphans — This tab displays a grid view of all user accounts without an EmpowerID Person. All — This tab displays a grid view of all user accounts and the status of those accounts in relation to the Account Inbox.Monitor inventory
The Account Inbox page appears. This page provides tabbed views of all information related to processing new user accounts discovered in a connected account store during inventory. An explanation of these tabs follows.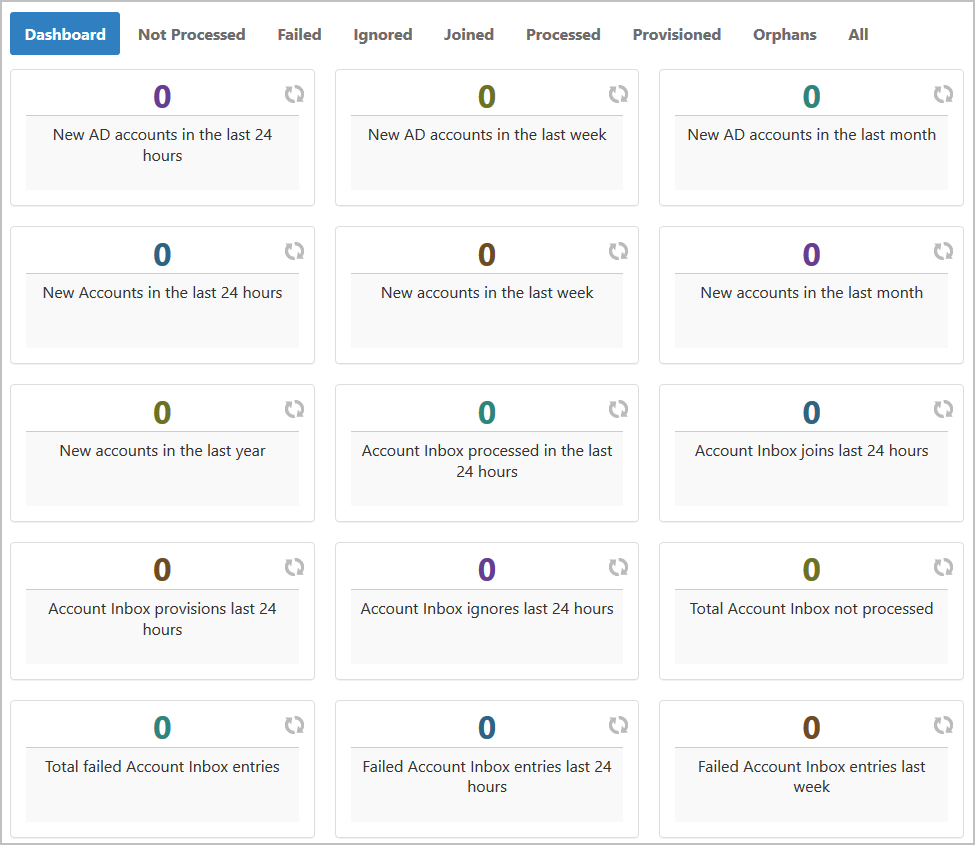
IN THIS ARTICLE