Versions Compared
| Version | Old Version 6 | New Version Current |
|---|---|---|
| Changes made by | ||
| Saved on |
Key
- This line was added.
- This line was removed.
- Formatting was changed.
You can give non-technical users the ability to request a shared folder be created by assigning those users the Viewer Access Level for the Request Shared Folder page. Users who have this Access Level see a Request Shared Folder tile on the Workflows page of the IT Shop. This tile is linked to the CreateSharedFolders workflow, which has parameters that must be set before users can initiate it. These parameters include:
- AssignCreatorAsOwner - This is a true or false value that determines whether the person creating the shared folder is assigned the Access Manager Access Level for the folder. This value is set to true by default.
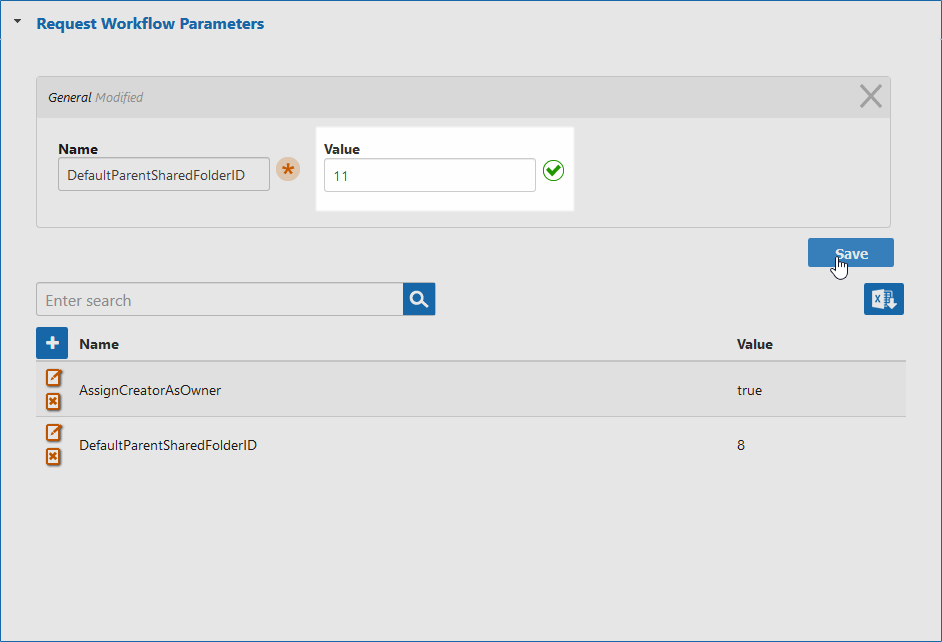
- DefaultParentSharedFolderID - This specifies the parent shared folder under which the new share is to be created. New shares inherit the parent's settings. By default, this parameter is set to 8. In order to ensure the folder is created in the right location, you must change this value to one that is valid for your environment.
When users click the tile, EmpowerID initiates the CreateSharedFolders workflow and presents users with a simple form, which they can fill in and submit. If approval is required, EmpowerID routes the request to each person with the ability to approve it. Once approved, EmpowerID creates the shared folder under the specified parent folder.
| Tip |
|---|
When assigning access to resources in EmpowerID, the preferred method is to assign an Access Level for that resource to a role or group rather than individual users. In this way, each person in the role or group gets access and you only need to make the assignment once. In this topic, we demonstrate this by assigning the Initiator Access Level for the workflow to a group. |
| Info | ||||
|---|---|---|---|---|
| ||||
If these are not in place, an error occurs when users try to request a shared folder. |
Setting Workflow Parameters
- In the Navigation Sidebar, expand Resources and click Workflows.
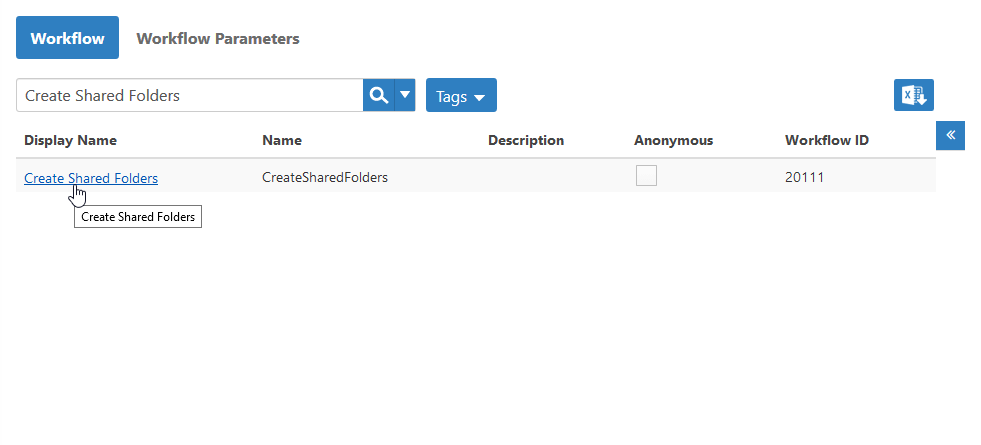
- From the Workflow tab of the Request Workflow management page, search for Create Shared Folders and then click the Display Name link for the workflow record returned to the grid.
This opens the View One page for the workflow. This page allows you to view and manage information about that workflow.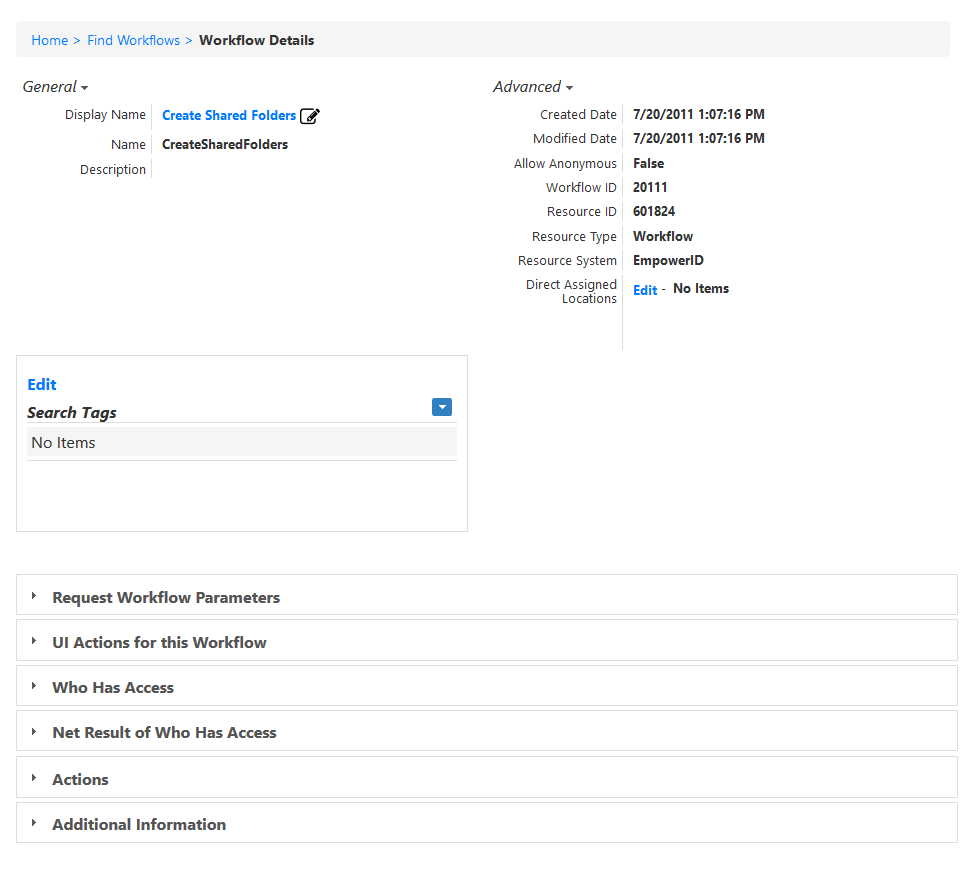
- From the View One page, expand the Request Workflow Parameters accordion and click the Edit button for the DefaultParentSharedFolderID parameter.
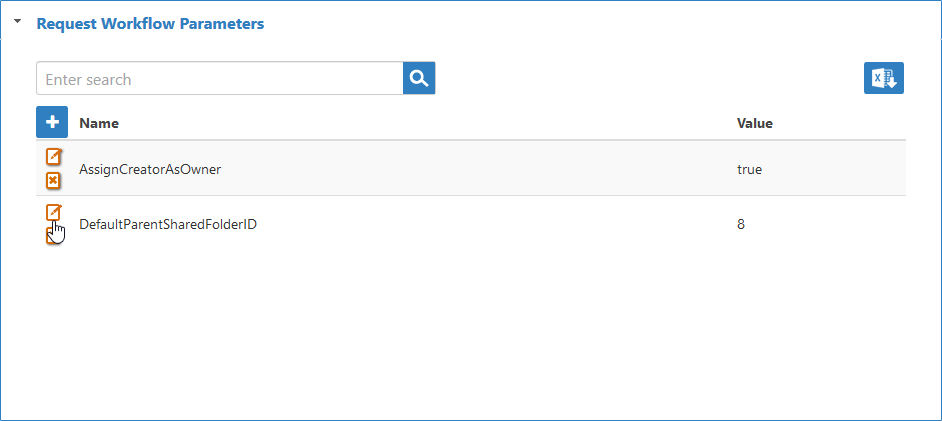
- Type the ID for the parent shared folder in the Value field and click Save.
Assigning the Viewer Access Level for the Request Shared Folder Page
- In the Navigation Sidebar, expand Identities and click Manage Delegations.
- Click the Resource Delegations tab, and then select Pages and Reports from the Resource Type drop-down.
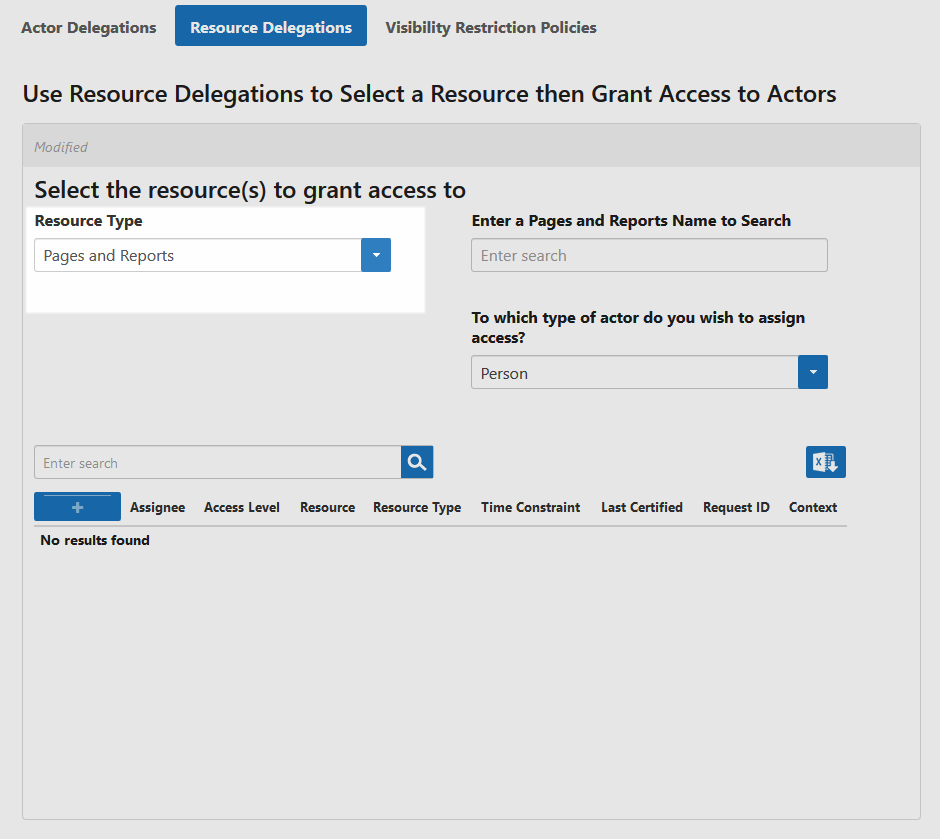
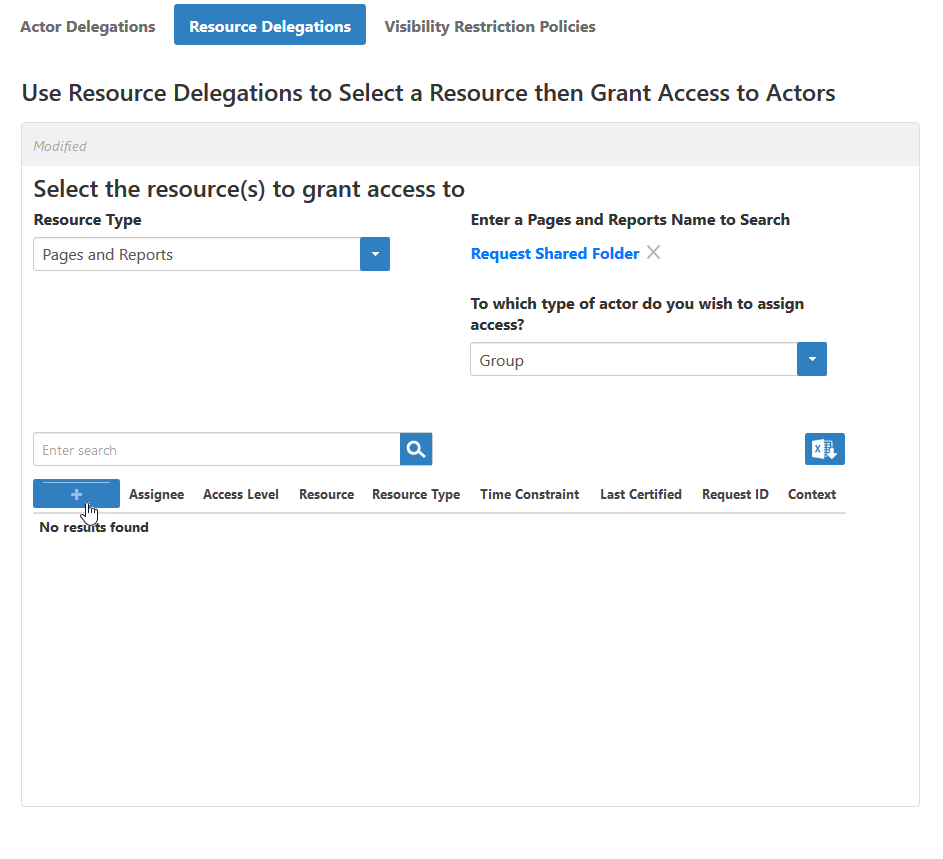
- Enter Request Shared Folder in the Enter a Pages and Reports Name to Search field and then click the Request Shared Folder tile to select it.
- Click the To which type of actor do you wish to assign access drop-down and select the actor type to which you are assigning access. This example selects Group.
- Click the Add Assignee (+) button on the Assignees grid.
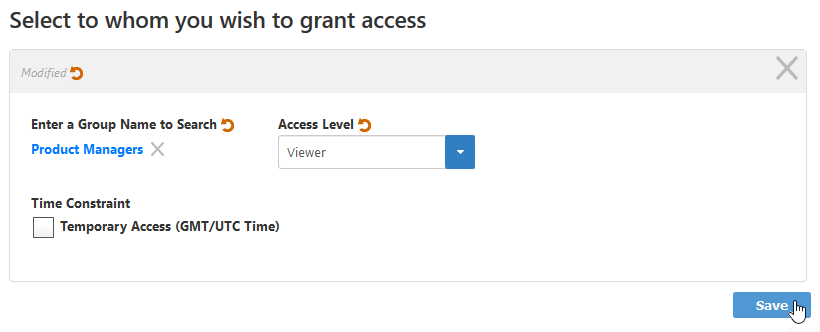
- In the Select to whom you wish to grant access dialog that appears do the following:
In the Enter an X Name to Search field, enter the name of a specific actor and then click the tile for that actor.
Info The name of the field reflects the actor type you have selected. For example, if you are assigning access to a group, the name is Enter a Group Name to Search.
Click the Access Level drop-down and select Viewer.
- Click Save.
After EmpowerID completes the operation and recompiles the RBAC assignments, the selected assignees will be able to self-service request a shared folder.
| Tip |
|---|
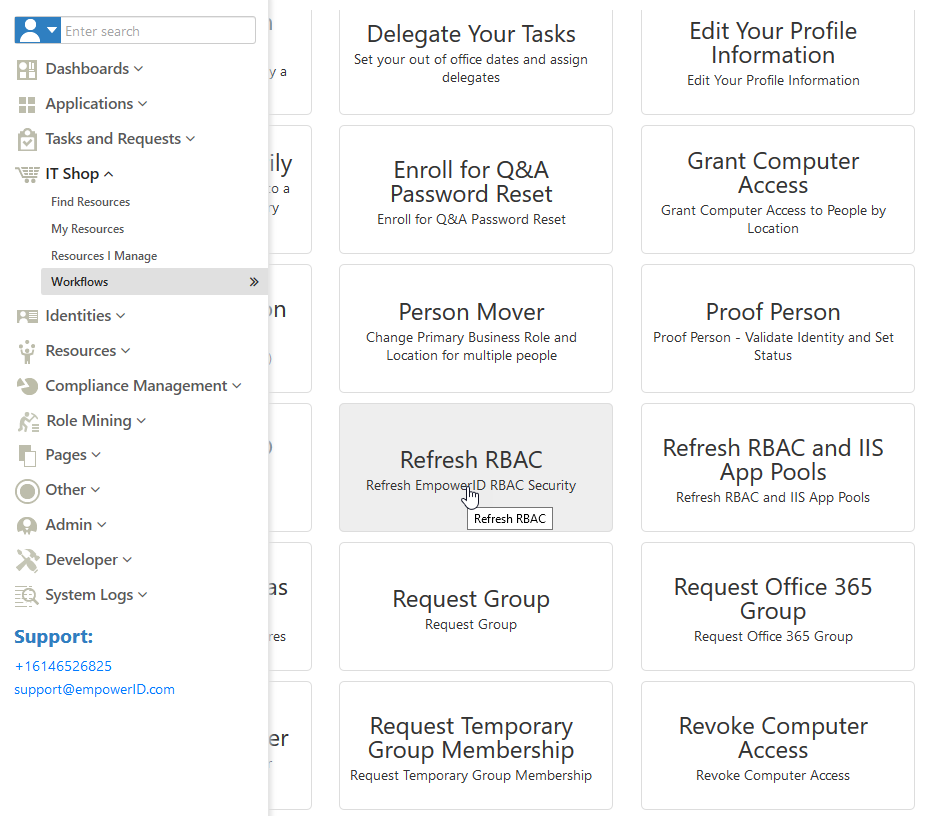
You can force RBAC recompilation from the Self Service page of the IT Shop by clicking Refresh RBAC. |
| Div | ||||||||||||||||||||||||
|---|---|---|---|---|---|---|---|---|---|---|---|---|---|---|---|---|---|---|---|---|---|---|---|---|
| ||||||||||||||||||||||||
|
