| Insert excerpt | ||||||
|---|---|---|---|---|---|---|
|
EmpowerID Office 365 connector uses PowerShell to allow organizations to perform administrative tasks in the connected domain, bringing the user, group and mailbox data in their Office 365 system to EmpowerID, where it can be managed and synchronized with data in any connected back-end user directories. Once connected, you can manage this data form EmpowerID in the following ways:
Account Management
Inventory user accounts
Create, Update and Delete user accounts (both licensed and unlicensed)
Enable and Disable user accounts
Group Management
Inventory groups
Inventory group memberships
Create and Delete groups
Add and Remove members to and from groups
Mailbox Management
Inventory mailboxes
Create and Delete mailboxes
Disable and Enable mailboxes
Attribute Flow
Users in Office 365 are inventoried as accounts in EmpowerID. The below table shows the attribute mappings of Office 365 user attributes to EmpowerID Person attributes.
Office 365 Attribute | Corresponding EmpowerID Attribute | Description |
|---|---|---|
givenName | FirstName | First Name of a user |
surname | LastName | Last Name of a user |
Initials | Initials | Middle Initial of a user |
displayName | Friendly Name | Display Name of a user |
AlternateEmailAddresses | Email of a user | |
mailNickName | EmailAlias | Email Alias of a user |
department | Department | Name of the department of a user |
Company | Company | Name of the company of a user |
HomePhone | HomeTelephone | Main home telephone number of a user |
mobile | MobilePhone | Primary mobile phone number of a user |
facsimileTelephoneNumber | Fax | Telephone number for facsimile terminal |
streetAddress | StreetAddress | Street Address of the user’s company |
city | City | City of a user |
country | Country | Country where the user’s company is located |
postalCode | PostalCode | Code for postal service for a user |
preferredLanguage | PreferredLanguage | Preferred written or spoken language for a user |
telephoneNumber | Telephone | Telephone numbers that comply with the ITU Recommendation |
jobTitle | Title | Title of a user within their organization |
physicalDeliveryOfficeName | Office | Physical address for postal delivery |
userPrincipleName | Login | UPN that is an internet-style logon name for a user, |
| Note |
|---|
The account that EmpowerID uses to connect to Office 365 must have the ability to create a service principal that allows the application to access your Office 365 tenant’s information. By default, EmpowerID uses an Office 365 account with the Global Admin role to create the service principal. If you do not want to use a Global Admin account, you will need to provide a service principal account with either one of the below permissions (depending on whether the service principal account is to be used for tenant administration):
The service principal can be created in PowerShell. For more information, see Microsoft’s article at https://docs.microsoft.com/en-us/powershell/azure/create-azure-service-principal-azureps?view=azps-3.3.0. Please note that if you chose to provide your own service principal, the account must be maintained by your organization. |
| Info |
|---|
In order to connect EmpowerID to Office 365, the following prerequisites must be met:
|
To create an Office 365 account store in EmpowerID
In On the navigation sidebarnavbar, expand Admin > Applications and Directories and then click Account Stores and Systems.
On the Account Stores page, click Create Account Store.
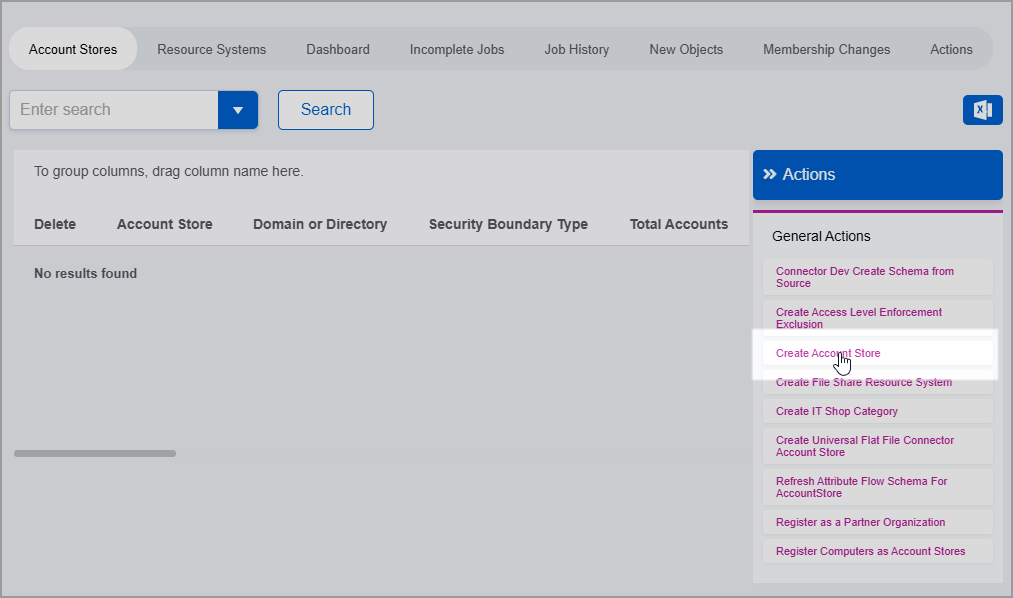
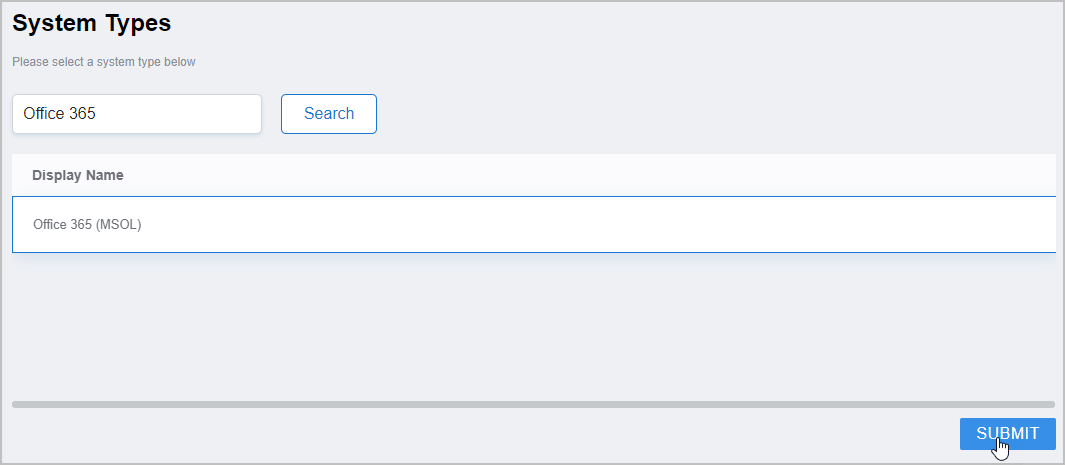
Insert excerpt IL:Create Account Store Screen IL:Create Account Store Screen nopanel true Under System Types, search for Office 365.
Click Office 365 (MSOL) to select the type and then click Submit.
This opens the Office 365 Settings form, which is where you enter settings needed by EmpowerID to connect to the system.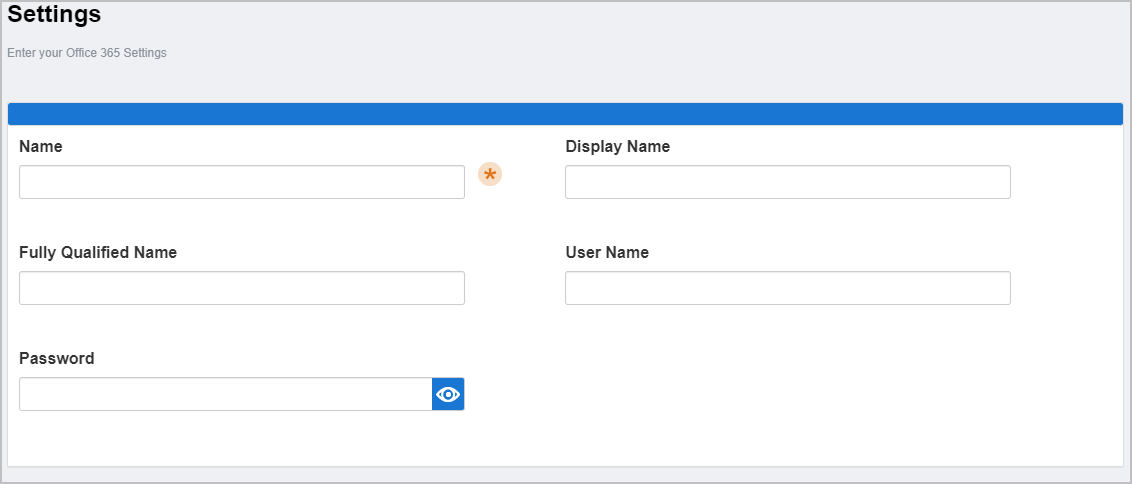
Enter the following information in the form:
Name — Enter a name for your account store.
Display Name — Enter a display name for your account store.
Fully Qualified Name — Enter the fully qualified name of your Office 365 account as it was originally issued from Microsoft, e.g.
myaccount.onmicrosoft.com.User Name — Enter the email address for the Office 365 account EmpowerID is to use to connect to your Office 365. Please note that if EmpowerID needs to create the service principal for making Graph API calls, this account must be a global administrator.
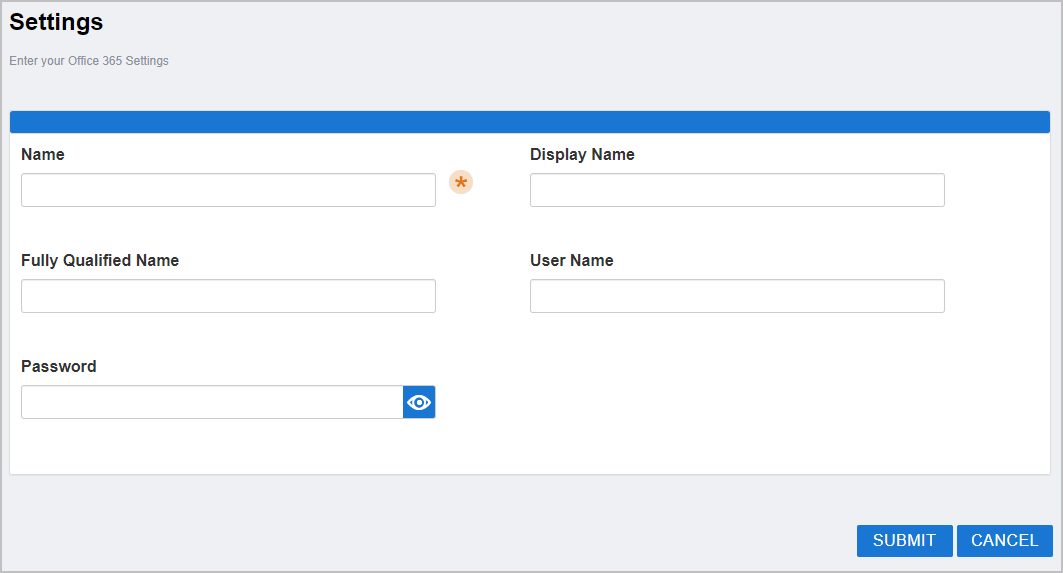
Password — Enter the password for the Office 365 account EmpowerID is to use to connect to your Office 365. Please note that if EmpowerID needs to create the service principal for making Graph API calls, this account must be a global administrator.
When finished, click Submit to create the account store.
EmpowerID creates the account store and the associated resource system. The next step is to configure the attribute flow between the account store and EmpowerID.
| Insert excerpt | ||||||
|---|---|---|---|---|---|---|
|
Now that the attribute flow has been set, the next steps include configuring the account store and enabling EmpowerID to inventory it.
To configureConfigure account store settings
On the Account Store and Resource System page, click the Account Store tab and then click the pencil icon to put the account store in edit mode.
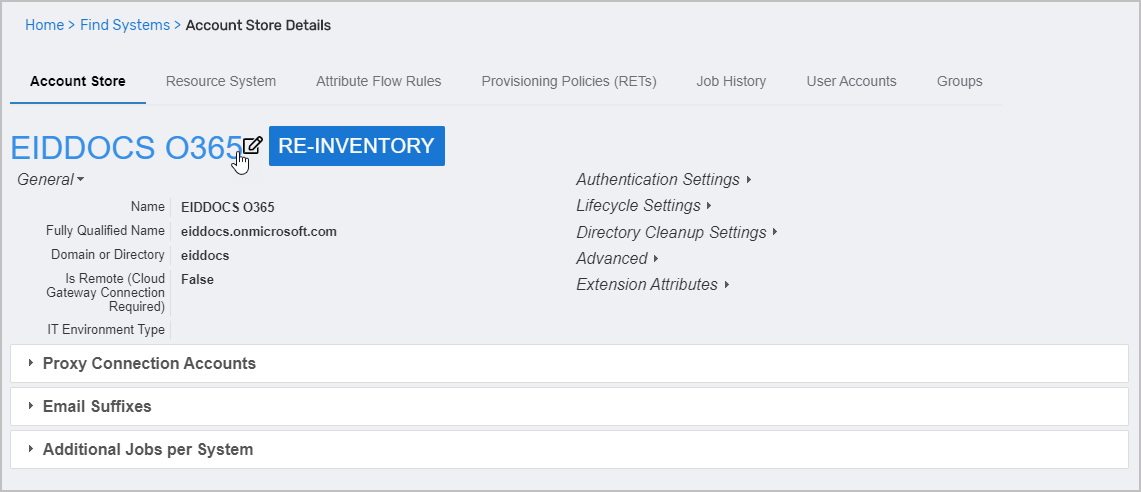
This opens the edit page for the account store. This page allows you to specify the account proxy used to connect EmpowerID to your Office 365 system as well as how you want EmpowerID to handle the user information it discovers in Office 365 during inventory. Settings that can be edited are described in the table below the image.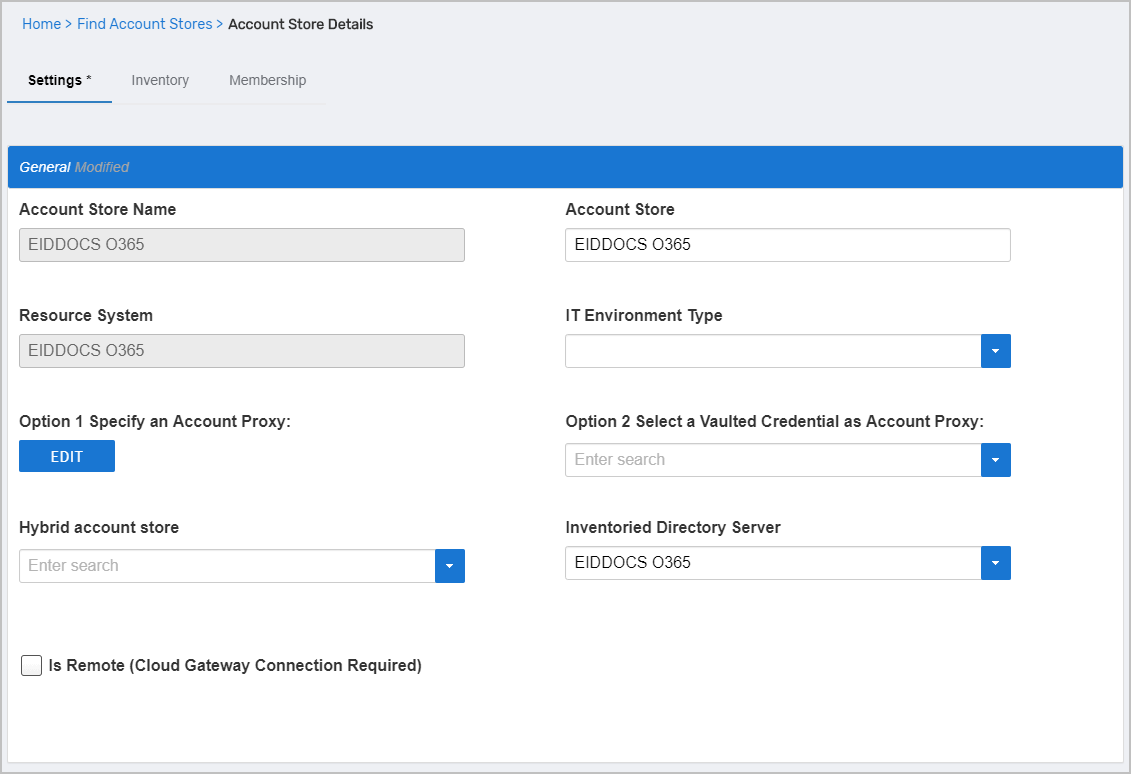
Insert excerpt IL:O365 Account Store Settings IL:O365 Account Store Settings nopanel true Edit the account store as needed and then click Save to save your changes.
Next, enable the Account Inbox permanent workflow to allow the Account Inbox to provision or join the user accounts in Office 365 to EmpowerID Persons as demonstrated below.
| Tip |
|---|
EmpowerID recommends using the Account Inbox for provisioning and joining. |
| Insert excerpt | ||||||
|---|---|---|---|---|---|---|
|
| Insert excerpt | ||||||
|---|---|---|---|---|---|---|
|
| Info |
|---|
If your Office 365 subscription includes Exchange Online, you can configure EmpowerID to inventory and enforce permissions for Exchange, as well as to perform batch processing for Exchange Online actions. For more information, see Configuring EmpowerID for Exchange Online Management |
| Insert excerpt | ||||||
|---|---|---|---|---|---|---|
|
| Div | ||||||||
|---|---|---|---|---|---|---|---|---|
| ||||||||
| Live Search | ||||||||
| size | large | |||||||
| page | ||||||||
| labels | 2020,admin |
| Table of Contents | ||||||||
|---|---|---|---|---|---|---|---|---|
|