EmpowerID provides connectors for a wide range of user directories and resource systems. As an administrator, you can use these connectors to quickly connect EmpowerID to your organization's identity-aware systems and applications. When you do so, you create an account store for that application in the EmpowerID Identity Warehouse and use that account store to configure how you want EmpowerID to manage the identity information in that system.
If you have Windows servers with local users and groups, you can add those servers to EmpowerID as managed account stores. This allows you to inventory local users and groups and manage those objects from EmpowerID, providing you with automated role-based access control, delegated permissions administration, and provisioning policy capabilities with a full audit trail of any actions involving those objects.
EmpowerID uses WinNT directory entry calls to get the objects on local Windows servers and WMI to get the group membership. As WMI is used, the Remote Procedure Call (RPC) Service on the local server must be enabled. For information on configuring WMI, see Configuring WMI. You should ensure WMI is configured correctly before proceeding to add your local Windows servers to EmpowerID.
Adding Windows Local Servers to EmpowerID involves the following tasks:
- Adding Local Windows Servers to EmpowerID as an account store
- Configuring EmpowerID options for managing the Local Windows Server account store and turning on inventory
To add local Windows servers to EmpowerID
- Log in to the EmpowerID Management Console as an administrator.
- Click the application icon and select Configuration Manager from the menu.
- In Configuration Manager, select the Account Stores node and then click the Add New button above the grid.

- Click the Add New button above the grid.
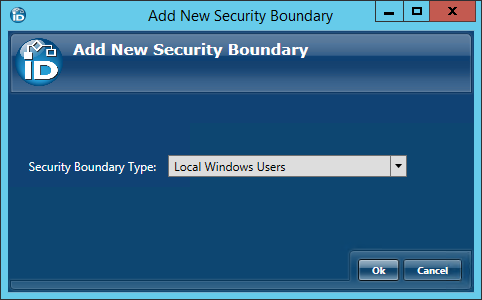
- In the Add New Security Boundary window that opens, select the Local Windows Users Security Boundary type from the drop-down list and then click OK.
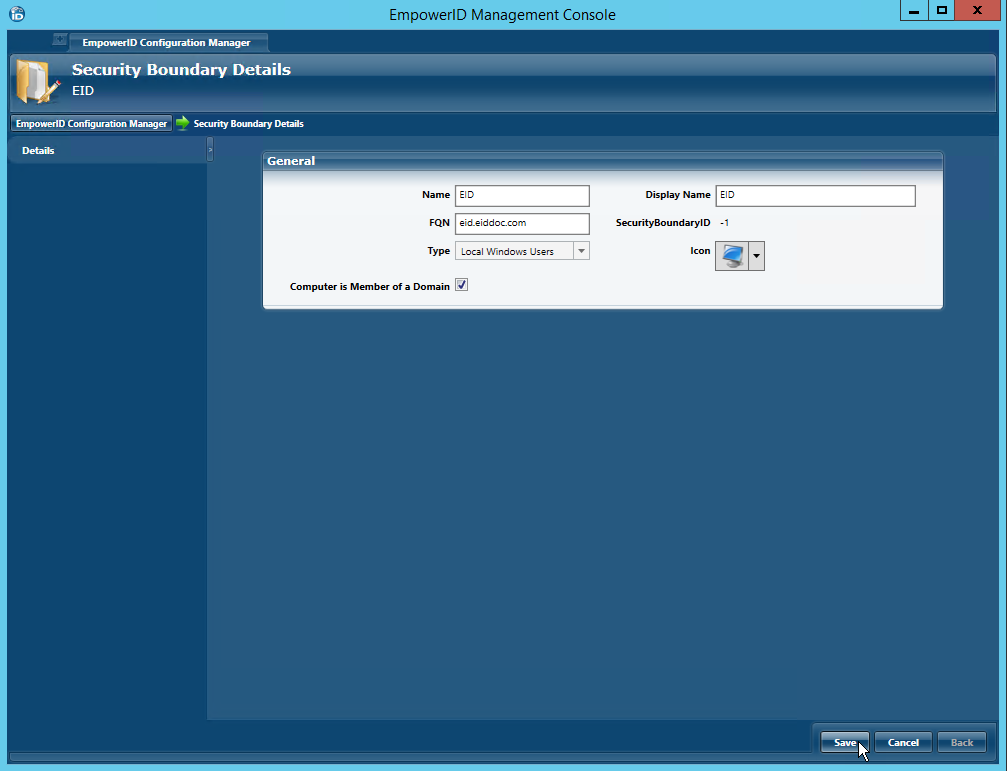
- In the Security Boundary Details window that opens, do the following:
- ype a name and display name for the local Windows server in the Name and Display Name fields, respectively.
- Type the fully-resolvable DNS for the server in the FQN field.
- Select Local Windows Users from the Type drop-down. This is the default selection.
If the server is a member of a domain to which EmpowerID has inventoried, select Computer is Member of a Domain. This tells EmpowerID to not create a new computer object for the local users server, but to link it to the inventoried domain computer.
If the server does not belong to an inventoried domain, leave Computer is Member of a Domain deselected. This tells EmpowerID to create a new computer object for the server, which allows the server to be visible in the EmpowerID user interfaces.
- Click Save.
- Back in the main Configuration Manager screen, locate the Local Windows account store you just created and double-click it or right-click it and select Edit from the context menu.
This opens the Account Store Details screen for the local Windows users server. You use this screen to configure EmpowerID settings for account store.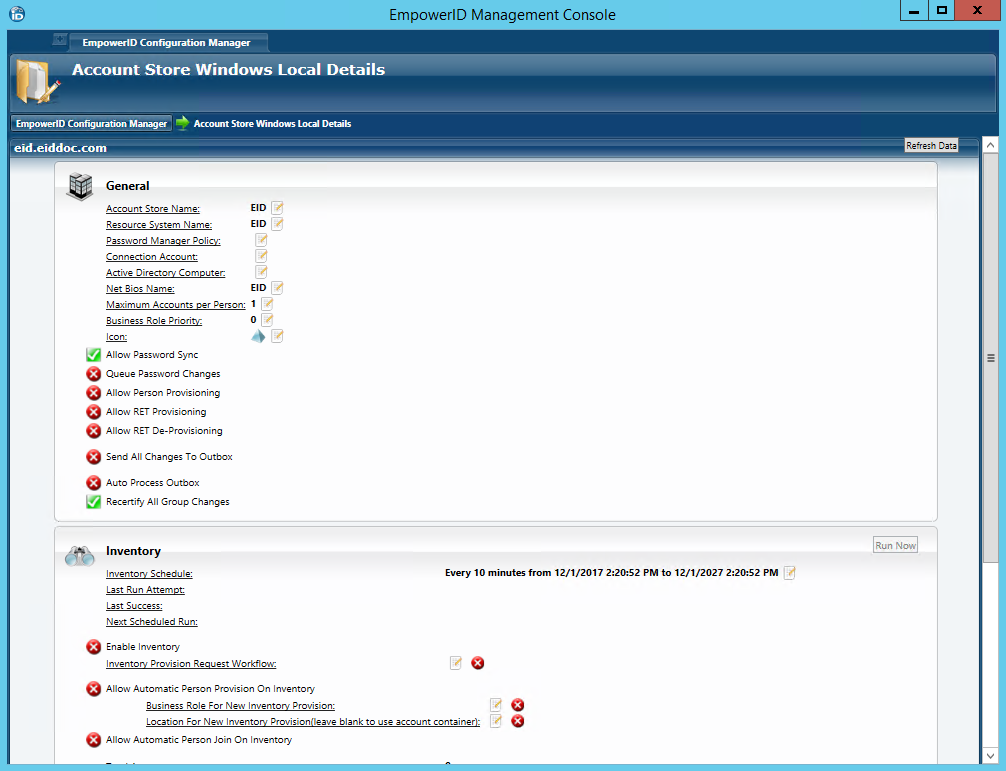
To configure the Local Windows server account store
Before configuring EmpowerID to manage the account store, you should determine whether you want to apply any provisioning policies to be applied to the local users inventoried from the server. If you do, as a best practice you should create those policies before inventorying the server. For more information on provisioning policies, see Overview of Resource Entitlements.
- In the General pane of the Account Store Details tab, click the Edit
 button to the right of Connection Account.
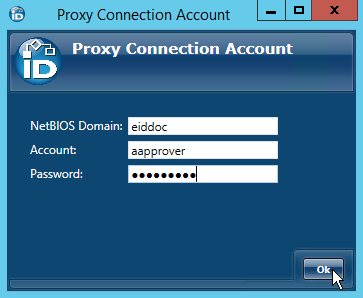
 - In the Proxy Connection Account window that appears, do the following:
- Type the net bios for the server in the NetBios Domain field.
- Type name of a user account with local admin privileges on the server. This user account can be either a domain user account or a local user account.
- Type the password for the account in the Password field.
- Click Ok to close the Proxy Connection Account window.
If you selected Computer is Member of Domain when you created the connection earlier, you will see a field for Active Directory Computer. If this is the case, click the Edit
button to the right of Active Directory Computer. If the computer does not belong to an inventoried domain, skip to step 5.
In the Select a Computer window that appears, search for and select the appropriate domain computer and then click OK. This tells EmpowerID that the domain computer has local users and groups that need to be inventoried as well as the domain users and groups.
Please note that the selected computer must belong to an Active Directory domain that EmpowerID is already inventorying or an error will occur when you turn on inventory. For information on connecting to Active Directory, see Connecting EmpowerID to Active Directory.

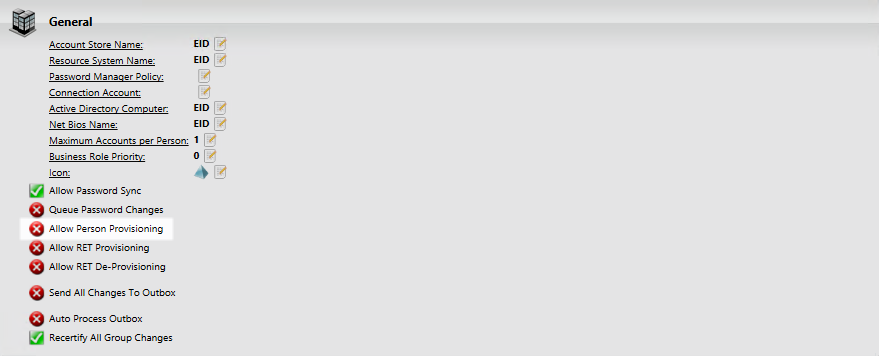
- Back in the General pane of the Account Store Details screen, leave Allow Person Provisioning set to false (red sphere). This is a recommended setting that keeps Person objects from being provisioned for any user accounts discovered during inventory.
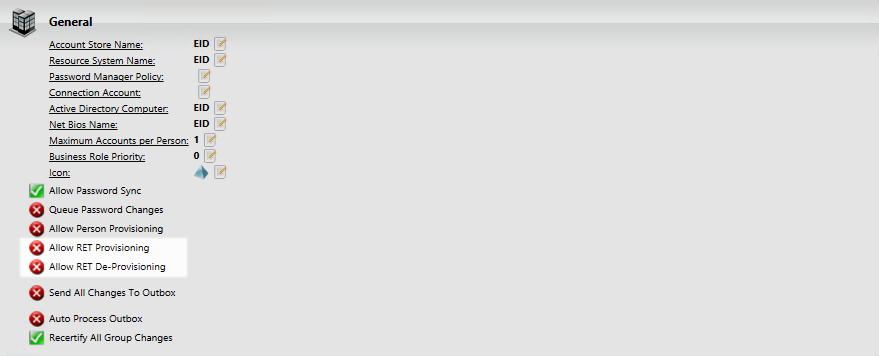
- Select or deselect Allow RET Provisioning and Allow RET Deprovisioning based on whether you want any provisioning policies to be applied to the local users inventoried from the server.
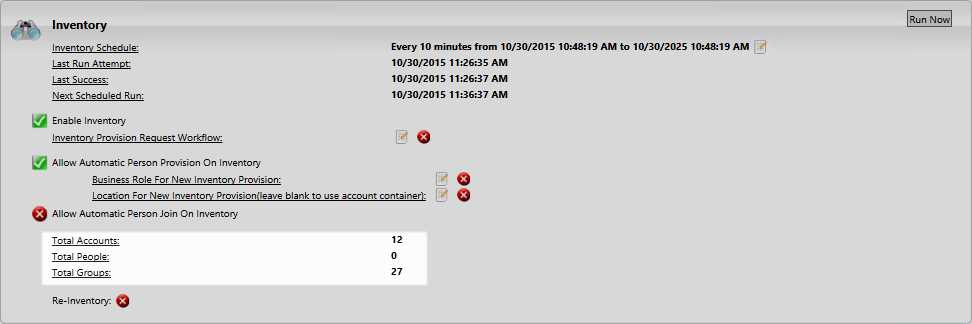
- In the Inventory pane of the Account Store Details screen, toggle Enable Inventory from a red sphere to a green check to turn on inventory.