Default Attribute Values policies are policies that allow you to automate the attribute values of any Person and flow those attributes to that Person's linked accounts in external account stores belonging to a target of the policy.
This topic demonstrates the following:
How to create a Default Attribute Values policy
How to assign the Default Attribute Values policy to an EmpowerID actor type
Prerequisites
EmpowerID must be connected to Active Directory. For more details, see Connecting to Active Directory.
To allow any attribute changes occurring in EmpowerID via the policy to flow to the external account store, the Attribute Flow Rules configured for the account store must be set accordingly. For more information, see Configuring Attribute Flow.
Default Attribute Values policies can be targeted against any number or combination of Management Roles, groups, Business Roles and Locations, Query-Based collections, as well as individual people. For example, if you create Default Attributes Values policy that specifies that the Title attribute be set to "Contractor" for anyone assigned to the policy and then you assign the policy to a "Contractors" group, EmpowerID sets the Title attribute to Contractor for each Person in that group and then flow those changes to the corresponding attribute on each Person's user account.
How to create a Default Attribute Values policy
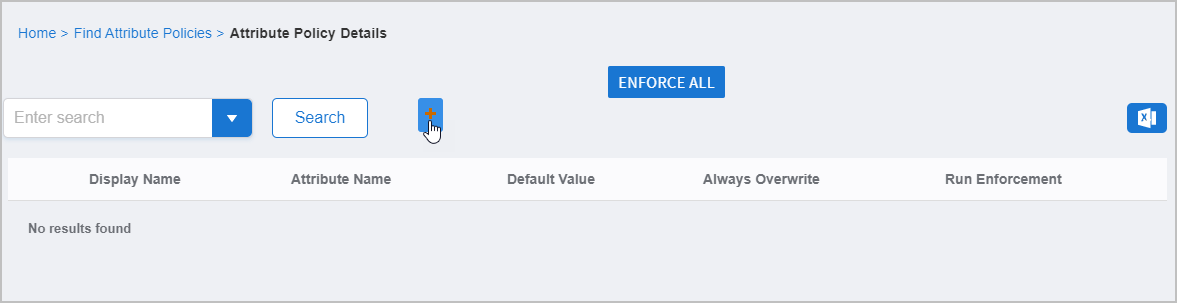
On the navbar, expand Admin, then Policies, and click Default Attribute Values.
On the Attribute Values page, click the Add button.
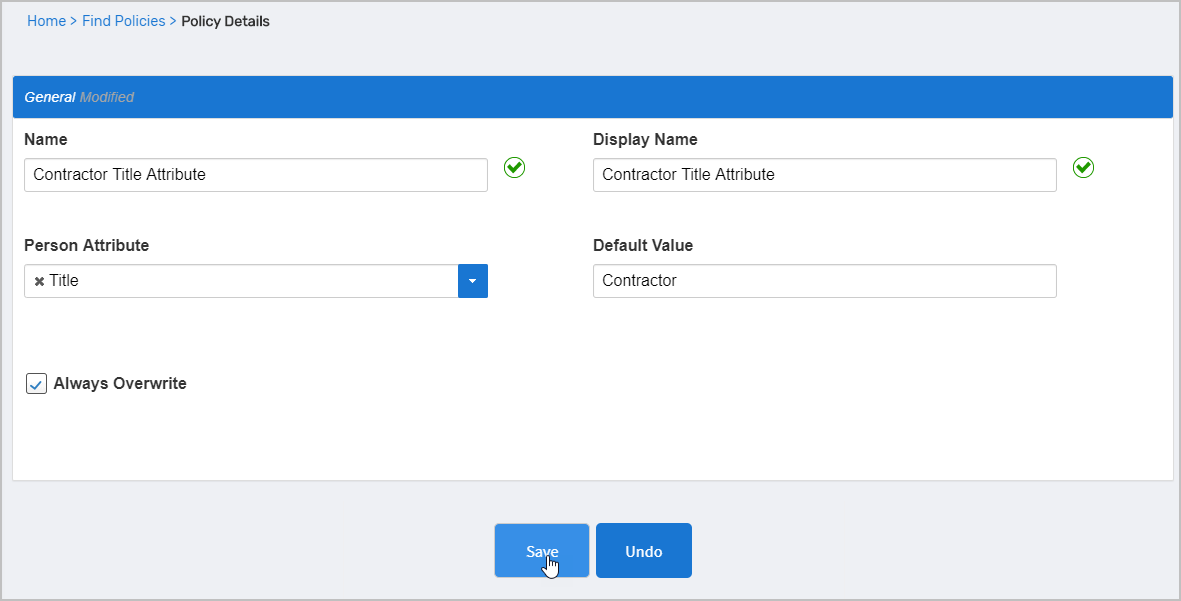
Enter the following information in the Policy Details form:
Name — Enter a name for the policy.
Display Name — Enter the name for the policy that appears to users. This value is searchable.
Person Attribute — Select the attribute for the Person that you want to set using the policy.
The values shown in the Person Attribute drop-down list include every type of attribute that could associated with an EmpowerID Person; however, not all EmpowerID Person attributes correspond to attributes in Active Directory. Here is a list of the Person attributes and what each attribute corresponds to in Active Directory (if any):
EmpowerID Person Attribute
Active Directory Attribute
AboutMe
N/A
BirthName
N/A
CarLicense
carLicense
City
l
Company
company
Country
co
CustomAttribute1 through 9
N/A
CustomAttribute27
thumbnailPhoto
Department
department
DepartmentNumber
departmentNumber
Description
description
Division
division
EmailAlias
mailNickname
EmployeeID
employeeID
EmployeeIDOther
N/A
EmployeeType
employeeType
ExtensionAttribute1 - 27
extensionAttribute1 - 15 and 20
Fax
facsimileTelephoneNumber
FirstName
givenName
FriendlyName
displayName
Gender
N/A
GenerationalSuffix
generationQualifier
HomeTelephone
homePhone
IMAddress
N/A
Initials
initials
LastName
sn
Login
samAccountName
MiddleName
middleName
MobilePhone
mobile
Notes
info
Office
physicalDeliveryOfficeName
POBox
postOfficeBox
Pager
pager
PersonalTitle
personalTitle
PhotoURL
N/A
PositionCode
N/A
PostalCode
postalCode
PreferedFirstName
N/A
PreferredLastName
N/A
Province
province
SIPAddress
N/A
SecondLastName
N/A
State
st
Status
N/A
StreetAddress
streetAddress
StreetAddress2
N/A
telephone
telephoneNumber
Title
title
Default Value — Enter the default value for the selected attribute.
Always Overwrite — Select (check) whether changes occurring to the attribute in the external system should be reverted back to the default value set by the policy.
Click Save.
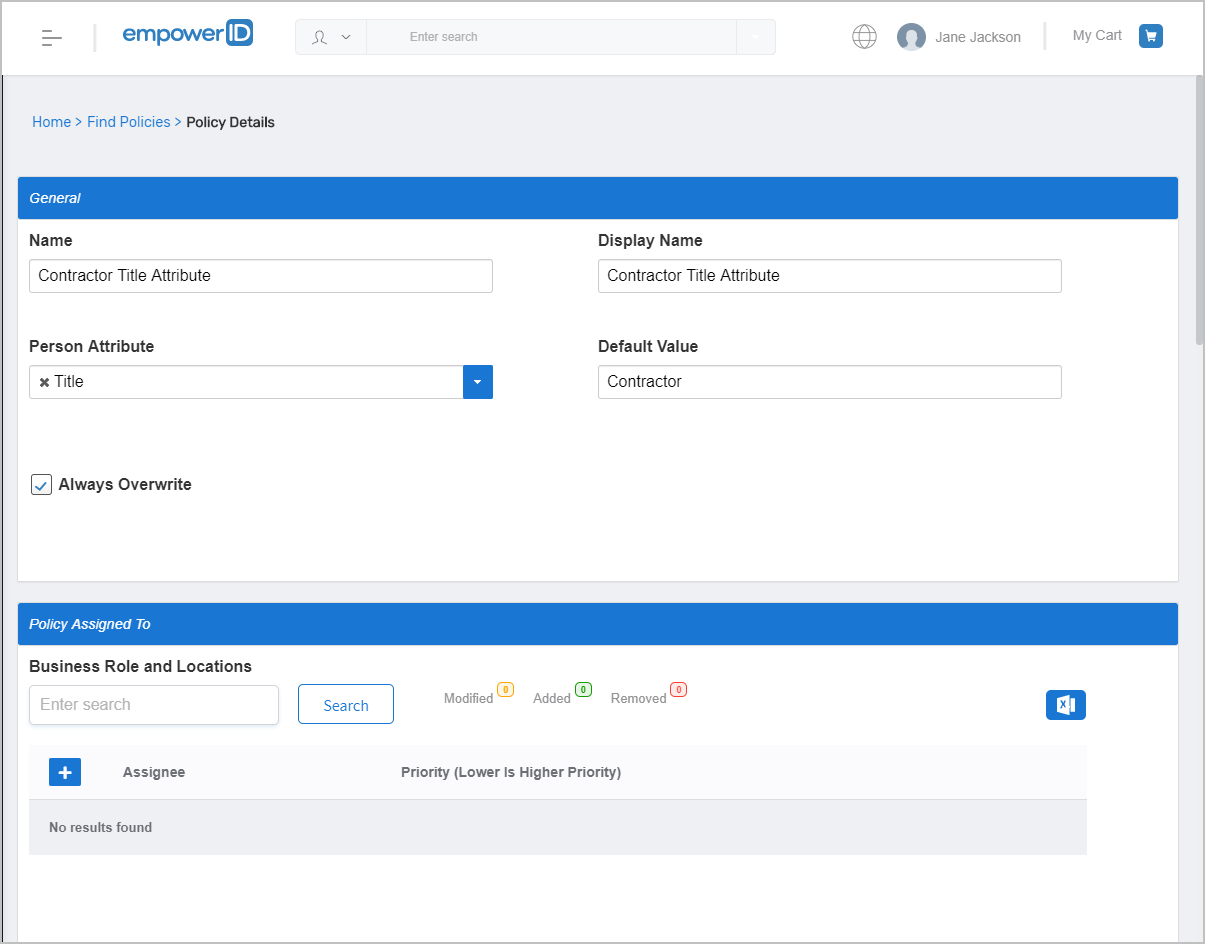
After EmpowerID creates the policy, you should be directed to the completed Policy Details page for the policy. From this page, you can assign the policy to any EmpowerID Actor, such as a Group or Business Role and Location.
How to assign the Default Attribute Policy
On the Policy Details page of the policy you just created, in the Policy Assigned To section, scroll to the actor type to which you want to assign the policy. You can assign the policy to any of the following actor types:
Business Roles and Locations — All people in the selected Business Role and Location combinations receive the resource granted by the policy.
Management Roles — All people in the selected Management Roles receive the resource granted by the policy.
Management Role Definitions — All Management Roles that are children of the selected Management Role Definition receive the resource granted by the policy.
Query-Based Collections (SetGroup) — All people in the selected collection receive the resource granted by the policy.
Groups — All people in the selected groups receive the resource granted by the policy.
People — All people selected receive the resource granted by the policy.
In the Policy Assigned To section, click the Add button in the grid of the assignee type to which you are making the assignment. In this example, we assign the policy to a group, so we click the Add button in the Groups grid.
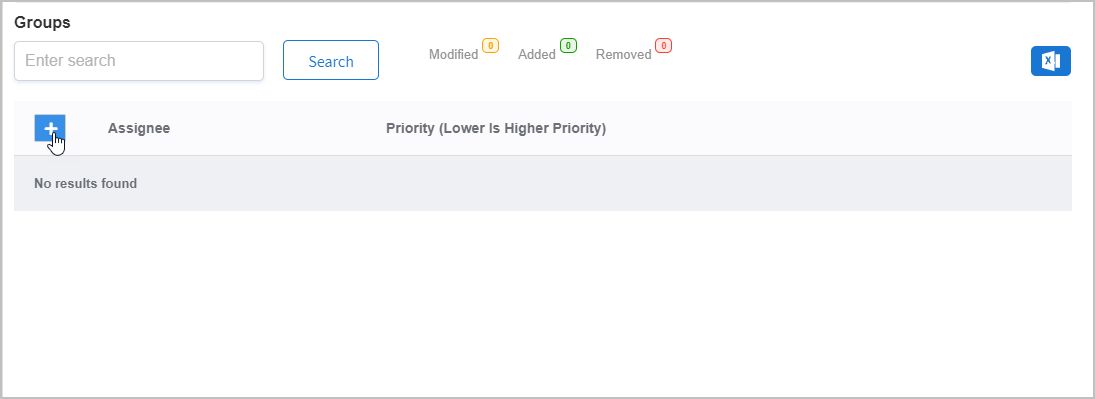
In the Group (or other Actor Type) field, search for and select the appropriate assignee.
Enter a number to specify the priority for the policy in the Priority field. This value is used to determine the priority of the attribute value if the user is assigned to another policy that sets the attribute to another. The lower the number, the higher the priority.
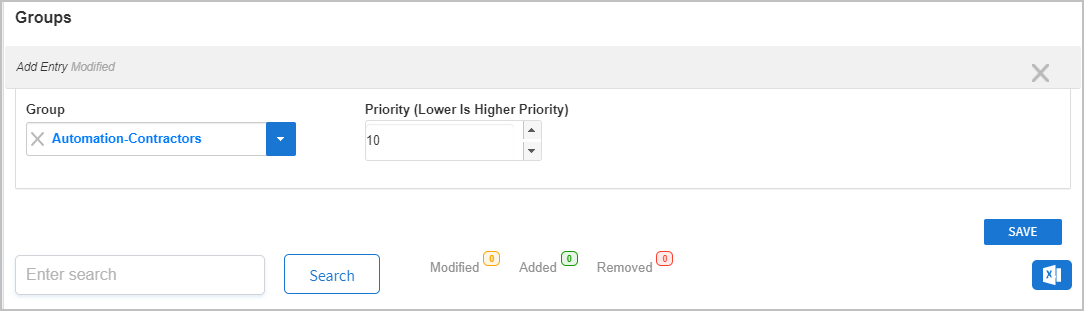
Click Save.
Repeat for each additional Actor type you want to add to the policy. For example, if you wanted to add a Business Role and Location to the policy, you click the Add button on the Business Role and Location grid, select the specific Business Role and Location and assign a priority for the policy.
When ready, click Save on the main page to assign the policy to the selected actors.
Default Attribute Values policies only apply to a Person's Primary Business Roles and Location. For example, if you assign a policy to a Business Role and Location and a Person has that Business Role and Location as a secondary Business Role and Location, the policy has no effect on that Person's attributes.
IN THIS ARTICLE