Creating Business Roles
In EmpowerID, a Business Role is a user-defined hierarchical container for grouping people. You can also use it to delegate access to resources based on a person's job function within an organization, such as "Sales Representative" or "Contractor." You can create as many of these containers as needed for your organization.
This topic demonstrates how to create a Business Role.
To create new Business Roles
- In the Navigation Sidebar of the EmpowerID Web interface, expand Identities and click Business Roles and Locations.
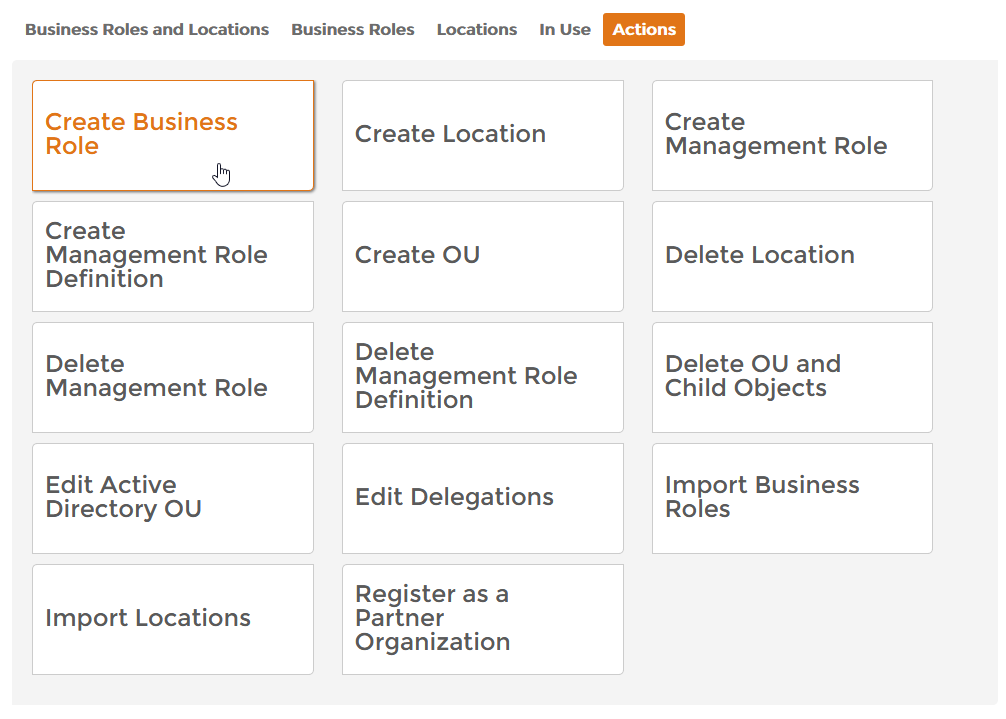
- From the Business Roles and Locations management page, on the Actions tab, click Create Business Role.
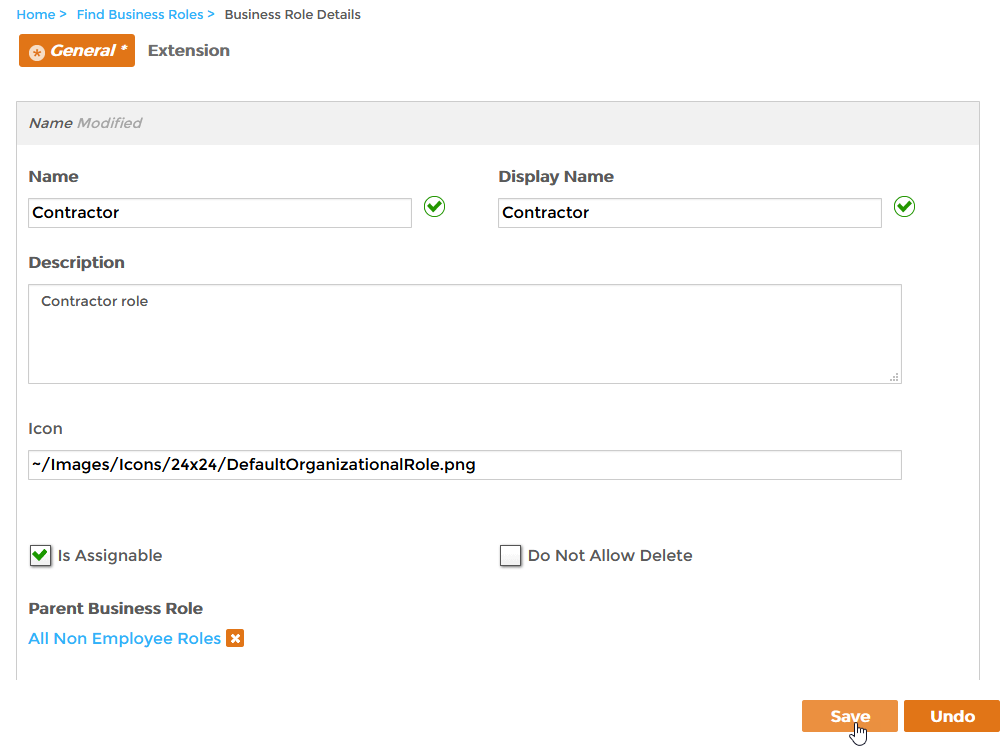
- From the General Tab of the Business Role Details form that appears, do the following:
Enter a name and description in the Name, Display Name and Description fields.
In the Icon field, enter the path to the icon to use for the Business Role.
The default Business Role image is located in the \Program Files\TheDotNetFactory\EmpowerID\Web Sites\EmpowerID.Web.Cdn\Content\Images\Icons\24X24 folder.
- Clear Is Assignable if you want to keep the Business Role from being assigned to users. Otherwise, leave it selected.
- Clear Do Not Allow Delete if you want to disable deletion of the Business Role from the Web interface. Otherwise, leave it selected.
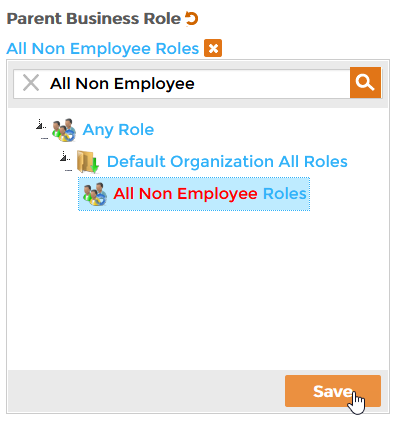
- Below Parent Business Role, click the Select a Business Role link to open the Business Role Selector.
- From the Business Role Selector, search for and select the appropriate Parent Business Role and click Save to close the Business Role Selector.
- Optionally, click the Extension Tab and add the Job Code for the role, if applicable, and any other extension attributes you need.
- Click Save to create the Business Role.
To verify new Business Roles
- In the Navigation Sidebar, expand System Logs and click Audit Log.
On the Change Manager page, open the Recently Created Objects tab and search for the Business Role you just created. A record for it appears in the grid.
EmpowerID keeps a comprehensive record of all business processes that occur in the system. You can view this information on the Audit Log tab of the Change Manager.


