Home / Identity Administration / Shared Folders / Current: Creating Shared Folders
This topic demonstrates how to create shared folders in EmpowerID.
Prerequisites
- EmpowerID must first be connected to Active Directory. For details, see Connecting to Active Directory.
- After EmpowerID is connected to Active Directory, a Windows File Server within that directory must be added to EmpowerID as a managed resource system. For details, see Adding Windows File Servers.
- Additionally, for EmpowerID to have the necessary NTFS permissions to create shared folders, you must associate the Windows Server Management Web Service job with a service account that is a member of the domain administrator's group with a password that is vaulted in EmpowerID. For more details, see Configuring the EmpowerID Windows Server Agent Account.
To create a shared folder
- In the Navigation Sidebar, expand Resources and click Shared Folders.
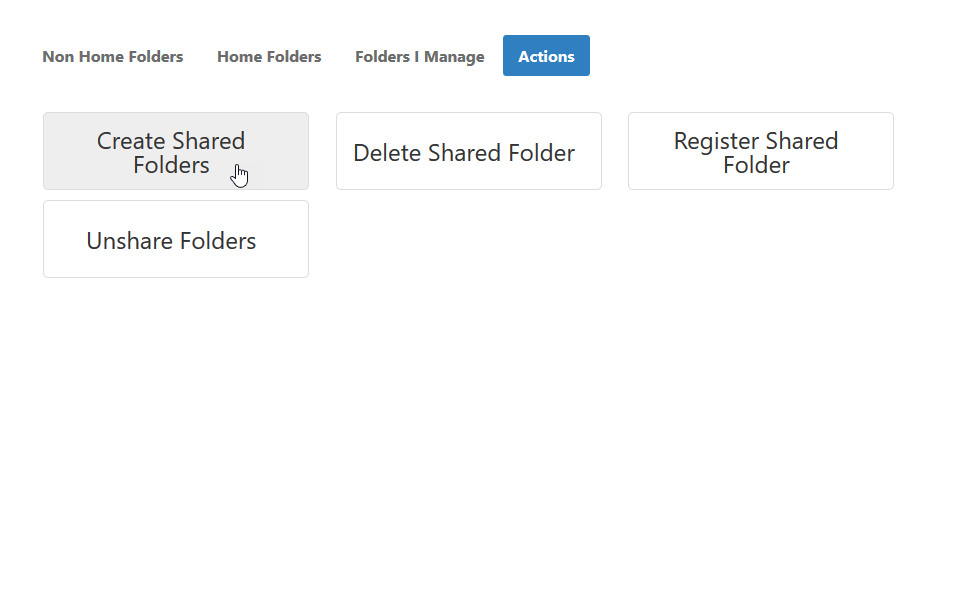
- From the Shared Folders page, click the Actions tab and then click Create Shared Folders.
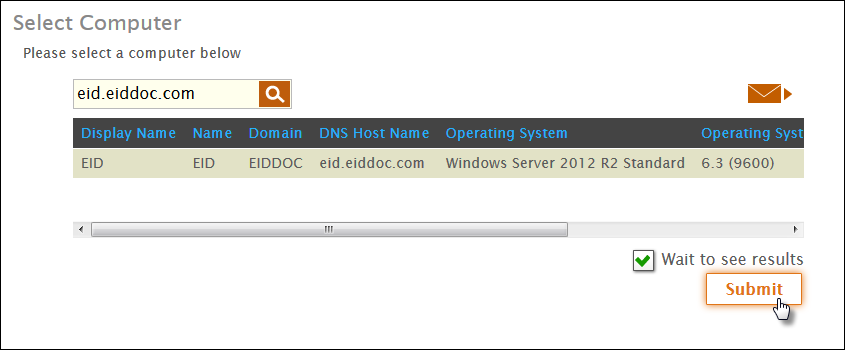
- In the Select Computer lookup that appears, search for the File server you registered with EmpowerID, click the record for that server to select it and then click Submit.
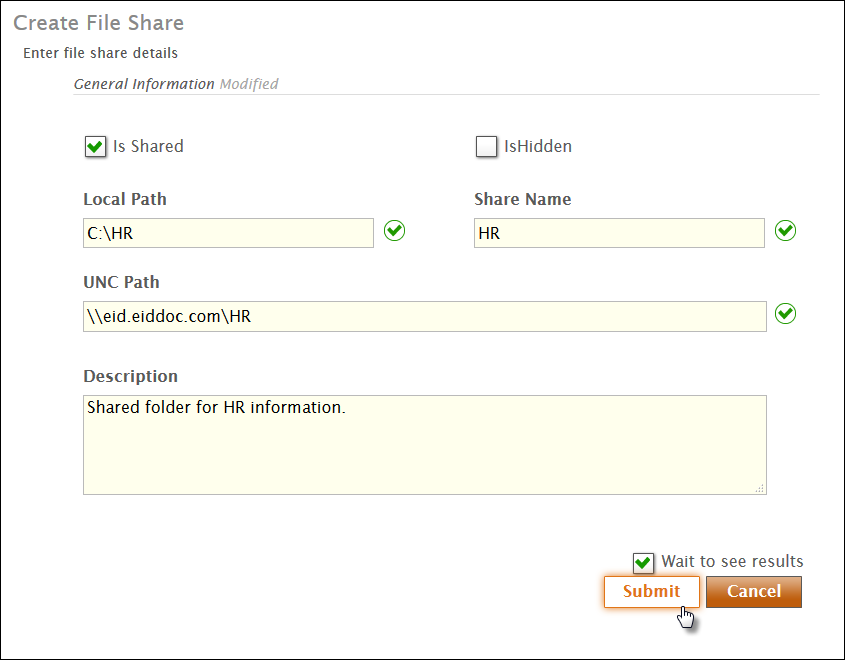
- In the Create File Share form that appears, enter the appropriate information for the share and then click Submit.
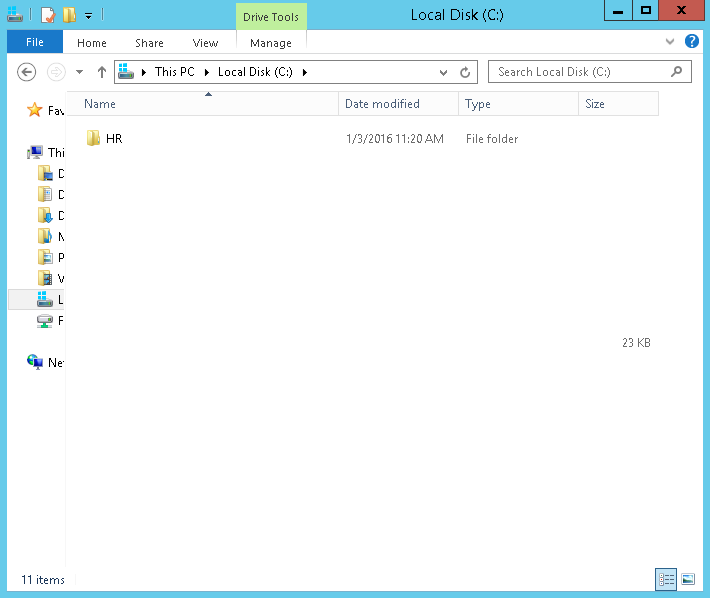
To verify EmpowerID created the shared folder on the file server
- On your File server, navigate to the local path you specified for the shared folder when you created it.
- You should see the home folder you just created.
On this page